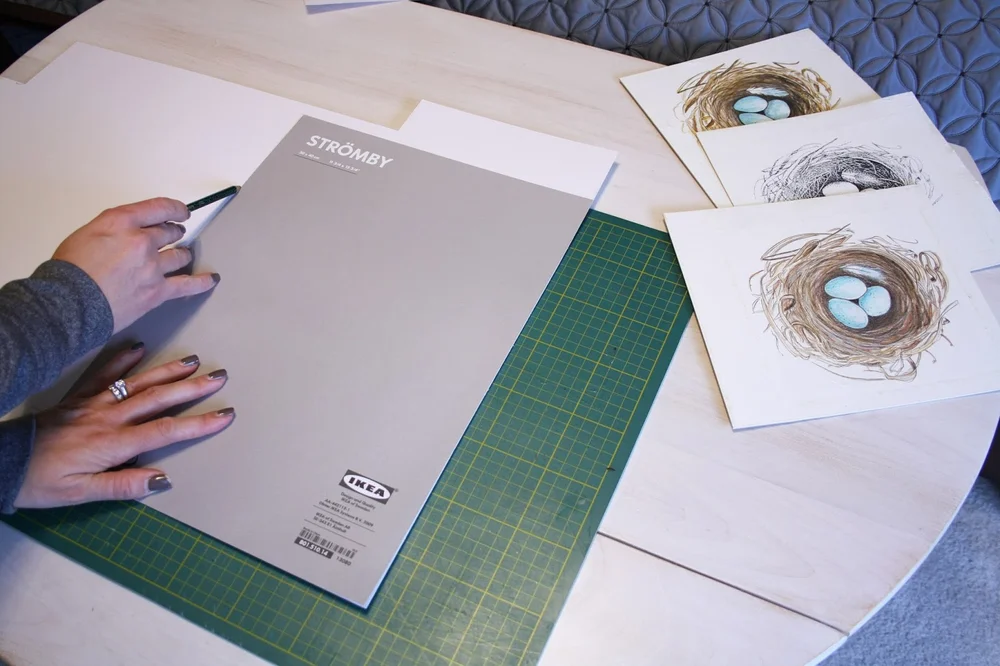
Are you ready to give your artwork or photos a professional, polished look? Learning how to cut a mat board yourself can save you money and add a personal touch to your projects.
But cutting a mat board perfectly can feel tricky if you don’t know the right steps. Don’t worry—this guide will walk you through simple, clear instructions that anyone can follow. By the end, you’ll have the confidence to create sharp, clean edges that make your pieces stand out.
Keep reading, and discover how easy it is to transform your framing skills today!

Credit: www.metroframe.com
Choosing The Right Mat Board
Mat boards add style and protection to your framed art or photos. Picking the right mat board can make your artwork stand out and last longer.
Consider the type, color, thickness, and size of the mat board. These factors affect the look and fit of your frame.
Types Of Mat Boards
Mat boards come in many materials. Each type has unique qualities for display and durability.
- Paper Core:Affordable and easy to cut, good for casual framing.
- Foam Core:Lightweight with a foam center, offers extra thickness and protection.
- Conservation Board:Acid-free and archival safe, ideal for valuable or old artwork.
- Bristol Board:Smooth surface, good for clean and sharp cuts.
Selecting Color And Thickness
Color and thickness change how your artwork looks and fits. Choose carefully to match your style and frame.
| Feature | Effect | Tips |
| Color | Highlights or contrasts with your art | Use neutral colors for subtlety, bright colors for boldness |
| Thickness | Adds depth and dimension | Thicker mats fit deeper frames and look more formal |
Measuring For Your Frame
Accurate measurements ensure your mat fits perfectly inside your frame.
- Measure the inside width and height of your frame.
- Decide how wide you want your mat borders to be.
- Subtract twice the border width from the frame opening size to get the mat window size.
- Cut the mat board to the frame size and the window to fit your artwork.
Gathering Essential Tools
Cutting a mat board requires the right tools to get clean and accurate cuts. Preparing these tools before starting makes the work easier and safer.
This guide covers the main tools you need for cutting, measuring, and protecting yourself during the process.
Cutting Tools Needed
You need sharp, precise cutting tools to cut mat boards without tearing or rough edges.
- Utility knife or mat cutter with a fresh blade
- Self-healing cutting mat to protect surfaces
- Metal ruler or straightedge for clean lines
- Cutting guide or T-square for angle control
Measuring And Marking Tools
Accurate measuring and marking ensure that your cuts are the right size and shape.
| Tool | Purpose |
| Measuring tape or ruler | Measure the mat board dimensions |
| Pencil or fine-tip pen | Mark cutting lines clearly |
| Square or angle ruler | Check for right angles and straight edges |
Safety Equipment
Safety gear protects you from cuts and accidents while working with sharp tools.
- Cut-resistant gloves to protect your hands
- Safety glasses to shield your eyes from dust and debris
- Work surface with good lighting to avoid mistakes
Preparing Your Workspace
Cutting a mat board needs a tidy and well-planned workspace. A clean area helps you work safely and get neat results.
Before you start, set up your space with good light and organize all your tools. This makes the cutting process smooth and easy.
Setting Up A Clean Surface
Choose a flat, sturdy table or desk for cutting. Clear away any clutter to give yourself plenty of room.
- Remove papers, books, and other items
- Wipe the surface to remove dust and dirt
- Place a cutting mat to protect your table
- Keep a trash bin nearby for scraps
Lighting And Comfort
Good lighting helps you see cut lines clearly and avoid mistakes. Natural light is best but use bright lamps if needed.
| Lighting Type | Benefits |
| Natural Light | True colors, reduces eye strain |
| LED Desk Lamp | Bright, focused light, energy efficient |
| Overhead Light | Even room lighting, avoids shadows |
Also, sit on a comfortable chair. Keep your back straight and your arms at a good height for cutting.
Organizing Materials
Gather all the tools before you cut. This saves time and keeps your workspace neat.
- Mat board
- Metal ruler or straight edge
- Cutting knife or rotary cutter
- Cutting mat
- Pencil and eraser
- Tape measure or template

Credit: www.youtube.com
Marking The Cut Lines
Marking the cut lines is a key step in cutting a mat board. It helps ensure the window opening fits perfectly around your artwork.
Clear and accurate lines guide your cutting tool and improve the final look of your mat board.
Measuring The Window Opening
First, measure the size of the window opening you want to cut. Use a ruler or tape measure for accuracy.
- Measure the width of the artwork area.
- Measure the height of the artwork area.
- Note down both measurements carefully.
Transferring Measurements To Mat Board
Next, transfer the window opening measurements to the mat board surface. Mark the exact spots where you will cut.
| Measurement | Marking Method |
| Width | Draw light pencil lines at measured points |
| Height | Draw light pencil lines at measured points |
Using A T-square For Precision
A T-square helps you draw straight and precise cut lines. Align it with your pencil marks before drawing.
- Place the T-square edge along the marked width.
- Hold the T-square firmly to prevent slipping.
- Draw a straight line using a sharp pencil.
- Repeat for the height lines to complete the rectangle.
Cutting The Mat Board
Cutting a mat board is an important step when framing pictures or artwork. It helps to create a clean border and protects the piece.
You need the right tools and techniques to cut the mat board accurately and safely. This guide explains how to do it.
Using A Mat Cutter
A mat cutter is a special tool designed to cut precise angles in mat boards. It has a sharp blade that moves along a guide.
To use it, place the mat board on a flat surface. Align the cutter with your marked lines. Press down firmly and slide the blade smoothly.
- Measure and mark the opening carefully
- Set the cutter to the right angle, usually 45 degrees
- Hold the board steady while cutting
- Make slow, steady cuts for the best results
Alternative Cutting Methods
If you do not have a mat cutter, you can use other tools to cut the mat board. A sharp utility knife is a common choice.
Use a metal ruler or straight edge to guide your knife. Cut on a cutting mat or thick cardboard to protect your work surface.
- Mark your measurements clearly
- Use a sharp blade to avoid tearing the board
- Make several light passes instead of one deep cut
- Keep your hand steady and apply even pressure
Ensuring Clean, Straight Cuts
Clean and straight cuts make your mat board look professional. Take your time and prepare well before cutting.
Always use a sharp blade. Dull blades can cause rough edges and tears. Use a ruler or guide to keep lines straight.
- Check measurements twice before cutting
- Keep your cutting tool sharp and clean
- Cut slowly and steadily for smooth edges
- Use a firm surface to avoid bending the board

Credit: www.reddit.com
Finishing Touches
After cutting your mat board, finishing touches help make it look neat and professional. These steps ensure your mat fits well and looks clean.
Take time to clean edges, test fit the mat, and adjust if needed. This care improves the final appearance.
Cleaning Edges And Surfaces
Use a soft brush or cloth to remove dust from the edges and surface. Clean edges prevent dirt from showing in the frame.
If the edges are rough, gently sand them with fine sandpaper. Be careful not to damage the mat board surface.
- Brush away dust and small particles
- Use a clean, dry cloth for the surface
- Lightly sand rough edges if needed
Test Fitting The Mat
Place the mat board inside the frame to check the fit. Make sure it sits flat and lines up with the frame edges.
Check that the opening shows the artwork correctly and that the mat does not cover important parts.
- Insert the mat into the frame gently
- Look for any gaps or tight spots
- Ensure the artwork is fully visible
Adjusting If Necessary
If the mat is too large or small, trim or recut the edges carefully. Use a ruler and cutter for straight lines.
Double-check the fit after each adjustment. Small changes can make a big difference in the final look.
- Trim edges with a sharp cutter
- Work slowly to avoid mistakes
- Test fit after every change
Tips For Professional Results
Cutting a mat board cleanly takes practice and the right tools. Using sharp blades and steady hands helps make neat edges.
Measure twice and cut once. This simple step reduces mistakes and saves material.
Common Mistakes To Avoid
Many beginners press too hard with the knife. This can cause uneven cuts or damage the board.
Not using a proper cutting mat can dull blades quickly and affect your cuts.
- Do not rush your cuts. Take your time for accuracy.
- Avoid using dull blades; they tear the board.
- Skip measuring carefully and you risk wasted material.
Maintaining Tools For Longevity
Keep your cutting knife blades sharp. Replace them often for best results.
Store your cutting tools in a dry place. This stops rust and damage.
- Clean blades after each use to remove residue.
- Use a self-healing cutting mat to protect your blade.
- Check your ruler edges for nicks that can catch the blade.
Creative Mat Board Ideas
Try layering different colors of mat board to add depth to your frame.
Cut shapes or windows in your mat board to create unique designs.
- Use decorative edges like bevel or rounded corners.
- Mix textures by combining smooth and rough mat boards.
- Add small cutouts for a custom look.
Frequently Asked Questions
What Tools Do I Need To Cut A Mat Board?
To cut a mat board, you’ll need a sharp utility knife, a metal ruler, and a cutting mat. A mat cutter can provide precision for beveled edges. Ensure your tools are sharp and clean for smooth cuts. Proper tools enhance accuracy and safety during the cutting process.
How Do I Measure The Mat Board Accurately?
First, measure the artwork or photo you’re framing. Subtract the desired border width from each side. Use a metal ruler for precision and mark lightly with a pencil. Double-check measurements before cutting to avoid mistakes. Accurate measuring ensures a professional-looking mat board.
Can I Cut A Mat Board Without A Mat Cutter?
Yes, you can use a utility knife and a metal ruler. Ensure the knife is sharp for clean edges. Hold the ruler firmly to guide your cuts. A cutting mat protects surfaces and enhances safety. While not ideal, this method can work for simple projects.
How Do I Ensure Clean Edges On A Mat Board?
Use a sharp blade and replace it regularly. Cut slowly and apply steady pressure. A metal ruler helps maintain straight lines. Avoid rushing to prevent jagged edges. Clean edges result in a professional appearance and enhance the overall presentation of your framed piece.
Conclusion
Cutting a mat board is simple with the right tools and steps. Take your time and measure carefully before cutting. Use a sharp blade for clean, straight edges. Practice on scrap pieces to build confidence. This skill helps you create beautiful frames for your art or photos.
Enjoy the process and watch your projects look more polished. Keep these tips in mind, and you will cut mats like a pro. Try it yourself and see the difference it makes.