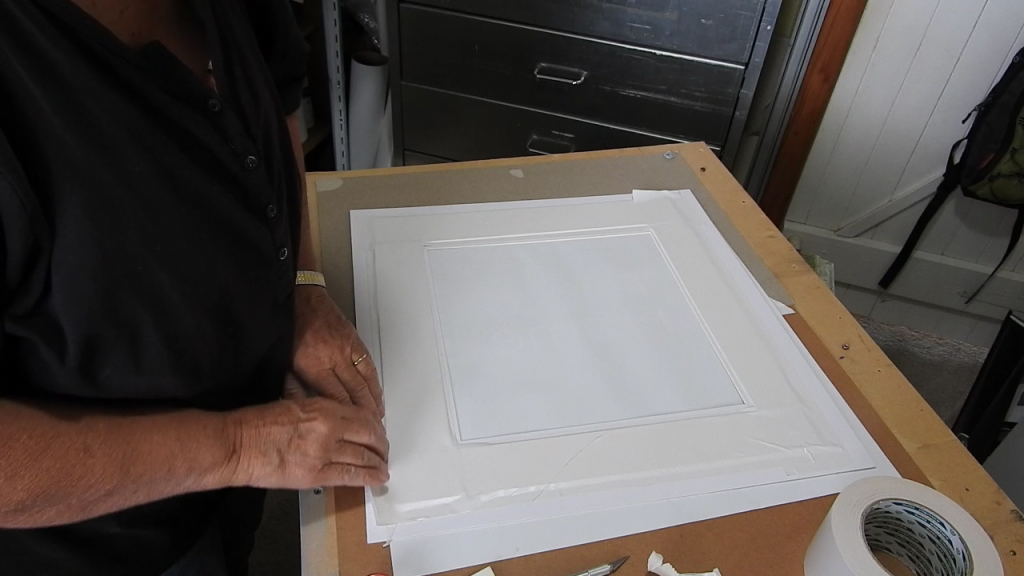
Are you struggling to cut your backing board just right? Whether you’re framing a favorite photo or working on a craft project, getting clean, precise cuts can make all the difference.
You might feel frustrated when your board splinters or the edges look uneven. But don’t worry—this guide will show you simple, effective ways to cut your backing board like a pro. Keep reading, and you’ll learn tips that save you time, reduce waste, and make your projects look sharp and polished every time.
Choosing The Right Backing Board
Backing boards support artwork or photographs inside frames. Choosing the right board helps protect your pieces. It also improves how they look on display.
Selecting the correct backing board depends on your project and materials. You need a board that fits your frame and protects your art well.
Types Of Backing Boards
There are many types of backing boards to choose from. Each type has different uses and benefits. Pick the one that fits your needs best.
- Foam boards: Lightweight and sturdy, good for most framing.
- Mat boards: Acid-free, protects delicate artwork.
- Plywood boards: Strong and thick, used for heavy items.
- Cardboard: Cheap and easy, but less durable.
- Gator boards: Water-resistant and strong for outdoor use.
Materials And Thickness
Backing boards come in different materials and thicknesses. The material affects protection and appearance. Thickness affects support and ease of cutting.
- Paper-based boards: Thin and flexible, less protective.
- Foam core: Lightweight, usually 3mm to 10mm thick.
- MDF or plywood: Strong and heavy, 6mm to 12mm thick.
- Plastic or acrylic: Durable and moisture resistant.
Choose thickness based on the weight of your artwork and frame size. Thicker boards offer better support but may be harder to cut.
Tools You Will Need
Cutting backing boards requires specific tools. Using the right tools makes cutting easier and more precise.
- Utility knife or craft knife with sharp blades
- Metal ruler or straight edge for clean cuts
- Cutting mat to protect your work surface
- Pencil to mark measurements on the board
- Clamps or weights to hold the board steady
Replace blades often to avoid tearing the board. Take your time to measure and cut carefully for the best results.

Credit: mycreativeresolution.com
Preparing Your Workspace
Cutting a backing board needs a clean and organized workspace. This helps you work safely and get good results.
Before cutting, prepare your area with the right tools and space. This makes the job easier and safer.
Setting Up A Stable Surface
Use a flat and sturdy table or workbench to cut your backing board. A stable surface keeps the board steady.
Place clamps to hold the board in place. This stops the board from moving while you cut.
- Clear the surface of any clutter
- Use clamps to secure the board
- Check the surface is level and firm
Safety Precautions
Wear safety goggles and gloves to protect your eyes and hands. Cutting boards can create sharp edges and dust.
Keep your fingers away from the cutting line. Use tools carefully and follow their safety instructions.
- Wear protective goggles and gloves
- Keep hands clear of cutting tools
- Work in a well-lit area
- Use tools as instructed by the manufacturer
Measuring And Marking
Measure your board carefully before cutting. Use a ruler or tape measure for accuracy.
Mark the cut line clearly with a pencil or marker. Double-check your measurements to avoid mistakes.
- Use a ruler or tape measure
- Mark the cut line with a pencil
- Check measurements twice
- Draw a straight line for cutting guidance
Cutting Techniques
Cutting backing board correctly helps achieve clean edges. Using the right tools and methods makes the job easier and safer.
This guide covers three useful techniques: using a utility knife, employing a straightedge guide, and understanding scoring versus full cuts.
Using A Utility Knife
A utility knife is a common tool for cutting backing board. It gives you control and precision for straight cuts.
Make sure the blade is sharp to avoid rough edges. Hold the knife firmly and cut slowly along your marked line.
Employing A Straightedge Guide
Use a straightedge guide to keep your cut line straight and even. Clamp it down to prevent shifting during cutting.
- Place the straightedge on the marked line
- Hold it firmly or clamp it in place
- Run the utility knife along the edge
- Repeat scoring if needed before cutting through
Scoring Vs. Full Cuts
Scoring means making a shallow cut on the surface only. Full cuts go all the way through the backing board.
| Cut Type | Depth | Purpose |
| Scoring | Shallow | Guide for breaking cleanly |
| Full Cut | Through board | Separate pieces completely |
Ensuring Clean And Precise Cuts
Cutting a backing board neatly is important for a professional look. Clean cuts help your project fit perfectly.
Using the right tools and techniques makes cutting easier. This guide explains how to get sharp, straight cuts every time.
Maintaining Sharp Blades
A sharp blade makes cutting smooth and reduces jagged edges. Dull blades tear the board and cause mistakes.
Check your blade before cutting. Replace or sharpen it if it feels dull or drags while cutting.
Applying Consistent Pressure
Press evenly along the cut line. Too much pressure can crack the board. Too little can make uneven cuts.
Hold the cutting tool firmly and move it steadily. Keep your hand steady to avoid slips or rough edges.
Multiple Scoring Passes
Score the board several times instead of cutting deeply at once. This helps control the cut and avoids splintering.
Make light passes along the same line. After a few passes, gently snap the board along the scored line.
- Mark the cut line clearly
- Use a ruler or straight edge for guidance
- Make three to four light cuts instead of one deep cut
- Snap the board carefully after scoring
Alternative Cutting Methods
Cutting backing boards can be done in many ways. You do not always need a utility knife.
Different tools can make cutting easier or more precise. Choose the tool that fits your project.
Using A Table Saw
A table saw offers straight, clean cuts for backing boards. It works best with thicker boards.
Always use a guide to keep the cut straight. Adjust the blade height to match board thickness.
- Wear safety glasses and ear protection
- Use a push stick to keep hands safe
- Keep the board firmly against the fence
- Cut slowly to avoid chipping the board
Using A Jigsaw
A jigsaw is good for curved or irregular cuts on backing boards. It is flexible and easy to handle.
Use a fine-toothed blade for smoother edges. Clamp the board to prevent movement during cutting.
- Mark your cut line clearly
- Start the jigsaw before touching the board
- Move the saw slowly along the line
- Sand edges after cutting for a clean finish
Laser Cutting Options
Laser cutting offers high precision and clean edges on backing boards. It works well for detailed shapes.
This method requires special equipment and safety measures. It is usually done in a workshop or by a service.
- Design your cut on a computer first
- Use laser-compatible backing board materials
- Wear protective gear if operating the laser
- Check settings to avoid burning or melting
Finishing Touches
After cutting your backing board, finishing touches make it look clean and professional. These small steps improve the board’s durability and appearance.
Focus on smoothing edges, cleaning debris, and checking measurements. These actions help ensure your project fits perfectly.
Sanding Edges
Sanding edges removes rough spots and splinters from the cut backing board. Use fine-grit sandpaper for smooth results.
Sand gently along all cut edges until they feel smooth to touch. This step helps avoid injuries and gives a neat finish.
Cleaning Up Debris
Remove sawdust and small pieces left from cutting. Use a soft brush or cloth to clean the surface and edges.
Cleaning debris prevents dirt buildup and helps any glue or paint stick better if you add them later.
Checking Measurements
Double-check the backing board’s size after cutting. Use a tape measure or ruler to confirm accuracy.
Make sure the board fits your frame or project space exactly. Accurate measurements avoid problems during assembly.
Common Mistakes To Avoid
Cutting a backing board might seem simple, but many make avoidable errors. These mistakes can waste materials and cause injuries.
Learn about key errors to avoid for safer, cleaner cuts. Focus on patience, safety, and proper tools.
Rushing The Cut
Cutting too quickly often leads to uneven edges and mistakes. Slow down to keep control of the blade and the board.
Take your time to mark the cut line clearly and follow it steadily. Rushing can cause jagged cuts and waste material.
Ignoring Safety
Many skip safety steps, risking injury. Always wear protective gear like gloves and safety glasses.
- Wear safety glasses to protect your eyes.
- Use gloves to avoid cuts on your hands.
- Keep your workspace clean and free of clutter.
- Make sure the board is secured before cutting.
Ignoring these can lead to accidents. Safety must be a priority every time.
Improper Tool Use
Using the wrong tools or dull blades makes cutting hard. Choose the right saw or cutter for your board type.
| Tool | Best Use |
| Utility Knife | Thin foam or soft boards |
| Hand Saw | Wooden backing boards |
| Circular Saw | Thick or large boards |
| Metal Ruler | Guide for straight cuts |
Check blades often. Replace dull ones to avoid rough cuts and tool damage.

Credit: www.metroframe.com

Credit: www.amazon.ca
Frequently Asked Questions
What Tools Are Best For Cutting Backing Board?
A utility knife or a circular saw is ideal for cutting backing board. Ensure your tool is sharp and suitable for the board’s thickness. Using a straight edge will help guide the cut for precision. Always prioritize safety by wearing appropriate gear like gloves and goggles.
How Do You Measure Backing Board Accurately?
Use a tape measure to mark the desired dimensions on the backing board. Mark the measurements with a pencil for clarity. Double-check your measurements to ensure accuracy before cutting. This prevents errors and ensures the board fits perfectly in its intended space.
Can You Score And Snap Backing Board?
Yes, you can score and snap thinner backing boards. Use a utility knife to score along a straight edge. Apply consistent pressure while scoring to create a clear line. After scoring, apply pressure on either side to snap the board cleanly along the line.
Is Backing Board Cutting A Diy-friendly Task?
Yes, cutting backing board can be DIY-friendly with proper tools and techniques. Beginners should start with simple projects. Use safety gear and follow precise measurements. Practice on scrap pieces to gain confidence before tackling larger projects. This approach minimizes mistakes and enhances skill.
Conclusion
Cutting a backing board can be simple with the right tools. Measure carefully and mark your lines clearly. Use a sharp blade or saw for clean cuts. Take your time to avoid mistakes or injury. Practice on a scrap piece if you need to.
Keep your workspace clean and safe. Following these steps helps you get good results every time. Now, you can handle backing boards with more confidence and ease.