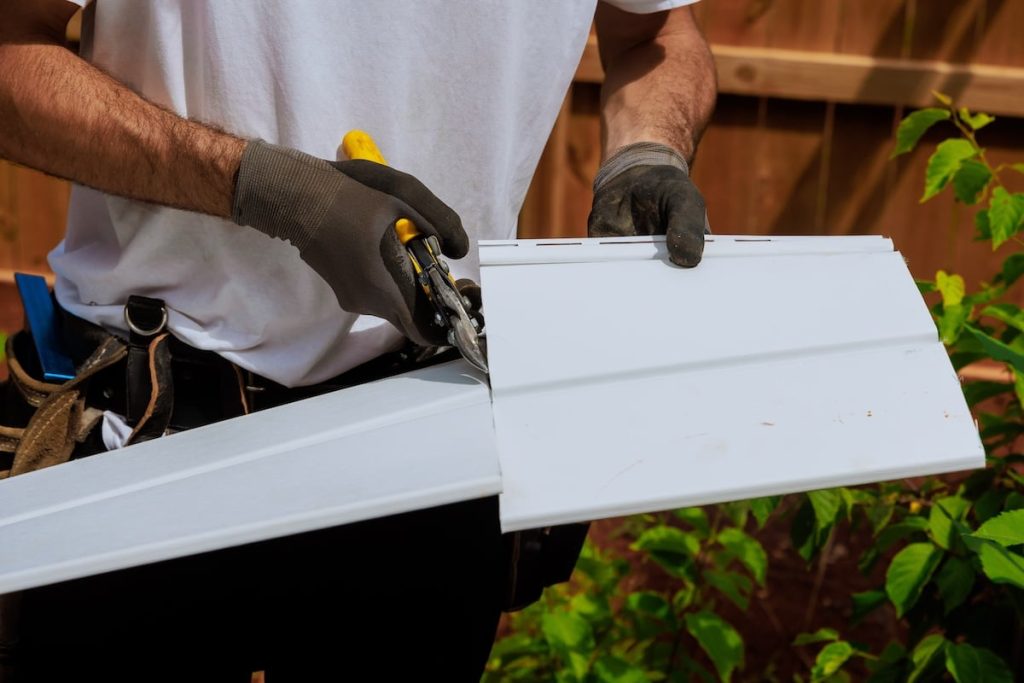
If you’re planning to install Hardie board siding, one skill you can’t skip is cutting it right. Cutting Hardie board siding might sound tricky, but with the right tools and tips, you can do it cleanly and safely.
Imagine saving time, avoiding costly mistakes, and getting your siding to fit perfectly on your home. In this guide, you’ll discover simple steps that make cutting Hardie board siding easier than you think. Keep reading—you’re closer than ever to mastering this important part of your project.
Tools For Cutting Hardie Board
Cutting Hardie board siding needs the right tools to do the job safely and cleanly. Using proper tools makes the process faster and protects the siding from damage.
This guide covers power tools, hand tools, and safety gear you should have before cutting Hardie board siding.
Essential Power Tools
Power tools cut through Hardie board quickly and with precision. A saw with a diamond blade or carbide tip is best. These blades help reduce dust and chipping.
- Circular saw with a diamond or carbide blade
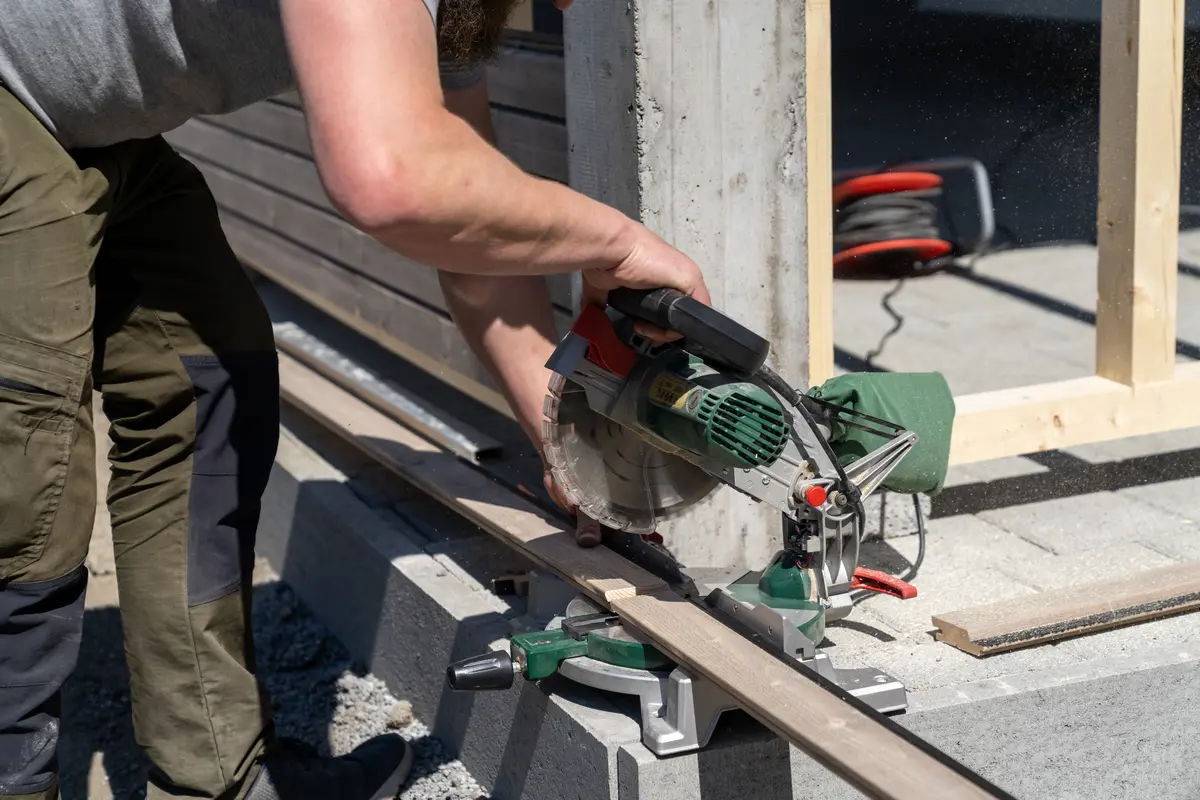
- Miter saw for angled cuts
- Jigsaw for curved or detailed cuts
- Oscillating multi-tool for tight spots
Hand Tools Options
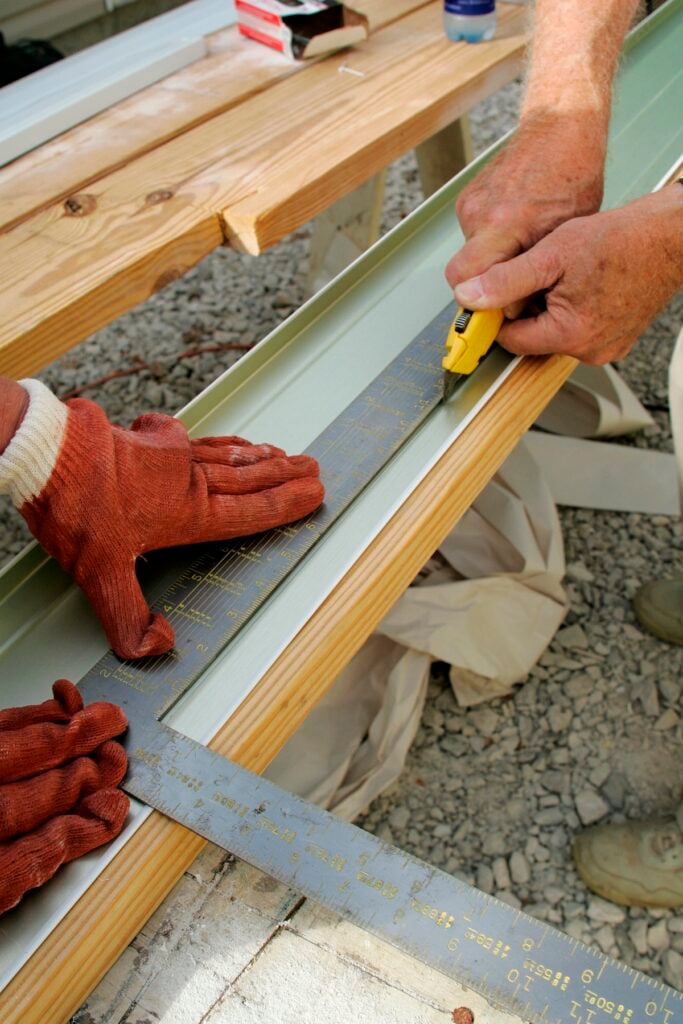
Hand tools are useful for small cuts or trimming edges. A sharp utility knife can score the board for snapping. A carpenter’s square helps make straight lines.
| Tool | Use |
| Utility knife | Scoring and snapping thin boards |
| Carpenter’s square | Marking straight, precise lines |
| Hand saw | Small cuts or touch-ups |
| Measuring tape | Accurate measurements for cuts |
Safety Gear Checklist
Cutting Hardie board creates dust that can harm your lungs and eyes. Always wear safety gear to protect yourself during the cutting process.
- Dust mask or respirator
- Safety glasses or goggles
- Hearing protection
- Work gloves
- Long sleeves to protect skin
Preparing Hardie Board For Cutting
Cutting Hardie board siding needs careful preparation. Proper steps help you cut clean and safe.
Getting ready before cutting makes the job easier. Use the right tools and follow safety tips.
Measuring And Marking
Measure the board carefully to get the right size. Use a tape measure for accuracy.
Mark the cut line clearly with a pencil or chalk. Straight lines help you cut better.
- Double-check measurements before marking
- Use a straight edge or ruler for lines
- Mark both sides if needed
Securing The Board
Hold the board firmly to stop it from moving while cutting. Movement causes uneven cuts.
Use clamps or a sawhorse to secure the board. Make sure it is stable before you start cutting.
- Place clamps near the cut line
- Check that the board does not wobble
- Work on a flat, steady surface
Setting Up Your Workspace
Prepare a clean workspace with enough room to handle the board. Clear away any obstacles.
Wear safety gear like goggles and gloves. Good lighting helps you see the cut line better.
- Set up near a power outlet if using electric tools
- Keep tools and materials organized
- Wear a dust mask to avoid inhaling particles
Cutting Techniques
Cutting Hardie board siding requires the right tools and methods. The board is durable and needs precise handling. Using proper techniques ensures clean edges and reduces waste.
This guide covers three main cutting techniques: straight cuts, curved cuts, and cutting around openings. Each method helps you work safely and efficiently.
Straight Cuts
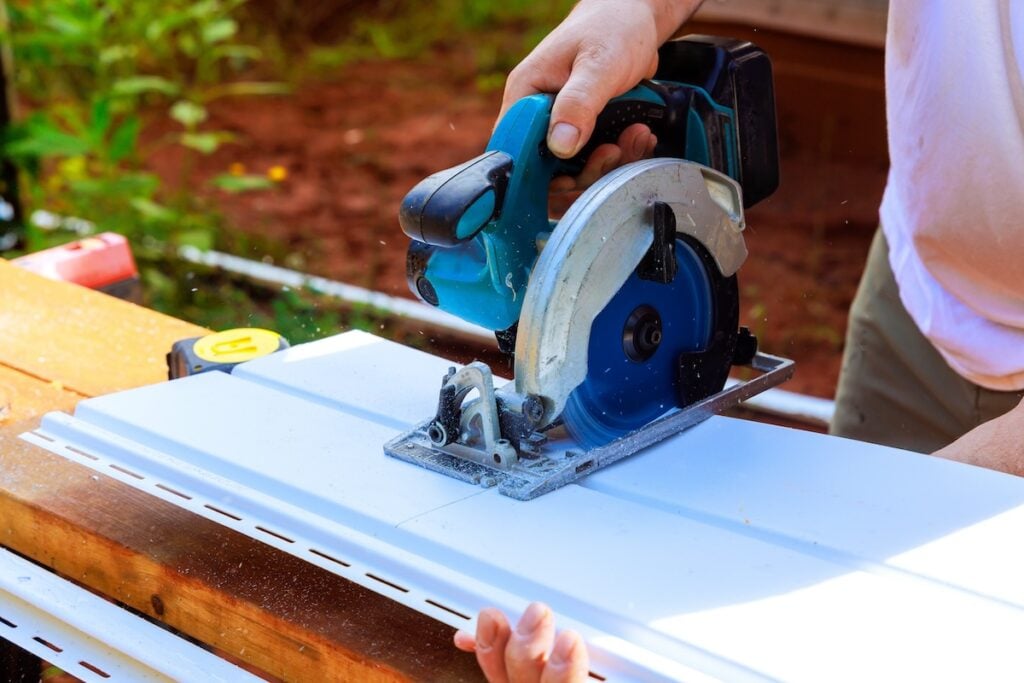
Straight cuts are the most common when installing Hardie board siding. Use a circular saw with a fiber cement blade. Set the depth to the board thickness to avoid damage to the surface below.
- Measure and mark the cut line with a pencil and straightedge.
- Secure the board on a stable surface to prevent movement.
- Wear a dust mask to protect from silica dust.
- Cut slowly along the mark, keeping the saw steady.
- Check the cut edge for smoothness and sand if needed.
Curved Cuts
Curved cuts require more control. Use a jigsaw with a carbide-grit blade for smooth curves. Mark the curve clearly before cutting.
| Tool | Blade Type | Best Use |
|---|---|---|
| Jigsaw | Carbide-grit | Cutting curves and shapes |
| Circular Saw | Fiber cement blade | Straight cuts |
| Angle Grinder | Diamond blade | Small curves and notches |
Take your time and follow the marked line carefully. Smooth the edges with sandpaper after cutting to avoid rough spots.
Cutting Around Openings
Cutting around windows, doors, or vents needs precision. Measure the opening carefully and mark the board with all dimensions.
- Use a drill to make starter holes at corners of the opening.
- Insert a jigsaw blade into the holes to cut out the shape.
- Check the fit regularly by placing the board around the opening.
- Sand edges to ensure a snug and clean fit.
- Wear safety gear to protect from dust and debris.
Credit: bestexteriorsinc.com
Preventing Board Damage
Cutting Hardie board siding needs care to avoid damage. The right tools and techniques keep the board strong.
Protecting the board saves time and money. It also helps the siding look neat and last longer.
Avoiding Splintering
Splintering happens when the board breaks unevenly. Use sharp blades made for fiber cement.
Cut slowly and steady. Support the board well to stop it from bending or cracking.
- Use a score-and-snap tool or a fiber cement blade
- Mark the cut line clearly before cutting
- Hold the board firmly on a flat surface
- Cut from the front side to reduce splinters
Controlling Dust
Cutting Hardie board creates a lot of dust. This dust can harm your lungs if you breathe it in.
Wear a good dust mask and eye protection. Use tools with dust collectors or cut outdoors.
- Choose a saw with a dust collection system
- Cut in open, well-ventilated areas
- Wear a N95 respirator mask
- Clean up dust with a vacuum, not dry sweeping
Maintaining Clean Edges
Clean edges make siding fit better and look nicer. Use fine sandpaper to smooth rough cuts.
A steady cutting speed helps avoid jagged edges. Check edges after cutting and fix any rough spots.
- Cut with a sharp blade to get smooth edges
- Sand edges lightly to remove roughness
- Avoid forcing the saw through the board
- Inspect each cut before installation
Finishing Touches
Cutting Hardie board siding is only part of the job. Finishing touches make sure the siding lasts and looks good.
These steps help protect the edges and make installation easier. Pay close attention to sanding, sealing, and fitting the pieces.
Sanding Cut Edges
After cutting, the edges can be rough or uneven. Sanding smooths these edges to prevent damage and improve paint adhesion.
Use medium-grit sandpaper and sand gently along the cut edges. Remove dust before moving to the next step.
Sealing And Priming
Sealing cut edges protects the fiber cement from moisture. Use a good-quality sealant made for Hardie board.
After sealing, apply a primer to prepare the surface for painting. This helps the paint stick better and last longer.
- Apply sealant evenly on all cut edges
- Let the sealant dry fully before priming
- Use a primer suitable for fiber cement siding
- Allow primer to dry before painting or installing
Installing Cut Pieces
Place the cut pieces carefully on the wall. Make sure edges fit well with adjacent boards.
Use proper nails and follow the spacing guidelines. Avoid overdriving nails to prevent damage.
- Check alignment before nailing
- Leave a small gap for expansion
- Seal nail holes after installation
Credit: bestexteriorsinc.com
Common Mistakes To Avoid
Cutting Hardie board siding requires care and the right approach. Avoiding common mistakes helps you get clean cuts and save time.
Learn about common errors with tools, safety, and measurements. Fixing these issues improves your siding project.
Incorrect Tool Use
Using the wrong tools can cause rough edges or damage the siding. Some tools make cutting harder and less safe.
- Avoid using dull blades that can chip the siding.
- Use a carbide-tipped blade for cleaner cuts.
- Do not use metal cutting blades designed for other materials.
- Power saws with dust collection help reduce mess and improve visibility.
Ignoring Safety Measures
Hardie board dust is harmful if inhaled. Skipping safety steps can cause health problems and injuries.
| Safety Measure | Reason |
| Wear a dust mask or respirator | Protect lungs from harmful dust |
| Use eye protection | Prevent dust and chips from hitting eyes |
| Wear gloves | Protect hands from cuts and splinters |
| Cut in a well-ventilated area | Reduce dust build-up in the air |
Poor Measurement Practices
Wrong measurements lead to wasted materials and poor fit. Accurate measuring is key to a good siding job.
- Measure twice before cutting once.
- Use a reliable tape measure and mark clearly.
- Double-check angles and lengths, especially for corners.
- Account for gaps or overlaps as per installation instructions.
Credit: veteranscontractingllc.com
Frequently Asked Questions
What Tools Do I Need To Cut Hardie Board?
To cut Hardie Board, you’ll need a circular saw with a carbide-tipped blade. A jigsaw can be used for intricate cuts. You might also require a scoring knife for simple scoring. Ensure you wear protective gear like goggles and a dust mask to safeguard against dust.
Can I Use A Regular Saw For Hardie Board?
Using a regular saw isn’t recommended for Hardie Board. It’s best to use a circular saw with a carbide-tipped blade. This ensures a clean cut and prolongs the tool’s life. Regular blades can dull quickly and produce excessive dust.
How Do I Minimize Dust When Cutting Hardie Board?
To minimize dust, use a saw with a vacuum attachment. Cutting outdoors can also help. Consider using a score-and-snap method for fewer dust particles. Always wear a dust mask to protect yourself from inhaling silica dust.
Is It Necessary To Seal Cut Edges Of Hardie Board?
Yes, sealing cut edges is crucial. It prevents moisture from penetrating the board, ensuring longevity. Use a high-quality, paintable exterior sealant. This step protects against potential water damage, maintaining the siding’s integrity.
Conclusion
Cutting Hardie board siding is easier with the right tools and steps. Measure carefully before each cut to avoid mistakes. Use a saw designed for fiber cement for clean edges. Wear safety gear to protect yourself from dust and debris.
Take your time and work steadily for best results. Following these tips helps you achieve neat, precise cuts. This makes your siding project smoother and more successful. Keep practicing, and cutting Hardie board will feel natural soon.