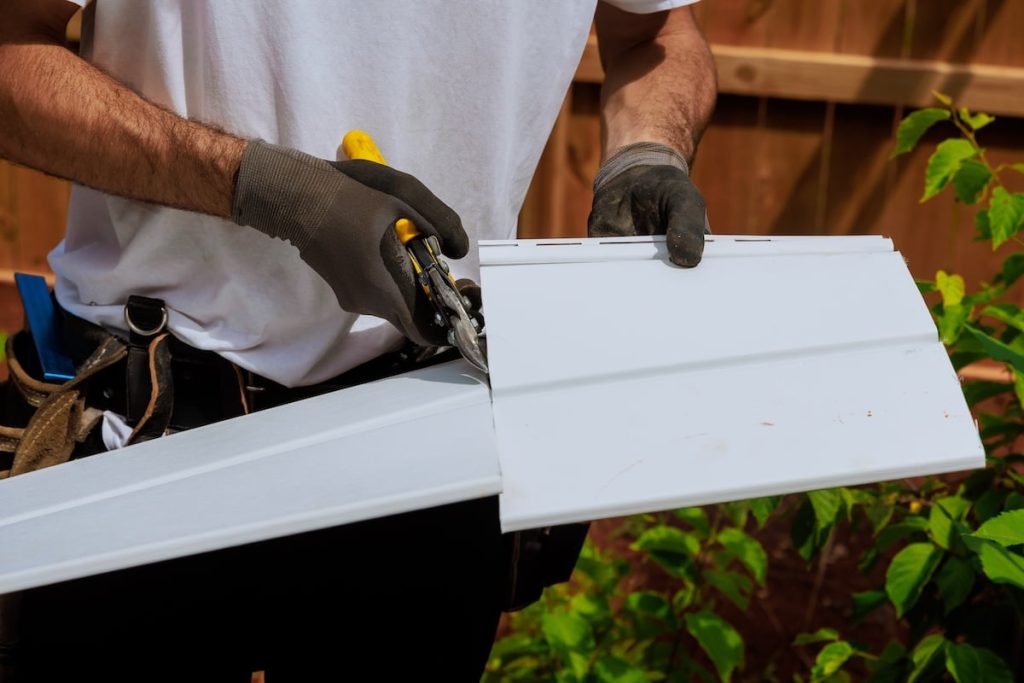
Cutting Hardy Board might seem tricky at first, but with the right tips, you can do it quickly and cleanly. If you want your project to look professional and last long, knowing how to cut this tough material correctly is a must.
In this guide, you’ll learn simple steps and tools that make the job easier, saving you time and frustration. Ready to take control of your project and get perfect cuts every time? Let’s dive in and master the skill together.
Credit: bestexteriorsinc.com
Choosing The Right Tools
Cutting hardy board requires the right tools to make clean, safe cuts. Using proper equipment helps avoid damage to the board and reduces work time.
Selecting tools depends on your skill level and the type of cut you want. Understanding manual and power options can help you decide.
Manual Vs Power Tools
Manual tools give control and can be quieter but need more effort. Power tools save time and make precise cuts but need careful handling.
- Manual tools:Utility knives and hand saws work well for simple cuts.
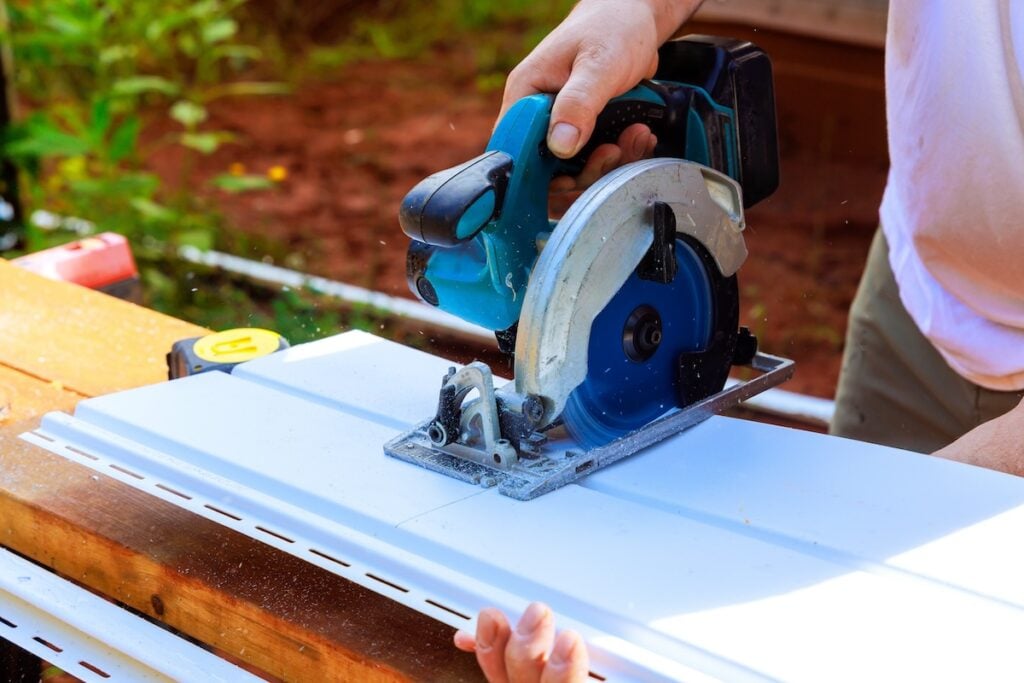
- Power tools:Circular saws and jigsaws handle thicker boards and complex shapes.
- Power tools often need safety gear like goggles and gloves.
- Manual tools are best for small jobs or tight spaces.
Essential Blades And Accessories
Choosing the right blade affects cut quality and tool life. Some blades work better with hardy board’s tough surface.
| Blade Type | Best For | Notes |
| Carbide-tipped | Power saws | Long-lasting and cuts cleanly through fiber cement |
| Diamond-grit | Wet saws | Reduces dust and heat, best for thick boards |
| Utility knife blades | Manual cutting | Score and snap thin hardy boards |
| Fine-tooth hand saw | Manual cutting | Good for small cuts, less dust |
Credit: bestexteriorsinc.com
Preparing The Workspace
Cutting Hardy Board needs a clean and safe workspace. You must prepare the area well before starting.
A good workspace helps you work faster and avoid mistakes or injuries.
Safety Measures
Wear safety glasses to protect your eyes from dust and debris. Gloves help protect your hands from sharp edges.
Make sure the area is well-lit and free of obstacles. Keep children and pets away from the workspace.
- Wear safety glasses and gloves
- Use a dust mask to avoid inhaling particles
- Keep the workspace clean and organized
- Work in a well-lit area
- Keep children and pets away
Setting Up A Stable Surface
Place the Hardy Board on a flat, sturdy table or workbench. This prevents the board from moving while cutting.
Use clamps or weights to hold the board firmly. This keeps your hands free and improves cutting accuracy.
- Choose a flat, strong surface
- Use clamps to secure the board
- Clear the surface of clutter
- Check the surface is stable before cutting
Marking The Cut Lines
Marking the cut lines on hardy board helps you make clean, accurate cuts. Clear lines guide your tools and reduce mistakes. This step is important before you start cutting.
Use the right tools and methods to mark the lines. Measure carefully and choose marks that are easy to see but do not damage the board.
Measuring Techniques
Measure twice to avoid errors. Use a tape measure or ruler for accuracy. Place the measuring tool flat on the board to get a straight line.
- Start at one edge of the board.
- Measure the length or width needed.
- Mark the point lightly with a pencil.
- Repeat measurements at several points along the board.
- Connect the points using a straight edge or ruler.
Using Chalk And Pencils
Choose chalk or pencil based on your needs. Chalk shows well on dark surfaces and wipes off easily. Pencil marks are finer and more precise but can be harder to see.
| Marking Tool | Best Use | Visibility | Removal |
| Chalk | Temporary marks on dark surfaces | High | Easy with cloth |
| Pencil | Permanent or precise marks | Medium | Harder to erase |
Cutting Techniques
Cutting Hardy Board requires careful techniques to get clean edges. Choose the right cutting method for your project.
Use tools and methods that reduce splintering and make cutting easier. Safety is important too.
Scoring And Snapping Method
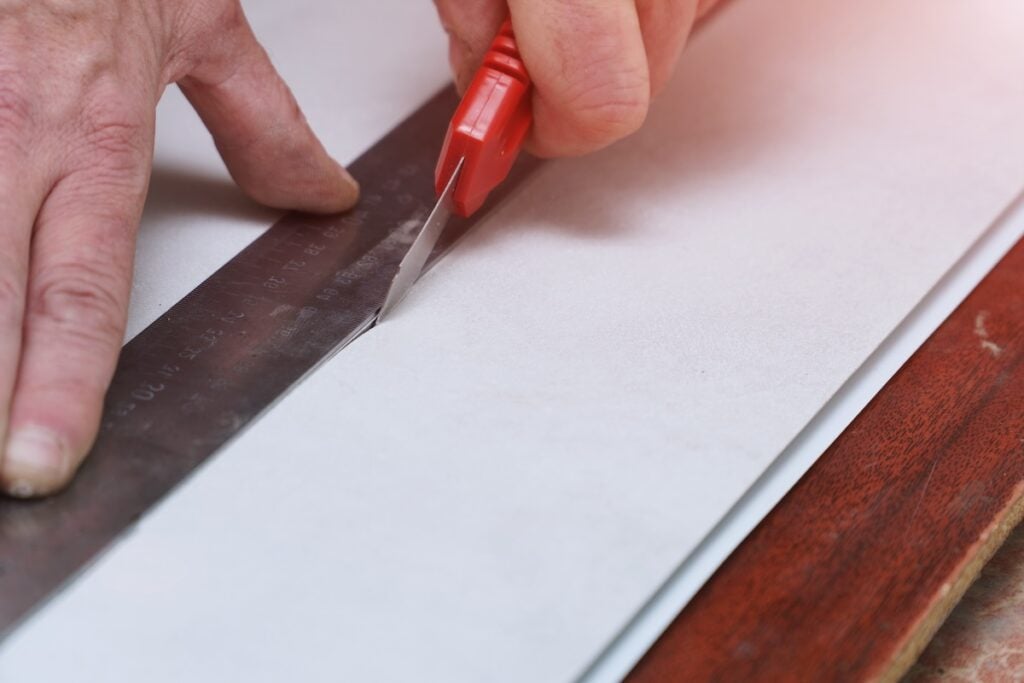
This method works well for straight cuts on thin Hardy Board sheets. Use a utility knife and a straight edge to score the board.
Score deeply on one side, then snap the board along the scored line. This gives a clean, straight edge.
- Place the board on a flat surface with space under the cut line.
- Use a straight edge to guide your knife.
- Score the board several times for a deep cut.
- Snap the board by pressing down firmly on one side.
Using A Circular Saw
A circular saw makes quick and straight cuts on thick Hardy Board. Use a fine-tooth blade to reduce splintering.
Cut slowly and steadily to keep the edge clean. Clamp the board to stop it from moving during the cut.
- Wear safety glasses and a dust mask.
- Set the saw blade depth just past the board thickness.
- Use a straight edge as a guide for the saw.
- Cut with slow, even pressure for best results.
Handling Curved Cuts
Curved cuts need more control and the right tools. A jigsaw works best for curved shapes in Hardy Board.
Draw your curve clearly on the board. Cut slowly along the line to avoid rough edges.
- Use a fine blade made for wood or plastic.
- Secure the board well before cutting.
- Follow the marked line carefully.
- Sand edges after cutting to smooth them out.
Finishing The Edges
Cutting Hardy Board leaves rough edges that need smoothing. Finishing edges makes your project look neat and lasts longer.
This guide covers simple steps to sand, seal, and protect Hardy Board edges.
Sanding Tips
Use medium-grit sandpaper to smooth the cut edges first. This removes splinters and rough spots.
Finish with fine-grit sandpaper for a smoother surface. Sand in one direction to avoid scratches.
- Wear a dust mask to avoid inhaling particles
- Use a sanding block for even pressure
- Clean dust off with a dry cloth before sealing
Sealing And Protecting
Seal edges with a waterproof primer to block moisture. This keeps the board from swelling or breaking.
Apply paint or a clear sealant to protect edges from dirt and damage. Let each coat dry well before the next.
- Use a brush for controlled application
- Apply two or more coats for best protection
- Work in a well-ventilated area
Common Mistakes To Avoid
Cutting hardy board can be tricky. Mistakes may cause damage or waste. Knowing what to avoid saves time and materials.
This guide covers common errors when cutting hardy board. Focus on avoiding chipping and preventing inaccurate cuts.
Avoiding Chipping
Chipping happens when the board edges break during cutting. It makes the board look rough and weak. Use the right tools and methods to stop chipping.
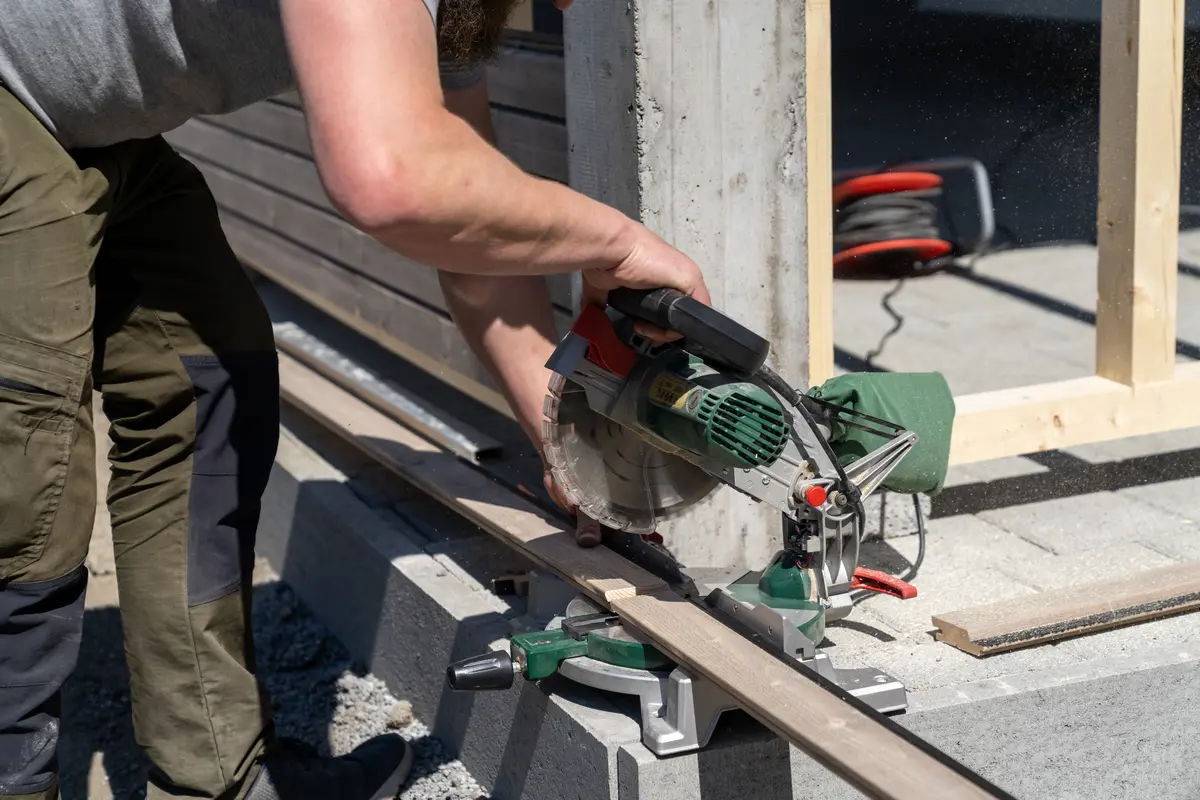
- Use a sharp carbide-tipped blade to reduce edge damage.
- Cut slowly and steadily to avoid pushing the board too hard.
- Score the board surface before cutting fully to control the break line.
- Support the board firmly on a flat surface to prevent vibrations.
- Avoid overextending the blade beyond the board’s edge.
Preventing Inaccurate Cuts
Inaccurate cuts waste material and cause fitting problems. Careful measuring and steady cutting help keep cuts precise.
| Common Cause | How to Fix |
| Wrong measurements | Double-check all measurements before cutting |
| Blade wandering | Use a guide or straight edge to keep the cut straight |
| Improper saw type | Choose a saw designed for hard boards |
| Cutting too fast | Slow down to maintain control and accuracy |
| Poor board support | Place the board on a stable and level surface |
Maintenance And Tool Care
Cutting hardy board needs sharp tools and clean equipment. Proper care keeps your tools working well. It also makes cutting easier and safer.
Regular maintenance saves money and extends the life of your blades and saws. Follow simple steps to keep your tools in top shape.
Blade Sharpening
A sharp blade cuts hardy board smoothly and reduces damage. Dull blades cause rough edges and need more force.
- Remove the blade from the saw carefully.
- Use a diamond file or sharpening stone for best results.
- Sharpen the teeth evenly, keeping the original angle.
- Check for any cracks or chips before reattaching.
- Clean the blade to remove any dust or residue.
Cleaning Tips
Cleaning tools after each use prevents buildup and rust. Keep the saw and blades free of dirt and sticky materials.
| Tool Part | Cleaning Method | Frequency |
|---|---|---|
| Saw Blade | Wipe with a cloth and mild solvent | After every use |
| Saw Body | Brush off dust and debris | Weekly |
| Handle | Clean with a damp cloth | Weekly |
| Blade Guard | Remove and clean inside | Monthly |
Credit: veteranscontractingllc.com
Frequently Asked Questions
How Do You Safely Cut Hardy Board?
Use a fine-toothed carbide blade on a circular saw. Wear safety goggles and a dust mask. Cut slowly to avoid splintering.
What Tools Are Best For Cutting Hardy Board?
A circular saw with a carbide blade is ideal. A utility knife or hand saw can work for small cuts.
Can You Score And Snap Hardy Board?
Yes, scoring the board with a utility knife then snapping it works for thin pieces. Use a straight edge for accuracy.
How To Minimize Dust When Cutting Hardy Board?
Cut outdoors or in a well-ventilated area. Use a dust mask and a saw with a dust collection system.
Conclusion
Cutting Hardy Board is easier than many think. Use the right tools for clean, straight cuts. Measure twice to avoid mistakes and save material. Take your time and work safely with gloves and goggles. Practice on scrap pieces before starting your project.
Following these simple steps helps achieve good results every time. Keep your workspace tidy to avoid accidents. With patience and care, you can handle Hardy Board confidently. Ready to try your next project with confidence?