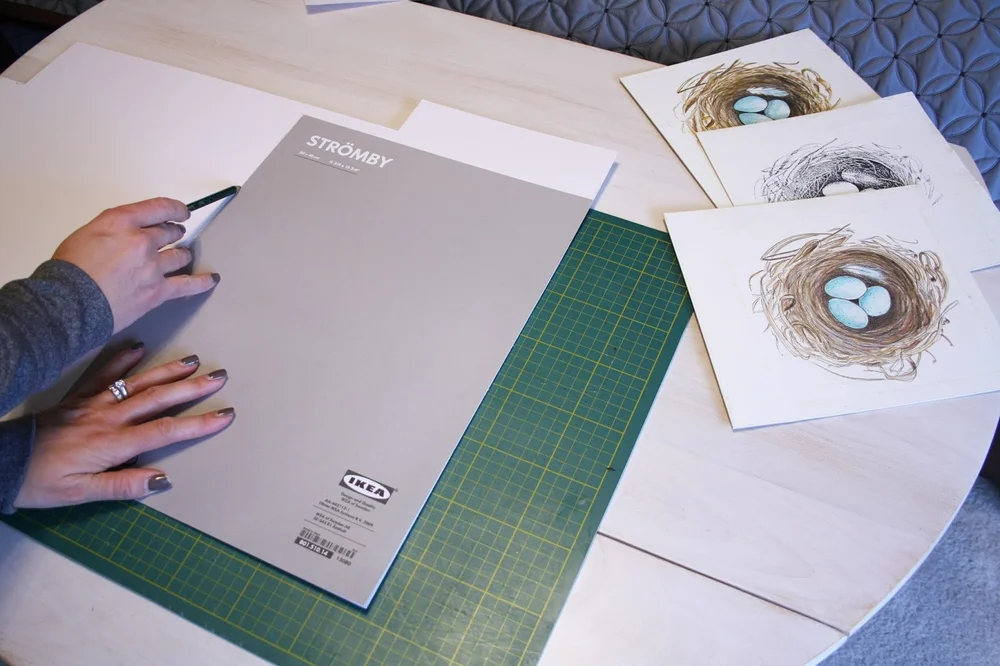
Are you ready to give your photos and artwork a professional touch? Knowing how to cut picture mat board yourself can save you money and add a personal flair to your displays.
But cutting mat board perfectly can feel tricky if you don’t have the right tips and tools. Don’t worry—this guide will show you simple, step-by-step methods to cut clean, precise mats every time. By the end, you’ll gain the confidence to frame your favorite pieces like a pro.
Let’s dive in and make your pictures stand out!
Choosing The Right Mat Board
Cutting a picture mat board starts with picking the right one. The mat board protects and highlights your artwork or photo.
Choosing the right type, thickness, and color helps your picture look its best. You also need the right tools to cut it cleanly.
Types Of Mat Boards
Mat boards come in several types. Each type has different qualities for your framing needs.
- Paper Mat Board:Made from wood pulp, affordable and easy to cut.
- Alpha Cellulose Mat Board:Acid-free, good for protecting valuable art.
- Conservation Mat Board:Archival quality, blocks harmful acids and light.
- Foam Core Mat Board:Lightweight with a foam center, adds thickness and stability.
Selecting Thickness And Color
Mat board thickness changes how your picture stands out. Thicker boards give a deeper frame look.
Color affects the mood and focus of your picture. Choose colors that match or contrast with your art.
- Thickness:Common sizes are 1/16 inch, 1/8 inch, and 1/4 inch.
- Color:White and cream are classic choices. Bold colors can add drama.
- Texture:Smooth or textured surfaces change the feel of the frame.
Tools Needed
Use sharp tools for clean cuts on your mat board. Dull blades can tear or crush the board.
- Mat Cutter:Special tool designed for straight, angled cuts.
- Utility Knife:A sharp blade works for small jobs or straight cuts.
- Metal Ruler:Guides your blade for straight lines.
- Cutting Mat:Protects your surface and keeps blades sharp.

Credit: www.interiorsbysarahlangtry.com
Preparing Your Workspace
Cutting a picture mat board needs a clean and organized workspace. Setting up well helps you work safely and accurately.
Take time to prepare your area before starting. This saves time and avoids mistakes.
Clearing The Area
Clear your table or desk of all items except what you need. A tidy space helps you focus on cutting.
Remove papers, tools, and clutter. Make sure you have enough room to move the mat board freely.
Setting Up Cutting Tools
Gather all tools before you start. Use a sharp utility knife or mat cutter for clean edges.
Place a cutting mat under the board to protect your table. Arrange your ruler and pencil nearby.
- Sharp cutting knife or mat cutter
- Cutting mat
- Metal ruler for straight lines
- Pencil for marking
- Good lighting
Safety Tips
Use caution when handling sharp tools. Always cut away from your body to avoid injury.
Keep fingers clear of the cutting line. Wear safety gloves if needed for extra protection.
- Cut away from yourself
- Keep fingers away from blade
- Use a sharp blade to reduce slipping
- Work in a well-lit area
- Store tools safely after use
Measuring And Marking
Cutting a picture mat board needs careful measuring and marking. These steps ensure a clean and precise cut.
Taking your time to measure and mark correctly helps the mat fit your picture perfectly.
Determining Mat Size
First, decide the size of your mat board. Measure the picture and frame to find the right dimensions.
Subtract the size of the picture from the frame size to know how wide the mat should be.
- Measure the picture’s width and height
- Measure the frame’s inner width and height
- Calculate the difference to set the mat width
Marking Cut Lines
Use a ruler and pencil to mark where you will cut the mat board. Draw straight lines on the back side.
Make light marks so you can erase or adjust if needed. These lines guide your cutting tool.
- Place the mat board on a flat surface
- Use a straight edge or ruler
- Draw lines where the mat will be cut
Double-checking Measurements
Check all your measurements and marks twice before cutting. This step helps avoid mistakes.
Measure the lines again, and compare them with your frame and picture sizes.
- Measure the marks with a ruler
- Compare with the picture and frame sizes
- Make any needed corrections before cutting
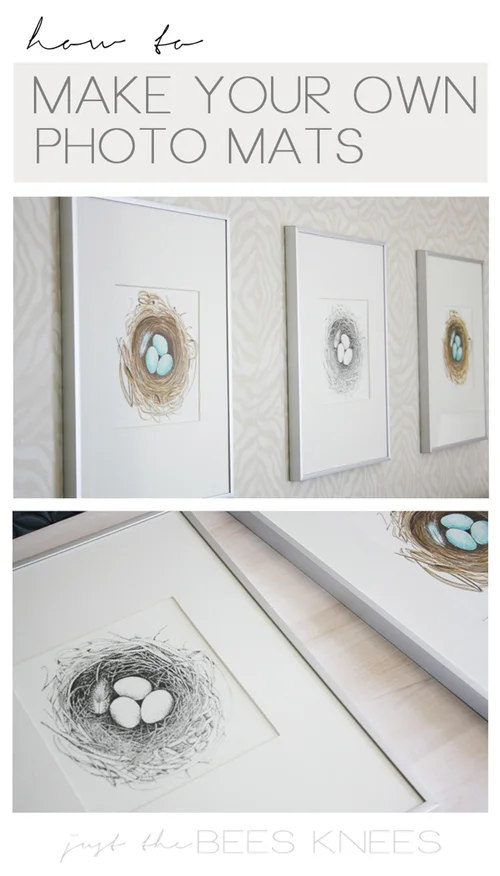
Credit: www.interiorsbysarahlangtry.com
Cutting Techniques
Cutting a picture mat board needs care and the right tools. It helps your picture look neat and professional.
Good cutting techniques keep edges straight and clean. This guide explains three ways to cut mat boards well.
Using A Mat Cutter
A mat cutter is a tool made for cutting mat boards. It has a sharp blade and a guide to keep cuts straight.
Place the mat board under the cutter. Adjust the blade to the right depth. Pull the blade smoothly along the guide.
- Use a fresh blade for clean cuts
- Keep steady pressure on the handle
- Cut slowly to avoid slips
Using A Utility Knife
A utility knife can cut mat boards if you do it carefully. Use a metal ruler as a guide for straight lines.
Place the mat board on a cutting mat to protect your surface. Press the ruler firmly and cut along it with the knife.
- Make several light cuts instead of one deep cut
- Change the blade often to keep it sharp
- Hold the knife at a slight angle for better control
Maintaining Straight Edges
Straight edges make your mat board look neat. Use tools and good habits to keep edges clean and even.
Always use a straight edge guide like a ruler or the edge of your cutting tool. Keep your hand steady and cut slowly.
- Check your ruler is straight before cutting
- Hold the mat board firmly to stop it from moving
- Use a sharp blade to avoid ragged edges
Finishing Touches
After cutting your picture mat board, finishing touches make it look neat and professional. These steps help prepare the mat for framing and display.
Focus on smoothing edges, cleaning the mat, and fitting the picture correctly. Each step improves the final appearance.
Smoothing Edges
Cut edges can be rough or uneven. Use fine sandpaper or an emery board to smooth them gently. This removes small bumps and sharp bits.
Work slowly and check edges often. Smooth edges give a clean look and prevent damage to the picture or frame.
Cleaning The Mat Board
Dust and dirt can stick to the mat board during cutting. Use a soft brush or a lint-free cloth to remove debris. Avoid using water or cleaning sprays.
Cleaning keeps the mat looking fresh. It also helps tape or adhesive stick better when you mount the picture.
Fitting The Picture
Place the picture behind the mat opening to check the fit. The picture should show fully without gaps or overlaps. Adjust the mat if needed.
Use acid-free tape or photo corners to secure the picture. This protects your image and keeps it centered inside the frame.
Common Mistakes To Avoid
Cutting picture mat boards can be tricky. Many people make simple mistakes that affect the final look. Avoiding these errors saves time and material.
Learn about the common mistakes and how to avoid them. This helps you get clean, professional cuts every time.
Cutting Too Quickly
Rushing through the cutting process causes uneven edges and damage. Take your time to guide the blade slowly and steadily. Cutting too fast can cause slips and mistakes.
- Use a sharp blade for smooth cuts
- Hold the mat board firmly to prevent movement
- Make multiple light passes instead of one deep cut
- Work on a stable, flat surface
Ignoring Safety Precautions
Mat board cutting tools are sharp and can cause injury. Always follow safety rules to protect yourself. Ignoring safety can lead to cuts or accidents.
Here are key safety tips when cutting mat boards:
- Wear cut-resistant gloves
- Keep fingers away from the blade path
- Use a cutting ruler with a finger guard
- Store blades safely when not in use
- Cut on a self-healing mat to protect surfaces
Incorrect Measurements
Wrong measurements ruin the mat board fit and appearance. Double-check all dimensions before cutting. Small errors become obvious on the finished project.
| Common Measurement Errors | How to Avoid Them |
|---|---|
| Measuring from the wrong edge | Mark the exact starting point clearly |
| Not accounting for mat thickness | Include board thickness in your calculations |
| Using a worn or inaccurate ruler | Use a metal ruler with a clear edge |
| Forgetting to subtract overlap for window cuts | Calculate the window size carefully |
Tips For Professional Results
Cutting picture mat board neatly takes practice and the right tools. Follow simple tips to get clean and precise edges. This guide helps you improve your mat cutting skills for framing photos or artwork.
Each step focuses on careful preparation and tool care. Using guides, practicing, and keeping tools sharp can make a big difference in your results.
Using A Cutting Guide
A cutting guide helps you make straight and even cuts on your mat board. It keeps the blade steady and prevents slips.
- Place the mat board on a flat surface.
- Align the cutting guide where you want the cut.
- Hold the guide firmly to keep it from moving.
- Use a sharp blade and cut slowly along the guide edge.
- Replace the blade if it feels dull or pulls the board.
Practicing On Scrap Pieces
Practice on scrap pieces of mat board before cutting your final piece. This helps you get comfortable with the blade and cutting guide.
| Practice Activity | What to Focus On |
| Cutting straight lines | Keep the blade steady and follow the guide. |
| Cutting corners | Make slow, careful cuts to get sharp corners. |
| Blade pressure | Use enough pressure to cut cleanly without tearing. |
Maintaining Your Tools
Good tool maintenance keeps your cuts clean and your work safe. Dull blades and loose guides cause mistakes and accidents.
- Change blades often to keep cuts sharp.
- Clean the cutting guide regularly to remove dust and debris.
- Store blades and guides in a dry, safe place.
- Check the cutting mat underneath to avoid damage and dulling blades.
- Use a ruler with a non-slip backing for better control.

Credit: www.youtube.com
Frequently Asked Questions
What Tools Do I Need To Cut Mat Board?
To cut mat board, you’ll need a sharp utility knife, a metal ruler, and a cutting mat. A mat cutter can provide cleaner edges. Always ensure your tools are in good condition for precise cuts. Safety gloves are recommended to avoid injuries during the cutting process.
How Do I Measure A Mat Board Correctly?
First, measure your artwork and frame dimensions. Subtract the artwork size from the frame size to get the mat width. Divide this by two for even borders. Mark these measurements on your mat board. Double-check your measurements to ensure accuracy before cutting.
Can I Use A Regular Knife To Cut Mat Board?
Using a regular knife is not recommended for cutting mat board. It can result in uneven and rough edges. A utility knife or a dedicated mat cutter provides cleaner cuts. These tools are specifically designed to handle the thickness and density of mat boards effectively.
How Do I Avoid Frayed Edges When Cutting?
To avoid frayed edges, use a sharp blade and cut with even pressure. Replace dull blades frequently for clean cuts. A straight metal ruler ensures your cuts are straight. Always cut on a stable surface to maintain control and precision during the cutting process.
Conclusion
Cutting picture mat board can be simple and fun. Use the right tools and measure twice before cutting. Take your time to make clean, straight cuts. Practice helps you improve with each project. A neat mat board makes your picture stand out nicely.
Keep safety in mind while working with sharp blades. Enjoy the process and create beautiful frames for your art. You can do this step by step and see great results.