Is your car acting up with rough idling, poor fuel economy, or a check engine light that won’t go away? These could be signs of a vacuum leak—a common but tricky problem that affects your engine’s performance.
Knowing how to diagnose a vacuum leak yourself can save you time, money, and frustration. You’ll discover simple, step-by-step methods to find where the leak is hiding. By the end, you’ll feel confident enough to tackle the issue and get your vehicle running smoothly again.
Keep reading to unlock the secrets to spotting a vacuum leak before it causes bigger problems.

Credit: simonsautomotiveserviceabington.com
Signs Of A Vacuum Leak
Recognizing the signs of a vacuum leak is the first step toward keeping your engine running smoothly. These leaks can be sneaky, often showing up as subtle changes in your vehicle’s behavior. Paying attention to these clues can save you time and money by addressing the problem early.
Common Symptoms
You might notice a rough idle or your engine stalling unexpectedly. The check engine light could flicker on without an obvious cause. Strange hissing noises from under the hood often point directly to a vacuum leak.
Sometimes your car may hesitate or surge during acceleration. These symptoms don’t always mean a vacuum leak, but they are strong indicators that something’s not right. Have you ever felt your engine act differently without warning? That’s usually a sign worth investigating.
Performance Issues
A vacuum leak disrupts the air-fuel mixture, causing your engine to run lean. This imbalance can lead to poor acceleration and reduced power. You might find it harder to maintain speed uphill or when carrying extra weight.
Another sign is rough engine performance during idle or low speeds. Your car may shake or vibrate more than usual. These issues can catch you off guard, especially if your vehicle was running fine before.
Fuel Efficiency Impact
Have you noticed your fuel gauge dropping faster than usual? Vacuum leaks increase fuel consumption because your engine compensates for the extra air entering the system. This means you’ll be filling up more often, which adds up over time.
Tracking fuel economy is a simple way to spot potential leaks early. If your mileage suddenly decreases without a change in driving habits, it’s time to check for vacuum leaks. Saving fuel also means saving money—something everyone wants.
Tools Needed
Diagnosing a vacuum leak requires specific tools for accurate detection. Having the right equipment helps find leaks faster and easier. Some tools are basic and found in most toolkits. Others are specialized for more precise work. Understanding these tools improves your chances of fixing the problem effectively.
Basic Equipment
- Flashlight:Helps see into tight engine spaces clearly.
- Screwdriver Set:Used to remove engine covers or clamps.
- Wrench Set:Needed to loosen or tighten hose connections.
- Soapy Water Spray:Simple way to spot leaks by bubbles forming.
- Gloves:Protect your hands while working around hot or dirty parts.
Specialized Tools
- Smoke Machine:Pumps smoke into the system to reveal leaks visually.
- Vacuum Gauge:Measures vacuum pressure to detect drops caused by leaks.
- Propane Torch (Unlit):Releases propane near hoses; a change in engine idle indicates leaks.
- Vacuum Pump:Helps test vacuum system components for leaks.
- Scan Tool:Reads engine codes related to vacuum leaks and performance issues.
Visual Inspection
Visual inspection is the first and most straightforward way to identify a vacuum leak in your vehicle. It lets you catch obvious signs of damage without needing special tools. Taking your time here can save you hours of frustration later.
Checking Hoses And Connections
Start by closely examining all the vacuum hoses under the hood. These hoses carry air and vacuum pressure, so any loose or disconnected hose can cause problems.
Look carefully at each connection point. Are the hoses firmly attached? Wiggle them gently to see if they feel loose or brittle.
Don’t forget to check where hoses connect to the intake manifold and the brake booster. A small gap or loose clamp here can create a leak.
Looking For Cracks And Wear
Vacuum hoses are made of rubber, which can crack or wear out over time. Inspect each hose for tiny cracks, splits, or dry spots.
Even a small crack can let air in, causing your engine to run poorly. Pay extra attention to areas where hoses bend or touch hot engine parts.
If you find damaged hoses, replace them immediately. Using old, cracked hoses is like letting air escape from a balloon—you won’t get the performance you need.
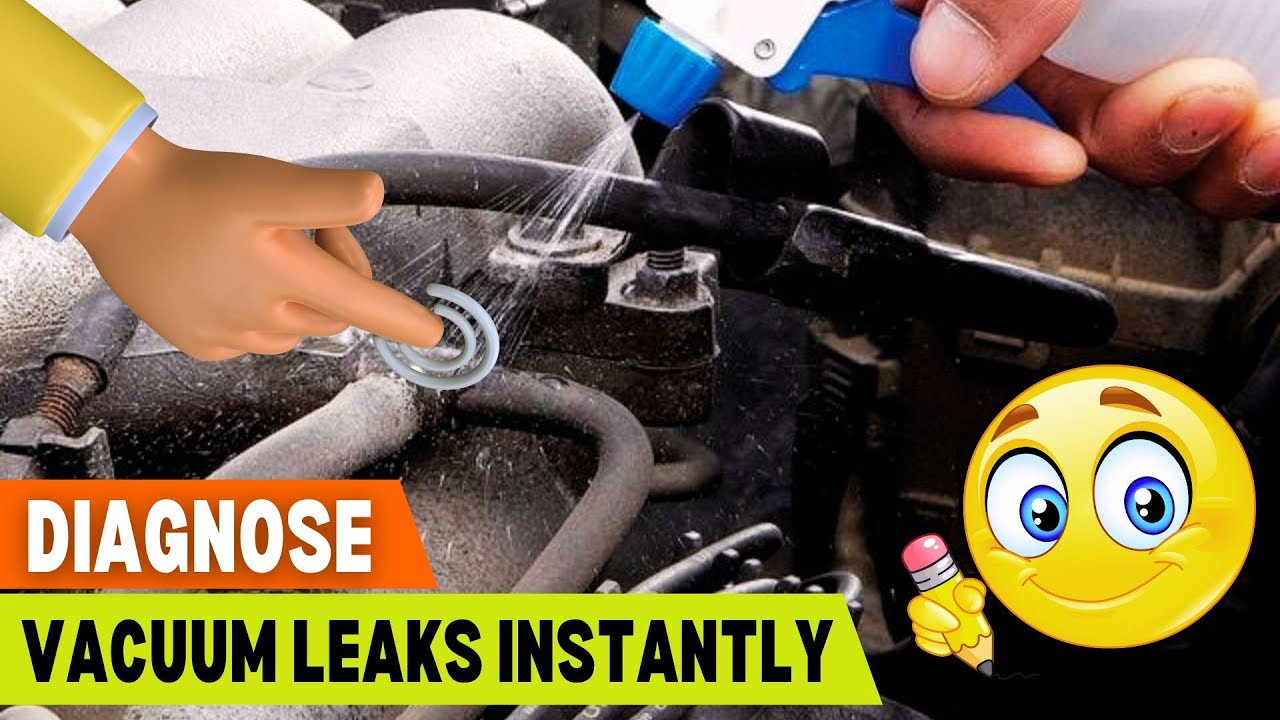
Using Soapy Water Test
The soapy water test is a simple way to find vacuum leaks. It uses bubbles to show where air escapes. This test works well on hoses, connections, and joints. It helps you spot leaks quickly without special tools.
Preparing The Solution
Start by mixing soap and water in a container. Use about one part liquid soap to three parts water. Stir the mixture gently to create a soapy solution. Avoid creating too many bubbles in the container.
Use liquid dish soap for the best results. It produces strong bubbles that last longer. Prepare enough solution to cover all areas you want to test.
Applying And Observing Bubbles
Dip a clean brush or sponge into the soapy solution. Apply it to hoses, connectors, or suspected leak spots. Make sure the surface is dry before applying the solution.
Watch closely for bubbles forming on the surface. Bubbles mean air is escaping through a leak. Larger or steady bubbles show a bigger leak. Move the brush slowly and cover all potential leak areas.
If bubbles appear, mark the spot for repair. Clean the area after testing to prevent dirt buildup. Repeat the test after fixing to ensure no leaks remain.
Smoke Test Method
The smoke test method is a simple way to find vacuum leaks in engines. This test uses smoke to show where air escapes from the system. Smoke enters the vacuum lines and comes out through leaks. This makes it easy to see the exact leak spots.
Setting Up The Smoke Machine
First, connect the smoke machine to the vacuum system. Turn off the engine before starting. Attach the smoke hose to the intake manifold or vacuum line. Make sure all other openings are closed. Turn on the smoke machine and let it fill the system with smoke. Wait until the smoke is steady and thick inside the lines.
Identifying Leak Locations
Watch carefully for smoke escaping from any part of the vacuum system. Leaks show as smoke coming out in small puffs or continuous flow. Check common leak points such as:
- Vacuum hoses
- Intake manifold gaskets
- Brake booster lines
- PCV valve connections
Mark each spot where smoke appears. These points need repair or replacement. Using the smoke test saves time and finds hidden leaks quickly.
Spray Test Technique
The spray test technique helps find vacuum leaks quickly. It involves spraying a special cleaner around the engine’s intake area. If the engine’s idle speed changes, it shows where air is leaking in. This method is simple and effective for pinpointing small leaks.
Using Carburetor Cleaner Or Brake Cleaner
Choose carburetor or brake cleaner for the spray test. Both evaporate fast and are safe for this use. Spray the cleaner near hoses, gaskets, and intake manifold areas. Avoid spraying on hot engine parts to prevent damage or fire risk. The cleaner’s fumes enter the leak and affect engine speed.
Detecting Engine Rpm Changes
Watch the engine’s RPM while spraying the cleaner. A rise in RPM means the spray sealed a leak temporarily. No change means no leak in that spot. Move the spray slowly to cover all suspect areas. Listen closely for engine speed changes to find the exact leak location.
Interpreting Results
Interpreting the results of a vacuum leak test is a crucial step that determines your next move. It’s not just about spotting a leak, but understanding what the readings mean for your engine’s health. You need to be confident that the data points to a real issue and grasp how bad it might be.
Confirming Leak Presence
First, ask yourself if the symptoms match what a vacuum leak would cause—rough idle, stalling, or a check engine light. Use tools like a smoke machine or carburetor cleaner spray carefully. If smoke escapes or the engine’s idle changes when you spray near a hose or gasket, you’ve likely found your leak.
Keep in mind, some leaks are subtle. A tiny hissing sound or a slight drop in vacuum gauge readings can confirm a leak even if you don’t see smoke or hear a loud noise. Trust your senses but also rely on measurable signs.
Determining Severity
Once you confirm a leak, gauge how serious it is by watching the engine’s behavior. A slight roughness might indicate a small leak that can wait, but significant RPM fluctuations or difficulty starting means you need immediate action.
- Check vacuum gauge readings—large drops suggest major leaks.
- Listen for persistent hissing sounds under the hood.
- Note any warning lights or error codes from the engine’s computer.
Have you noticed that some leaks worsen under load or when the engine is hot? This can signal gasket failures or cracked hoses needing replacement. Don’t ignore these signs, as small leaks can escalate and cause costly damage.

Credit: www.youtube.com
Preventive Tips
Preventing vacuum leaks saves time and money. Regular checks keep your engine running smoothly. Spotting small issues early avoids big repairs later. Follow simple habits to protect your vehicle’s vacuum system.
Regular Maintenance
Check vacuum hoses for cracks or wear often. Clean engine parts to remove dirt and debris. Tighten loose connections to stop air leaks. Use a vacuum gauge to test system pressure regularly. Replace filters to keep airflow steady. These steps help catch problems before they grow.
Replacing Old Components
Old hoses become brittle and break easily. Swap worn parts with new ones promptly. Use parts made for your vehicle model. Inspect gaskets and seals for damage and replace if needed. Fresh components improve engine performance and fuel efficiency. Keep a maintenance schedule to track replacements.
Credit: www.youtube.com
Frequently Asked Questions
What Are Common Signs Of A Vacuum Leak?
Common signs include a hissing sound from the engine, rough idling, and poor fuel efficiency. You might also experience engine stalling or a check engine light. These symptoms indicate that extra air is entering the engine, disrupting the air-fuel mixture.
How Can I Test For A Vacuum Leak?
A smoke test is effective for identifying leaks. Introduce smoke into the intake system and observe where it escapes. Alternatively, you can use a propane torch to detect changes in engine idle. Both methods help pinpoint the leak’s location.
Can A Vacuum Leak Damage The Engine?
Yes, a vacuum leak can lead to engine damage. It causes the engine to run lean, increasing temperatures and causing premature wear. Over time, this can damage components like valves and pistons. Addressing leaks promptly can prevent costly repairs.
How Do I Fix A Vacuum Leak?
Start by locating the leak using a smoke test or soapy water. Once identified, replace damaged hoses or gaskets. Tighten any loose connections. In some cases, using sealant on joints can help. Regular maintenance can prevent future leaks.
Conclusion
Finding a vacuum leak can save your engine from damage. Start by checking hoses and connections carefully. Listen for hissing sounds or use soapy water to spot leaks. Small leaks cause big problems like rough idling or poor fuel economy.
Fixing leaks early keeps your car running smoothly. Regular checks help catch issues before they grow. Use simple tools and take your time. A little effort goes a long way in car care. Stay patient and follow these steps to keep your engine healthy.