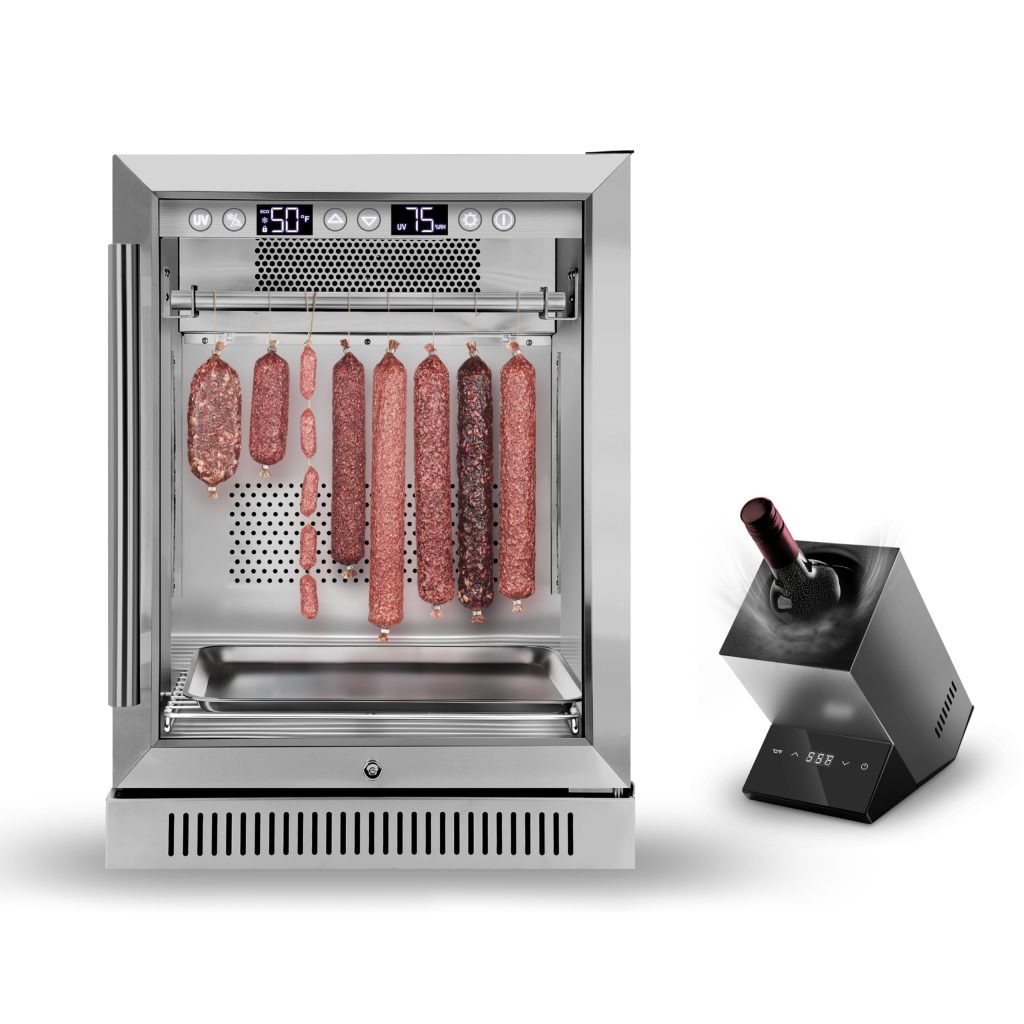
If you love a juicy, tender steak, dry aging your beef at home can take your meals to the next level. But how do you do it safely and effectively in your own refrigerator?
You might think dry aging is only for professionals, but with the right steps, you can master this technique yourself. In this guide, you’ll discover simple tips to dry age beef that unlock richer flavor and perfect texture. Keep reading to learn how to turn your fridge into a mini aging room and impress everyone at your next dinner.

Credit: www.reddit.com
Choosing The Right Cut
Choosing the right cut of beef is key to successful dry aging. The cut affects flavor, texture, and how well the meat ages. Not all beef cuts dry age well. Some cuts develop richer flavors and better tenderness during the dry aging process.
Best Beef Cuts For Dry Aging
Prime cuts with good marbling work best for dry aging. Marbling is the fat inside the muscle. It melts and keeps meat juicy during aging.
- Ribeye: Known for rich flavor and tenderness.
- Striploin (New York Strip): Offers a good balance of flavor and texture.
- Sirloin: A leaner option that still ages well.
- Porterhouse and T-bone: Combination of tenderloin and striploin.
These cuts have enough fat and muscle density to improve with dry aging. Avoid lean cuts with little fat. They can dry out and become tough.
Size And Thickness Considerations
Choose cuts thick enough to prevent drying out too fast. Thickness also helps protect the meat during aging.
- Thickness: Aim for 1.5 to 2 inches thick.
- Weight: Larger pieces, around 5 to 10 pounds, work best.
- Whole subprimal cuts last longer and age more evenly.
Smaller or thin cuts dry out quickly and lose flavor. Large cuts need more space and a proper environment in your refrigerator.

Credit: www.homedepot.com
Preparing The Beef
Preparing the beef properly is the foundation of successful dry aging. The right preparation improves flavor and texture while minimizing risks of spoilage. Paying close attention to trimming and packaging sets your dry aging process up for the best results.
Trimming And Cleaning
Start by selecting a large, thick cut of beef like a ribeye or sirloin, ideally with the bone in and plenty of fat. Use a sharp knife to remove any surface moisture, blood spots, or excess fat that could encourage unwanted bacteria.
Leave a good layer of fat intact; this protects the meat during aging and enhances flavor. Avoid trimming too aggressively—you want a protective crust to form naturally. Clean your workspace and tools thoroughly to prevent contamination.
Have you noticed how some butchers leave a thick fat cap? That’s not just for looks; it acts like a shield during the aging process.
Packaging For Dry Aging
Once trimmed, the beef needs the right environment to age well. Use breathable materials like cheesecloth or special dry-aging bags that allow air circulation but protect the meat from drying out excessively.
Wrap the beef loosely rather than sealing it tightly. This lets moisture evaporate while keeping the surface from becoming too hard. If you don’t have dry-aging bags, a clean cheesecloth replaced every few days works well.
Place the wrapped beef on a wire rack inside your refrigerator to ensure air flows evenly around the meat. This setup mimics professional dry-aging conditions at home.
Setting Up The Refrigerator
Setting up your refrigerator correctly is crucial for dry aging beef safely and effectively. The right environment helps the meat develop deep, rich flavors while preventing spoilage. Small adjustments in temperature, humidity, and airflow can make a big difference in the final result.
Temperature And Humidity Control
Keep your refrigerator temperature steady between 34°F and 38°F (1°C to 3°C). This range slows bacterial growth without freezing the meat, which is vital for proper aging.
Humidity should stay around 80-85%. Too much moisture causes slime, while too little dries out the beef too fast. Use a hygrometer to monitor humidity, and add a small container of water or salt to balance it if needed.
Have you checked your fridge’s temperature recently? Many household fridges fluctuate too much, so consider a dedicated unit or an appliance thermometer for accuracy.
Airflow And Placement Tips
Good airflow helps the beef dry evenly and prevents mold buildup. Avoid overcrowding the fridge to let air circulate freely around the meat.
Place the beef on a wire rack or hang it so air touches all sides. This setup mimics professional dry-aging rooms and improves texture.
Keep the beef away from the fridge walls and other foods to reduce contamination and uneven drying. Have you tried using a small fan inside the fridge? It can boost airflow without affecting temperature.
Dry Aging Process
Dry aging beef enhances its flavor and tenderness through a slow, controlled process. This method involves storing beef in a refrigerated environment with precise temperature and humidity. The meat undergoes natural enzymatic breakdown, which softens its texture and intensifies taste. Proper air circulation is essential to prevent spoilage and develop a rich, nutty aroma. Patience and careful monitoring make the difference between good and great dry-aged beef.
Duration For Optimal Flavor
The dry aging process typically lasts between 14 and 60 days. Shorter periods, around two weeks, improve tenderness with mild flavor changes. Aging for 30 to 45 days creates deeper, more complex flavors. Beyond 45 days, the taste intensifies but may become too strong for some. Choose the duration based on your flavor preference and how much time you can wait.
Monitoring The Beef During Aging
Keep the refrigerator temperature steady, ideally between 34°F and 38°F (1°C to 3°C). Maintain humidity levels around 80% to prevent excessive drying or mold growth. Airflow must be constant to allow moisture evaporation. Inspect the beef regularly for any off smells or unusual colors. Trim any dried or hard outer layers before cooking. Use a dedicated fridge or a dry aging bag to control conditions better.
Handling Mold And Surface Changes
Dry aging beef in a refrigerator creates unique flavors but also causes surface changes. Mold growth is common and part of the process. Handling mold safely is important to keep the meat edible and tasty. Understanding which molds are safe and how to remove unwanted parts helps maintain quality.
Safe Mold Types
Not all molds on dry-aged beef are harmful. White, gray, and green molds are usually safe. These molds help break down the meat’s fibers and add flavor. Blue or black molds might appear but need careful inspection. If mold smells bad or looks fuzzy and thick, it can be unsafe.
Keep these tips in mind:
- White mold is normal and often soft.
- Gray and green molds are common and not dangerous.
- A strong, unpleasant odor suggests bad mold.
- Unusual colors like red or pink can mean spoilage.
Trimming Moldy Surfaces
Remove mold before cooking. Use a sharp knife to trim the outer layer. Cut at least 1 inch deep around the moldy spots. This removes both mold and tough dried surfaces. Do this in a clean area to avoid contamination.
Follow these steps for safe trimming:
- Wash hands and tools thoroughly.
- Trim all visible mold and dry edges.
- Discard trimmed parts immediately.
- Keep the meat covered after trimming.
Proper trimming keeps the inside tender and flavorful. It also ensures the dry-aged beef is safe to eat.
Cutting And Cooking Aged Beef
Cutting and cooking dry aged beef is where patience pays off. After the aging process, your beef develops a tough outer layer that needs careful removal before cooking. Handling the aged beef correctly ensures you enjoy its rich flavor and tender texture to the fullest.
Removing The Aged Crust
The outer crust of dry aged beef is dry and hard, filled with concentrated flavors but not ideal for eating. Use a sharp knife to carefully trim away this layer, aiming to remove only the tough exterior and preserve as much of the flavorful meat as possible.
Take your time with the trimming—it’s better to go slow and steady than to cut too deep. You’ll notice the inside is a deep red, often with a slightly firmer texture than fresh beef. This contrast is what makes the dry aged beef so special.
Cooking Tips For Dry Aged Beef
Dry aged beef cooks faster than fresh beef because it loses moisture during aging. Use high heat to sear the meat quickly and lock in the juices. Avoid overcooking; aim for medium rare to medium to keep the texture tender and the flavor rich.
Let the steak rest after cooking for at least 5 minutes. This allows the juices to redistribute evenly, making every bite succulent. Have you tried seasoning simply with salt and pepper first? It’s amazing how little you need to enhance the natural flavors.
Troubleshooting Common Issues
Troubleshooting common issues is key to successful dry aging. Problems can spoil your beef or cause bad smells. Knowing how to spot and fix these issues saves time and meat. Small mistakes during dry aging can lead to big losses. Pay close attention to these common problems.
Off Odors And Spoilage Signs
Off odors signal that the beef might be spoiled. Fresh dry-aged beef should have a nutty or earthy smell. Strong sour or rotten smells mean bacteria or mold growth. Check beef daily for unusual smells or slime. Spoiled beef can also change color to green or gray. If any signs appear, discard the meat immediately.
Preventing Excess Moisture
Excess moisture slows aging and encourages spoilage. Keep the beef dry by patting it with paper towels. Use a wire rack so air can circulate around the meat. Avoid placing beef on flat trays that trap water. Monitor humidity levels inside the fridge. Ideal humidity is between 80% and 85%. Use a hygrometer to keep track of moisture.
Tools And Equipment Recommendations
Dry aging beef at home needs the right tools for safe and tasty results. Proper equipment helps control temperature and humidity. This control is key to developing rich flavors and tender meat. Some tools are essential to monitor conditions closely. Others protect the meat during aging. Using the best tools makes the process easier and more successful.
Thermometers And Hygrometers
Thermometers keep track of the fridge temperature. Beef ages best between 34°F and 38°F (1°C to 3°C). Too warm or too cold can spoil the meat or slow aging. Hygrometers measure humidity inside the fridge. Ideal humidity is around 80%. Too low dries the meat too fast. Too high causes mold growth.
- Choose digital thermometers for accurate readings.
- Look for hygrometers with easy-to-read displays.
- Place sensors near the meat for precise monitoring.
- Check readings daily to maintain stable conditions.
Specialized Dry Aging Bags
Dry aging bags protect the beef while allowing moisture to escape. These bags create a micro-environment for the meat. They reduce trimming waste by forming a natural crust. Bags made from breathable materials work best. They prevent contamination and help develop flavor.
- Choose bags designed specifically for dry aging beef.
- Ensure bags are food-safe and BPA-free.
- Look for bags that allow oxygen exchange but block bacteria.
- Use bags that fit your cut size to avoid air pockets.

Credit: www.amazon.com
Frequently Asked Questions
What Is Dry Aging Beef?
Dry aging beef is a process where the meat is stored in a controlled environment. This enhances its flavor and tenderness. The beef is kept in a refrigerator with specific temperature and humidity. This process usually lasts for several weeks.
It results in a rich, concentrated flavor profile.
How Long To Dry Age Beef In A Fridge?
Dry aging beef in a refrigerator typically takes between 14 to 60 days. The duration depends on the desired taste and tenderness. Longer aging leads to more intense flavors. However, it also requires careful monitoring of conditions. Always ensure proper temperature and humidity for safety.
Is Dry Aging Beef Safe At Home?
Yes, it is safe to dry age beef at home with proper precautions. Ensure your refrigerator maintains a consistent temperature between 34°F and 38°F. Use a dedicated fridge to prevent cross-contamination. Regularly check humidity levels to avoid spoilage. Always use high-quality beef for best results.
What Equipment Is Needed For Dry Aging?
For dry aging, you’ll need a dedicated refrigerator and a wire rack. A refrigerator thermometer is crucial for monitoring temperature. Humidity control is essential to prevent spoilage. Some people use a small fan for air circulation. Ensure cleanliness to avoid contamination during the aging process.
Conclusion
Dry aging beef in your refrigerator takes time and care. Keep the temperature steady and the air dry. Use a clean rack to let air flow around the meat. Check the beef often for any signs of spoilage. Patience brings rich flavor and tender texture.
This simple method improves your cooking and dining experience. Try it at home for fresher, tastier beef. Enjoy the process and the delicious results.