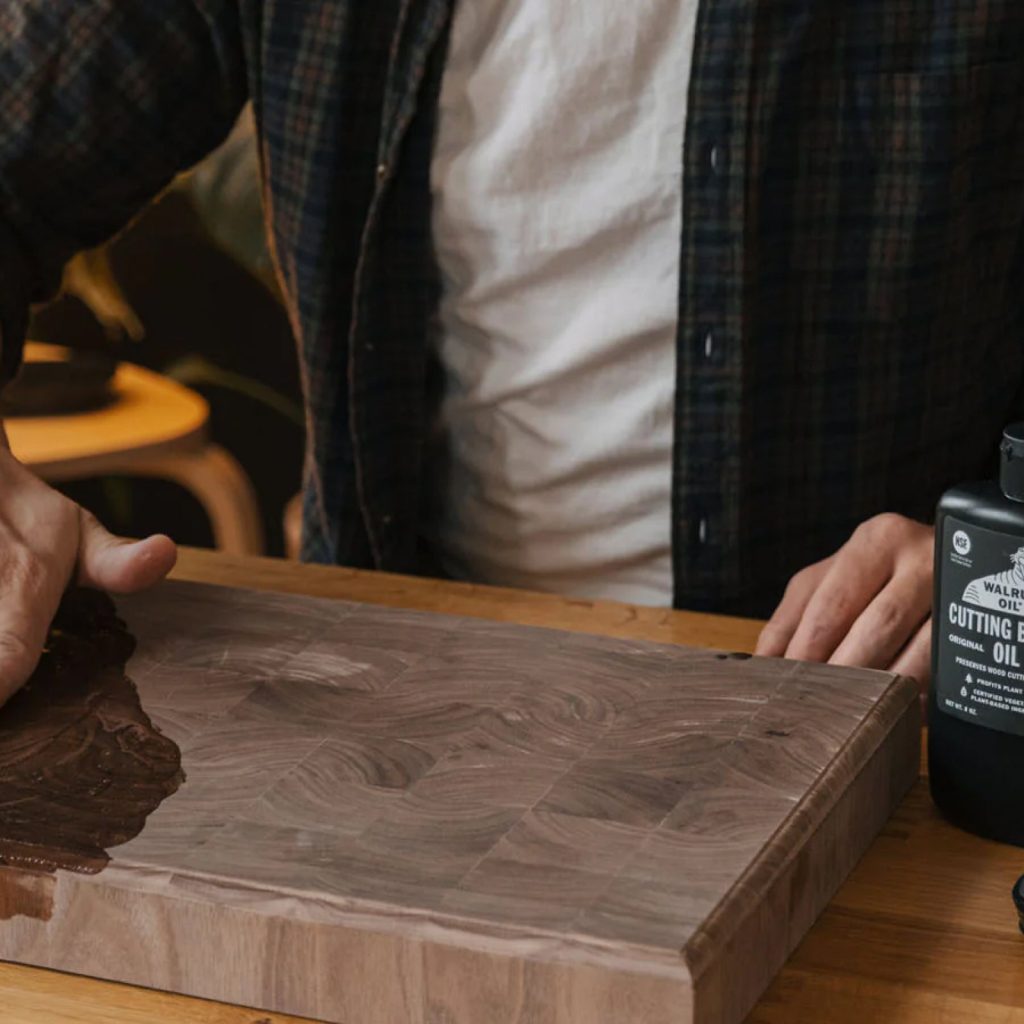
You’ve spent time crafting your cutting board, but now comes the crucial step: finishing it right. How you finish your board can protect it, bring out its natural beauty, and make it last for years.
If you want a smooth, durable surface that feels good in your hands and keeps your food safe, this guide is for you. Keep reading to discover simple, effective tips that will transform your cutting board from rough wood to a kitchen masterpiece you’ll be proud to use every day.

Credit: m.youtube.com
Choosing The Right Sandpaper
Choosing the right sandpaper is important for finishing a cutting board. The right grit level helps smooth the wood and prepares it for sealing. Using the wrong sandpaper can damage the wood surface.
Understanding sandpaper grit and how to use it will make your cutting board look better and last longer.
Grit Levels Explained
Sandpaper grit shows how rough or smooth the abrasive is. Lower grit numbers mean rougher paper. Higher numbers mean finer paper. Use rough grit first to remove big scratches. Then use finer grit to smooth the surface.
| Grit Level | Use |
| 60-80 | Remove rough spots and shaping |
| 100-150 | Smooth surface after rough sanding |
| 180-220 | Final sanding before finishing |
| 320+ | Extra fine sanding for very smooth finish |
Sanding Techniques For Smoothness
Use even pressure and sand along the wood grain. This avoids scratches across the surface. Change sandpaper as the grit gets finer. Clean dust off the board between sanding steps.
- Start with coarse grit to shape the board
- Use medium grit to smooth the surface
- Finish with fine grit for a soft touch
- Wipe the board clean after sanding
Selecting Food-safe Finishes
Choosing the right finish for your cutting board is important. A food-safe finish protects the wood and keeps your board safe for food use. Some finishes add durability, while others help protect against moisture.
It is best to pick finishes that do not contain harmful chemicals. Natural oils, waxes, and butters work well and are safe for food contact. Below are options to help you decide.
Oil Options For Durability
Oils soak into the wood and harden to protect it. They keep the board strong and help prevent cracks. Some oils are better than others for cutting boards.
- Mineral oil: A popular choice that is safe and easy to find.
- Tung oil: Penetrates deep and creates a hard surface.
- Walnut oil: Natural and food-safe, but watch for nut allergies.
- Linseed oil: Use only food-grade, boiled linseed oil is not safe.
Waxes And Butters For Protection
Waxes and butters create a barrier on the board surface. They protect wood from water and stains. These finishes often work best when combined with oils.
| Finish | Source | Benefit |
| Beeswax | Bee hives | Water resistance and shine |
| Carnauba wax | Carnauba palm leaves | Hard, durable coating |
| Cocoa butter | Cocoa beans | Soft, moisturizing finish |
| Shea butter | Shea tree nuts | Protects and nourishes wood |
Applying Finish Like A Pro
Finishing a cutting board protects the wood and makes it last longer. The right finish also brings out the wood’s natural beauty. This guide shows how to apply finish with care and skill.
Follow simple preparation and application steps to get a smooth, durable finish. Take your time and use proper materials for the best results.
Preparation Before Finishing
Good preparation is key to a nice finish. Clean and sand the board well to remove any dirt or rough spots. This helps the finish stick evenly.
- Wash the board with warm, soapy water and dry completely.
- Sand the surface starting with medium grit, then fine grit sandpaper.
- Remove all dust with a tack cloth or damp rag.
- Check for cracks or gaps and fill them if needed.
- Let the board rest in a dry place before finishing.
Step-by-step Application Process
Apply the finish in thin, even coats. Use a clean cloth or brush. Allow each coat to dry fully before the next. Sand lightly between coats for smoothness.
| Step | Action | Tip |
| 1 | Apply a thin coat of finish | Use a lint-free cloth or brush |
| 2 | Let it dry for 4-6 hours | Keep the board in a dust-free place |
| 3 | Lightly sand with fine grit paper | Remove dust before next coat |
| 4 | Apply a second coat | Repeat drying and sanding if needed |
| 5 | Let finish cure for 24 hours | Do not use the board until fully cured |
Maintaining Your Cutting Board
Keeping your cutting board in good shape helps it last longer. Proper care stops cracks and warping.
Regular cleaning and reapplying finish protect the wood and keep it safe for food use.
Regular Cleaning Tips
Clean your cutting board after each use to remove food particles and germs. Use warm water and mild soap.
Avoid soaking the board in water. This can cause the wood to swell and crack.
- Rinse with warm water and soap
- Scrub gently with a soft sponge
- Dry with a clean towel right away
- Do not put the board in the dishwasher
Reapplying Finish Over Time
Wood cutting boards need oil or finish to stay smooth and protected. Apply finish every few weeks.
Use food-safe mineral oil or a special cutting board conditioner. This stops the wood from drying out.
- Clean and dry the board well
- Apply a thin layer of oil or finish
- Let it soak for several hours or overnight
- Wipe off any extra oil before use
Avoiding Common Mistakes
Finishing a cutting board takes care and attention. Mistakes can ruin your work and make the board unsafe.
This guide helps you avoid common errors when finishing your cutting board. Follow these tips for a smooth, safe finish.
Finish Choices To Skip
Some finishes look nice but can be harmful or wear out quickly. Avoid these finishes on cutting boards to keep them safe and long-lasting.
- Use polyurethane or varnish. These finishes can chip and are not food safe.
- Avoid shellac. It softens with water and can peel off.
- Skip paint or lacquer. They can crack and may contain toxins.
- Do not use oil-based sprays with chemicals. They can be unsafe for food contact.
Handling And Storage Tips
How you handle and store your cutting board affects its finish and life. Follow these tips to keep your board in top shape.
| Tip | Reason |
| Keep board dry between uses | Prevents warping and mold growth |
| Store board upright | Allows air flow and avoids moisture buildup |
| Do not put in dishwasher | Heat and water damage finish and wood |
| Apply food-safe oil regularly | Keeps wood hydrated and finish protected |
| Use both sides | Prevents uneven wear and warping |

Credit: www.amazon.ca

Credit: www.grainwell.com
Frequently Asked Questions
How Do You Properly Sand A Cutting Board?
Start with coarse sandpaper and move to finer grits. Sand evenly to smooth the surface and edges. This removes rough spots and prepares the board for finishing.
What Is The Best Finish For A Cutting Board?
Food-safe mineral oil is ideal. It penetrates the wood and protects against moisture. Avoid finishes with harmful chemicals for safety.
How Often Should You Oil A Cutting Board?
Oil your cutting board once a month or when it looks dry. Regular oiling prevents cracking and keeps the wood hydrated.
Can Beeswax Improve Cutting Board Durability?
Yes, beeswax adds a protective layer and enhances water resistance. Use it after oiling for extra protection and a smooth finish.
Conclusion
Finishing a cutting board protects it and makes it last longer. Use safe, food-friendly oils or finishes for best results. Apply the finish evenly and let it dry well. Regular care keeps your board looking fresh and clean. A well-finished board stays strong and resists stains.
Simple steps can make your cutting board both useful and beautiful. Keep your board ready for every meal. Enjoy cooking with a safe, smooth surface every time.