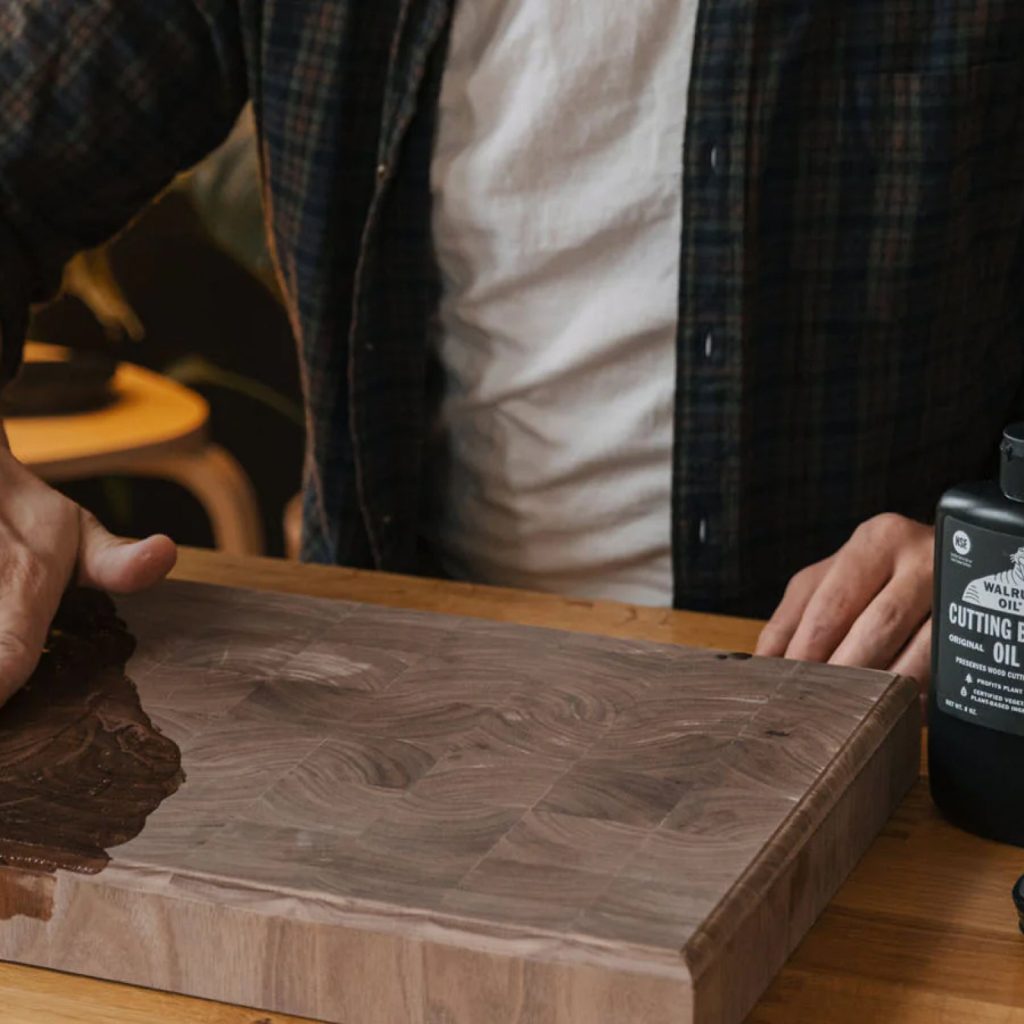
You’ve just crafted a beautiful wood cutting board, and now comes the crucial step: finishing it. How you finish your board will protect it, enhance its natural beauty, and make sure it lasts for years to come.
But choosing the right finish and applying it correctly can feel tricky. Don’t worry—this guide will walk you through simple, effective steps to finish your wood cutting board like a pro. By the end, you’ll have a smooth, durable surface that’s safe for food and stunning to look at.
Ready to give your board that perfect finish? Let’s get started.

Credit: www.amazon.ca
Choosing The Right Wood
Choosing the right wood is key to making a good cutting board. The wood should be strong and safe for food use.
Some woods work better than others. They resist cuts, do not dull knives quickly, and last a long time.
Types Of Wood Suitable For Cutting Boards
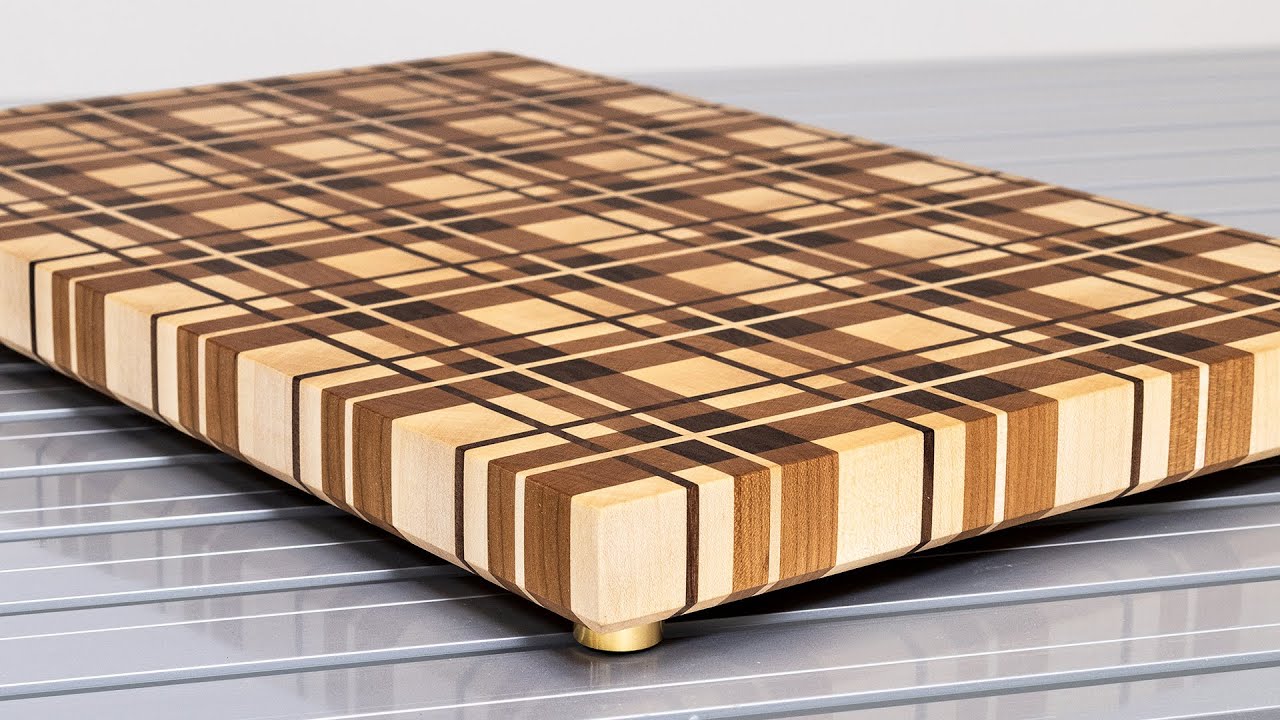
Hardwoods are the best choice. They have tight grains that keep food safe and stop bacteria from settling in.
- Maple: A popular wood that is hard and smooth.
- Walnut: Dark and strong, it adds a nice look.
- Cherry: Has a warm color and is quite durable.
- Beech: Easy to clean and has a fine grain.
- Teak: Contains natural oils that resist water.
Benefits Of Hardwood Choices
| Benefit | Description |
| Durability | Hardwoods resist deep cuts and last longer. |
| Knife Friendly | They are gentle on knives and keep them sharper. |
| Hygienic | Tight wood grain prevents germs from growing. |
| Water Resistance | Some hardwoods resist water better, stopping warping. |
| Easy Maintenance | Hardwoods are simple to clean and oil regularly. |
Preparing The Wood Surface
Preparing your wood cutting board surface well is key to a good finish. Sanding and cleaning make the wood smooth and ready.
This step protects the wood and helps the finish stick better. Take your time for best results.
Sanding Techniques For A Smooth Finish
Start sanding with coarse grit sandpaper to remove rough spots. Then use finer grit to smooth the surface.
- Use 80-grit sandpaper for initial sanding.
- Move to 120-grit to reduce scratches.
- Finish with 220-grit for a very smooth surface.
- Sand along the wood grain to avoid marks.
- Check the surface by touch for smoothness.
Cleaning The Surface Effectively
After sanding, remove dust and debris. A clean surface helps the finish apply evenly.
| Cleaning Method | Purpose |
|---|---|
| Vacuum or brush | Remove loose dust and particles |
| Damp cloth wipe | Pick up fine dust without soaking wood |
| Dry cloth wipe | Dry surface before finishing |
Selecting The Best Sealant
Finishing a wood cutting board keeps it safe and lasting longer. Choosing the right sealant is very important. It protects the wood from water and stains.
Some sealants are food-safe, so you can use them on cutting boards without worry. This guide helps you pick the best one for your board.
Food-safe Sealant Options
Food-safe sealants keep your cutting board safe for preparing food. They create a protective layer on the wood. Some common options are natural oils and waxes.
These sealants do not contain harmful chemicals. They help stop water from soaking into the wood. This prevents cracking and bacteria growth.
- Mineral oil: A popular choice because it is cheap and safe.
- Beeswax: Often mixed with oils for added protection.
- Walnut oil: A natural oil but may cause allergies in some people.
- Coconut oil: Use fractionated coconut oil to avoid rancidity.
Oil Vs. Wax: Pros And Cons
Oils and waxes both protect cutting boards. Oils soak into the wood. Waxes form a thin layer on top.
- Oilssoak deep to nourish the wood. They keep it from drying out. They need regular reapplication.
- Waxescreate a smooth, water-resistant surface. They add shine and feel soft. Waxes wear off faster than oils.
You can use oil and wax together. First apply oil, then add wax for extra protection. This combo keeps boards safe and looking good.
Credit: www.youtube.com
Applying The Sealant
Applying a sealant protects your wood cutting board from moisture and stains. It also keeps the board looking new for a long time.
Using the right technique helps the sealant soak evenly into the wood. This guide will show you how to apply the sealant properly.
Step-by-step Application Process
Start by cleaning the board to remove dust and dirt. Use a dry cloth to wipe the surface well.
Apply the sealant with a clean, soft cloth. Work in small sections and rub the sealant into the wood in circular motions.
- Pour a small amount of sealant on the cloth
- Rub the sealant gently onto the board
- Cover all surfaces, including edges and corners
- Let the sealant soak in for 20-30 minutes
- Wipe off any excess sealant with a clean cloth
- Allow the board to dry fully before use
Tips For Even Coverage
Use a soft cloth to avoid scratching the wood. Make sure to spread the sealant evenly across the surface.
Apply several thin layers instead of one thick layer. This helps the sealant penetrate the wood better and dry faster.
- Apply sealant in the direction of the wood grain
- Check for missed spots by holding the board to light
- Use a lint-free cloth for the best finish
- Allow enough drying time between layers
- Store the board in a dry place after finishing
Curing And Drying The Board
After finishing your wood cutting board, curing and drying are key steps. These steps help the board last longer and stay safe to use.
Proper curing lets the finish settle into the wood. Drying removes any leftover moisture that can cause damage.
Ideal Conditions For Curing
Choose a clean, dry place with good air flow to cure your cutting board. Avoid direct sunlight or heat sources.
The temperature should be steady, around 70°F (21°C). High humidity can slow curing and cause sticky finishes.
- Keep the board flat on a clean surface
- Keep air moving but avoid drafts
- Maintain temperature near 70°F (21°C)
- Keep humidity below 60%
- Protect from dust and insects
How Long To Wait Before Use
Wait at least 24 to 48 hours before using the board. This lets the finish fully harden and cure.
Some finishes may need longer curing times. Read your finish’s instructions for exact times.
- 24 to 48 hours for most oil finishes
- Up to 7 days for some varnishes or polyurethanes
- Test by touching the surface; it should feel dry and hard
- Avoid washing or heavy use during curing
Maintaining The Cutting Board
Keeping your wood cutting board in good shape takes simple care. Proper maintenance helps your board last longer and stay safe for food use.
Follow easy steps to clean and protect your board regularly. This keeps the wood healthy and prevents damage.
Regular Cleaning Practices
Clean your cutting board after every use. Avoid soaking it in water to stop warping. Use mild soap and warm water instead.
- Wipe the surface with a damp cloth or sponge
- Use a soft brush for stuck food bits
- Rinse quickly with warm water
- Dry the board with a clean towel immediately
- Stand the board upright to air dry completely
- Do not put the board in a dishwasher
When And How To Reapply Sealant
Sealant protects the wood from moisture and stains. You should reapply it every few months or when the board looks dry.
| Condition of Board | Action | Frequency |
|---|---|---|
| Board looks dry or dull | Apply mineral oil or food-safe finish | Every 1-2 months |
| After heavy use or washing | Reapply sealant to protect wood | As needed |
| Signs of cracking or rough texture | Sand lightly and reseal | When noticed |
To apply sealant, clean and dry the board first. Use a soft cloth to rub the oil or finish into the wood. Let it soak overnight, then wipe off extra.
Troubleshooting Common Issues
Finishing a wood cutting board can sometimes bring up problems. These issues may affect the board’s look and durability.
Knowing how to fix common problems will help you get a smooth and lasting finish on your cutting board.
Addressing Warping Or Cracks
Wood can warp or crack if it dries too fast or unevenly. This weakens the cutting board and spoils its shape.
To fix warping, first try to gently clamp the board flat. Let it rest in a dry place for a day or two.
- Apply a light coat of mineral oil to both sides to balance moisture
- Use clamps or heavy weights to press the board flat
- Seal cracks with food-safe wood glue and clamp until dry
- Sand the surface smooth after the glue dries
Fixing An Uneven Seal
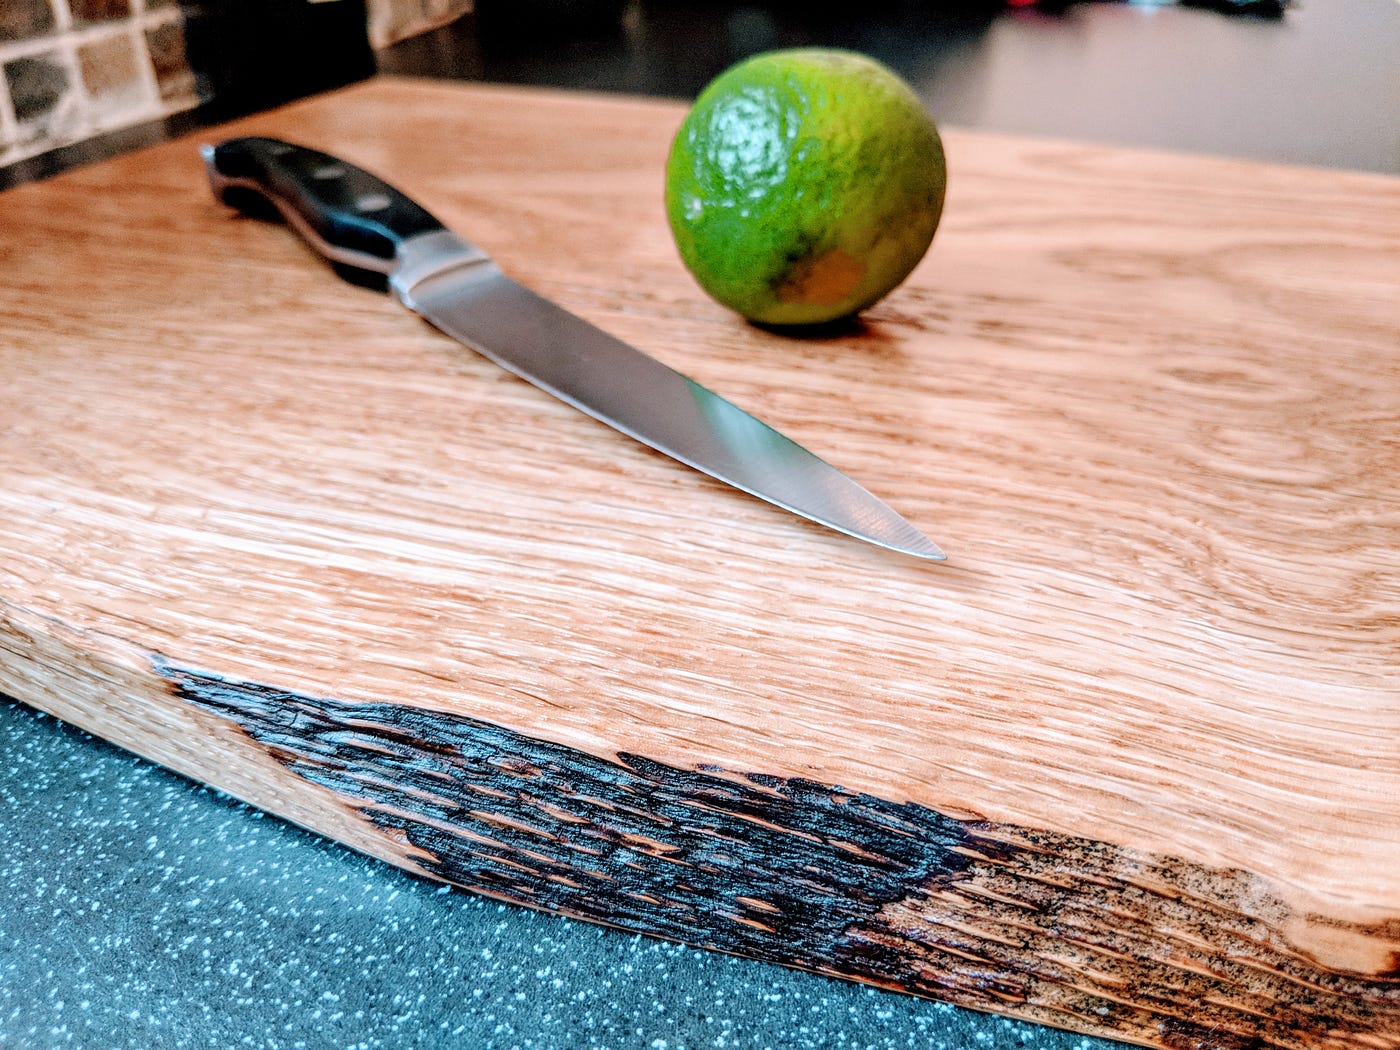
An uneven seal makes the board look blotchy and may cause water spots. This happens if oil or finish is applied too thick or unevenly.
To fix this, lightly sand the surface with fine sandpaper. This removes excess finish and smooths the wood.
- Use 220-grit sandpaper for a gentle sanding
- Wipe off dust with a clean cloth before reapplying finish
- Apply thin, even coats of mineral oil or conditioner
- Let each coat soak in fully before adding more
Credit: medium.com
Expert Tips For Longevity
Finishing a wood cutting board is important to protect it from damage. A good finish makes the board last longer and look better. This guide shares expert tips to help you finish your cutting board right.
Proper care and the right finish keep your board safe from water and stains. Follow these tips to avoid common mistakes and enhance the wood’s durability and appearance.
Avoiding Common Mistakes
Many people use the wrong oils or skip sanding steps. This can cause the wood to crack or stay sticky. Use food-safe oils and sand the board well before finishing.
- Do not use vegetable or olive oil; they can go rancid.
- Sand the board with fine-grit sandpaper for a smooth surface.
- Apply oil evenly and let it soak in for several hours.
- Wipe off excess oil to avoid sticky residue.
- Repeat oiling several times for best protection.
Enhancing Durability And Appearance
Using the right finish keeps the board strong and shiny. Beeswax mixed with mineral oil works well. It seals the wood and adds a soft shine.
| Finish Type | Benefits | How to Apply |
| Mineral Oil | Protects wood from water | Apply with cloth, soak, wipe excess |
| Beeswax | Adds shine and seals surface | Rub on after oil, buff with cloth |
| Tung Oil | Durable and water-resistant | Apply thin coats, let dry fully |
Frequently Asked Questions
How Do I Sand A Wood Cutting Board Properly?
Start sanding with coarse grit sandpaper, then progress to finer grits. Sand evenly to remove rough spots and scratches. Finish with 220-grit for a smooth surface. Always sand along the wood grain for the best results.
What Type Of Finish Is Best For Cutting Boards?
Food-safe finishes like mineral oil, beeswax, or a combination are best. These finishes protect the wood without harmful chemicals. Avoid polyurethane or varnish, as they are not food safe and can peel.
How Often Should I Oil My Wood Cutting Board?
Oil your board every 3 to 4 weeks or when it looks dry. Regular oiling prevents cracks and maintains moisture. Consistent care extends the board’s lifespan and keeps it safe for food use.
Can I Use Vegetable Oil To Finish A Cutting Board?
Avoid vegetable oils; they can go rancid and smell bad. Use mineral oil or specialized cutting board oils instead. These oils are odorless, tasteless, and safe for food contact.
Conclusion
Finishing a wood cutting board takes care and patience. Choose the right oil or finish to protect the wood. Apply it evenly and let it soak in well. Regular maintenance keeps the board smooth and safe to use. Your cutting board will last longer and look better.
Enjoy your handiwork every day in the kitchen. Simple steps make a big difference in board care. Keep your wood cutting board healthy and beautiful.