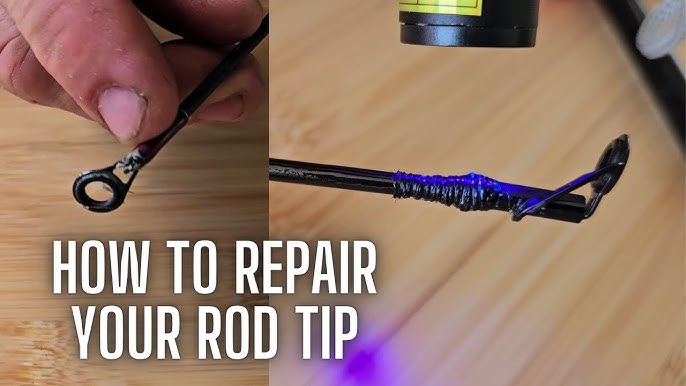
Have you ever felt the frustration of a broken fishing rod just when you’re about to catch the big one? It’s a common problem, but the good news is—you don’t have to toss your rod away or rush to buy a new one.
Fixing your fishing rod yourself is easier than you think. In this guide, you’ll discover simple, step-by-step ways to bring your rod back to life. Keep reading, and you’ll be ready to get back on the water in no time, saving money and enjoying every fishing trip again.
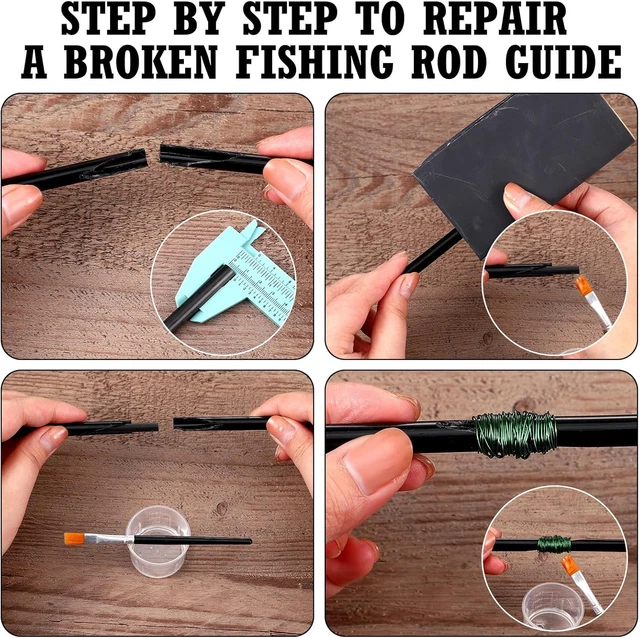
Credit: picclick.ca
Identify The Damage
A broken fishing rod can spoil your fishing trip. Identifying the damage is the first step to fixing it.
Check each part of your rod to find where the problem lies. This will help you repair it properly.
Check The Rod Blank
The rod blank is the main part of your rod. It’s the long, thin piece that connects all parts.
Look for cracks or splits along its length. A broken rod blank might feel wobbly or bend in the wrong place.
Inspect The Guides
Guides are the small loops that hold the fishing line. They help the line move smoothly.
Check each guide for bends or breaks. Damaged guides can tangle the line or cut it.
- Run your finger around the guide to feel for rough edges
- Check if the guide is securely attached to the rod
- Look for missing or damaged inserts in the guides
Examine The Reel Seat
The reel seat holds the reel in place. It is usually located near the handle of the rod.
Ensure the reel seat is not loose. A loose seat can make it hard to control the fishing rod.
- Check if the reel seat threads are stripped or damaged
- Make sure the reel fits snugly without wobbling
- Look for any cracks in the reel seat material

Credit: www.youtube.com
Gather Repair Tools
Fixing a broken fishing rod needs the right tools. Gathering these tools first makes the repair easier.
Having the correct supplies ready saves time and helps you do a neat job on the rod.
Essential Supplies
You need basic supplies to fix your fishing rod properly. These items help you hold, glue, and wrap the broken parts.
- Epoxy glue or strong fishing rod adhesive
- Sandpaper for smoothing rough edges
- Rod wrapping thread or strong nylon thread
- Scissors or a sharp knife
- Cleaning cloth to remove dirt and oil
- Masking tape to hold parts while drying
Optional Tools For Better Results
Extra tools can make the repair stronger and look cleaner. They are not needed but help if you have them.
- Rod drying jig or clamp to hold the rod steady
- UV light for curing UV epoxy faster
- Small paintbrush to spread glue evenly
- Fine-tip marker to mark repair areas
- Heat shrink tubing for extra support
Fixing A Broken Rod Blank
A broken rod blank can stop your fishing trip quickly. Fixing it is possible at home with simple tools. This guide helps you repair the rod blank correctly.
Two common ways to fix a broken rod blank are using a rod repair kit or making a DIY splint. Each method has easy steps you can follow for a strong repair.
Using A Rod Repair Kit
A rod repair kit has parts made for fixing rod blanks. It usually includes a metal sleeve, epoxy glue, and sandpaper. These items help join the broken pieces securely.
- Sand the broken rod ends gently to remove rough spots.
- Apply epoxy glue inside the metal sleeve and on the rod ends.
- Slide the sleeve over one broken end, then push the other end inside the sleeve.
- Align the rod parts so they are straight and hold them firmly.
- Let the glue dry for several hours or as the instructions say.
Diy Splint Repair Method
This method uses household items to make a splint that holds the rod blank. You need strong tape, a thin piece of wood or plastic, and glue.
| Material | Purpose |
| Thin wood or plastic strip | Acts as a splint to support the rod |
| Strong tape (like electrical or duct tape) | Secures the splint and rod together |
| Epoxy or super glue | Bonds the broken rod parts |
Follow these steps to fix the rod blank with a splint:
- Clean and dry the broken rod ends carefully.
- Apply glue on both broken ends and press them together.
- Place the thin strip along the break on one side of the rod.
- Wrap tape tightly around the strip and rod to hold the splint.
- Let everything dry fully before using the rod again.
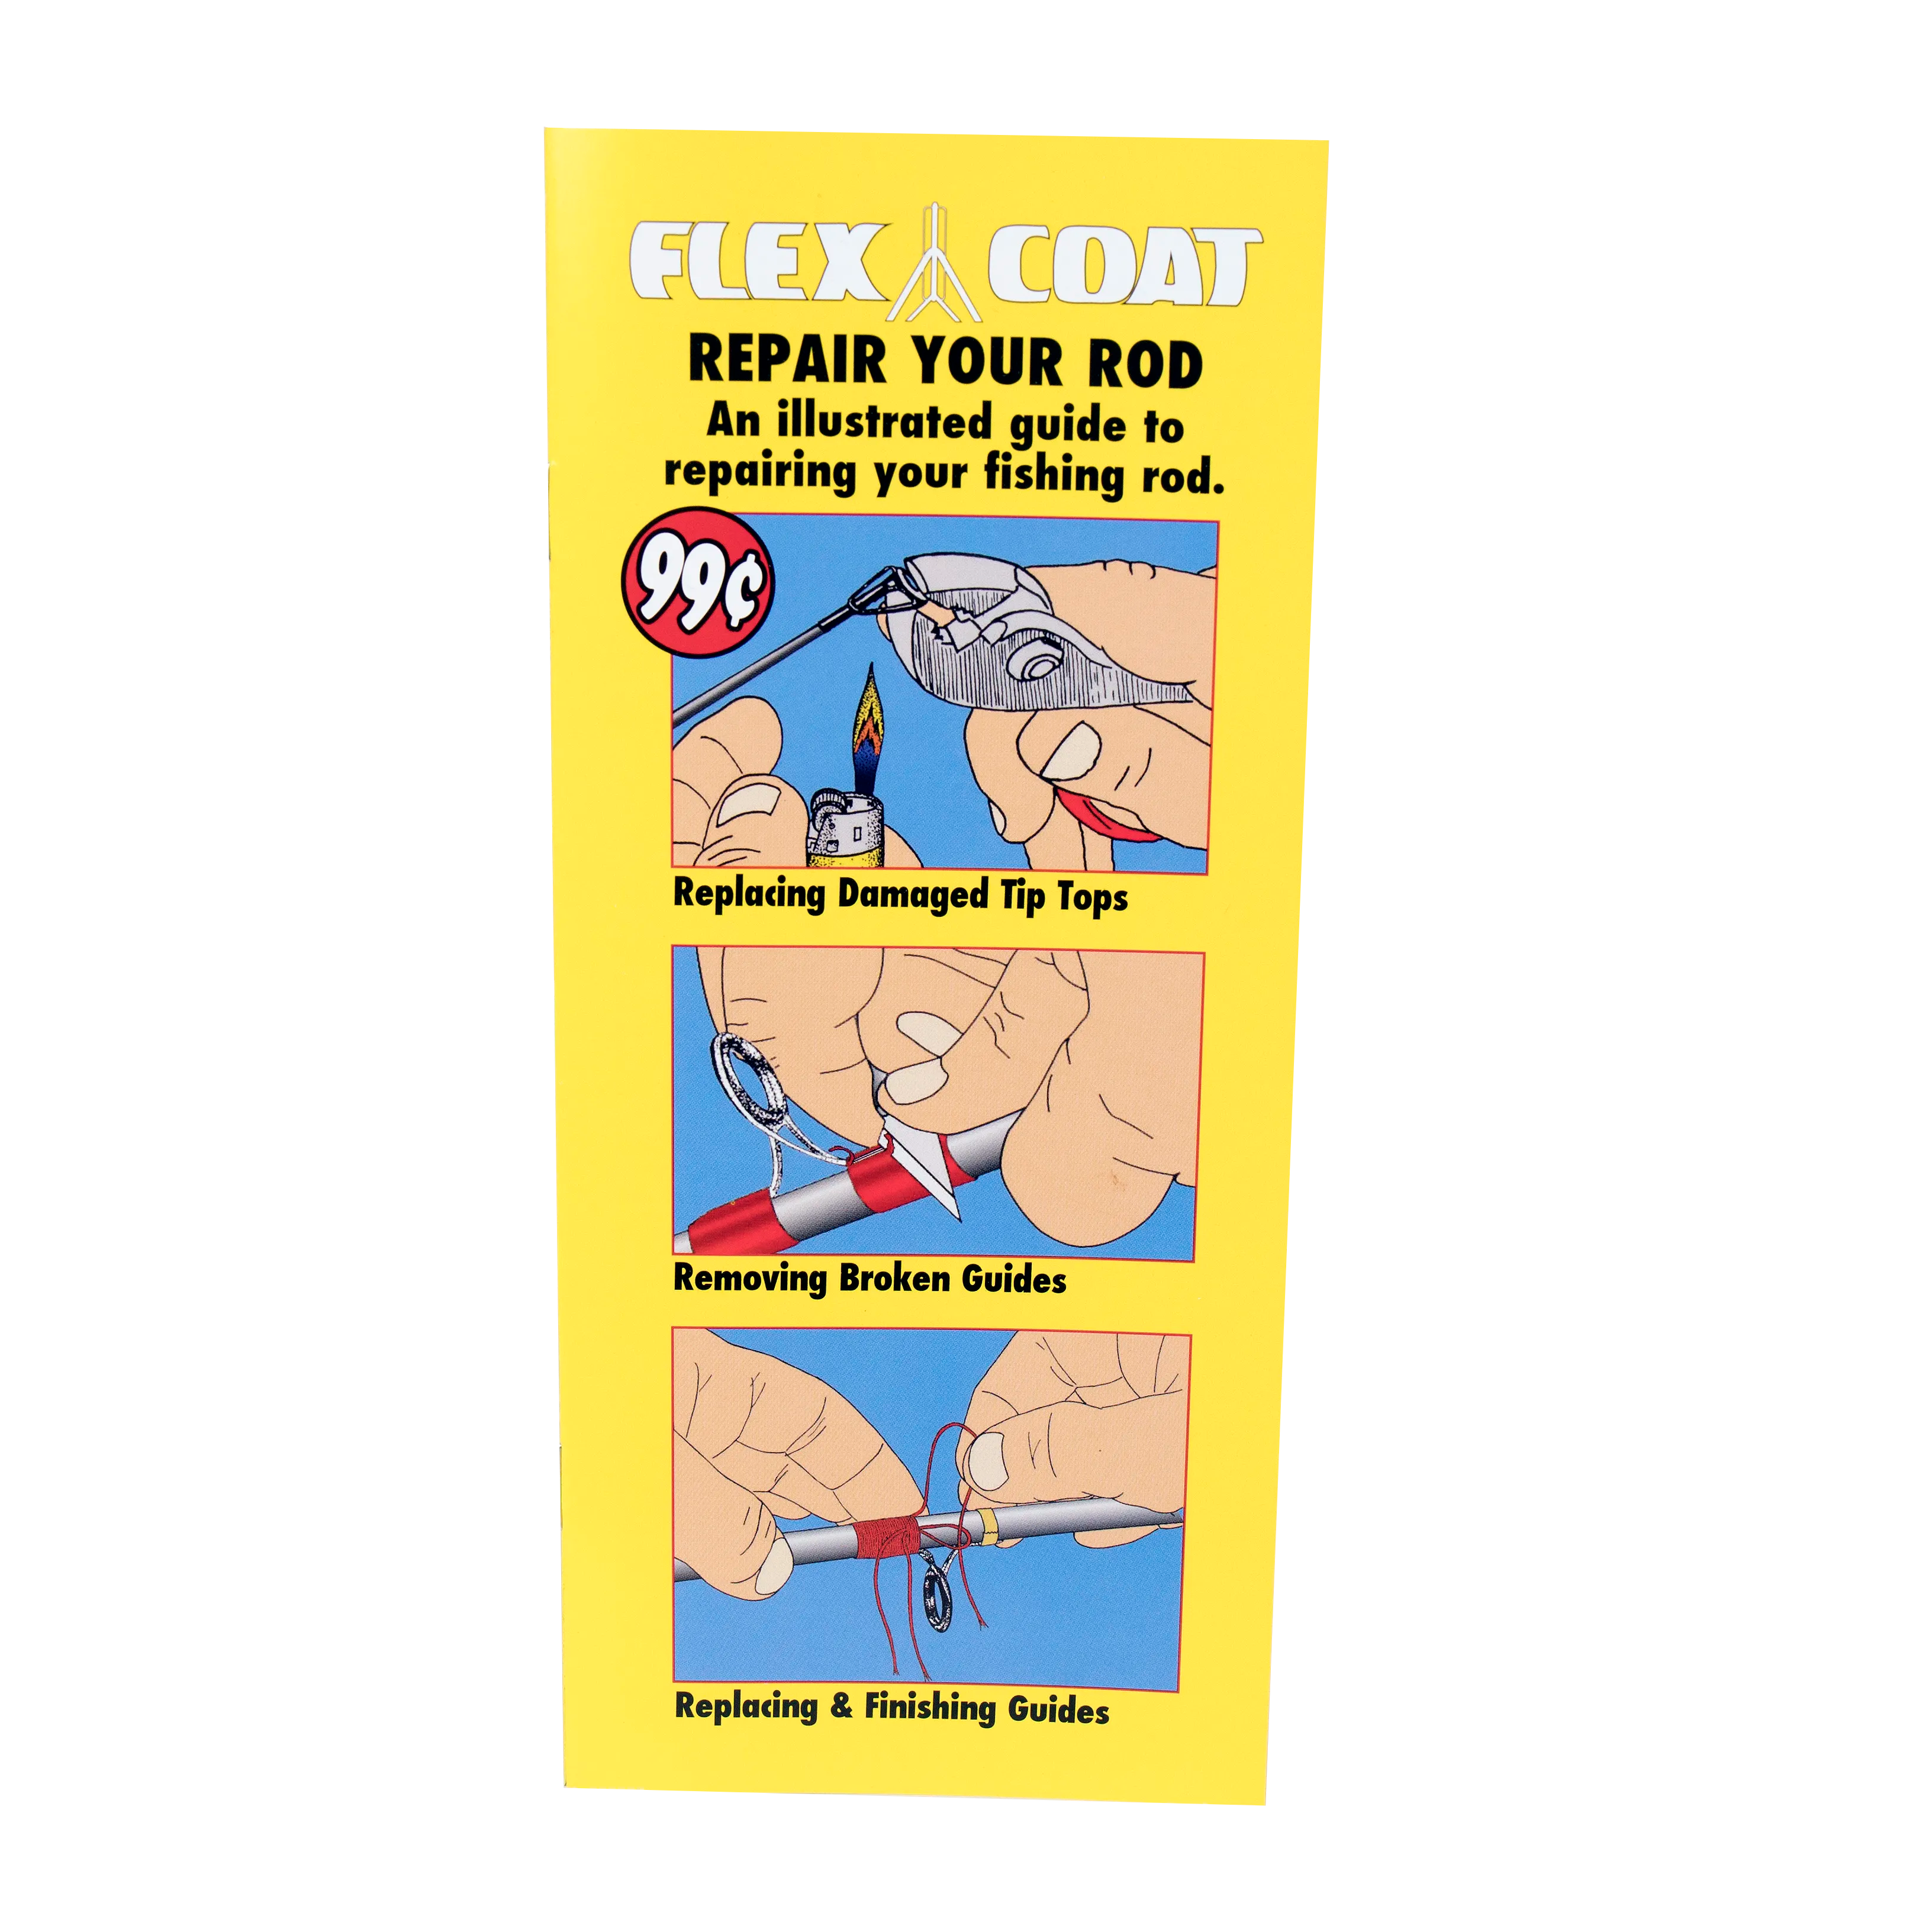
Credit: flexcoat.com
Replacing Damaged Guides
Fishing rod guides help the line run smoothly. Over time, guides can break or bend. Fixing them keeps your rod working well.
This guide shows how to remove old guides and install new ones. You need some basic tools and patience.
Removing Old Guides
Start by heating the guide wrap with a lighter or heat gun. This softens the glue and thread holding it.
Carefully cut the thread with a sharp blade or scissors. Pull off the guide once the thread is loose.
- Use low heat to avoid damaging the rod blank
- Cut thread slowly to prevent scratches
- Remove leftover glue gently with sandpaper
Installing New Guides
Place the new guide in the correct position on the rod. Align it with the other guides for smooth line flow.
Wrap the thread tightly around the guide foot. Use epoxy or rod finish to seal and protect the wraps.
- Keep thread wraps neat and even
- Apply thin coats of epoxy for a strong finish
- Let the epoxy dry fully before use
Repairing The Reel Seat
The reel seat holds the fishing reel on the rod. A loose or broken reel seat can cause problems while fishing. Fixing it keeps your rod working well.
This guide shows how to tighten a loose reel seat and replace a broken one. Both repairs can be done at home with simple tools.
Tightening Loose Reel Seats
A loose reel seat makes the reel move during casting. This can cause line tangles or lost fish. Tightening it is easy and quick.
- Check if the reel seat screws are loose. Turn them clockwise to tighten.
- If it still moves, remove the reel and clean the seat area.
- Apply a small amount of waterproof epoxy or thread locker to the threads.
- Reattach the reel and tighten the screws firmly.
- Let the glue dry for at least 24 hours before fishing again.
Replacing A Broken Reel Seat
If the reel seat is cracked or damaged, replacement is needed. You can buy a new reel seat online or from a fishing store.
| Tool | Purpose |
|---|---|
| Heat gun or hair dryer | Soften glue holding old seat |
| Utility knife | Cut and remove old reel seat |
| Sandpaper | Prepare rod surface for new seat |
| Epoxy glue | Secure new reel seat in place |
| Clamps or tape | Hold seat while glue dries |
After removing the old seat, clean the rod with sandpaper. Apply epoxy inside the new seat and slide it onto the rod. Use clamps or tape to hold it steady. Wait 24 hours for the glue to cure before use.
Tips To Prevent Future Damage
Fixing a broken fishing rod is important, but preventing damage saves time. Proper care keeps your rod strong and ready.
Follow simple habits to protect your fishing rod and make it last longer. This guide covers storage and maintenance tips.
Proper Storage Techniques
Store your fishing rod in a dry, cool place away from direct sunlight. Avoid leaning rods against walls, which can cause bending.
- Use rod holders or racks to keep rods straight
- Keep rods away from heavy objects that can cause pressure
- Store rods in protective tubes during transport
- Ensure reels are loosened to reduce tension on the rod
- Keep rods dry to prevent rust and material damage
Regular Maintenance Practices
Check your fishing rod often for cracks, loose guides, or worn parts. Clean it after each use to remove dirt and salt.
| Maintenance Task | Frequency | Purpose |
| Inspect guides and tip-top | Before each trip | Prevent line damage and rod breaks |
| Clean rod with fresh water | After every use | Remove salt and dirt |
| Lubricate reel seat and joints | Monthly | Keep parts moving smoothly |
| Store rod properly | Always | Prevent bending and warping |
Frequently Asked Questions
How Can I Repair A Broken Fishing Rod Tip?
To fix a broken rod tip, remove the damaged tip and replace it with a new one. Use epoxy glue to secure the new tip. Ensure alignment with the guides for smooth casting and reeling.
What Materials Are Needed To Fix A Fishing Rod Crack?
You need epoxy resin, rod tip replacement, sandpaper, and a cloth. Epoxy helps bond cracks, while sandpaper smooths surfaces. These materials ensure a strong, durable repair.
Can I Fix A Fishing Rod Guide That’s Loose?
Yes, tighten a loose guide by applying epoxy glue around its base. Secure it in place until the epoxy cures. This prevents movement and maintains rod performance.
When Should I Replace Instead Of Repair My Fishing Rod?
Replace your rod if the main shaft is severely damaged or cracked. Minor tip or guide damages can be repaired. Replacement is better for structural integrity and safety.
Conclusion
Fixing a broken fishing rod can save money and keep you fishing. Follow simple steps to repair cracks or breaks. Use the right tools and materials for the best result. Take your time and work carefully for a strong fix.
A repaired rod can last for many fishing trips. Enjoy your time by the water with a rod that works. Keep practicing these repairs to feel confident next time. Fishing stays fun when your gear stays ready.