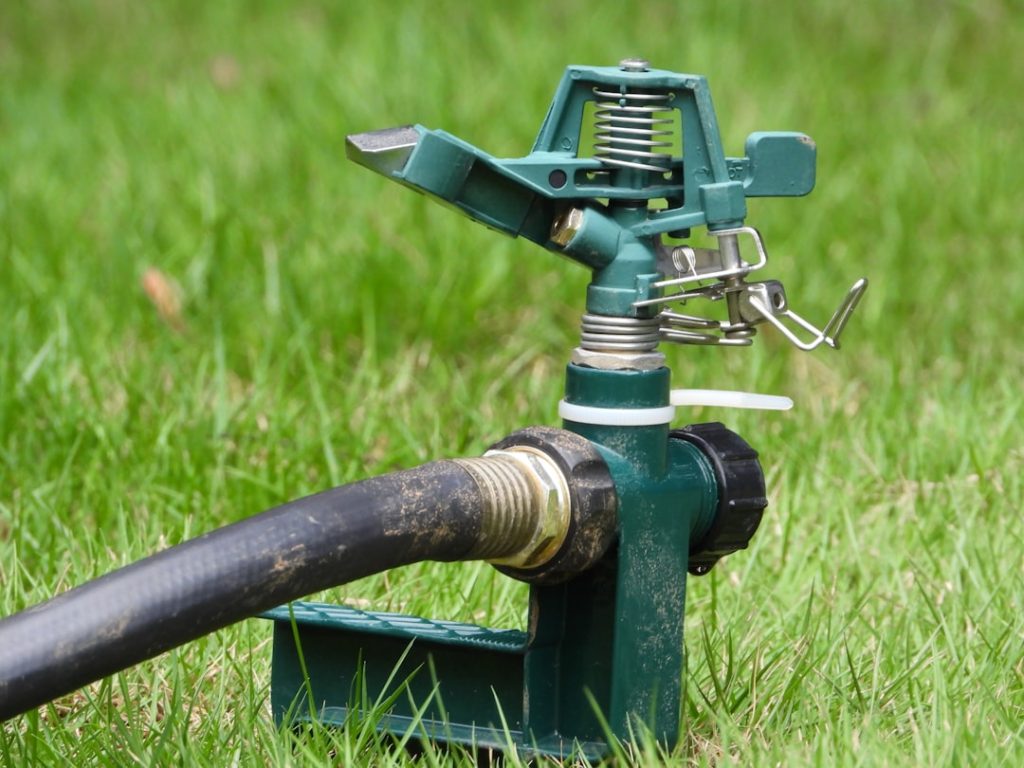
Is your garden hose leaking or completely broken? It can be frustrating when your hose won’t work just when you need it most.
But don’t worry—you don’t have to buy a new one right away. Fixing a broken garden hose is easier than you think, and you can save time and money by doing it yourself. In this guide, you’ll discover simple steps to get your hose back in shape quickly.
Keep reading, and you’ll be watering your garden like a pro in no time!

Credit: www.youtube.com
Identify The Damage
Fixing a broken garden hose starts with finding the problem. You need to check the hose carefully. Look closely for signs of damage before you repair it.
This guide helps you spot leaks and cracks. It also shows how to find the exact broken part of your hose.
Check For Leaks And Cracks
Leaks and cracks cause water to spray out and waste water. Check the hose by running water through it. Watch for wet spots or drops along the hose.
- Look for small holes where water sprays out
- Check for thin cracks in the hose surface
- Feel for soft or weak spots along the hose
- Listen for hissing sounds while water flows
Locate The Broken Section
Knowing the exact broken section helps you fix the hose properly. You can cut out the bad part or patch it.
| Method | How to Do It |
| Visual Check | Look for visible holes or cracks along the hose |
| Water Test | Turn on water and spot where it leaks or sprays |
| Feel Test | Run your hand along the hose to find soft or thin spots |
| Listen Test | Hear for hissing sounds that show escaping water |

Credit: www.reddit.com
Gather Repair Tools
Fixing a broken garden hose needs the right tools. Getting them ready saves time and effort.
Before starting, gather all items needed for a smooth repair process.
Essential Tools And Materials
Having the correct tools is important for fixing your garden hose well.
- Sharp utility knife or scissors to cut the hose cleanly
- Replacement hose connectors or repair kits
- Screwdriver for tightening clamps
- Hose clamps to secure fittings
- Water-resistant tape or sealant for extra sealing
- Measuring tape to measure hose diameter and length
- Work gloves to protect your hands
Choosing The Right Replacement Parts
Pick parts that fit your hose size and type to ensure a good repair.
| Part | Description | Tip |
| Hose Connector | Connects broken hose ends | Match hose diameter exactly |
| Hose Clamp | Keeps connector tight | Use stainless steel for durability |
| Repair Coupler | Joins two hose pieces | Choose plastic or metal based on hose type |
| Seal Tape | Prevents leaks at joints | Use plumber’s tape for best seal |
Fix Small Leaks And Cracks
A broken garden hose can be a real hassle. Small leaks and cracks are common issues. Luckily, they can be fixed easily without spending much.
Two effective methods are using waterproof tape and applying hose repair sealant. Each method can extend the life of your garden hose.
Use Waterproof Tape
Waterproof tape is a quick solution for small hose leaks. It is easy to use and provides a strong seal.
- First, clean the area around the leak.
- Dry it completely to ensure the tape sticks well.
- Wrap the tape tightly around the leak.
- Make sure to cover a few inches on both sides of the crack.
- Press the tape firmly to ensure a good seal.
Apply Hose Repair Sealant
Hose repair sealant is another effective method. It works well for sealing small cracks.
Both methods are simple and cost-effective. Fixing your hose can save water and money.

Credit: www.youtube.com
Replace Hose Sections
If your garden hose has a hole or crack, you can fix it by replacing the damaged part. This saves money and keeps your hose working longer.
Replacing hose sections is simple. You just need to cut out the bad part and add new connectors called hose couplings.
Cut Out Damaged Area
First, find the part of the hose that is broken or leaking. Use a sharp knife or scissors to cut out this section cleanly.
Make sure to cut straight across the hose. This helps the new connectors fit tightly without leaks.
Install Hose Couplings
Next, insert hose couplings into each open end of the cut hose. These couplings join the two hose pieces securely.
Tighten the clamps on the couplings to stop water from leaking. Check that the connection feels strong before using the hose again.
- Push each hose end fully onto the coupling
- Tighten the metal clamps with a screwdriver
- Test the hose by turning on the water
Seal Hose Connections
Fixing a broken garden hose often means sealing the connections. Leaks usually happen where the hose meets the fittings.
Properly sealed connections stop water from escaping. This saves water and keeps your hose working well.
Tighten Hose Clamps
Loose hose clamps cause water to leak at the joints. Check the clamps and tighten them securely.
Use a screwdriver or wrench to turn the clamp screw. Tighten it just enough to stop leaks without crushing the hose.
- Locate the hose clamp around the connection.
- Use the right tool to tighten the clamp slowly.
- Stop tightening when the hose feels secure.
- Test for leaks by turning on the water.
Check For Proper Fit
Make sure the hose fits well on the fittings. A poor fit can cause leaks and damage the hose.
Push the hose fully onto the fitting before securing it with a clamp. The fit should be snug but not forced.
- Remove the hose from the fitting.
- Inspect the hose and fitting for damage or dirt.
- Slide the hose back onto the fitting firmly.
- Check if the hose slides easily but stays in place.
Test The Repair
After fixing your garden hose, testing it is important. This ensures the repair holds and water flows well.
Checking your work helps avoid future leaks and saves water. Follow the steps below to test your hose properly.
Turn On Water Pressure
First, connect the hose to the water spigot tightly. Slowly open the water valve to let pressure build inside the hose.
- Open the spigot gradually to prevent sudden pressure shocks.
- Listen for any sounds of water rushing or hissing.
- Feel the hose for firmness indicating water pressure inside.
Inspect For Leaks
Look closely along the hose, especially near the repaired spot. Check for any water dripping or wet areas.
| Location | Signs of Leak | Action Needed |
| Repaired section | Water drops or wetness | Tighten or redo repair |
| Hose connectors | Dripping water | Check fittings and seals |
| Along hose length | Wet spots or bubbles | Inspect for cracks |
Prevent Future Damage
Fixing a broken garden hose is important. You want it to last longer. Taking care of it stops new problems.
Simple steps help protect your hose from damage. These steps include how you store it and check it regularly.
Proper Hose Storage
Store your garden hose properly to keep it safe. Avoid leaving it in direct sun or cold weather.
Use a hose reel or hanger to keep it off the ground. This stops kinks and cracks from forming.
- Keep hose away from sharp objects and heat
- Drain water before storing to prevent freezing
- Coil the hose loosely without tight bends
- Store indoors during winter to avoid damage
Regular Maintenance Tips
Check your garden hose often to find small problems early. Fix leaks and cracks right away.
Clean the hose to remove dirt and debris. This keeps it working well and stops damage.
- Inspect hose for holes or weak spots each month
- Wash hose with mild soap and water
- Replace washers to stop leaks at connections
- Store hose properly after use every time
Frequently Asked Questions
How Can I Repair A Small Leak In My Garden Hose?
To fix a small leak, locate the damaged area, dry it, and use a hose repair tape or patch kit. Wrap the tape tightly or apply the patch firmly. This stops water leakage and extends your hose’s life efficiently.
What Tools Do I Need To Fix A Broken Garden Hose?
You need a hose repair kit, scissors or a knife, and possibly pliers. The kit includes connectors and clamps to replace damaged sections. These tools help you cut out the broken part and reconnect the hose securely.
Can I Fix A Garden Hose Without Replacing The Entire Hose?
Yes, you can fix most breaks by cutting out damaged sections and using connectors. Hose repair kits are designed for easy DIY fixes. This method saves money and avoids buying a new hose.
How Long Does It Take To Repair A Garden Hose Leak?
Most repairs take about 10 to 15 minutes. The process involves cutting, attaching connectors, and securing clamps. Quick fixes prevent water wastage and restore hose functionality fast.
Conclusion
Fixing a broken garden hose is easier than it seems. Small leaks or cracks do not need a full replacement. Use simple tools and follow clear steps to repair it. Save money by fixing the hose yourself today. Keep your garden watered without hassle or waste.
A working hose helps plants grow healthy and strong. Try these tips and enjoy a smooth watering experience. Gardening becomes more fun with a reliable hose. Don’t let a small break stop your outdoor chores. Act now and keep your garden thriving.