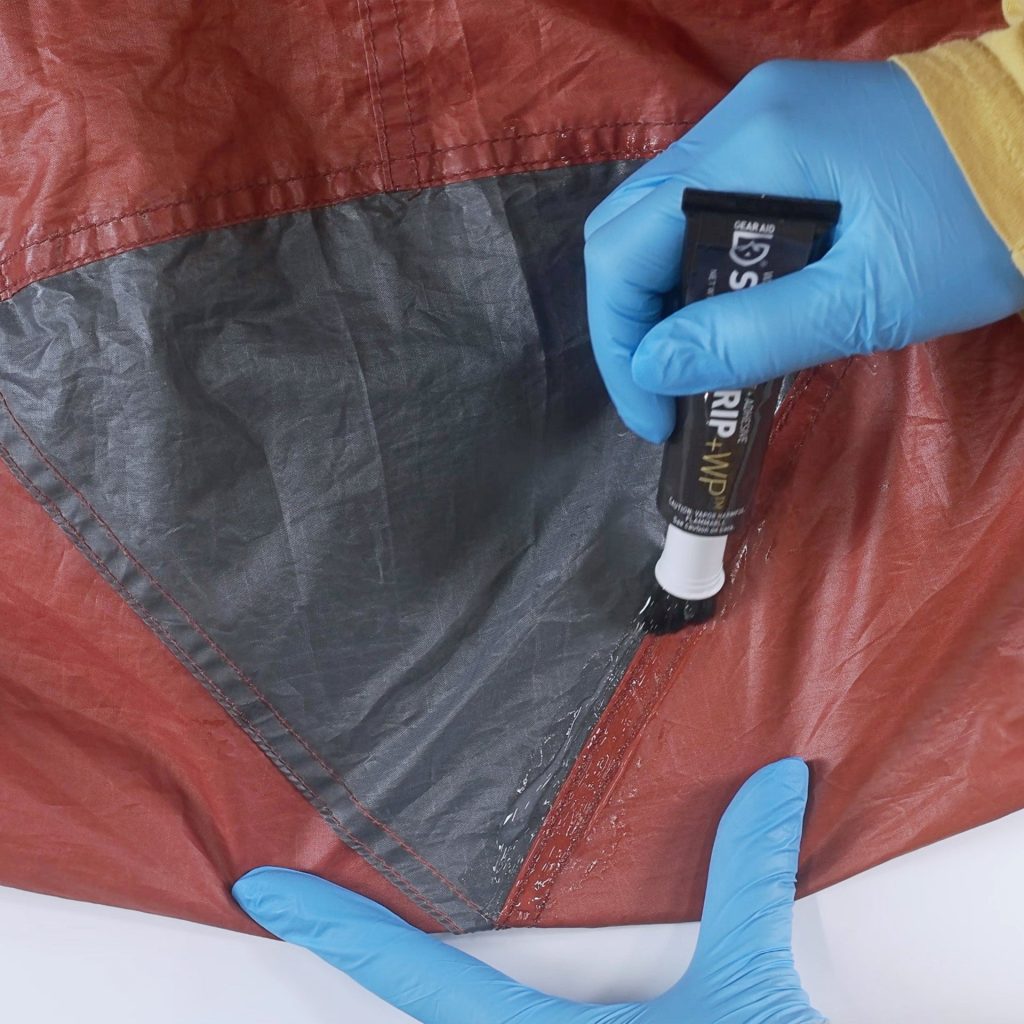
Picture this: you’ve just set up your tent after a long day outdoors, only to find a rip in the fabric. It’s frustrating, right?
But don’t let a small tear ruin your adventure. You can fix that rip quickly and easily, saving your gear and your peace of mind. You’ll discover simple, effective ways to repair your tent, even if you’ve never done it before.
Keep reading, and you’ll be ready to tackle any tear like a pro.
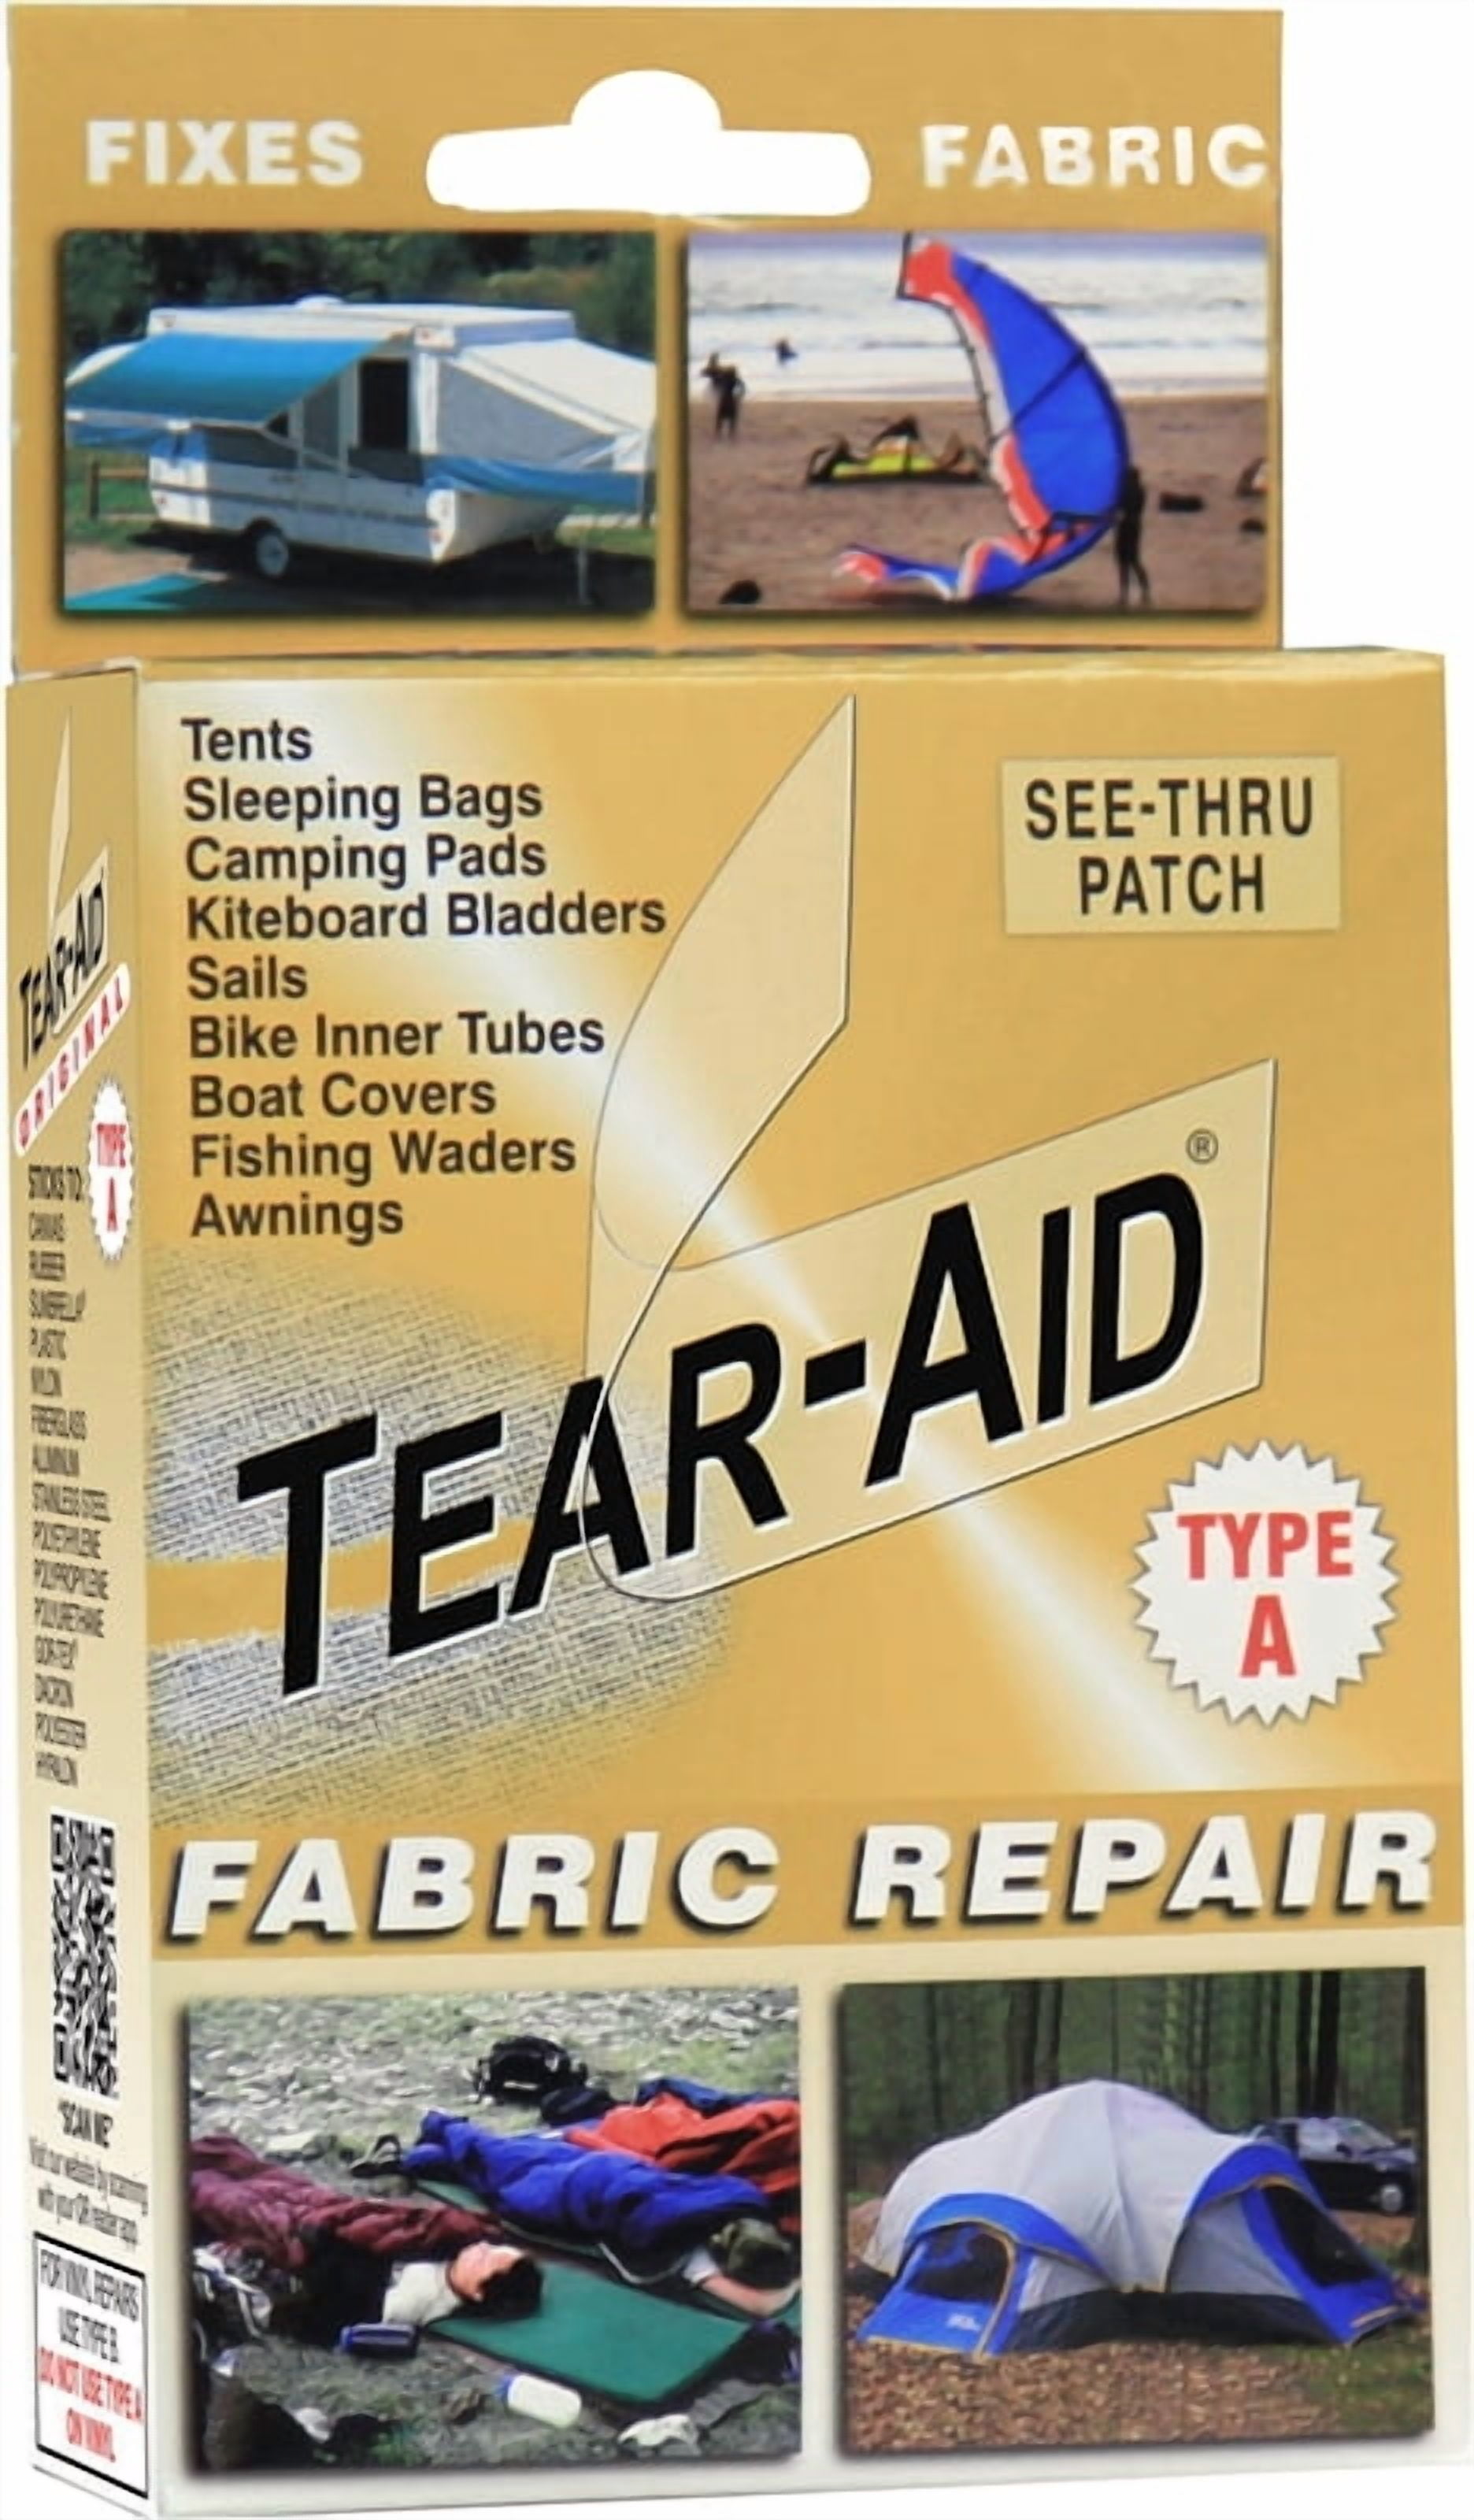
Credit: www.walmart.com
Assessing The Damage
Before fixing a rip in your tent, you need to check how bad the damage is. This will help you decide the best way to repair it.
Look closely at the rip and the surrounding area. Careful assessment saves time and effort when you start the repair.
Locating The Rip
Find the exact spot where the tent is torn. Look inside and outside the tent for small or hidden rips.
Check seams and corners carefully. These areas often have small holes that can get bigger if not fixed.
Checking Tent Material
Know what material your tent is made of. Different fabrics need different repair methods.
- Ripstop nylon is strong but needs special patches.
- Polyester tents often use heat-sealed seams.
- Cotton canvas tents may need sewing repairs.
Evaluating Repair Options
Decide if you can fix the rip yourself or need professional help. Small tears often repair well at home.
- Use tent repair tape for quick fixes.
- Sew larger rips with strong thread and needle.
- Replace damaged sections if the rip is very big.
Gathering Repair Materials
Fixing a rip in your tent needs the right materials. Gathering these items before you start helps you repair quickly and well.
Many repair kits and tools are easy to find. Knowing what to look for saves time and effort during your repair.
Essential Repair Kits
A basic tent repair kit usually includes patches and adhesive. These items help cover and seal the rip to stop water and wind from getting inside.
- Adhesive patches made for tent fabric
- Seam sealer to waterproof the repair
- Strong thread and needles for sewing
- Scissors or a sharp knife to trim edges
- Cleaning wipes to prepare the repair area
Alternative Tools And Supplies
You can also use common items if you lack a repair kit. These tools help fix a rip temporarily or even well enough for long use.
| Tool or Supply | Purpose | Notes |
| Duct tape | Temporary patching | Water-resistant but not long-lasting |
| Clear packing tape | Small hole cover | Works well on smooth tent fabric |
| Nylon thread | Sewing the rip | Strong and weather-resistant |
| Fabric glue | Bonding torn edges | Good for quick fixes without sewing |
| Plastic sheet or tarp | Covering large tears | Use as an outer layer until proper repair |
Preparing The Tent
Fixing a rip in your tent starts with the right preparation. Proper steps ensure a durable repair. This guide will help you prepare your tent for fixing.
Taking time to clean and dry the fabric is crucial. These steps will make sure your patch stays put.
Cleaning The Area
First, remove any dirt around the rip. A clean surface helps the patch stick better. Use a soft brush or cloth for this task.
Next, gently wash the area with mild soap and water. Avoid harsh chemicals that can damage the fabric.
- Use a soft brush or cloth
- Wash with mild soap and water
- Avoid using harsh chemicals
Drying The Fabric
After cleaning, let the fabric dry completely. Moisture can prevent the patch from sticking. Lay the tent flat in the sun or use a fan indoors.
Check that the fabric is fully dry before moving on. This ensures the best adhesion for your repair.
- Lay tent flat in the sun
- Use a fan indoors if needed
- Ensure fabric is completely dry
Patch Repair Methods
A rip in your tent can stop your camping trip quickly. Fixing it fast keeps water and bugs out. There are simple patch repair methods anyone can do.
This guide covers three ways to fix a rip: using adhesive patches, sewing the rip, and applying seam sealer. Each method helps keep your tent strong.
Using Adhesive Patches
Adhesive patches are quick and easy. Clean the area, cut the patch to size, and stick it over the rip. Press firmly to make it stick well.
- Choose a patch slightly larger than the rip
- Clean and dry the tent fabric before applying
- Remove the backing from the patch carefully
- Place the patch over the tear and press hard
- Let it sit for a few hours before use
Sewing The Rip
Sewing gives a strong, long-lasting fix. Use a needle and strong thread. Stitch the edges of the rip together. Do not pull too tight to avoid new tears.
| Tool | Tip |
|---|---|
| Needle | Use a sharp, curved needle for fabric |
| Thread | Choose heavy-duty, waterproof thread |
| Stitch Type | Use a simple running stitch or backstitch |
| Tension | Keep stitches snug but not too tight |
Applying Seam Sealer
Seam sealer protects your repair from water leaks. After patching or sewing, apply seam sealer along the edges. Let it dry fully before packing the tent.
Seam sealer tips:
- Use a small brush for neat application
- Cover all stitches and patch edges
- Allow at least 24 hours to dry completely
- Check for any missed spots before use
Temporary Fixes For Emergencies
Rips in a tent can spoil your outdoor trip. Quick fixes help keep you dry and safe. Use what you have to stop the tear from getting worse.
Two easy ways to patch a tent fast include using duct tape and plastic sheet covers. Both work well in emergency situations.
Using Duct Tape
Duct tape is strong and sticks to most tent materials. It works well for small to medium rips. Make sure the surface is clean and dry before applying tape.
- Cut a piece of duct tape larger than the rip.
- Place tape on the inside of the tent if possible.
- Smooth out air bubbles for a tight seal.
- Add tape on the outside for extra strength.
- Replace tape when it starts to peel off.
Plastic Sheet Covers
A plastic sheet can cover large rips or holes temporarily. It stops rain and wind from entering your tent. Use strong tape or rope to hold the sheet in place.
| Material | Use | How to Apply |
|---|---|---|
| Plastic Sheet | Cover large tears | Place over rip, tape or tie edges tightly |
| Duct Tape | Secure plastic sheet edges | Stick tape firmly on tent fabric and plastic |
| Rope or Cord | Hold plastic in place | Tie around tent poles or stakes |
Credit: medium.com
Preventing Future Tears
Fixing a rip in your tent is important. You want to stop it from happening again. Taking care of your tent can keep it strong. Small habits can prevent many tears.
Two key ways to protect your tent are setting it up properly and storing it safely. These steps help keep your tent fabric and seams safe from damage.
Proper Tent Setup
Set up your tent on smooth, flat ground. Avoid sharp rocks and sticks that can poke holes. Make sure the tent is tight but not stretched too hard. Loose fabric can flap in the wind and cause tears.
Use all the stakes and guylines. This keeps the tent stable in wind and rain. Check that poles fit well and are not bent. Weak poles can cause fabric to tear.
- Pick flat, clear ground for setup
- Remove sharp objects from the area
- Keep tent fabric tight but not overstretched
- Use all stakes and guylines for support
- Inspect poles before use
Safe Storage Tips
Keep your tent clean and dry before storing it. Damp fabric can weaken fibers and cause mold. Fold the tent loosely to avoid creases that can crack the material.
Store the tent in a cool, dry place. Avoid direct sunlight and high heat. Use a breathable bag or container to prevent moisture build-up. Do not store heavy items on top of the tent.
- Clean and dry tent before storage
- Fold tent loosely without sharp creases
- Store in a cool, dry place away from sun
- Use breathable storage bags or containers
- Keep heavy objects off the stored tent
When To Seek Professional Help
Fixing a small rip in a tent can be easy to do by yourself. Sometimes, the damage is too big or in a tricky spot. Knowing when to ask a professional will save your tent and your time.
Professionals have the right tools and skills. They can fix rips so your tent stays strong and waterproof for your next trip.
Large Or Complex Tears
If the rip is very large or has jagged edges, a professional should handle it. Big tears need special stitching and patching to keep the tent safe.
Trying to fix large damage alone may cause the rip to get worse. A repair expert can restore the tent’s strength properly.
Damage On Seams Or Poles
Tears near tent seams or poles are harder to fix. These areas handle stress and need careful repair to avoid leaks or breaks.
Professionals know how to reinforce these spots. They ensure your tent stays sturdy and weatherproof after repair.
Waterproofing Issues After Repair
If your tent leaks after you fix a rip, it might need a professional touch. Waterproof coatings and seals require special materials and skills.
A repair expert can reapply waterproof layers correctly. This keeps your tent dry during rain and wet weather.
Repeated Or Old Damage
Old rips or spots with many repairs need professional help. The fabric may be weak and require strong patches or replacement parts.
Experts can assess the tent’s condition and fix it so the damage does not come back quickly.
Lack Of Repair Tools Or Skills
If you do not have repair tools or do not feel confident fixing the rip, ask a professional. Tent repair needs precise work and special gear.
Getting expert help prevents mistakes and keeps your tent safe for many more trips.

Credit: nosopatches.com
Frequently Asked Questions
How Do I Repair A Small Rip In A Tent?
To fix a small rip, clean the area and use a tent repair tape. Apply the tape on both sides for strength. Let it dry before packing the tent. This method is quick and waterproof.
What Materials Are Best For Tent Rip Repairs?
Use waterproof tent repair tape, fabric patches, and strong adhesive. These materials ensure durability and weather resistance. Avoid regular tape as it may not stick well or last long.
Can I Sew A Rip In My Tent?
Yes, sewing is effective for larger rips. Use a strong needle and polyester thread. Stitch carefully along the rip, then apply a waterproof patch or sealant to prevent leaks.
How To Prevent Tent Rips During Camping?
Avoid pitching on sharp rocks or branches. Handle the tent gently and store it properly. Regularly inspect and maintain your tent to catch small damages early.
Conclusion
Fixing a rip in your tent helps keep you dry and safe outdoors. Small tears can grow if left alone. Use simple tools and materials to repair quickly. A good patch stops wind and rain from coming in. Regularly check your tent for damage before trips.
Taking care of your tent saves money and stress. Enjoy your camping with a strong, protected shelter. Easy repairs make your adventures better and safer. Keep your tent ready for the next outdoor fun.