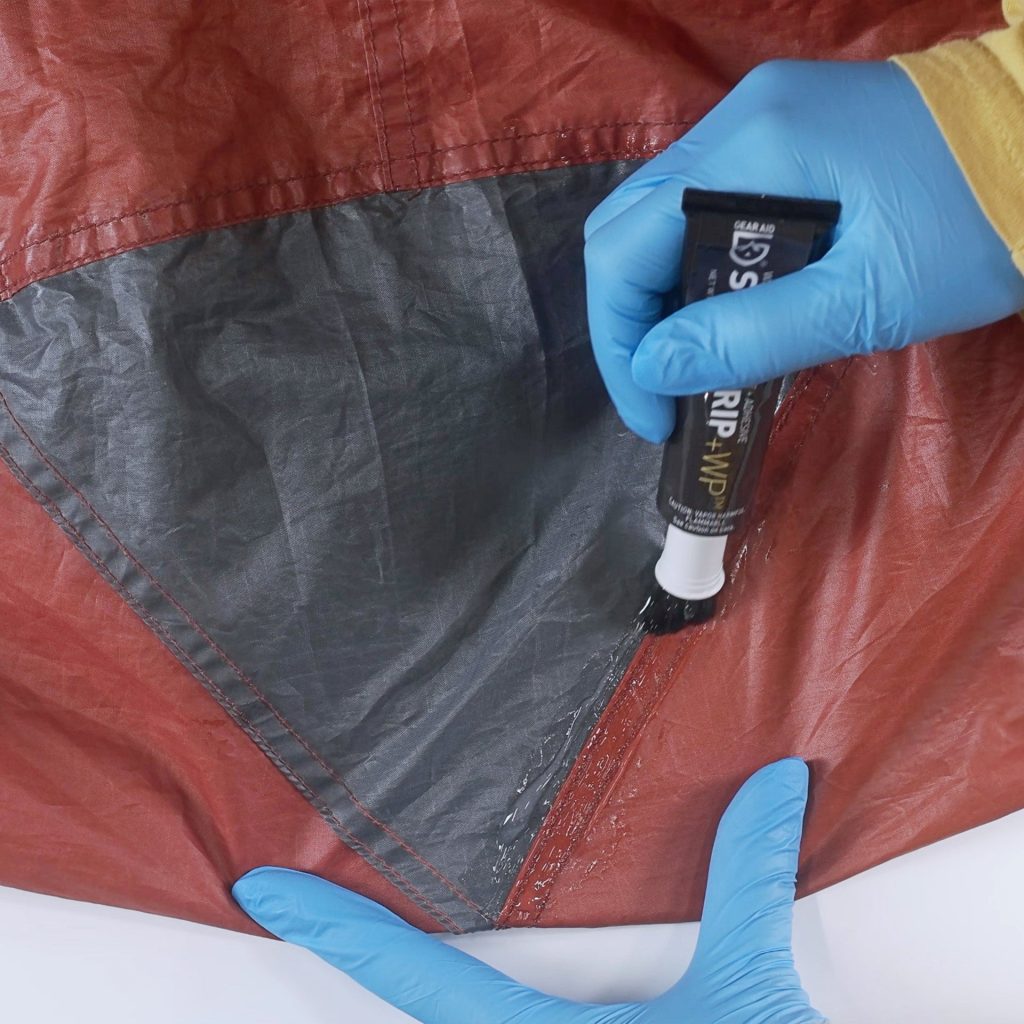
Your tent is your shelter, your safe space when you’re out in nature. But what happens when it rips?
A torn tent can quickly turn a great camping trip into a stressful experience. Don’t worry—you don’t need to buy a new one right away. You can fix that rip yourself and get back to enjoying the outdoors. In this guide, you’ll discover simple, effective ways to repair your tent, save money, and extend its life.
Keep reading, and you’ll learn exactly how to make your tent as good as new.
Credit: www.pomoly.com
Assess The Damage
When your tent rips, the first task is to look closely at the damage. This helps you know how to fix it properly.
Checking the damage carefully saves time and ensures the repair lasts longer.
Identify Tear Size And Type
Look at the size of the tear. Is it small, medium, or large? The size affects the repair method.
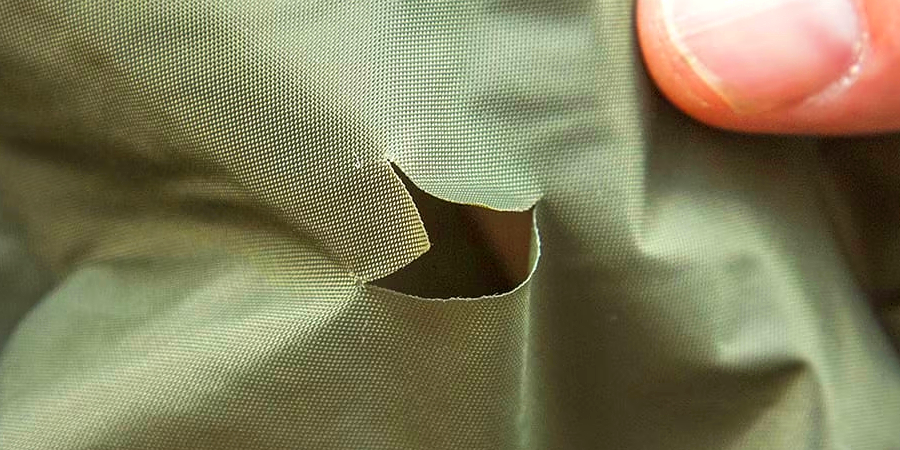
Next, see what kind of tear it is. It can be a straight cut, a hole, or a jagged rip.
- Small tear: less than 2 inches
- Medium tear: 2 to 6 inches
- Large tear: more than 6 inches
- Cut: clean straight edges
- Hole: round or oval missing fabric
- Jagged rip: uneven, torn edges
Check Tent Material
Find out what material your tent is made of. Common fabrics are nylon, polyester, and canvas.
Knowing the material helps you choose the right patch and glue for repair.
- Nylon: lightweight and water-resistant
- Polyester: strong and UV resistant
- Canvas: heavy and durable
Gather Repair Tools
Fixing a ripped tent needs the right tools. Gathering these items before you start makes the repair easier.
Prepare your supplies in a clean and dry place. This helps keep your tent and tools in good shape.
Essential Supplies
Some tools and materials are needed to fix a tear properly. These help you patch the tent so it stays strong.
- Fabric repair tape or patch
- Seam sealer or waterproof glue
- Scissors or a sharp knife
- Cleaning cloth and rubbing alcohol
- Needle and strong thread (nylon or polyester)
- Measuring tape or ruler
- Small brush or applicator for glue
Optional Reinforcements
You may want extra items to make the repair last longer. These reinforcements add strength to the patch.
| Reinforcement Tool | Purpose |
| Extra fabric patches | Cover larger tears or weak spots |
| Plastic or metal clips | Hold fabric in place while drying |
| Heat source (hair dryer or iron) | Help set some patches or adhesives |
| Waterproof spray | Restore water resistance |
Clean The Area
Keeping your tent clean is important. It helps maintain its durability and extends its life.
Before repairing a ripped tent, it’s crucial to clean the area. This ensures the patch adheres properly.
Remove Dirt And Debris
Start by removing any dirt or debris around the ripped area. This is an essential step in the cleaning process.
- Use a soft brush to gently sweep away loose dirt.
- If needed, use a damp cloth for stubborn spots.
- Ensure no small particles are left behind.
Dry The Fabric
Once clean, allow the fabric to dry completely. This prevents mold and ensures a strong repair.
| Method | Time |
| Air Dry | 1-2 hours |
| Pat Dry with Towel | 30-45 minutes |
Prepare The Tent For Repair
Fixing a ripped tent needs good preparation. Start by cleaning the damaged area. Remove dirt and dry the fabric completely.
Next, check the rip closely. This helps you plan how to repair it well and avoid making the tear worse.
Align Torn Edges
Bring the torn edges of the tent fabric together carefully. Make sure they line up as closely as possible. This helps the repair to be stronger and neater.
- Lay the tent flat on a clean surface.
- Match the edges of the tear evenly.
- Pin or tape the edges to hold them in place.
- Check that no wrinkles or folds are inside the tear.
Trim Frayed Threads
Cut off any loose or frayed threads around the rip. This makes the repair patch stick better and keeps the tear from growing.
| Tool | Purpose |
|---|---|
| Sharp scissors | Trim frayed edges cleanly |
| Fabric cutter | Cut threads without damaging fabric |
| Tweezers | Remove tiny loose threads |
Patch Small Tears
Small tears in your tent can let in water and wind. Fixing them quickly keeps your tent strong.
This guide shows two ways to patch small tears and keep your tent in good shape.
Apply Adhesive Patches
Adhesive patches are an easy way to cover small holes or tears. You need to clean the area first.
- Clean the tear and the area around it with rubbing alcohol.
- Cut a patch slightly larger than the tear.
- Peel the backing off the patch carefully.
- Place the patch over the tear, pressing firmly to remove air bubbles.
- Let it dry for at least 24 hours before packing the tent.
Use Seam Sealer
Seam sealer helps stop leaks from small tears or seams. It works well with adhesive patches for extra protection.
| Type of Seam Sealer | Use | Drying Time |
| Liquid Seam Sealer | Brush on seams and small tears | 4 to 6 hours |
| Tube Seam Sealer | Apply with nozzle for precise coverage | 6 to 8 hours |
| Spray Seam Sealer | Good for large areas but less precise | 2 to 4 hours |
Apply seam sealer after the patch is dry. Spread it evenly over the patched area. Let it dry before use.
Fix Large Rips
Large rips in tents need strong and lasting repairs. Fixing these tears keeps you dry and safe. You can repair rips with simple tools and materials.
This guide shows two main ways to fix big tears. Follow the steps to make your tent ready for your next trip.
Sewing Techniques
Sewing is a reliable way to close big rips. Use a strong needle and thread made for outdoor fabrics. Hand stitching works well if you do not have a sewing machine.
- Clean the area around the rip and let it dry.
- Cut the ripped edges to make them neat and even.
- Thread a needle with strong polyester thread.
- Use a backstitch to sew the rip from one end to the other.
- Tie a tight knot to secure the thread at the end.
- Trim any extra thread close to the knot.
Reinforce With Fabric Patches
Fabric patches add extra strength to big repairs. Use waterproof tent fabric or repair tape to cover the sewn area. This stops water and dirt from entering the tent.
| Material | Use | Tip |
|---|---|---|
| Tent Fabric Patch | Cover sewing for strength | Cut patch 2 inches larger than rip |
| Repair Tape | Stick over sewn rip | Apply on clean, dry fabric |
| Iron-on Patch | Strong hold without sewing | Use low heat to avoid damage |
Make sure to press patches firmly. Let adhesives dry before using the tent again. This reinforcement makes the tent last longer on trips.
Waterproof The Repair
Fixing a ripped tent is not complete without making the repair waterproof. Water can seep through weak spots and ruin your camping gear. Protect your repair with the right coating.
Waterproofing keeps your tent dry and strong during rain. Use proper materials and methods to seal the patch well.
Apply Waterproof Coating
Use a waterproof sealant made for tents or outdoor gear. Apply it carefully over the repaired area to stop water from leaking.
- Clean the repaired surface before applying coating.
- Use a brush or sponge for even coverage.
- Apply thin layers and let each dry fully.
- Cover the edges of the patch thoroughly.
- Repeat application if needed for better sealing.
Test For Leaks
After the waterproof coating dries, check the repair for leaks. This step ensures your tent stays dry on your next trip.
| Test Method | Description |
|---|---|
| Water Spray | Spray water on the patched area and look for wet spots inside. |
| Light Check | Hold the tent up to a light source and look for light shining through holes. |
| Touch Test | Feel the inside surface for dampness or wet patches. |
If you find leaks, apply more waterproof coating and test again. Repeat until the repair is fully sealed.

Credit: eu.alpkit.com
Prevent Future Damage
Fixing a ripped tent helps you enjoy your camping trips longer. Taking steps to avoid new tears keeps your tent strong.
Follow simple tips for setting up and caring for your tent. These actions reduce wear and protect your gear.
Proper Tent Setup
Set your tent on flat ground free of sharp rocks and sticks. Use a ground tarp to protect the tent floor. Avoid tight pitches that stretch the fabric.
- Clear area before pitching your tent
- Use a footprint or ground tarp
- Do not stretch the tent too tight
- Secure all stakes firmly
- Keep zippers closed to avoid snags
Regular Maintenance Tips
Check your tent often for small holes or loose threads. Clean dirt and debris gently to avoid damaging the fabric. Dry your tent fully before storing it.
| Maintenance Task | Frequency | Reason |
| Inspect seams and fabric | Before each trip | Catch small damage early |
| Clean dirt and mud | After every use | Prevent fabric wear |
| Dry tent fully | After rain or washing | Avoid mold and mildew |
| Store in a cool, dry place | When not in use | Protect fabric integrity |
Credit: www.pomoly.com
Frequently Asked Questions
How Do I Repair A Small Rip In My Tent?
Use a tent repair patch or fabric tape designed for tents. Clean the area, apply the patch smoothly, and let it dry. This prevents water leakage and extends your tent’s life effectively.
What Materials Are Best For Fixing Tent Tears?
Use waterproof fabric patches, silicone sealant, or tent-specific adhesive tape. These materials ensure strong, flexible, and weather-resistant repairs, maintaining your tent’s durability and protection.
Can I Fix A Tent Tear Without Sewing?
Yes, waterproof repair tape or adhesive patches can fix tears without sewing. They provide quick, durable repairs suitable for camping emergencies and keep the tent waterproof.
How Do I Prevent Tent Rips During Camping?
Avoid pitching on sharp or uneven surfaces and handle your tent gently. Regularly inspect and reinforce weak spots to minimize the risk of tears and damage.
Conclusion
Fixing a ripped tent is easier than it seems. Small tears can become big problems if left alone. Use the right tools and patches to mend holes quickly. A repaired tent stays strong and protects you better. Regular checks help find damage early.
Taking care of your tent saves money and hassle. Enjoy your outdoor trips without worry. Keep your gear ready for any adventure ahead.