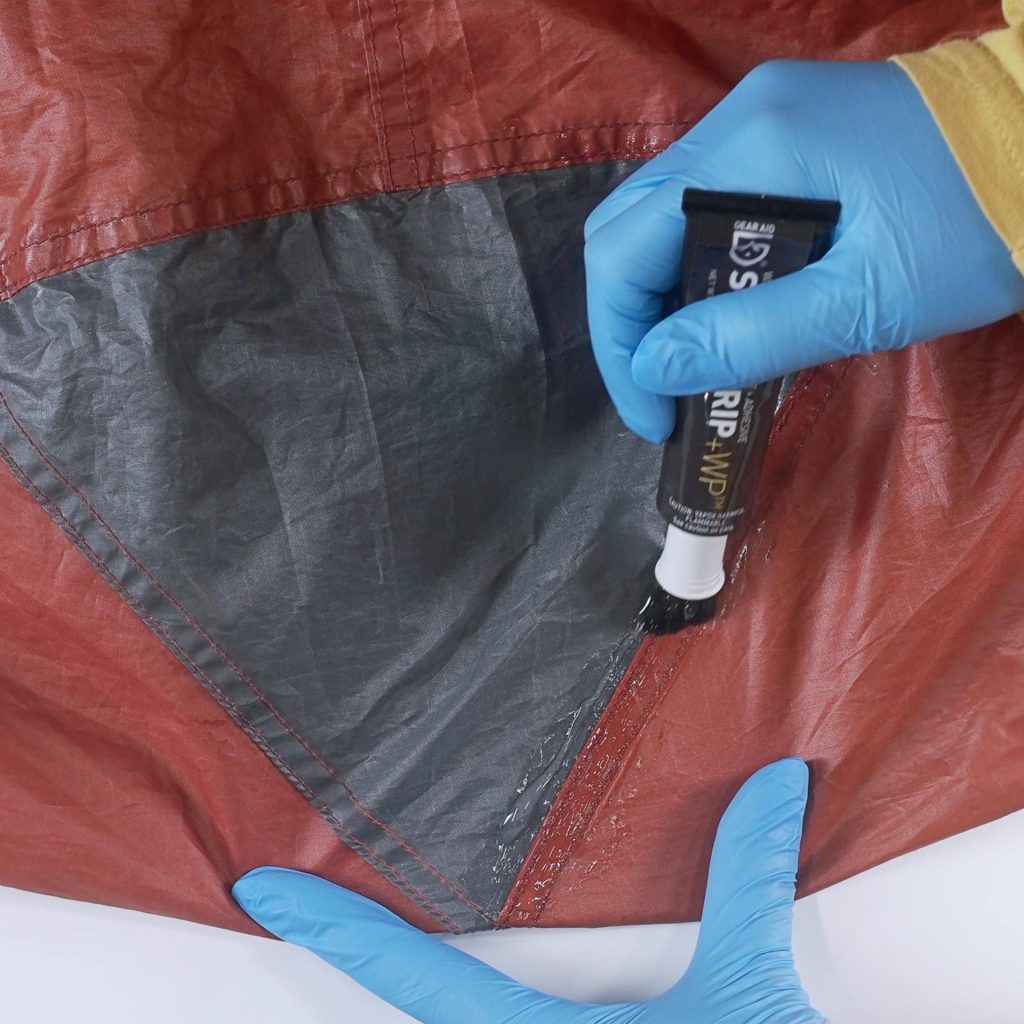
A ripped tent can quickly turn your outdoor adventure into a stressful experience. But don’t worry—you don’t have to toss your tent or spend a fortune on a new one.
With a few simple steps, you can fix your tent and get it ready for your next trip. In this guide, you’ll learn easy, practical ways to repair tears and keep your shelter strong and waterproof. Keep reading, and you’ll discover how to save your tent and enjoy the great outdoors without worry.
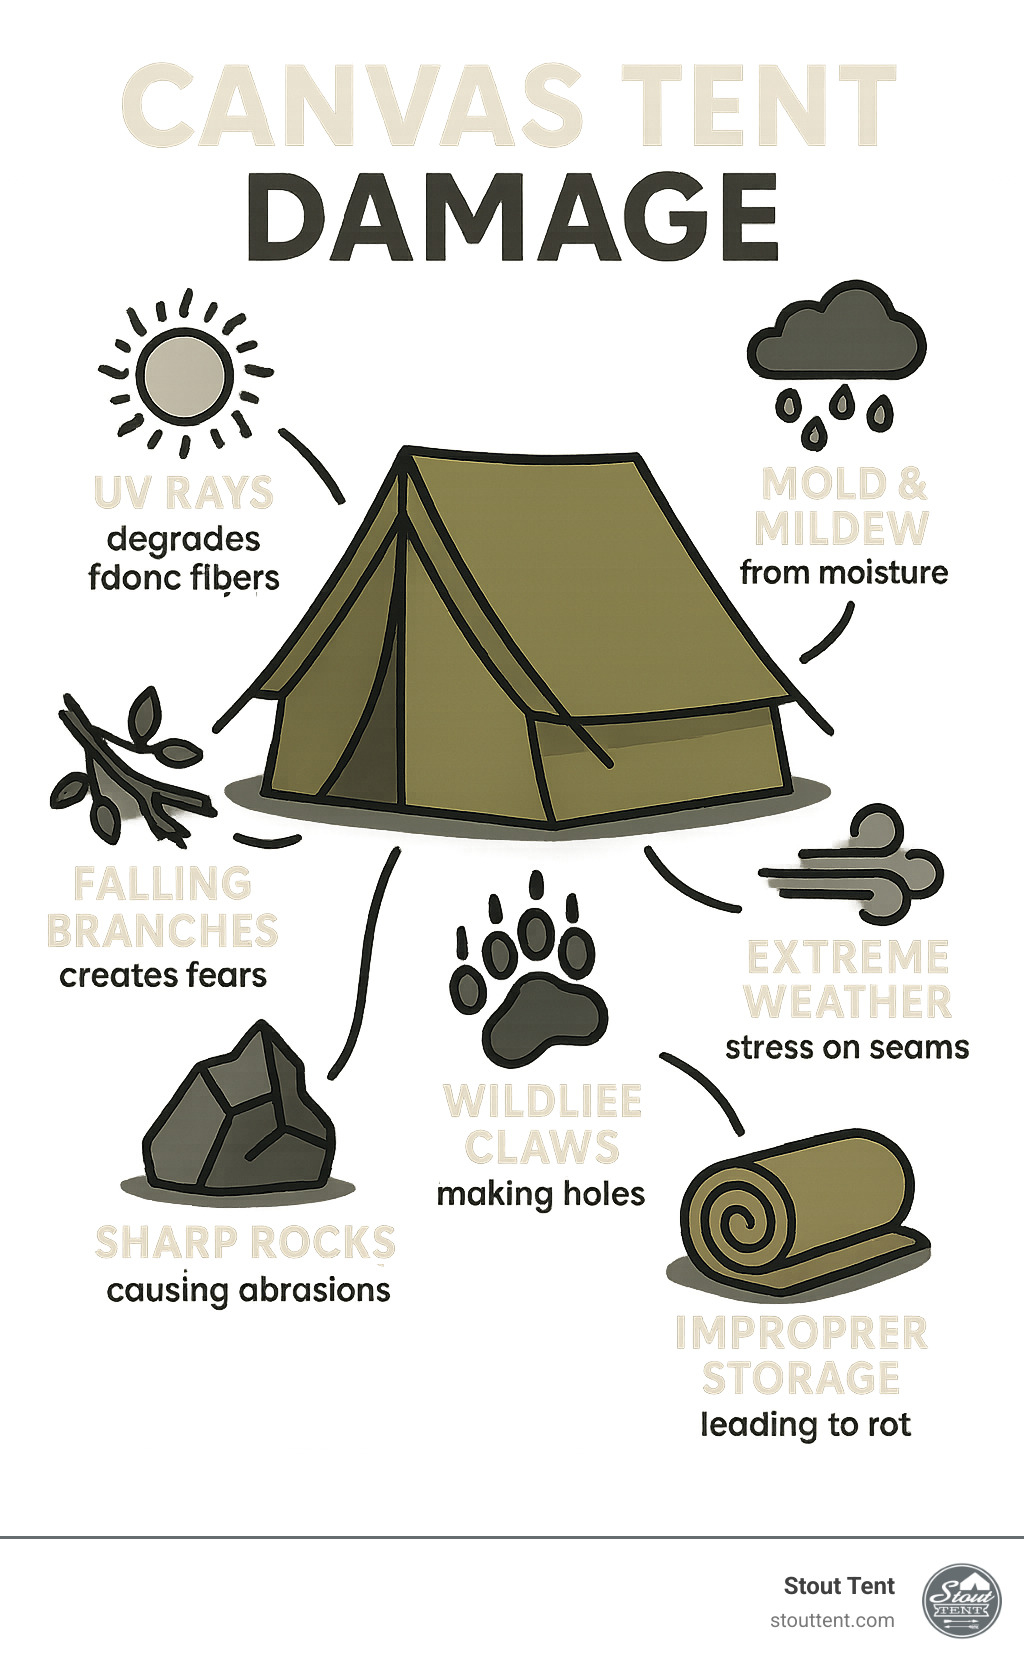
Credit: stouttent.com
Common Tent Rips
Tents can tear in many ways during camping trips. Knowing the common types helps you fix them fast.
This guide covers common tear types and how to spot damage early. It helps keep your tent safe and dry.
Types Of Tears
Tent fabric can rip from sharp objects, stress, or weather. Each tear type needs a different repair method.
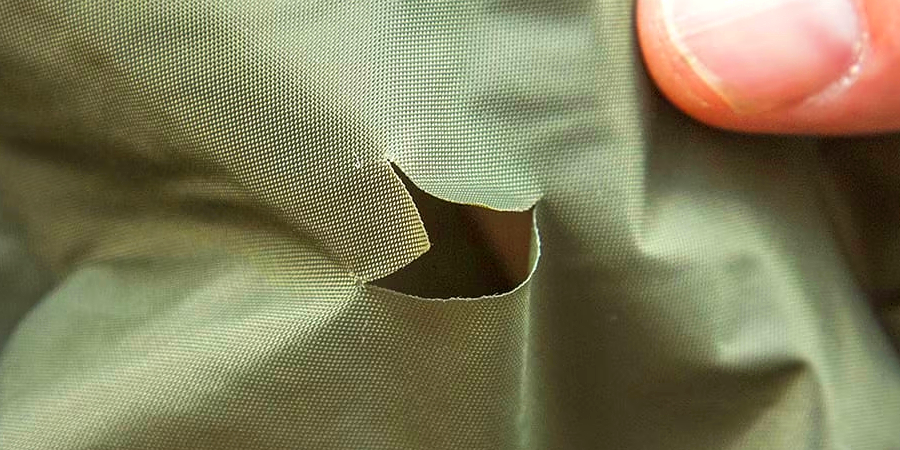
- Small Punctures:Tiny holes from thorns or sharp rocks.
- Seam Tears:Rips along the stitched lines due to stress or wear.
- Large Rips:Big tears from falling branches or rough handling.
- Zipper Damage:Tears near the zipper area that affect closing.
Identifying Damage
Check your tent carefully after each trip. Early damage is easy to repair and stops bigger problems.
| Damage Type | Signs to Look For |
| Small Punctures | Visible tiny holes, air leaks, or water spots inside |
| Seam Tears | Frayed threads or splits along stitched lines |
| Large Rips | Big open fabric areas or jagged edges |
| Zipper Damage | Broken teeth, stuck zipper, or fabric tears near zipper |
Essential Repair Tools
Fixing a ripped tent needs the right tools. These tools help you repair quickly and well.
Knowing which tools to use makes your tent last longer and stay safe.
Tape And Patches
Tape and patches are easy ways to fix small tears. They stop water and wind from entering.
Use strong tape made for tents or vinyl patches. Cut patches to cover the hole with extra space.
- Waterproof repair tape
- Vinyl or nylon patches
- Scissors to cut patches
- Cleaning cloth to prepare surface
Sewing Supplies
Sewing is best for bigger rips or torn seams. It makes your tent strong again.
Use heavy-duty needles and thread that resist water and sun damage. Sewing kits often include these.
- Heavy-duty needle
- Polyester or nylon thread
- Thimble to protect fingers
- Small scissors or thread snips
Adhesives
Adhesives glue fabric pieces and patches firmly. They are great for quick fixes and no-sew repairs.
Choose waterproof glue made for outdoor fabrics. Follow instructions to get a strong, lasting bond.
- Waterproof fabric glue
- Brush or applicator for glue
- Clamps or weights to hold pieces together
- Clean cloth to wipe excess glue
Preparing The Tent
Fixing a ripped tent starts with good preparation. You must prepare the area around the tear well.
Preparing the tent fabric helps the patch or glue stick better. Clean and dry the fabric carefully first.
Cleaning The Area
Remove dirt, dust, and old tape from the torn area. Use a soft brush or cloth to clean it gently.
Use mild soap and water to wash the area if it is very dirty. Avoid harsh chemicals that can damage the fabric.
- Brush off loose dirt
- Clean with mild soap and water
- Rinse well to remove soap
- Do not use strong cleaners
Drying The Fabric
Make sure the fabric is fully dry before fixing the tear. Wet fabric can stop glue from sticking properly.
Air dry the fabric in a shaded, well-ventilated spot. Avoid direct sunlight to prevent fading or damage.
- Pat the fabric dry with a clean towel
- Air dry in shade
- Do not use heat sources like hair dryers
- Wait until the fabric feels completely dry

Credit: www.reddit.com
Using Tent Tape
Fixing a ripped tent with tape is a quick and easy way to stop leaks and tears. Tent tape is strong and made for outdoor use.
It helps keep your tent safe from wind and rain until you can make a permanent repair.
Choosing The Right Tape
Choose tape made for tents or outdoor gear. It should be waterproof and stick well to fabric.
Look for tape that is flexible so it moves with the tent. Some tapes are clear, and others match tent colors.
- Waterproof and weather resistant
- Strong adhesive that sticks to fabric
- Flexible and tear-resistant material
- Clear or color matched to your tent
Applying Tape Properly
Clean the area around the rip before applying tape. Make sure it is dry and free of dirt or dust.
Cut a piece of tape larger than the rip. Press it firmly on the fabric and smooth out air bubbles.
- Clean and dry the torn area
- Cut tape bigger than the rip
- Press tape firmly on the fabric
- Smooth out any air bubbles
Sewing Tent Tears
Fixing a ripped tent by sewing can save your gear and keep it usable. Sewing a tear requires the right tools and careful steps.
Using strong stitches and reinforcing seams helps keep the repair secure. This guide covers basic stitch types and how to reinforce seams.
Stitch Types
Choose stitches that hold fabric tightly and resist stress. Common stitches for tent repairs include running stitch, backstitch, and whipstitch.
- Running Stitch:Simple and quick, good for small tears.
- Backstitch:Strong and durable, good for heavy fabric.
- Whipstitch:Wraps fabric edges to stop fraying.
Use nylon or polyester thread for strength and water resistance. Keep stitches close and even for the best hold.
Reinforcing Seams
Reinforce sewn tears to prevent the rip from growing. Add extra fabric patches or sew multiple rows of stitches.
- Place a patch inside or outside the tent over the tear.
- Sew around the patch edges tightly.
- Double stitch the original tear line for extra strength.
- Seal seams with waterproof tape or seam sealer after sewing.
Reinforcing seams helps the tent last through wind and rain. Take time to make repairs neat and strong.
Credit: www.pomoly.com
Applying Fabric Patches
Fixing a ripped tent is important to keep it waterproof and strong. Applying fabric patches is a common and effective way to repair small and medium tears. You only need a few materials and some care.
This guide covers the main patch materials you can use and the best ways to secure your patches. Follow these tips to restore your tent quickly.
Patch Materials
Choose the right patch material for your tent fabric. The patch should be durable and water-resistant. Common options include nylon, polyester, and vinyl. Each works well with different tent fabrics.
- Nylon patches:Best for nylon tents. Lightweight and strong.
- Polyester patches:Work well on polyester tents. Resistant to UV rays.
- Vinyl patches:Good for heavy-duty repairs. Waterproof and tough.
- Adhesive patches:Easy to apply. Great for quick fixes.
- Fabric glue:Use alongside patches for extra hold.
Securing Patches
Properly securing patches makes your repair last longer. Clean the torn area before patching. Cut the patch larger than the rip. Apply glue or use adhesive patches carefully.
| Method | How to Use | Best For |
| Iron-on patches | Heat patch with iron to bond fabric | Quick and strong repairs on synthetic tents |
| Sewing | Stitch patch edges for extra strength | Heavy use tents and large tears |
| Fabric glue | Apply glue under patch edges | Small tears and temporary fixes |
| Adhesive patches | Peel and stick patch firmly | Easy and fast repairs without tools |
Waterproofing Repairs
Fixing a ripped tent is important to keep it waterproof. Without proper repairs, water can seep inside and spoil your gear.
Waterproofing repairs help restore the tent’s protection from rain. Using the right materials keeps you dry and comfortable outdoors.
Seam Sealants
Seam sealants are special liquids used to cover tent seams. They stop water from leaking through the stitched areas.
Apply seam sealant on both inside and outside seams. Let it dry fully before using the tent again to ensure a strong waterproof layer.
- Clean the seams before applying sealant
- Use a brush or applicator to spread evenly
- Allow 24 hours drying time for best results
- Repeat application if needed for heavy rain
Protective Coatings
Protective coatings add a waterproof layer over the repaired area. They strengthen the fabric and block water from entering.
Choose coatings made for tents and outdoor gear. Apply them carefully on the patched parts and around the rip for full coverage.
- Ensure the tent is clean and dry
- Use a sponge or cloth to apply coating
- Cover the rip and nearby fabric edges
- Let the coating cure as per instructions
Preventing Future Damage
Fixing a ripped tent is important to keep it usable. Preventing new damage helps your tent last longer.
Taking care during setup and storage reduces the chance of tears and holes.
Proper Tent Setup
Set up your tent on smooth, flat ground free of sharp rocks or sticks. Clear the area first to avoid punctures.
Use a groundsheet or footprint under your tent. This adds an extra layer of protection against rough surfaces.
- Choose a level spot without debris
- Use a footprint or tarp under the tent
- Secure tent stakes firmly but gently
- Avoid overstretching the tent fabric
- Keep tent poles in good condition
Storage Tips
Store your tent dry and clean to prevent mold and fabric damage. Moisture weakens the material over time.
Fold your tent loosely and avoid sharp creases. This keeps the fabric fibers strong and flexible.
- Dry tent fully before packing
- Clean off dirt and sand
- Store in a cool, dry place
- Use a breathable storage bag
- Do not leave tent compressed for months
Frequently Asked Questions
How Can I Temporarily Fix A Ripped Tent?
Use strong tape like duct or tent repair tape to cover the rip temporarily. Avoid sewing until the area is clean and dry.
What Materials Are Best For Tent Tear Repair?
Use tent repair tape, waterproof patches, or fabric glue. These materials ensure a durable, waterproof fix for your tent.
Can Sewing Fix A Tent Rip Effectively?
Yes, sewing with strong nylon thread can provide a long-lasting fix. Seal the stitches with waterproof sealant to prevent leaks.
How Do I Prevent Tent Rips During Camping?
Set up your tent on smooth, debris-free ground. Avoid sharp objects and always handle the tent fabric gently to reduce tears.
Conclusion
Fixing a ripped tent is simple with the right steps. Start by assessing the damage. Use tape or patches to mend small tears. For larger holes, a repair kit works best. Always ensure the tent is clean before repairs. This helps patches stick better.
Regularly check your tent for new rips. Doing this keeps your shelter ready for adventure. A well-maintained tent lasts longer. Enjoy your camping trips without worry. Happy camping and safe travels!