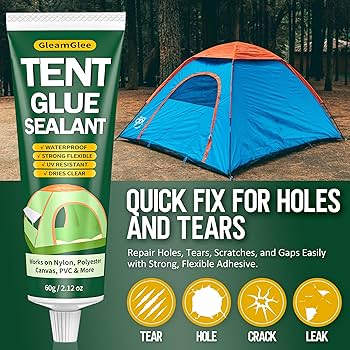
A tear in your tent can quickly turn a fun outdoor trip into a stressful situation. You don’t want rain, wind, or bugs sneaking inside just because of a small rip.
But don’t worry—you don’t need to buy a new tent or spend hours fixing it. In this guide, you’ll learn simple, effective ways to repair that tear and get your tent back in shape fast. Keep reading, and you’ll be ready to enjoy your next adventure without any worries.
Credit: stouttent.com
Identify The Tear
Finding and understanding the tear in your tent is the first step to fixing it. You need to know exactly where the damage is and how big it is.
This helps you choose the right repair materials and tools. Taking time to inspect carefully saves effort later.
Locate The Damage
Start by spreading out the tent on a flat surface. Look closely for holes, rips, or weak spots in the fabric.
Use a flashlight if the tear is small or in a dark area. Check seams and corners because these areas often get damaged.
- Spread the tent flat
- Look for holes or rips
- Use light to find small tears
- Check seams and corners
Assess The Tear Size
Measure the length and width of the tear using a ruler or tape measure. This helps you decide what patch size to use.
Small tears under one inch need different fixes than large rips. Also, check if the fabric around the tear is weak or frayed.
- Measure tear length and width
- Note fabric condition near the tear
- Identify if tear is small or large
Credit: www.gearaid.com
Gather Repair Materials
Fixing a tear in a tent starts with gathering the right materials. Having the proper supplies makes the repair strong and lasting.
Use good tools and patches to keep your tent safe from rain and wind. This guide helps you choose what you need.
Essential Tools And Supplies
Prepare these tools before you fix the tear. They help you work neatly and avoid more damage.
- Scissors or a sharp knife to cut patches
- Seam sealer or waterproof glue
- Cleaning cloth to wipe the area
- Sandpaper to smooth rough edges
- Plastic spreader or credit card to apply glue evenly
- Tent repair tape for small tears
- Replacement fabric patch for big holes
Choosing The Right Patch
Pick a patch that matches your tent fabric. The patch should be strong, flexible, and waterproof.
| Patch Type | Best For | Material |
| Iron-on Patch | Small tears | Nylon or polyester |
| Adhesive Patch | Quick fixes | Vinyl or urethane |
| Sew-on Patch | Large or structural repairs | Canvas or heavy-duty fabric |
| Repair Tape | Temporary fixes | Waterproof fabric tape |
Prepare The Tent Surface
Fixing a tear in a tent needs careful surface preparation. This helps patches stick well and last long.
Start by cleaning and drying the area around the tear. These steps make the repair stronger.
Clean The Area
Remove dirt, dust, and debris from the torn part of the tent. Use a soft brush or cloth to clean gently.
Cleaning stops dirt from blocking the glue or patch. This helps the repair stick better.
- Use mild soap and water for tough stains
- Rinse with clean water
- Wipe off all soap and dirt
Dry The Fabric
Make sure the fabric is completely dry before fixing the tear. Moisture can weaken the patch.
Air dry the tent in a shaded place. Avoid direct sunlight to protect the fabric from damage.
- Do not use a heater or hairdryer
- Check for dampness before applying glue
- Drying well ensures strong patch adhesion
Apply A Temporary Fix
Tents can tear during camping trips. Fixing them quickly is important to stay dry and warm. Here are some easy ways to apply a temporary fix to your tent.
Temporary solutions are useful when you are in the wilderness. They help keep your tent functional until you can make a permanent repair.
Use Tape For Quick Repair
Tape is a handy solution for quick tent repairs. It seals tears effectively and is easy to use.
Make sure the tent fabric is dry before applying tape. Press the tape firmly over the tear to ensure it sticks well.
- Use duct tape or repair tape
- Clean the area around the tear
- Press tape on both sides of the fabric
Alternative Temporary Solutions
There are other ways to fix tent tears temporarily. These methods are useful if you do not have tape.
Items like a sewing kit or patch can help. These provide a quick fix until you get home.
- Use a needle and thread to sew the tear
- Apply a fabric patch over the hole
- Use a waterproof adhesive to seal small holes
Permanent Patch Techniques
Fixing a tear in a tent permanently takes some effort and the right tools. Using strong patching methods keeps your tent safe from weather and insects.
Two common ways to patch a tent are sewing the tear and applying iron-on or adhesive patches. Both methods work well if done carefully.
Sewing The Tear
Sewing a tear is a durable way to fix your tent. Use a needle and strong thread that matches your tent’s fabric.
- Clean the area around the tear and let it dry.
- Cut loose threads or fabric edges neatly.
- Thread a needle with strong nylon or polyester thread.
- Use small, tight stitches to sew the tear closed.
- Tie knots at the start and end to secure the thread.
- Optionally, add a fabric patch over the sewn area for extra strength.
Iron-on Or Adhesive Patches
Iron-on or adhesive patches offer a quick and clean way to fix tears without sewing. Choose a patch made for outdoor fabrics.
| Patch Type | Application | Durability | Tools Needed |
| Iron-On Patch | Use an iron to heat and bond the patch | High | Iron, clean cloth |
| Adhesive Patch | Peel and stick the patch to the tear | Medium | Clean surface, pressure |
| Double-Sided Tape Patch | Use tape and fabric patch together | Medium | Tape, patch fabric |
Before applying patches, clean and dry the torn area well. Follow the patch instructions carefully for best results.
Seal And Waterproof
Fixing a tear in your tent requires careful sealing and waterproofing. Proper sealing stops water from entering through the damaged area.
Waterproofing protects your tent during rain and keeps it dry inside. Both steps are important to extend your tent’s life.
Apply Seam Sealer
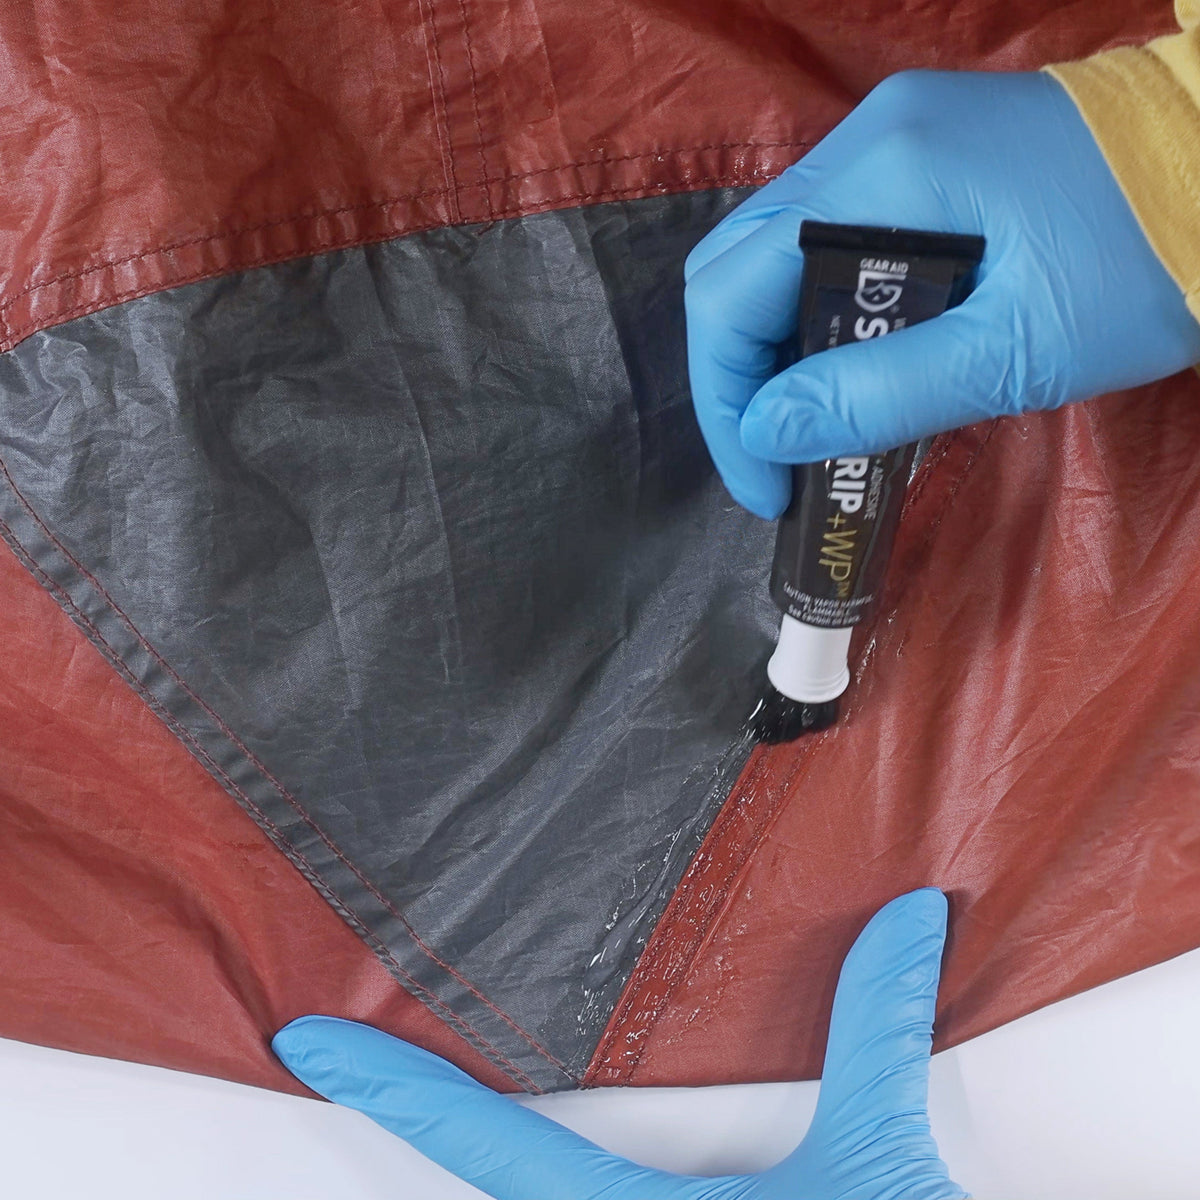
Seam sealer fills small holes and gaps around the tear. It also strengthens weak spots near the damage. Use a brush or applicator to spread the sealer evenly.
- Clean the area around the tear with mild soap and water.
- Let the tent fabric dry completely before applying sealer.
- Apply a thin layer of seam sealer to all edges of the tear.
- Allow the sealer to dry for at least 24 hours.
- Repeat the application if needed for better protection.
Ensure Complete Waterproofing
After sealing the tear, add a waterproof coating to the entire repaired area. This step prevents water from soaking through the fabric.
| Waterproofing Method | How to Apply | Drying Time |
| Spray-on Waterproofing | Spray evenly over the patched area | 4 to 6 hours |
| Brush-on Waterproofing | Use a brush to cover the tear and seams | 6 to 8 hours |
| Waterproof Tape | Stick tape over the tear for extra sealing | Immediate use after application |
Prevent Future Tears
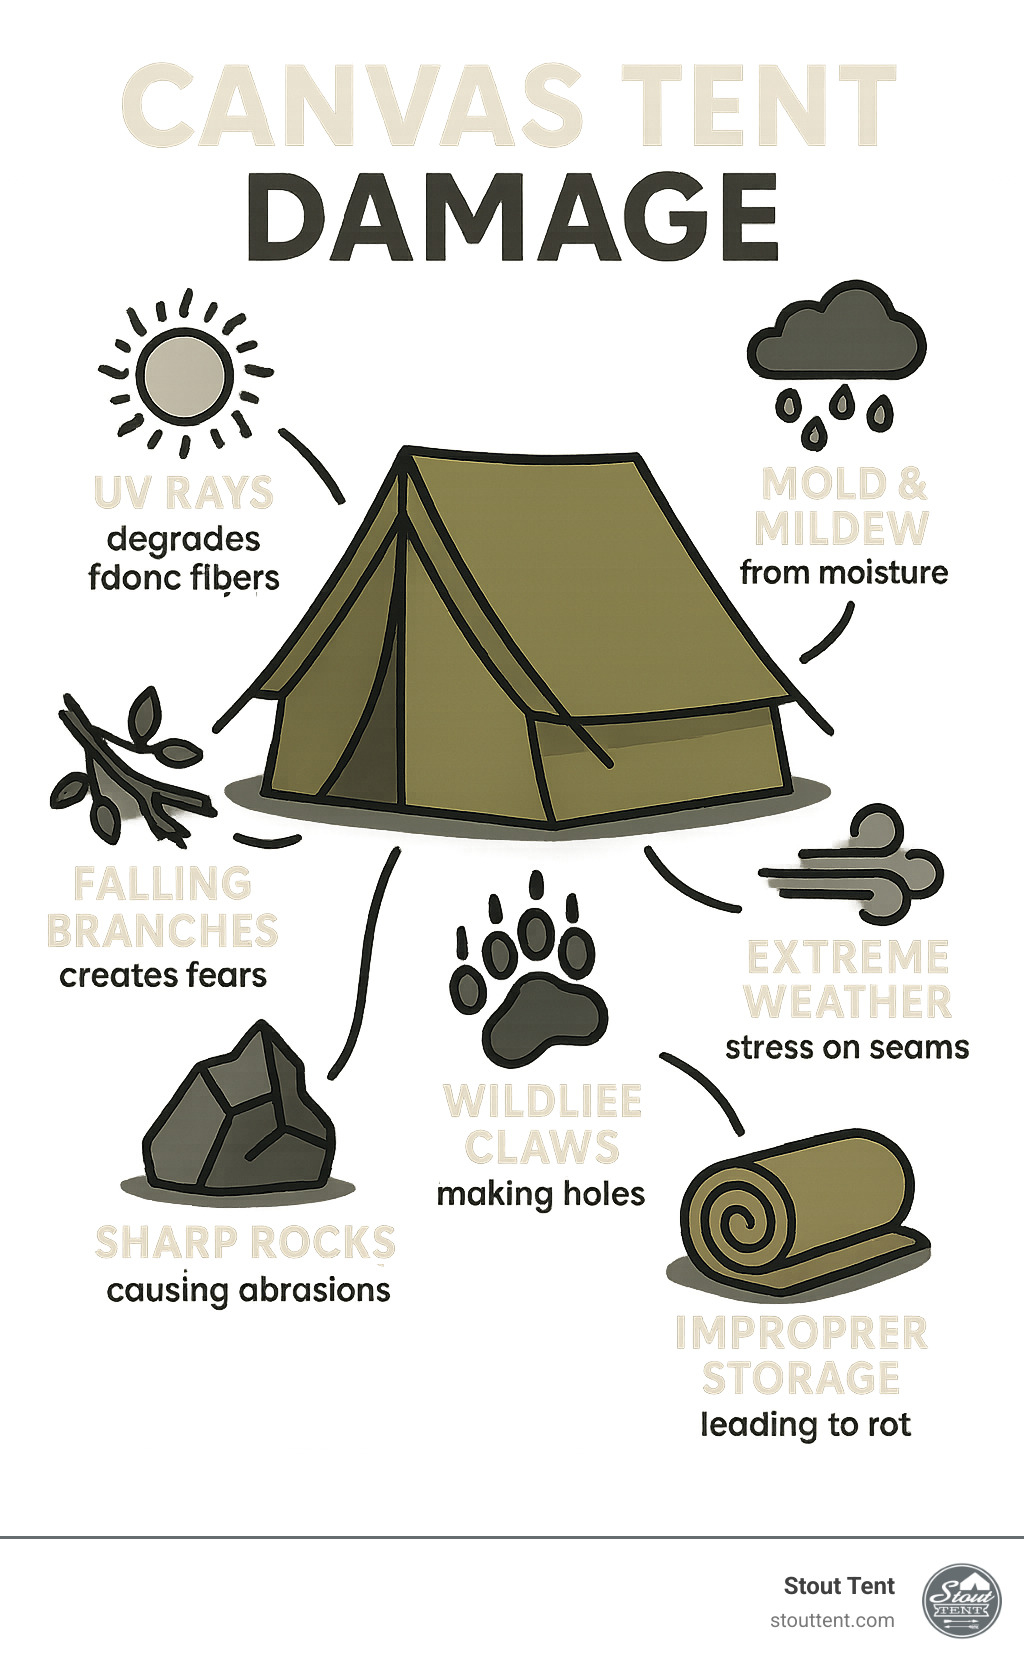
Tents can tear if not set up or cared for properly. Taking simple steps can help stop tears from happening again. Protect your tent to keep it strong and useful for many trips.
Focus on the way you put your tent up and how you care for it after use. These habits make a big difference in tent life.
Proper Tent Setup
Setting up your tent right reduces stress on the fabric. Avoid sharp objects and tight spots. Place your tent on smooth ground to protect it from scratches and tears.
- Clear rocks and sticks before pitching your tent
- Use a groundsheet or footprint under the tent
- Don’t pull the tent fabric too tight
- Secure guy lines to keep the tent stable in wind
- Set up your tent away from tree branches and bushes
Regular Maintenance Tips
Keep your tent clean and dry after every trip. Check for small holes or weak spots to fix them early. Proper care helps stop small tears from growing bigger.
| Maintenance Task | How Often | Why It Helps |
| Clean tent fabric | After each use | Removes dirt that can weaken material |
| Air dry tent fully | After each use | Prevents mold and fabric damage |
| Inspect for holes | Before and after trips | Catch small tears early to repair |
| Repair small tears | As soon as found | Stops tears from expanding |
| Store in a cool, dry place | Long term | Prevents fabric breakdown |
Credit: www.montbell.com
Frequently Asked Questions
How Do I Repair A Small Tear In My Tent?
Use a tent repair patch or fabric tape designed for outdoor use. Clean the area, apply the patch inside and outside, and press firmly. This prevents water leaks and further damage. Always follow the product instructions for best results.
What Materials Are Best For Fixing Tent Tears?
Silicone sealant, waterproof fabric tape, and tent repair patches work well. Choose materials compatible with your tent’s fabric for durability. Avoid using regular glue or tape, as they won’t hold up outdoors or in wet conditions.
Can I Sew A Tear In My Tent Safely?
Yes, sewing is effective for larger tears. Use a needle and strong nylon thread. Stitch tightly and evenly, then reinforce with a waterproof patch or seam sealer to prevent leaks and strengthen the repair.
How Long Does A Tent Tear Repair Last?
A proper repair can last for several camping seasons. Longevity depends on repair quality, materials used, and tent usage. Regularly inspect repaired areas and reapply patches or sealants if needed to maintain tent integrity.
Conclusion
Fixing a tear in your tent keeps your gear safe and dry. Small tears need quick attention to stop them from growing. Use simple tools like patches and tape for easy repairs. Regularly check your tent before trips to catch damage early.
With a little care, your tent will last many adventures. Enjoy camping without worry, knowing your shelter is strong again. Simple fixes save money and extend your tent’s life. Keep your outdoor experience comfortable and safe every time.