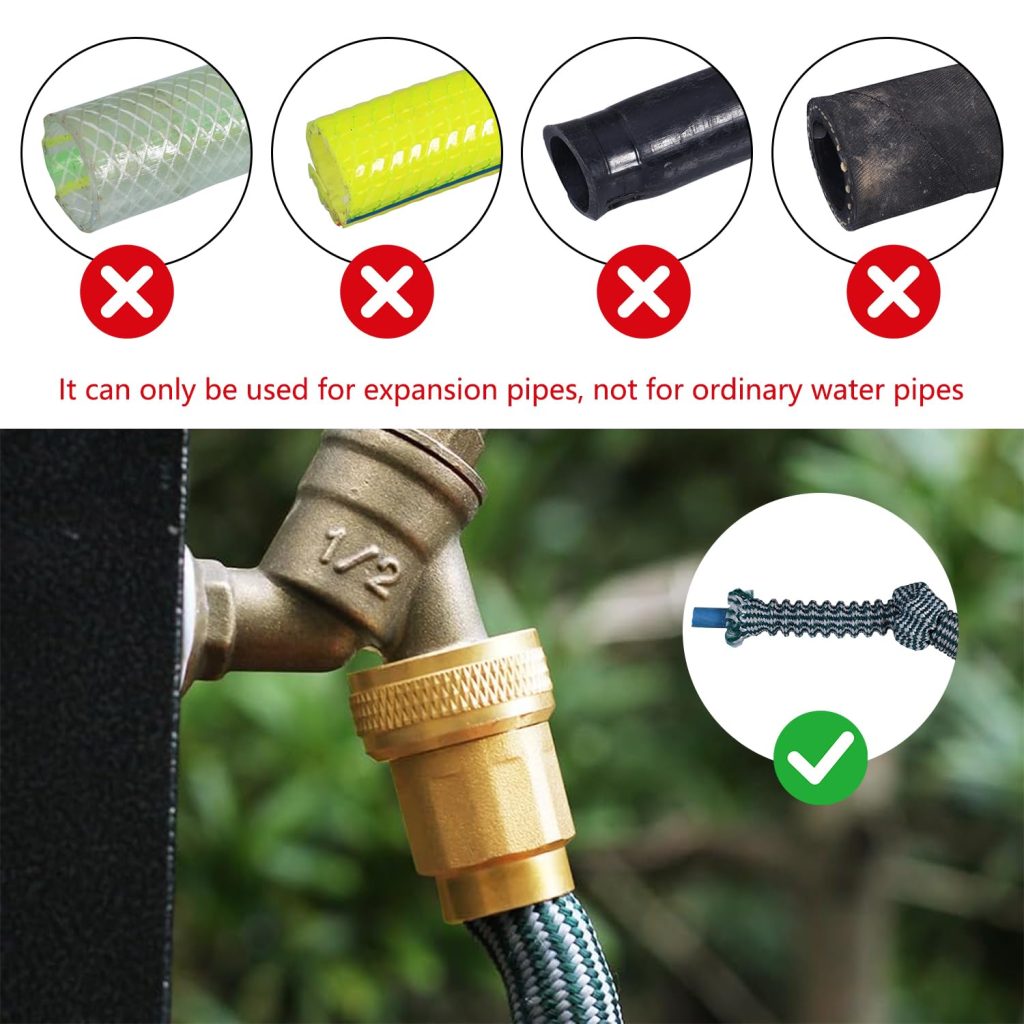
Is your garden hose end leaking or broken? It can be frustrating when your hose won’t connect properly or water starts dripping everywhere.
But don’t worry—you don’t need to buy a new hose or call a plumber. You can fix it yourself quickly and easily. You’ll learn simple steps to repair your garden hose end, save money, and get your watering back on track.
Keep reading, and by the end, your hose will be as good as new.
Common Hose End Problems
Garden hoses often face issues at the hose end. These problems make watering plants hard.
Fixing hose end problems can save water and keep your garden healthy.
Leaks And Drips
Leaks and drips happen when the hose end is damaged or worn out. Water escapes, wasting water and pressure.
Check the washer inside the hose end. If it is cracked or missing, replace it to stop leaks.
- Remove the hose end and inspect the rubber washer
- Replace old washers with new ones of the same size
- Tighten connections to prevent water from dripping
Cracks And Breaks
Cracks and breaks happen from rough use or weather changes. They cause water to leak and reduce hose life.
Small cracks may be fixed with tape or sealant. Large breaks need a hose end replacement.
- Look for cracks near the connection point
- Use waterproof tape for small cracks
- Cut off broken ends and add a new hose fitting if needed
Loose Connections
Loose connections cause water leaks and reduce pressure. They happen if the hose end is not tight or threads are damaged.
Hand-tighten the hose end or use a wrench carefully. Replace damaged hose ends to keep a strong connection.
- Check if the hose end screws on tightly
- Use plumber’s tape on threads for a better seal
- Replace hose ends with stripped or damaged threads
Credit: www.amazon.com
Tools And Materials Needed
Fixing a garden hose end requires a few basic tools and materials. Having the right items makes the job easier and faster.
Prepare all tools before starting to avoid interruptions during the repair.
Replacement Hose Ends
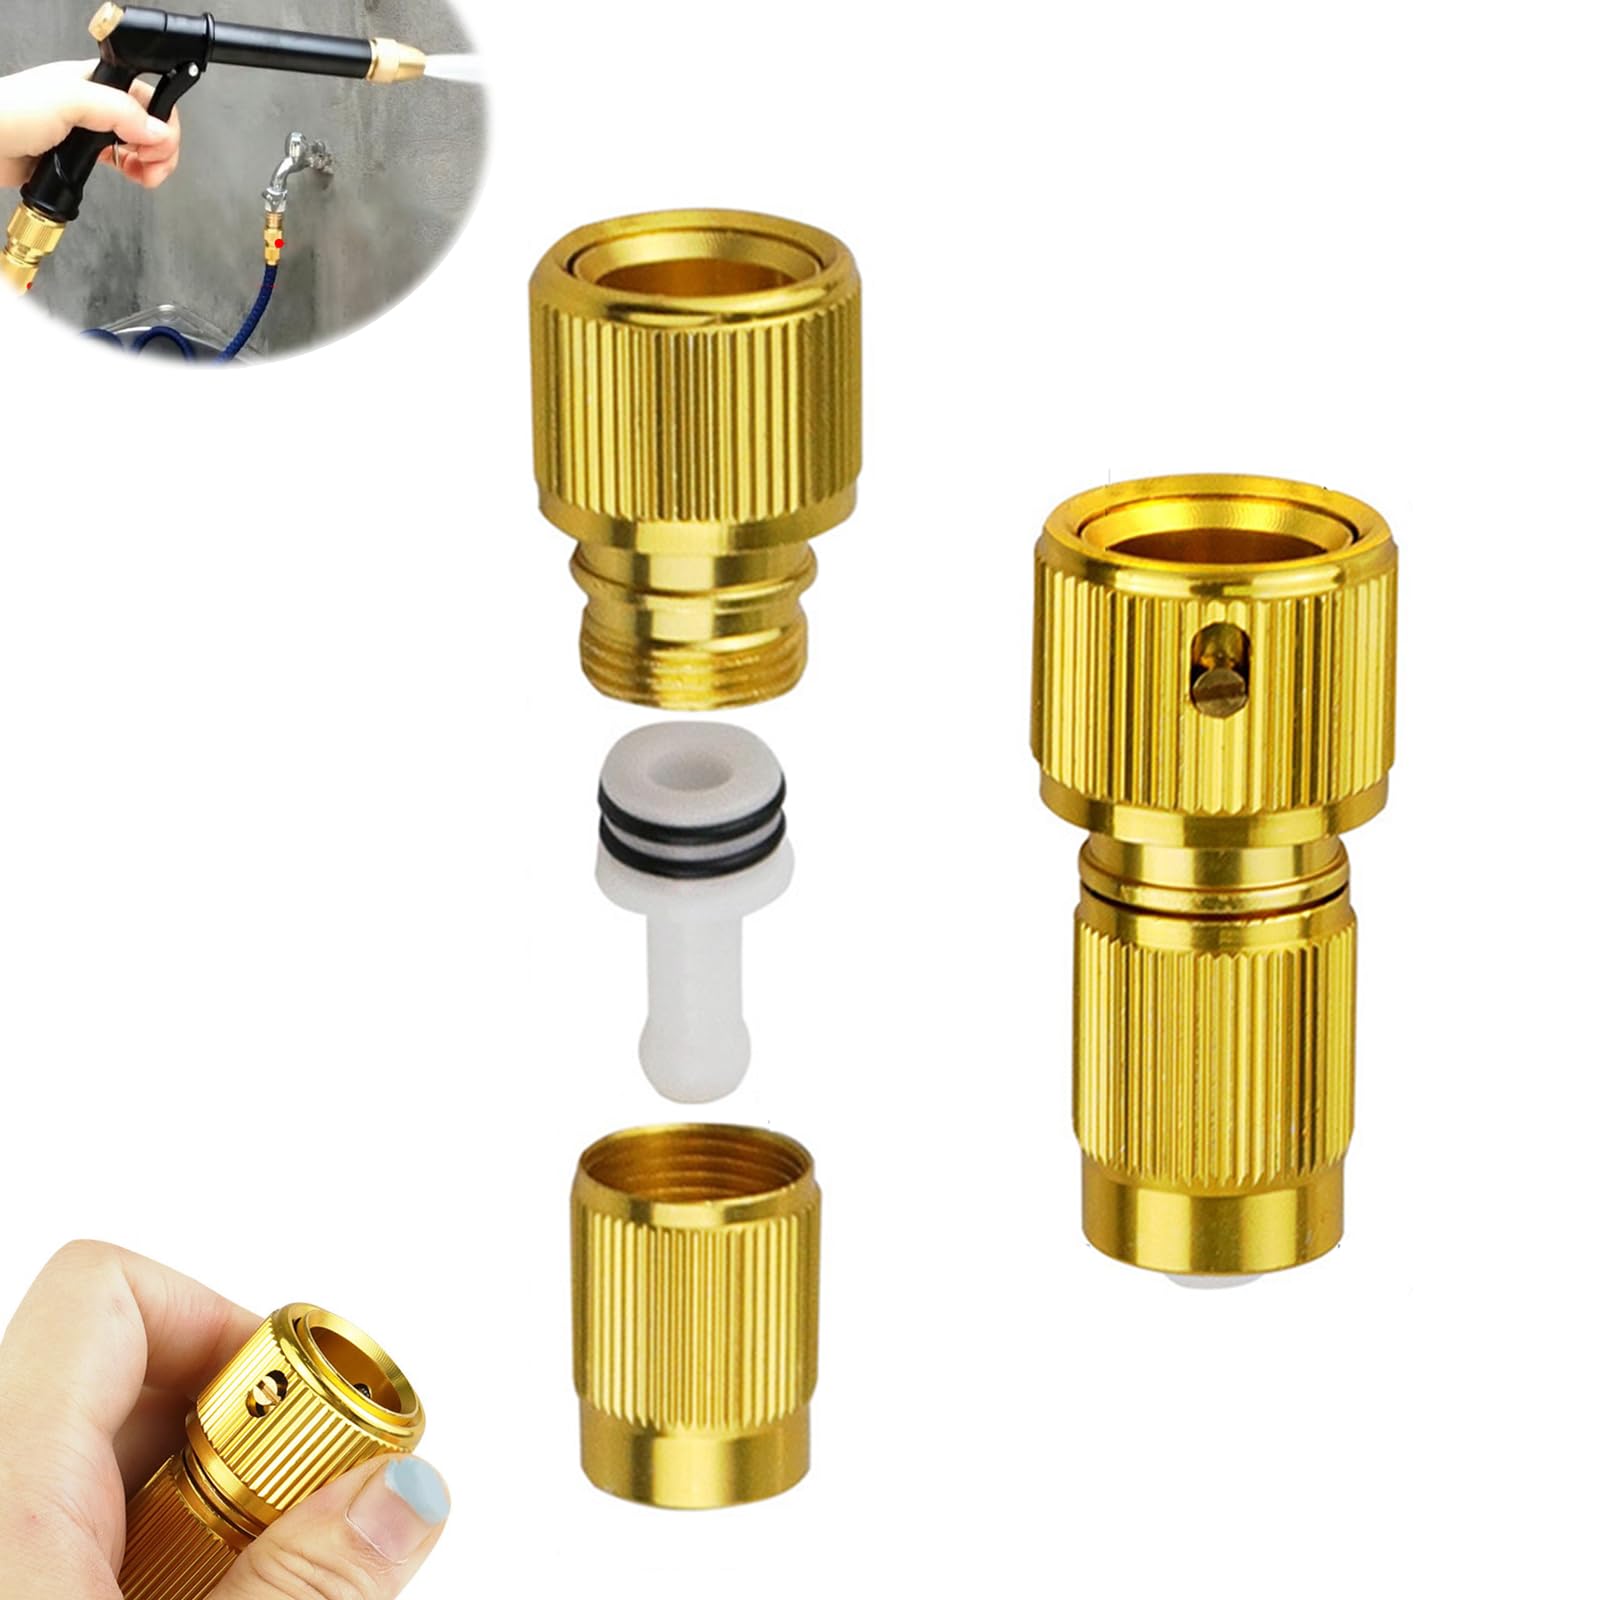
Replacement hose ends come in different types and sizes. Choose one that matches your hose diameter and style.
- Plastic or metal hose ends
- Threaded or quick-connect fittings
- Rubber washers for sealing
Wrenches And Pliers
You need tools to loosen and tighten hose ends securely. Wrenches and pliers provide grip and torque.
| Tool | Purpose |
| Adjustable wrench | Fits various nut sizes on hose ends |
| Slip-joint pliers | Grips and twists hose fittings |
| Channel-lock pliers | Provides extra leverage for tight fittings |
Teflon Tape And Sealant
Teflon tape and sealant help create watertight connections. They prevent leaks at hose joints.
- Wrap Teflon tape clockwise around threads
- Apply pipe sealant for extra protection
- Use only on threaded connections
Step-by-step Repair Process
Fixing a garden hose end is simple. You need just a few tools and a new hose end. Follow these steps to make your hose work like new.
This guide will help you repair the hose in no time. Let’s start fixing the garden hose end.
Removing The Damaged End
First, you must remove the broken end of the hose. Use a sharp utility knife or scissors for this task. Cut the hose straight across.
Make sure the cut is even. A clean cut will help the new end fit better.
Preparing The Hose
Now, prepare the hose for the new end. Check the inside of the hose. Remove any dirt or debris you find inside.
Ensure the hose is dry. A dry hose makes attaching the new end easier.
Attaching The New Hose End
Insert the new hose end into the cut hose. Push it in until it fits snugly inside. This ensures a good connection.
- Align the hose end with the hose
- Push the end firmly into the hose
- Check for a secure fit
Securing The Connection
Secure the new hose end with a clamp. Tighten the clamp around the hose and end. This prevents leaks.
Double-check the connection for leaks. If it’s secure, your hose is ready to use again.

Credit: www.familyhandyman.com
Quick Fixes For Temporary Repairs
Garden hoses can develop leaks or loose ends over time. Quick fixes help you keep watering without delay.
Use simple tools and materials to make temporary repairs. These methods save time until you can replace the hose.
Using Waterproof Tape
Waterproof tape is a fast way to stop leaks. Wrap it tightly around the damaged area for a short fix.
- Clean and dry the hose surface before applying tape.
- Wrap the tape several times around the leak.
- Stretch the tape while wrapping for better sealing.
- Press firmly to stick the tape well to the hose.
Applying Sealant
Sealants fill small cracks and holes. Use a silicone or rubber sealant designed for garden tools.
Apply the sealant on a clean, dry hose end. Let it dry fully before using the hose again.
| Sealant Type | Drying Time | Best Use |
|---|---|---|
| Silicone | 1 hour | Flexible, good for leaks |
| Rubber | 30 minutes | Strong hold on cracks |
| Epoxy | 2 hours | Hard fix for big holes |
Clamping Techniques
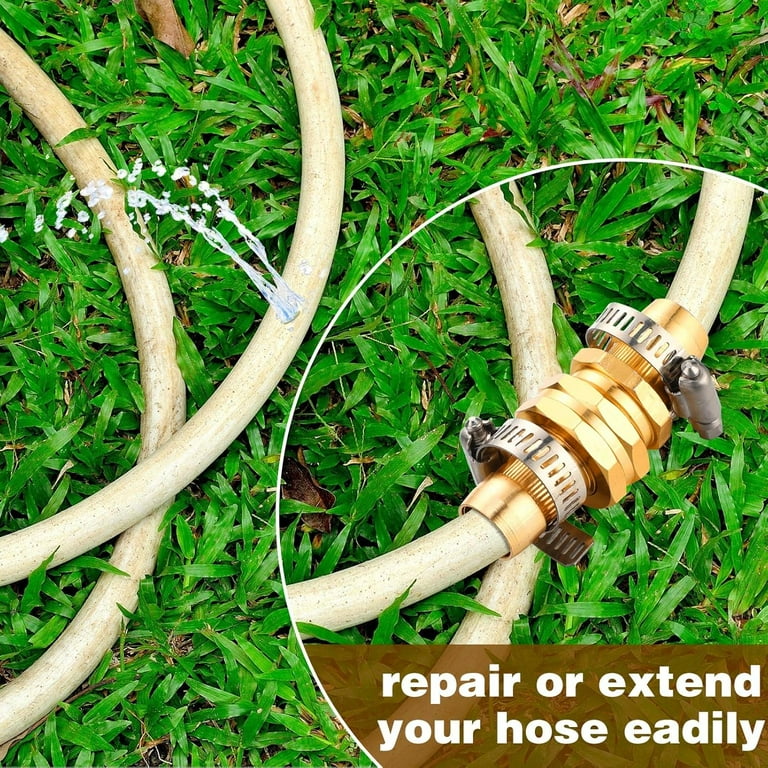
Clamps hold the hose tightly at the ends or over leaks. Use hose clamps or metal clips for a secure fit.
- Place the clamp over the damaged section.
- Tighten the clamp with a screwdriver or wrench.
- Check for leaks after tightening.
- Replace the clamp if it rusts or loosens.
Maintenance Tips To Prevent Damage
Garden hoses often get damaged at the ends. This damage can cause leaks and waste water.
Taking care of the hose ends helps them last longer and work better. Here are some tips to keep them safe.
Proper Storage Methods
Store your garden hose in a dry, cool place after use. This stops the ends from cracking or rotting.
Use a hose reel or hanger to keep it off the ground. This prevents dirt buildup and damage to the ends.
- Keep away from direct sunlight
- Do not leave water inside the hose
- Use hose reels for neat storage
- Store indoors during winter months
Avoiding Kinks And Twists
Kinks and twists put stress on the hose ends and cause cracks. Avoid sharp bends when using the hose.
Unroll the hose fully before turning on the water. This stops pressure on the hose ends and keeps them safe.
- Unroll hose before use
- Do not pull hose by the end
- Keep hose straight while watering
- Use hose guides around corners
Regular Inspections
Check your garden hose ends often for cracks or leaks. Early fixing stops bigger problems later.
Look for loose fittings and tighten them if needed. Replace damaged parts quickly to avoid water waste.
- Inspect hose ends every month
- Check for leaks and cracks
- Tighten loose connectors
- Replace damaged washers or fittings
Credit: www.walmart.com
Frequently Asked Questions
How Do I Fix A Leaking Garden Hose End?
To fix a leaking garden hose end, first turn off the water. Remove the damaged hose end and inspect the washer. Replace the washer if worn. Reattach the hose end tightly, ensuring a secure fit. Test for leaks and repeat if needed.
What Tools Are Needed To Repair A Garden Hose End?
You need pliers, a replacement washer, and a hose clamp. Sometimes, a utility knife helps remove damaged parts. These tools make hose end repairs quick and efficient. Having them ready ensures a smooth fixing process.
Can I Replace A Garden Hose End Myself?
Yes, replacing a garden hose end is simple and DIY-friendly. Cut off the damaged part, insert a new hose end, and secure it with a clamp. This repair saves money and extends the hose’s life. No professional help is required.
Why Is My Garden Hose End Dripping Water?
A dripping garden hose end usually means a worn washer or loose connection. Check and replace the washer if needed. Tighten the hose end to stop leaks. Proper maintenance prevents water waste and hose damage.
Conclusion
Fixing a garden hose end is simple with the right steps. You can save money by doing it yourself. A tight, leak-free connection keeps water flowing smoothly. Using basic tools and parts makes the job easier. Take your time and follow the instructions carefully.
Soon, your garden hose will work like new again. No more leaks or wasted water. Keep your garden healthy and green with a reliable hose. Small repairs prevent bigger problems later on. Give your hose a quick fix today.