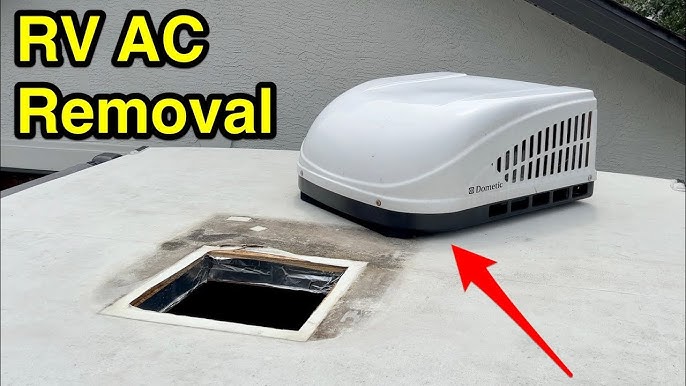
Is your RV air conditioner acting up just when you need it the most? You’re not alone, and fixing it might be easier than you think.
Imagine enjoying a cool, comfortable ride without sweating over expensive repairs or long waits for a technician. In this guide, you’ll discover simple, step-by-step ways to troubleshoot and fix your RV air conditioner yourself. Keep reading, and you’ll be back to relaxing in a cool space in no time.
Don’t let a broken AC ruin your trip—let’s get it working again together.
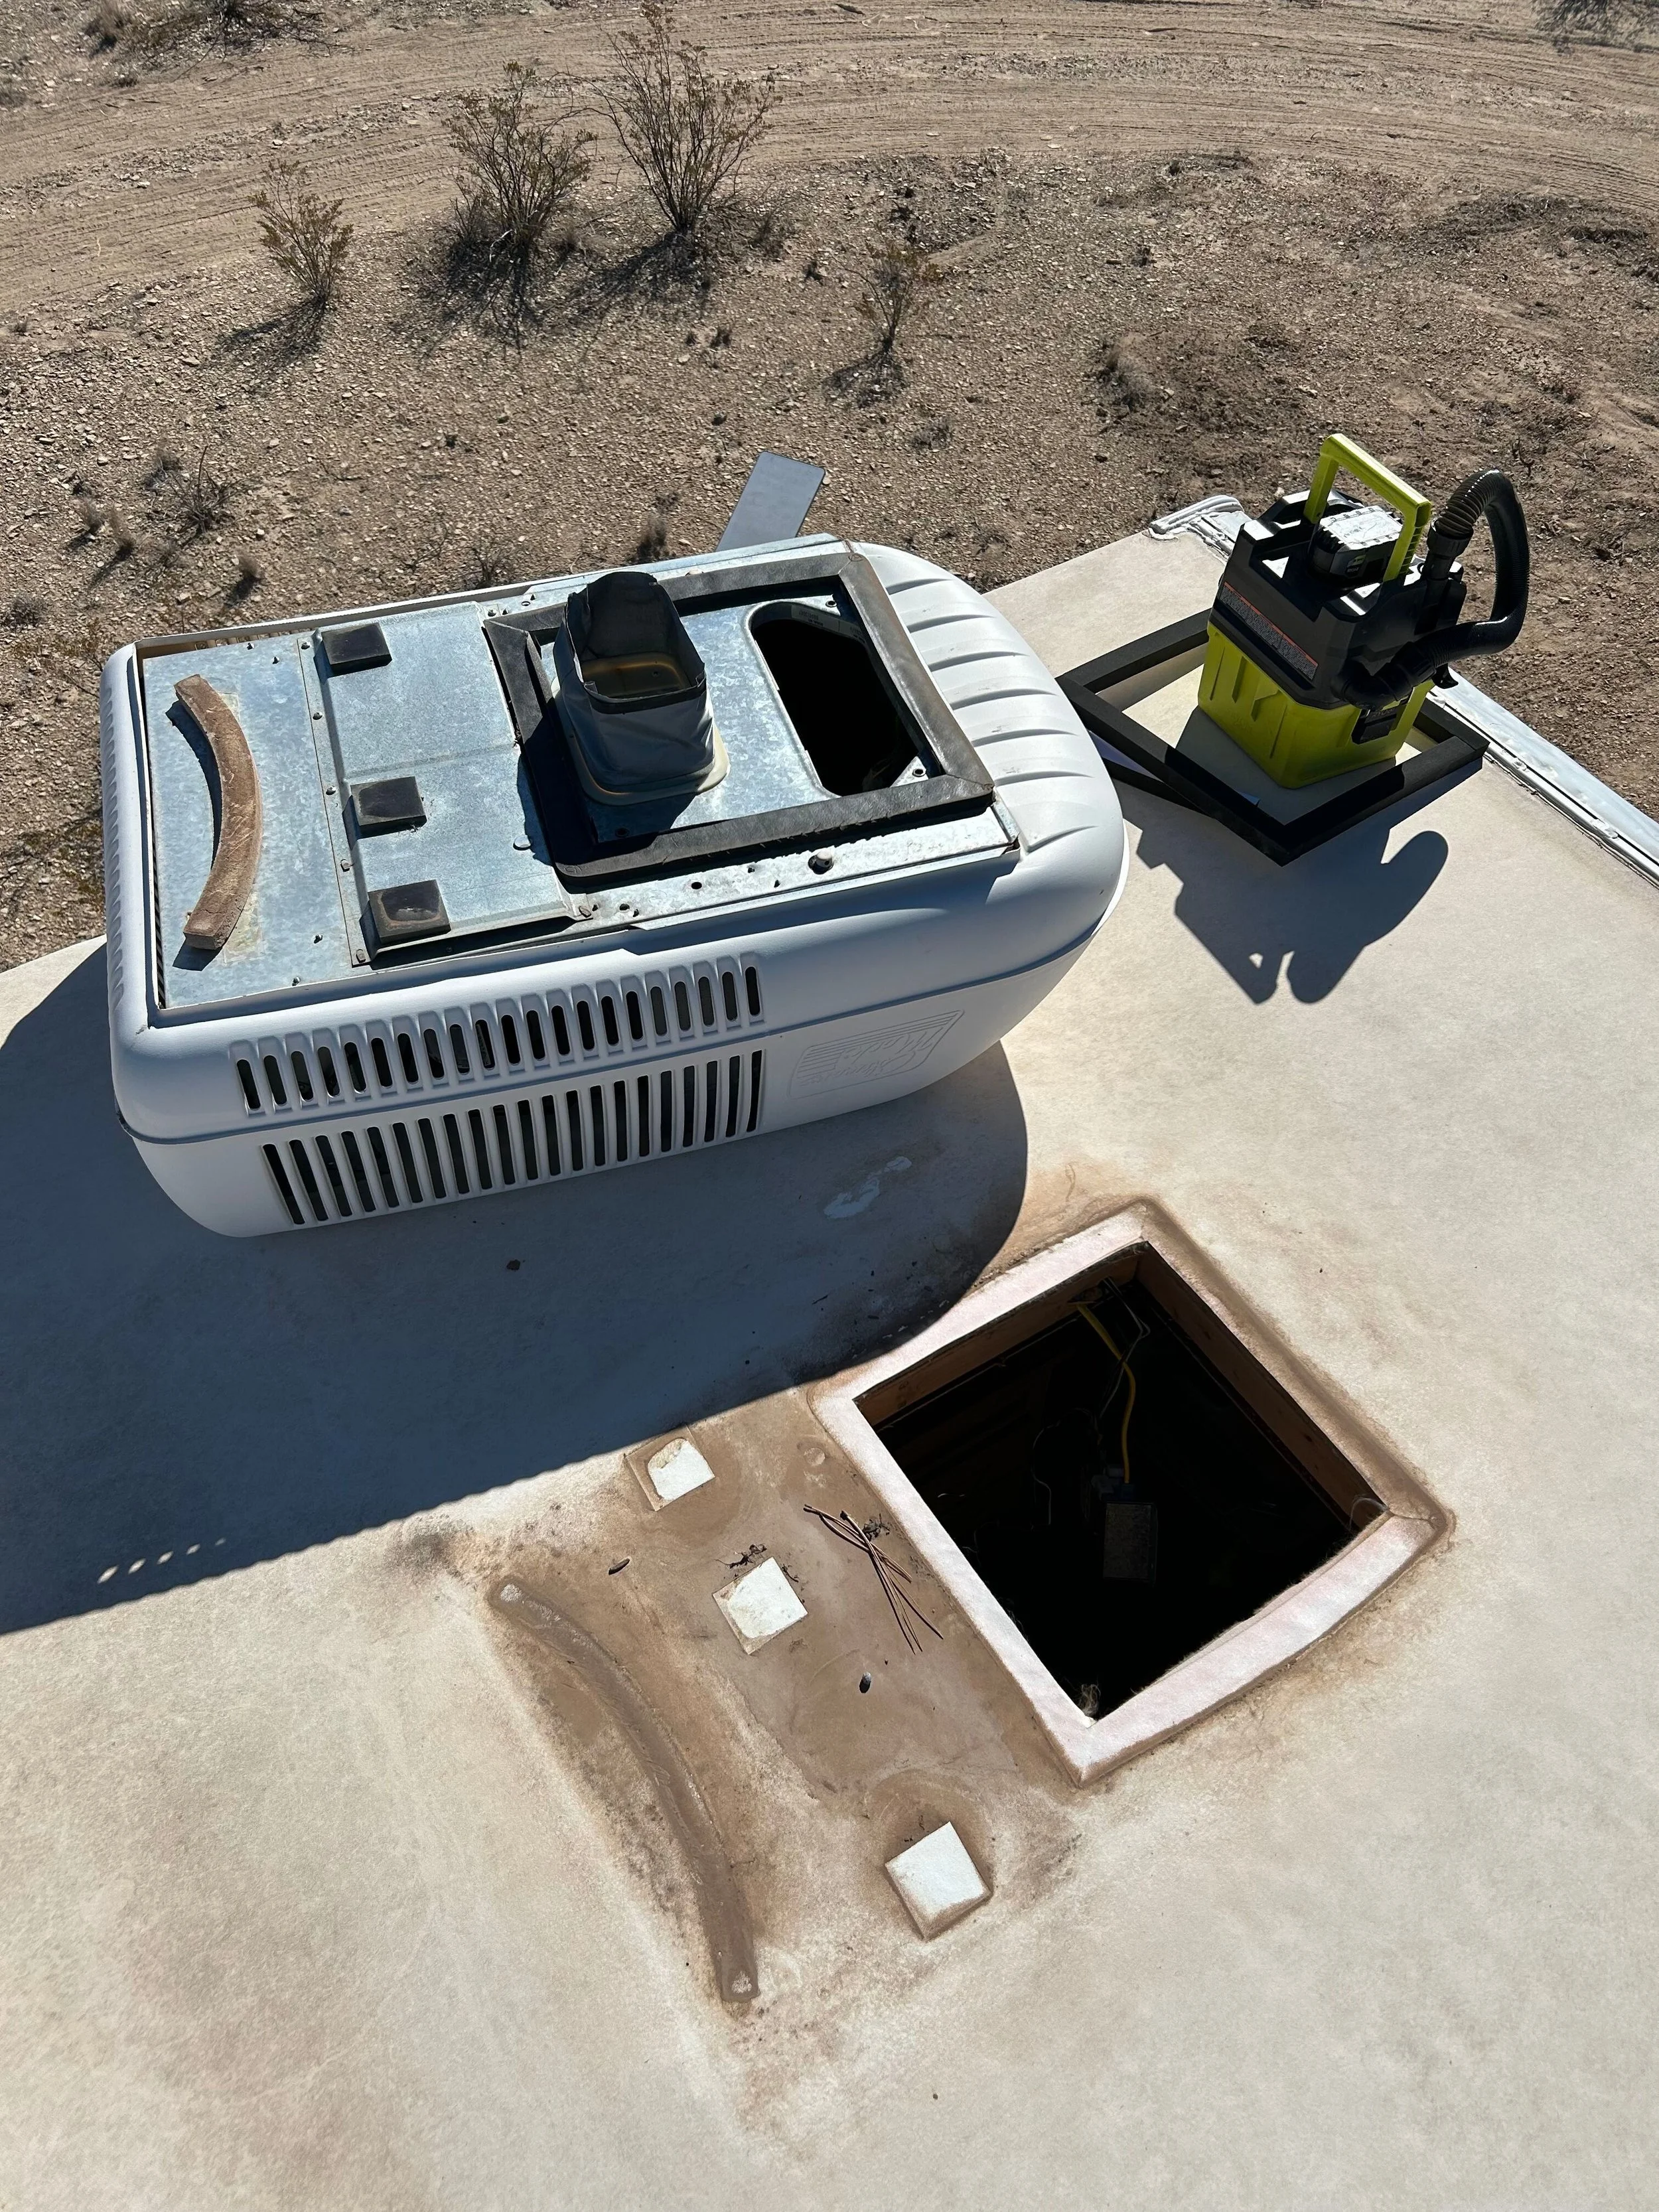
Credit: www.odysseyrvservice.com
Common Rv Ac Issues
RV air conditioners are important for comfort during trips. They can have problems that stop them from working well.
Knowing common issues helps you fix them faster. This guide explains typical problems and what to check.
No Cooling
If your RV AC runs but does not cool, it may have low refrigerant or a dirty filter. Check both to improve cooling.
Blocked airflow or a broken compressor can also cause no cooling. Clean vents and listen for unusual compressor sounds.
- Check refrigerant levels and refill if low
- Clean or replace air filters
- Inspect vents for blockages
- Listen for compressor problems
Leaking Water
Water leaks inside your RV come from clogged drain lines or frozen coils. Clear the drain to stop leaks.
Frozen coils happen if airflow is poor. Clean filters and check fan operation to fix this issue.
- Clear the drain tube of blockages
- Replace dirty or old air filters
- Ensure the fan is working well
- Check for ice on the evaporator coil
Unusual Noises
Loud or strange sounds can mean loose parts or worn motors. Tighten screws and inspect the fan blades.
Rattling or buzzing may come from the compressor or electrical issues. Turn off power and check these parts carefully.
- Tighten all screws and bolts
- Inspect fan blades for damage
- Listen for compressor noise
- Check electrical connections
Thermostat Problems
If the AC does not turn on or off at the right time, the thermostat may be faulty. Test it with a multimeter.
Sometimes the thermostat wires are loose or damaged. Secure or replace wires to fix temperature control issues.
- Test thermostat function with a multimeter
- Check and tighten thermostat wiring
- Replace thermostat if it is not working
- Set thermostat to the correct mode
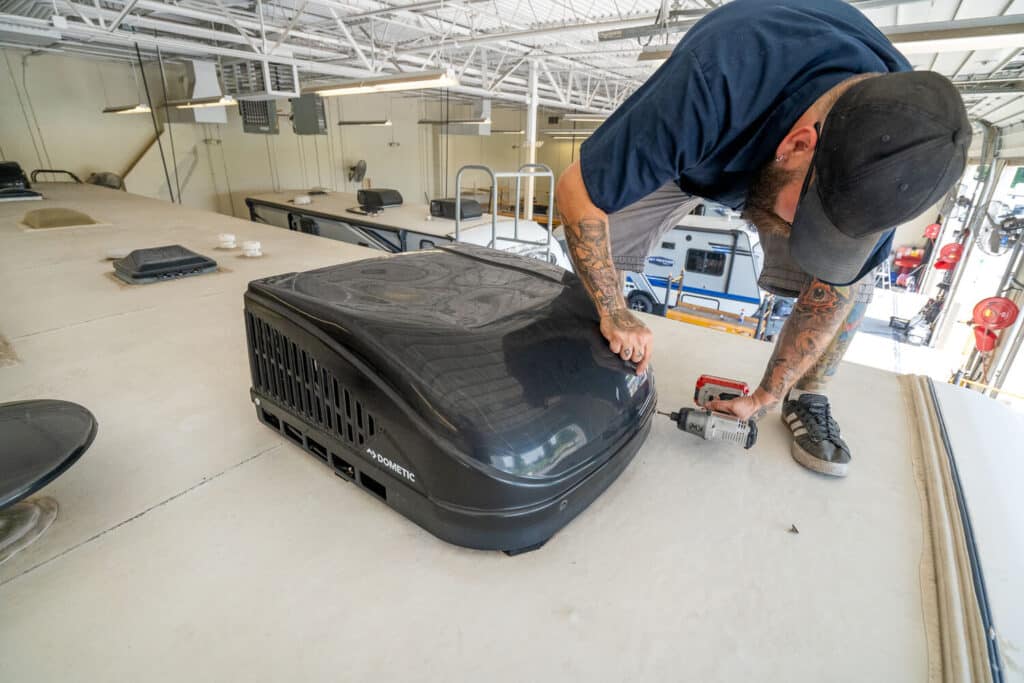
Credit: blog.campingworld.com
Basic Tools And Safety Tips
Fixing an RV air conditioner needs the right tools and safety steps. You should prepare before starting any repair work.
Knowing the tools and safety tips helps you avoid accidents and do the job well.
Essential Tools
You need some basic tools to fix an RV air conditioner. These tools help you check and repair parts safely and easily.
- Screwdrivers (flathead and Phillips) to open panels
- Multimeter to test electrical parts
- Wrench set for nuts and bolts
- Vacuum pump for cleaning refrigerant lines
- Leak detector to find gas leaks
- Replacement fuses and wires
- Cleaning brushes to remove dust
Safety Precautions
Safety is very important when fixing an RV air conditioner. Follow these tips to protect yourself and your RV.
- Always disconnect the power before starting any work
- Wear safety gloves and goggles to protect your hands and eyes
- Work in a well-ventilated area to avoid breathing fumes
- Do not touch electrical parts with wet hands
- Use a ladder safely if you work on the roof
- Check tools for damage before use
- Keep children and pets away from the work area
Cleaning And Maintenance
Keeping your RV air conditioner clean helps it work well. Dirt and dust can block airflow. Regular maintenance keeps the unit cool and efficient.
Follow these cleaning tips to avoid damage and improve performance. Simple cleaning can save you from costly repairs.
Filter Cleaning
The air filter traps dust and dirt from the air. A dirty filter lowers cooling power and strains the system. Clean it often for best results.
- Turn off the air conditioner and unplug it.
- Remove the filter carefully from its slot.
- Use a vacuum to remove loose dirt and dust.
- Wash the filter with warm soapy water if very dirty.
- Let the filter dry completely before reinstalling.
- Replace the filter if it is torn or damaged.
Coil Cleaning
The evaporator and condenser coils help cool your RV. Dirt on the coils lowers efficiency and causes overheating. Clean the coils carefully to keep them clear.
| Coil Type | Cleaning Method |
|---|---|
| Evaporator Coil | Use a soft brush and coil cleaner spray. |
| Condenser Coil | Rinse gently with water or use compressed air. |
Always turn off power before cleaning coils. Avoid bending the coil fins to keep airflow smooth.
Clearing Debris
Leaves, dirt, and other debris can block the air intake and outlet. Clearing debris helps the AC breathe and cool better.
- Turn off the air conditioner and disconnect power.
- Remove any leaves or sticks from vents and grills.
- Use a soft brush to clean hard-to-reach places.
- Check the drain pan and clear any clogs.
- Keep the area around the AC unit clear of obstructions.
Fixing No Cooling Problems
Your RV air conditioner may stop cooling for several reasons. Fixing this issue helps you stay comfortable inside.
Check simple causes first before calling a technician. Many problems are easy to fix yourself.
Check Power Supply
Make sure your RV is connected to power. The air conditioner needs electricity to run.
Look at the power cord and outlet for damage. A loose or broken connection stops the AC from cooling.
Inspect Fuses And Breakers
Fuses and breakers protect your RV’s electrical system. A blown fuse or tripped breaker can stop the AC.
Check the fuse box and circuit breakers for any problems. Replace blown fuses or reset breakers if needed.
- Locate the fuse box in your RV
- Look for fuses labeled for the air conditioner
- Replace any blown fuses with the same type
- Reset breakers by switching them off and on
Reset The Ac Unit
Sometimes the air conditioner needs a reset to work again. This clears errors inside the unit.
Turn off the AC and unplug it for a few minutes. Plug it back in and turn it on to see if cooling returns.
Repairing Water Leaks
Water leaks in your RV air conditioner can cause damage and reduce cooling. Fixing leaks quickly keeps your unit working well.
This guide covers ways to stop water leaks by clearing drain lines, sealing roof leaks, and replacing damaged seals.
Clear Drain Lines
Drain lines can get clogged with dirt or algae. This causes water to back up and leak inside the RV.
- Locate the drain line under the AC unit.
- Use a small brush or pipe cleaner to remove blockages.
- Flush the line with water to ensure it flows freely.
- Check for cracks or damage and replace if needed.
Seal Roof Leaks
Leaks around the roof vent can let water into the air conditioner. Inspect the roof to find cracks or gaps.
| Roof Leak Cause | How to Fix |
|---|---|
| Cracked sealant | Remove old sealant and apply new roof sealant |
| Damaged vent gasket | Replace the gasket with a new one |
| Loose screws | Tighten screws and replace any that are rusted |
Replace Damaged Seals
Seals around the air conditioner prevent water from entering your RV. Damaged seals cause leaks.
- Remove the air conditioner cover to access seals.
- Inspect seals for cracks, tears, or wear.
- Purchase replacement seals made for your AC model.
- Carefully remove old seals and install new ones.
- Test for leaks by running the AC and checking inside the RV.
Addressing Unusual Noises
Unusual noises from your RV air conditioner can signal a problem. Fixing these sounds early helps avoid bigger issues.
This guide shows simple ways to stop strange noises. You can check and fix parts yourself with basic tools.
Tighten Loose Parts
Loose screws or bolts can cause rattling sounds in the air conditioner. Tighten all visible fasteners to stop this noise.
- Turn off the power to the unit before starting.
- Use a screwdriver or wrench to tighten screws and bolts.
- Check mounting brackets and panels for looseness.
- Listen to the unit while tightening to find noisy parts.
Lubricate Moving Components
Friction in moving parts can make squeaking or grinding noises. Lubricate these parts to keep them running smoothly.
| Component | Type of Lubricant | Frequency |
| Fan motor bearings | Light machine oil | Every 6 months |
| Fan blades shaft | Silicone spray | Every 3 months |
| Compressor moving parts | Do not lubricate (sealed) | N/A |
Replace Worn Fans
Worn or damaged fans can cause loud or uneven noises. Replace the fan if it is cracked, bent, or unbalanced.
Follow these steps to replace a worn fan:
- Turn off and unplug the air conditioner.
- Remove the cover to access the fan.
- Take out the old fan carefully.
- Install the new fan securely.
- Test the unit to check noise reduction.
Troubleshooting Thermostat Issues
Your RV air conditioner may stop working well if the thermostat has problems. The thermostat controls the temperature and tells the AC when to cool. Fixing thermostat issues can help your AC run smoothly again.
Check the thermostat first before calling for repairs. Small fixes like calibration or battery replacement often solve the issue quickly.
Calibrate The Thermostat
Sometimes the thermostat shows the wrong temperature. This can cause the AC to run too long or not enough. Calibrating the thermostat helps it read the right temperature.
To calibrate, compare the thermostat reading to a separate thermometer. Adjust the thermostat settings to match the actual temperature. This process varies by thermostat model, so check the manual.
Replace Batteries
Many RV thermostats use batteries to work. Dead or weak batteries cause the thermostat to stop working properly. Replace batteries regularly to keep your AC running well.
- Open the thermostat cover carefully
- Remove old batteries and dispose of them safely
- Insert new batteries matching the type required
- Close the cover and check if the thermostat powers on
Upgrade The Thermostat
Old thermostats may not control your RV air conditioner efficiently. Upgrading to a newer model can improve temperature control and save energy. New thermostats often have better features and accuracy.
Choose a thermostat made for RV use. Follow the instructions for installation or hire a professional to install it. Upgrading can prevent future issues and improve comfort.
When To Call A Professional
RV air conditioners can have small issues you fix yourself. Sometimes, problems need expert help. Knowing when to call a professional saves time and money.
Some repairs are too hard or risky for beginners. A trained technician has the right tools and skills to fix big problems safely.
Major Refrigerant Leaks
Refrigerant leaks reduce cooling power. They can also harm the environment. If you smell a strong chemical or notice poor cooling, a leak might be present.
Fixing leaks requires special equipment and handling. Professionals recharge refrigerant safely and check for hidden leaks.
Electrical System Repairs
Electrical problems cause the air conditioner to stop working or work erratically. Issues may include blown fuses, broken wires, or faulty controls.
Working with electricity can be dangerous. A technician can find and fix electrical faults without risk.
Complex Mechanical Failures
Mechanical parts like compressors and fans can fail. These parts are complex and need special tools to repair or replace.
Trying to fix mechanical failures yourself may cause more damage. A professional can diagnose and repair these issues properly.

Credit: www.youtube.com
Frequently Asked Questions
What Causes Rv Air Conditioner To Stop Working?
An RV air conditioner may stop working due to several reasons, including a blown fuse, faulty thermostat, or dirty filters. Low refrigerant levels or blocked air vents can also impact performance. Regular maintenance and inspection can help identify and fix these issues before they become major problems.
How Do I Clean My Rv Air Conditioner Filter?
To clean your RV air conditioner filter, first, turn off the power. Remove the filter from the unit and gently wash it with mild soap and warm water. Let it dry completely before reinstalling. Regular cleaning ensures efficient airflow and cooling performance, improving the overall lifespan of your air conditioner.
Why Is My Rv Air Conditioner Making Noise?
Your RV air conditioner might make noise due to loose components, debris in the fan, or a malfunctioning motor. Check for any loose parts and tighten them. Clean the fan area to remove debris. If the noise persists, consult a professional to inspect and repair the unit.
How Often Should Rv Ac Be Serviced?
Your RV air conditioner should be serviced at least once a year. Regular servicing includes cleaning the filters, checking electrical connections, and inspecting refrigerant levels. Routine maintenance helps ensure optimal performance, efficiency, and extends the lifespan of your air conditioning unit.
Conclusion
Fixing your RV air conditioner can save time and money. Check power sources and clean filters first. Tighten loose parts and clear any blockages. Test the thermostat and replace worn fuses. Small steps often fix common issues quickly. Regular care helps your AC run smoothly.
Stay cool on every trip with simple maintenance. Keep your RV comfortable no matter the weather. Easy fixes make your travels more enjoyable. Don’t let AC troubles spoil your adventure.