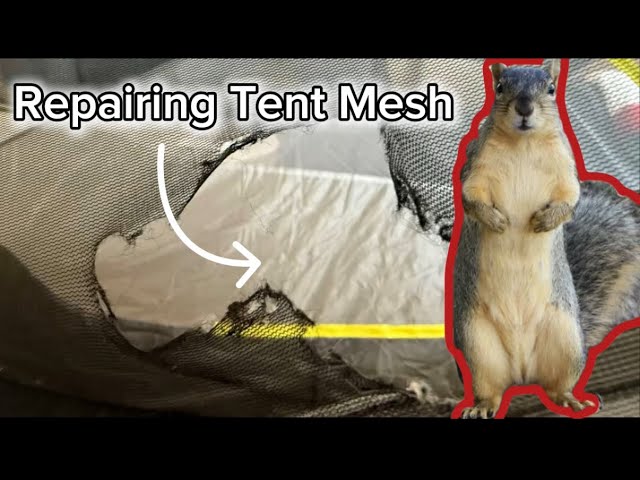
Your tent mesh is more than just a piece of fabric—it’s your shield against bugs, wind, and bad weather while you enjoy the great outdoors. But what happens when that mesh tears or develops holes?
Suddenly, your camping experience can turn uncomfortable and frustrating. Don’t let a ripped tent mesh ruin your adventure. In this guide, you’ll discover simple, effective ways to fix your tent mesh quickly and easily. Keep reading to learn how to restore your tent’s protection and get back to enjoying your time outside without worry.
Credit: www.pomoly.com
Common Tent Mesh Issues
Tent mesh helps keep bugs out while letting air in. It can get damaged after use. Knowing common problems helps you fix it fast.
Here are some common tent mesh problems and ways to repair them. Fixing these issues can extend your tent’s life.
Tears And Holes
Tears and holes happen when sharp objects or rough handling damage the mesh. Small holes let insects in and reduce protection.
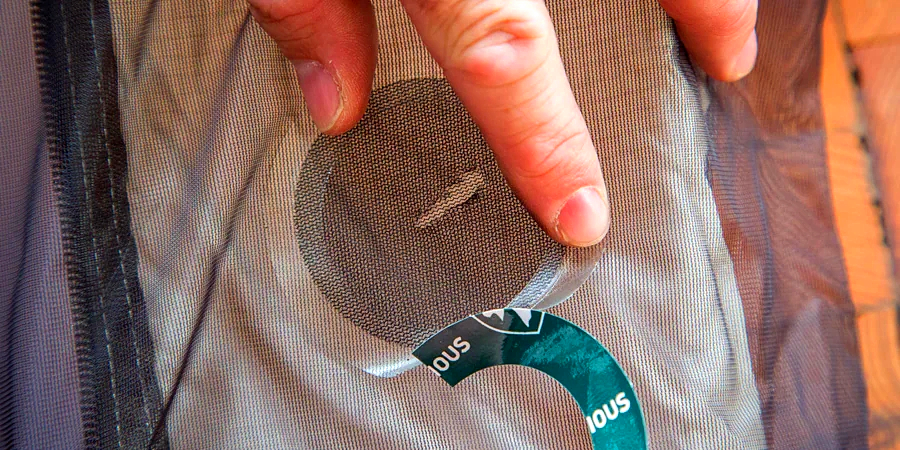
Use mesh repair tape or patches to cover holes. For bigger tears, sew carefully with fine thread. Always clean and dry the mesh before repair.
- Clean area around the hole
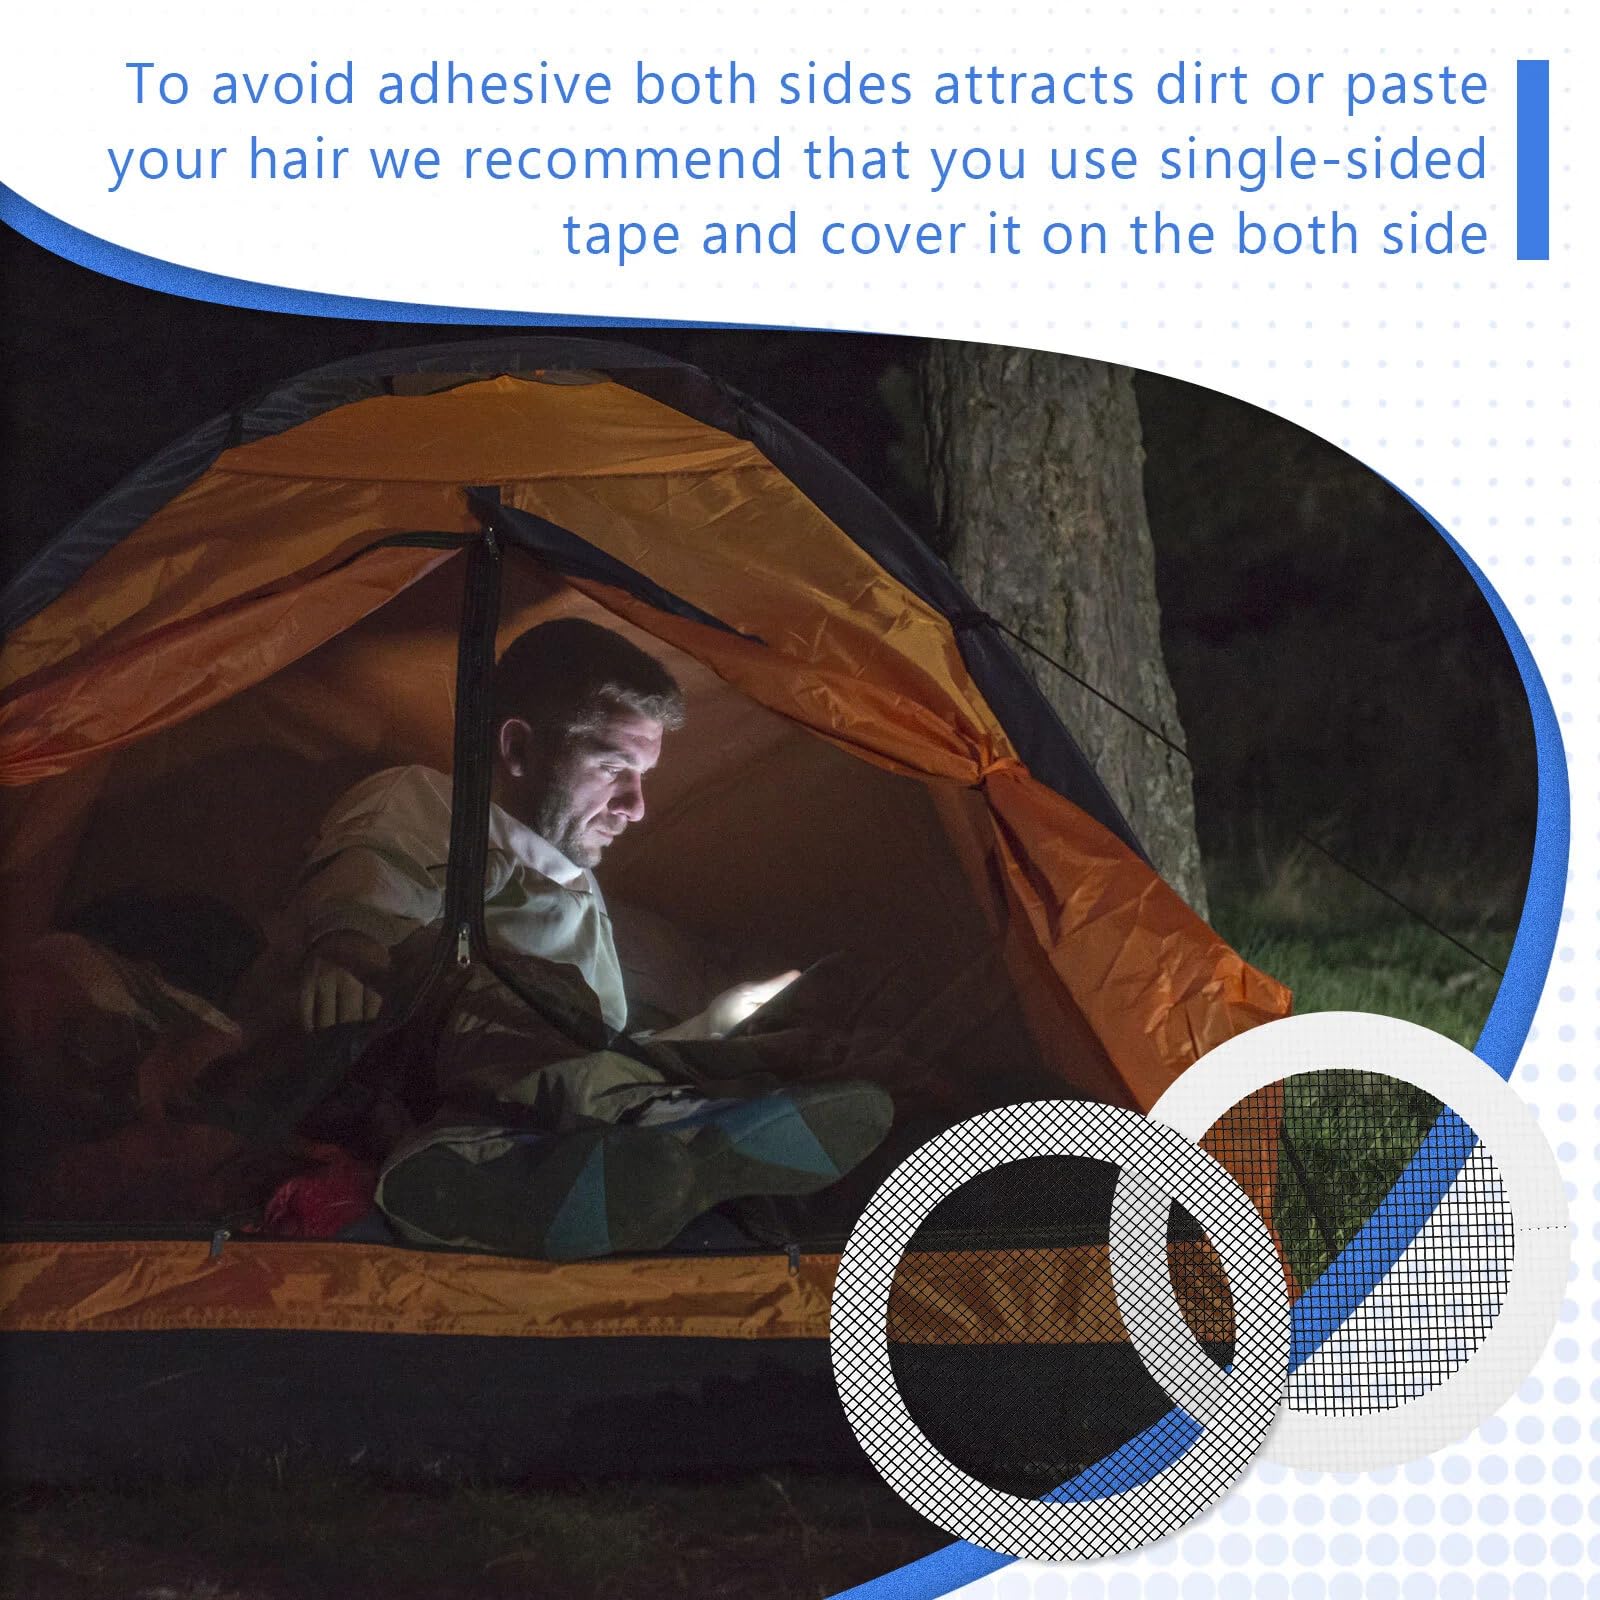
- Apply mesh tape or patch on both sides
- Sew large tears with a fine needle and thread
- Check repair before camping again
Frayed Edges
Frayed edges happen when the mesh rubs against tent poles or ground. This weakens the fabric and can cause more damage.
Trim loose threads carefully. Use fabric glue or clear nail polish on edges to stop fraying. Sewing a reinforcing tape along edges adds strength.
- Trim loose threads with scissors
- Apply fabric glue or clear nail polish
- Sew reinforcing tape on the edge for extra support
Loose Seams
Loose seams occur when stitches come undone. This can make the mesh flap or tear more easily in wind or rain.
Fix loose seams by sewing them back tightly. Use a strong thread that matches the mesh color. Double stitch for better hold.
- Remove old loose threads
- Use a strong, matching thread
- Sew seams tightly with small stitches
- Double stitch for extra durability

Credit: www.youtube.com
Essential Repair Tools
Fixing tent mesh is simple with the right tools. These tools help you repair tears and holes quickly.
Having essential repair items on hand can keep your tent functional for many trips.
Patch Kits And Adhesives
Patch kits come with mesh patches and glue made for tent fabric. They work well for small holes.
Adhesives designed for outdoor gear create strong, flexible seals that last in all weather.
- Mesh patches sized for different hole sizes
- Waterproof adhesives that bond to mesh fabric
- Instructions for clean and smooth application
Sewing Supplies
Sewing supplies help make strong, durable repairs on torn mesh. Use heavy-duty needles and thread.
These tools work well for larger tears and for fixing mesh edges to prevent more damage.
- Strong nylon or polyester thread
- Heavy-duty sewing needles
- Small scissors or snips
- Thimble to protect fingers
Temporary Fix Materials
Temporary materials help stop damage until a full repair is possible. They are quick and easy to use.
These items keep bugs out and prevent the hole from getting bigger during your trip.
- Clear tape or duct tape
- Plastic wrap or lightweight fabric
- Binder clips or safety pins
Quick Patch Methods
Tent mesh can tear easily during camping trips. Quick fixes can extend the life of your tent. Here are some easy methods to patch those holes.
Using Tape For Small Holes
Clear tape can quickly patch small holes in tent mesh. It’s simple and effective for minor damage.
- Clean the area around the hole
- Cut a piece of tape slightly larger than the hole
- Press the tape firmly over the hole
Applying Iron-on Patches
Iron-on patches provide a strong fix for medium-sized holes. They are durable and easy to apply with an iron.
- Place the patch over the hole
- Heat the iron to medium setting
- Press the iron on the patch for 30 seconds
Adhesive Patch Application
Adhesive patches are great for quick repairs. They stick well and don’t require heat.
- Remove backing from the patch
- Align the patch over the hole
- Press firmly to secure it in place
Sewing Repairs
Fixing tent mesh extends the life of your tent. Sewing is a common way to repair holes or tears. It helps keep bugs out and rain away.
Using the right thread and stitching method is important. This guide covers how to choose thread and sew by hand or machine.
Choosing The Right Thread
Pick a thread that resists water and sun. Nylon or polyester thread works well. Avoid cotton thread because it breaks easily.
- Use heavy-duty nylon or polyester thread
- Choose colors that match the tent mesh
- Select thread thickness based on tear size
- Buy UV-resistant thread for outdoor use
- Test thread strength before sewing
Hand Stitching Techniques
Hand stitching lets you repair small or tricky spots. Use small, even stitches to avoid making holes bigger.
| Stitch Type | Description | Best For |
| Running Stitch | Simple in and out stitch | Small tears or holes |
| Backstitch | Strong stitch with overlap | Areas that need extra strength |
| Whipstitch | Wraps around edge of fabric | Closing edges or seams |
Keep stitches close but not too tight. This keeps the mesh flexible and stops new tears.
Using A Sewing Machine
A sewing machine speeds up repairs on larger holes. Use a needle for heavy fabrics and slow your sewing speed.
Follow these tips for machine sewing tent mesh:
- Use a fine needle size 70/10 or 80/12
- Select polyester or nylon thread
- Adjust stitch length to about 2.5 mm
- Sew slowly to avoid puckering
- Test on scrap mesh first
Preventing Future Damage
Keeping your tent mesh in good condition takes simple care. Preventing damage will save you time and money.
Follow these tips to protect your tent mesh and extend its life.
Proper Tent Setup
Set up your tent on soft, clean ground away from sharp objects. Avoid rocks and sticks that can tear the mesh.
- Clear the area of debris before pitching the tent
- Use a ground tarp to add an extra layer of protection
- Keep the mesh doors closed when not in use
- Handle zippers gently to avoid pulling the mesh
Storage Tips
Store your tent mesh properly to avoid damage from moisture, insects, and wrinkles.
| Storage Tip | Reason |
| Dry the mesh fully | Prevents mold and mildew growth |
| Fold loosely | Avoids sharp creases that weaken fabric |
| Keep in a breathable bag | Allows air circulation and keeps bugs away |
| Store in a cool, dry place | Protects from heat damage |
Regular Maintenance
Check your tent mesh regularly for small holes or tears. Fixing damage early stops it from getting worse.
- Inspect mesh after each trip
- Clean gently with mild soap and water
- Patch holes using a mesh repair kit
- Replace broken zippers or fasteners
Credit: www.amazon.ca
Frequently Asked Questions
How Can I Repair Small Tears In Tent Mesh?
Use a mesh repair patch or adhesive tape designed for tents. Clean the area first, then apply the patch smoothly. Allow it to dry fully before use to ensure a durable fix.
What Materials Are Best For Fixing Torn Tent Mesh?
Nylon mesh patches or specialized tent repair kits work best. They provide flexibility and durability. Avoid using regular tape as it may not hold under outdoor conditions.
Can I Sew A Rip In Tent Mesh Myself?
Yes, use a fine needle and nylon thread. Sew carefully to avoid enlarging the tear. Reinforce with a patch for added strength and weather resistance.
How Do I Prevent Future Damage To Tent Mesh?
Handle the mesh gently, avoid sharp objects nearby, and store tents properly. Regularly inspect for wear and repair small holes promptly to extend mesh life.
Conclusion
Fixing tent mesh can save your gear and keep bugs out. Small tears need quick patching to stop them from growing. Use simple tools and patches for easy repairs. Regular checks help catch damage early and keep your tent strong.
A little care extends your tent’s life and makes camping more fun. Stay prepared, fix problems fast, and enjoy the outdoors comfortably.