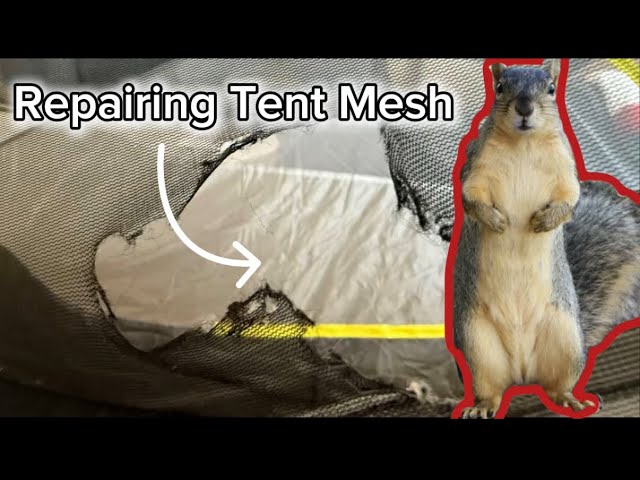
Your tent mesh is your shield against bugs, wind, and dirt during your outdoor adventures. But what happens when it tears or gets holes?
It can quickly turn your cozy shelter into an uncomfortable trap. Don’t let a damaged mesh ruin your next trip. You’ll discover simple, effective ways to fix your tent mesh yourself—saving you time, money, and frustration. Keep reading, and you’ll learn how to restore your tent’s protection and enjoy the great outdoors without worry.
Common Tent Mesh Problems
Tent mesh can get damaged during camping trips. Fixing small problems early helps keep bugs out.
Below are common issues with tent mesh and simple ways to repair them.
Tears And Holes
Tears and holes let insects in and reduce protection. Fixing these quickly stops the problem from getting worse.
- Clean the area around the tear with a damp cloth.
- Cut a mesh patch slightly larger than the hole.
- Use fabric glue or sew the patch over the hole.
- Allow glue to dry fully before packing the tent.
Loose Mesh
Loose mesh can sag and let bugs in. Tightening the mesh improves tent protection and durability.
Follow these tips to fix loose mesh:
- Check all seams for loose stitching.
- Use a needle and strong thread to sew loose edges.
- Pull the mesh taut before sewing.
- Consider adding extra stitches for strength.
Frayed Edges
Frayed edges weaken the mesh and cause holes. Fixing frayed parts prevents bigger damage.
| Cause | Fix |
| Wear from packing and moving | Trim frayed threads and seal edges with fabric glue |
| Damage from sharp objects | Patch damaged area and reinforce with extra stitching |
| Old or weak fabric | Replace the mesh section if too worn |

Credit: www.youtube.com
Essential Repair Tools
Fixing tent mesh needs some basic tools. These tools help you repair holes and tears easily.
Using the right tools makes your repair strong and lasts longer.
Patch Kits
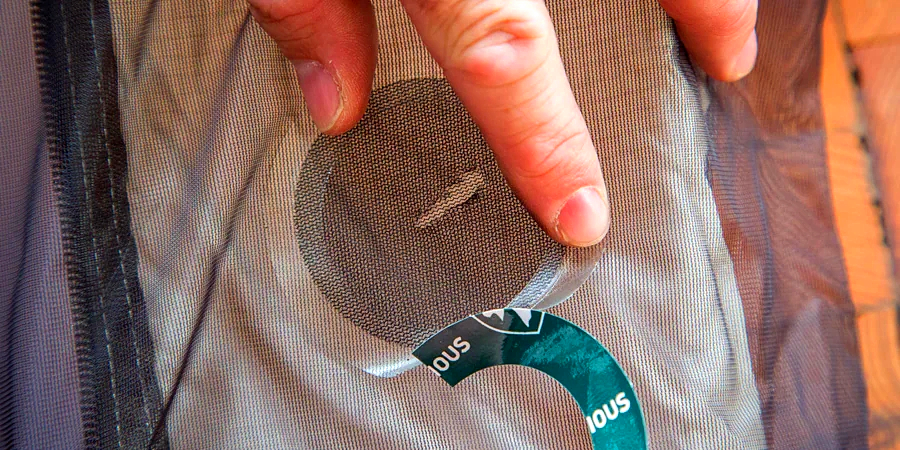
Patch kits are ready-made kits to cover holes in tent mesh. They include mesh patches and glue or tape.
These kits are easy to use and perfect for quick repairs in the outdoors.
- Mesh patches to cover damaged areas
- Adhesive to stick patches firmly
- Instructions for easy application
Adhesive Options
Adhesives help stick patches or fabric pieces to the mesh. Choose strong, flexible glue made for fabric.
Some adhesives dry clear and stay soft, so the mesh stays breathable and flexible.
- Fabric glue for strong bonds
- Clear drying adhesive for neat repairs
- Waterproof glue for outdoor use
Sewing Supplies
Sewing supplies help fix tears by stitching the mesh back together. Use strong thread and sharp needles.
Hand sewing or using a sewing machine can both work depending on the damage size.
- Needles designed for fabric or mesh
- Strong nylon or polyester thread
- Thimble to protect your finger
Quick Fixes For Small Holes
Small holes in tent mesh can let bugs in and cause discomfort. Fixing these holes quickly helps keep your tent safe and comfortable.
There are easy ways to repair small holes using common tools. These fixes work well until you can do a permanent repair.
Using Tape Patches
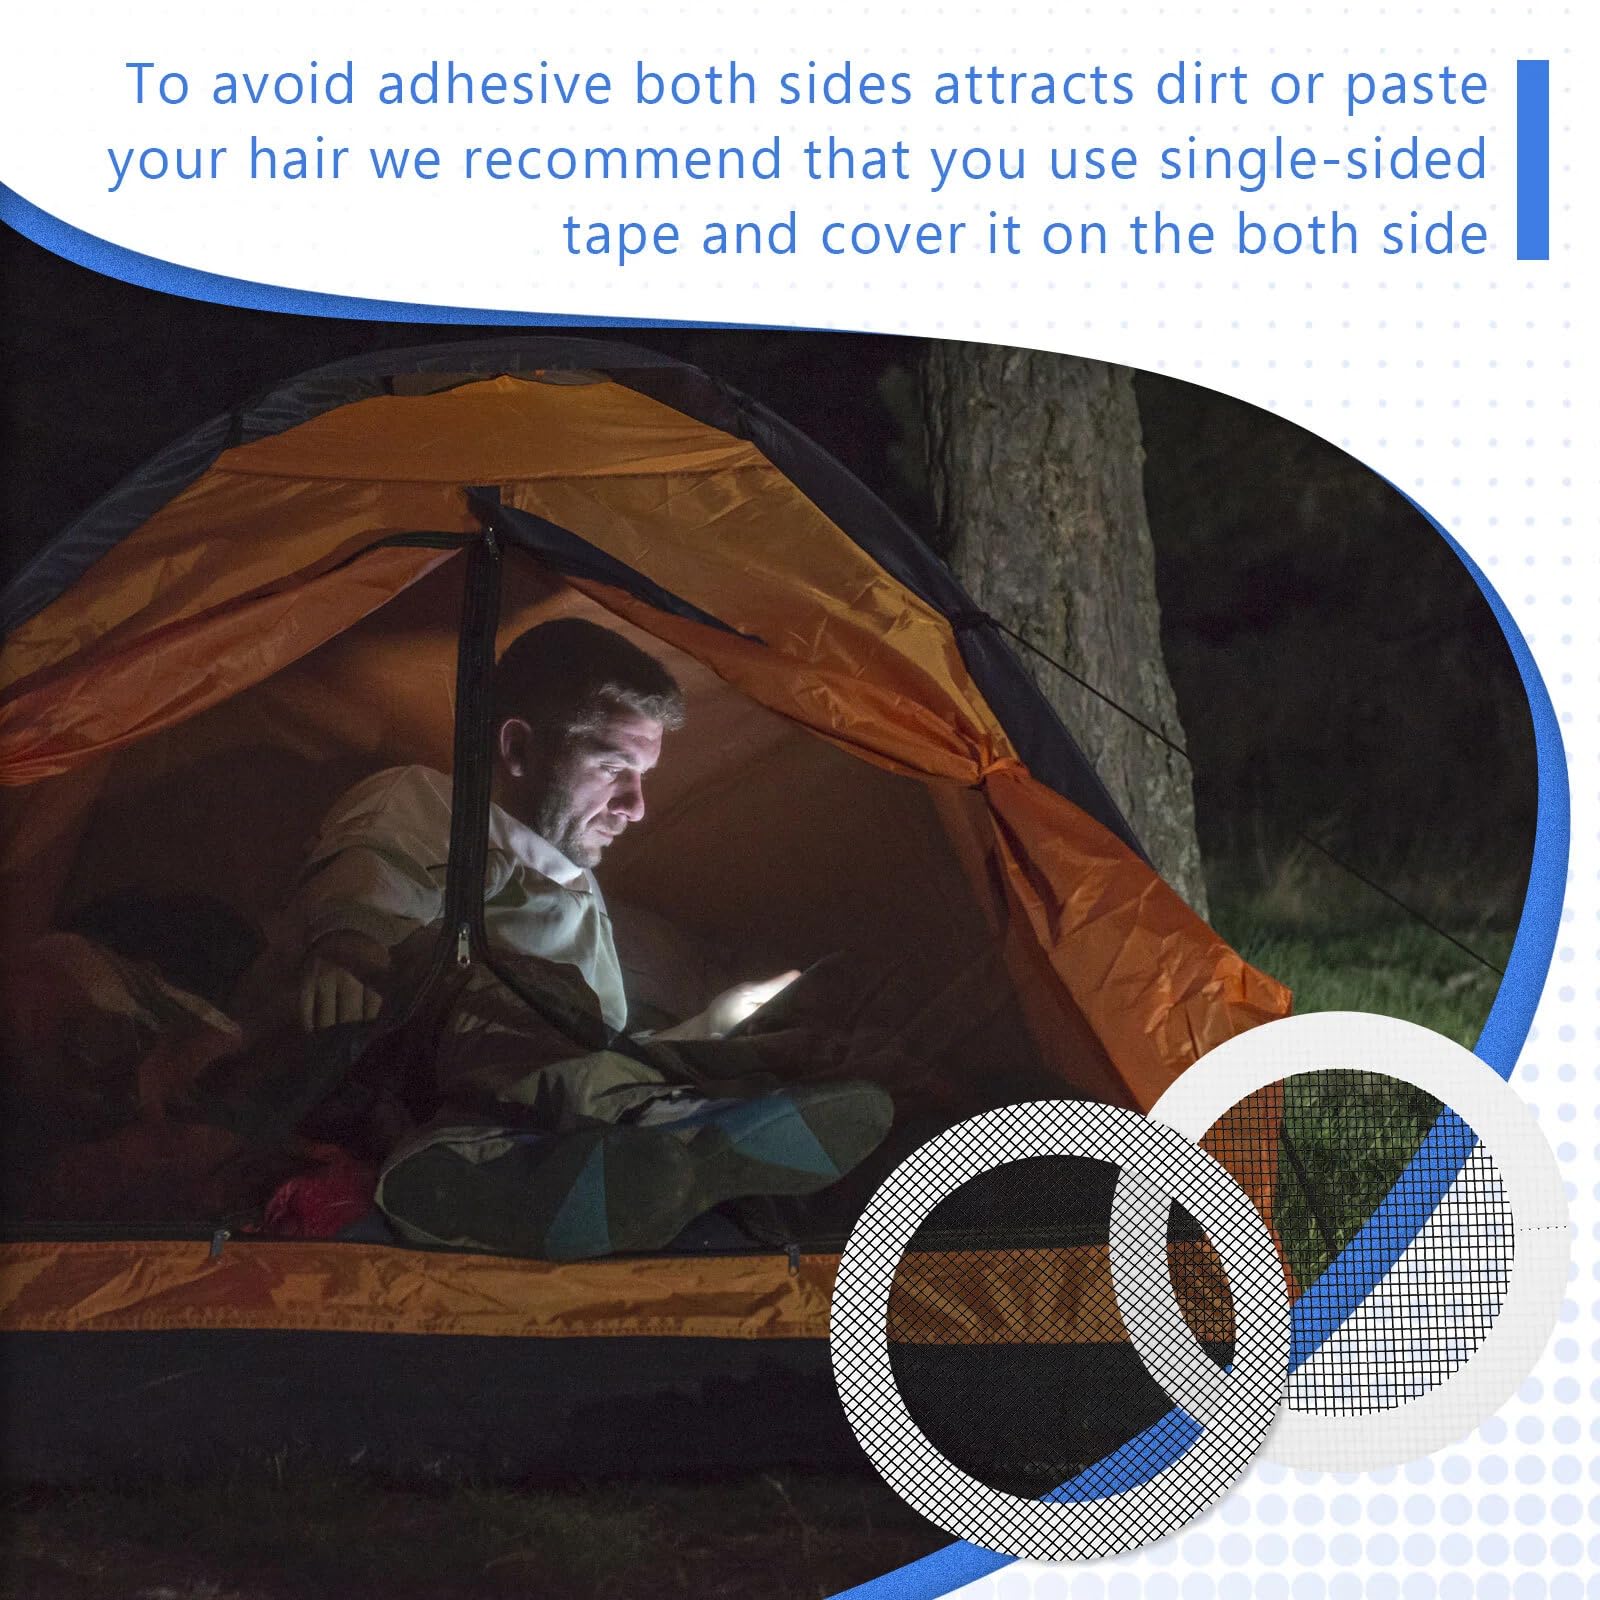
Tape patches are a fast way to cover small holes in tent mesh. Use special mesh repair tape or strong clear tape for best results.
Clean the area around the hole. Cut a tape piece larger than the hole. Press it firmly on the mesh to seal the hole.
- Make sure the mesh is dry before applying tape.
- Apply tape on both inside and outside if possible.
- Press edges well to avoid lifting.
Applying Fabric Glue
Fabric glue works well for small holes in tent mesh. It bonds the mesh fibers and stops holes from growing.
Use a small brush or applicator to apply glue around the hole. Let it dry fully before using the tent again.
- Choose glue made for synthetic fabrics.
- Apply glue sparingly to avoid stiffness.
- Allow 24 hours drying time for best hold.
Temporary Sewing
Sewing small holes can hold the mesh together until you get a better fix. Use a needle and fine thread or fishing line.
Stitch around the hole carefully, pulling edges together. Use small stitches to avoid making the hole bigger.
- Use a needle that fits mesh holes.
- Choose thread strong but thin.
- Make stitches close and tight.
- Tie knots securely to prevent unraveling.
Credit: www.amazon.ca
Repairing Large Tears
Large tears in tent mesh can cause problems like bugs getting inside. Fixing these tears helps keep your tent strong and safe.
There are different ways to repair big holes. You can sew, use patches, or add extra support to weak spots.
Sewing Techniques
Sewing is a simple way to fix large tears in mesh. Use strong thread and a needle to stitch the edges together.
Try to sew small, close stitches. This keeps the repair tight and stops the tear from growing.
- Use nylon or polyester thread
- Sew along the tear edges evenly
- Make stitches about 1/8 inch apart
- Double stitch for extra strength
Mesh Patch Application
Applying a mesh patch covers big holes and adds strength. Cut a patch larger than the tear for full coverage.
Attach the patch with fabric glue or by sewing around its edges. This helps keep the mesh secure.
- Choose a patch matching your tent mesh
- Cut patch at least 2 inches bigger than tear
- Use waterproof fabric glue or stitch edges
- Press patch firmly to attach well
Reinforcing Weak Areas
Weak spots near tears can cause new rips. Add extra fabric or tape to these areas for support.
Reinforce corners and edges where the mesh bends or pulls the most.
- Use mesh or nylon fabric pieces
- Attach with sewing or fabric glue
- Focus on corners and tear edges
- Check repairs regularly for wear
Preventing Future Damage
Tent mesh is delicate and can tear easily. Taking care of it stops damage before it starts. This guide helps you keep your tent mesh in good shape for many trips.
Follow simple rules for setting up, cleaning, and storing your tent. These steps make your tent last longer and protect the mesh.
Proper Tent Setup
Setting up your tent carefully reduces stress on the mesh. Avoid stretching or pulling the mesh tightly. Use stakes and poles as the tent’s instructions say.
- Pick a flat, smooth surface free of sharp objects.
- Keep the tent away from branches and bushes.
- Secure the tent poles firmly but do not force them.
- Ensure the mesh doors and windows open and close gently.
- Do not hang heavy gear on the mesh walls or ceiling.
Regular Maintenance
Cleaning and checking your tent mesh often helps find small tears early. Fixing them quickly prevents bigger damage.
| Maintenance Task | Frequency | Tips |
| Inspect mesh for holes or tears | Every use | Use a flashlight to see small holes |
| Clean mesh gently | After each trip | Use mild soap and lukewarm water |
| Repair small tears | As soon as found | Use patch kits made for tent mesh |
| Dry mesh completely | Before storage | Air dry in shade, no direct sun |
Storage Tips
Store your tent mesh in a dry, clean place to stop mold and damage. Avoid folding the mesh tightly to keep it smooth and strong.
- Clean and dry tent mesh before packing.
- Fold loosely or roll the mesh to avoid creases.
- Store in a breathable bag, not plastic.
- Keep away from direct sunlight and moisture.
- Check stored tent every few months for damage.
When To Replace Tent Mesh
Tent mesh protects you from bugs and lets fresh air in. Over time, it can get torn or worn out. Knowing when to replace it keeps your tent safe and comfortable.
Replacing tent mesh at the right time prevents bigger problems. This guide helps you spot damage and find the best replacement options.
Signs Of Irreparable Damage
Check your tent mesh for these signs. If you see any, it may be time to replace the mesh instead of fixing it.
- Large holes that keep growing
- Frayed or worn edges that no longer hold shape
- Mesh material that feels thin or fragile
- Multiple tears close together
- Discoloration from sun damage or mold
- Stretched or misshaped mesh that does not fit properly
Choosing Replacement Mesh
Pick mesh that fits your tent and camping needs. Look for material that is strong, breathable, and easy to clean.
| Type of Mesh | Features | Best For |
| Polyester | Durable, resists mildew | All weather camping |
| Nylon | Lightweight, quick drying | Backpacking and light tents |
| Fiberglass | Strong, tear resistant | Heavy duty tents |
| Cotton Blend | Breathable, soft | Comfort in mild climates |
Professional Repair Services
Experts can fix or replace tent mesh with proper tools. This ensures the repair lasts and fits well.
- They assess if repair or replacement is better
- Use matching mesh material for durability
- Provide clean, strong seams
- Can add protective coatings if needed
- Save time and effort for you
Credit: www.pomoly.com
Frequently Asked Questions
How Do I Repair Small Holes In Tent Mesh?
To fix small holes, use a mesh repair patch or adhesive tape. Clean the area first. Apply the patch firmly and let it dry fully before use.
Can I Sew Torn Tent Mesh By Myself?
Yes, you can sew torn mesh using a fine needle and strong thread. Use small, tight stitches to avoid enlarging the tear. Reinforce the area with a patch if needed.
What Materials Are Best For Fixing Tent Mesh?
Use nylon or polyester mesh patches, strong adhesive tape, and waterproof thread. These materials ensure durability and maintain tent ventilation. Avoid heavy fabrics that block airflow.
How Long Does A Tent Mesh Repair Last?
A well-done mesh repair can last several camping seasons. Proper cleaning and careful patch application increase longevity. Avoid harsh handling to maintain the repair’s strength.
Conclusion
Fixing tent mesh takes a little care and patience. Small holes or tears do not need a new tent. Use simple tools like needle and thread or repair patches. A well-fixed mesh keeps bugs out and air flowing. This helps you sleep better and enjoy camping more.
Try to check your tent mesh often for damage. Quick repairs save time and money. Keep your gear ready for every trip. Happy camping!