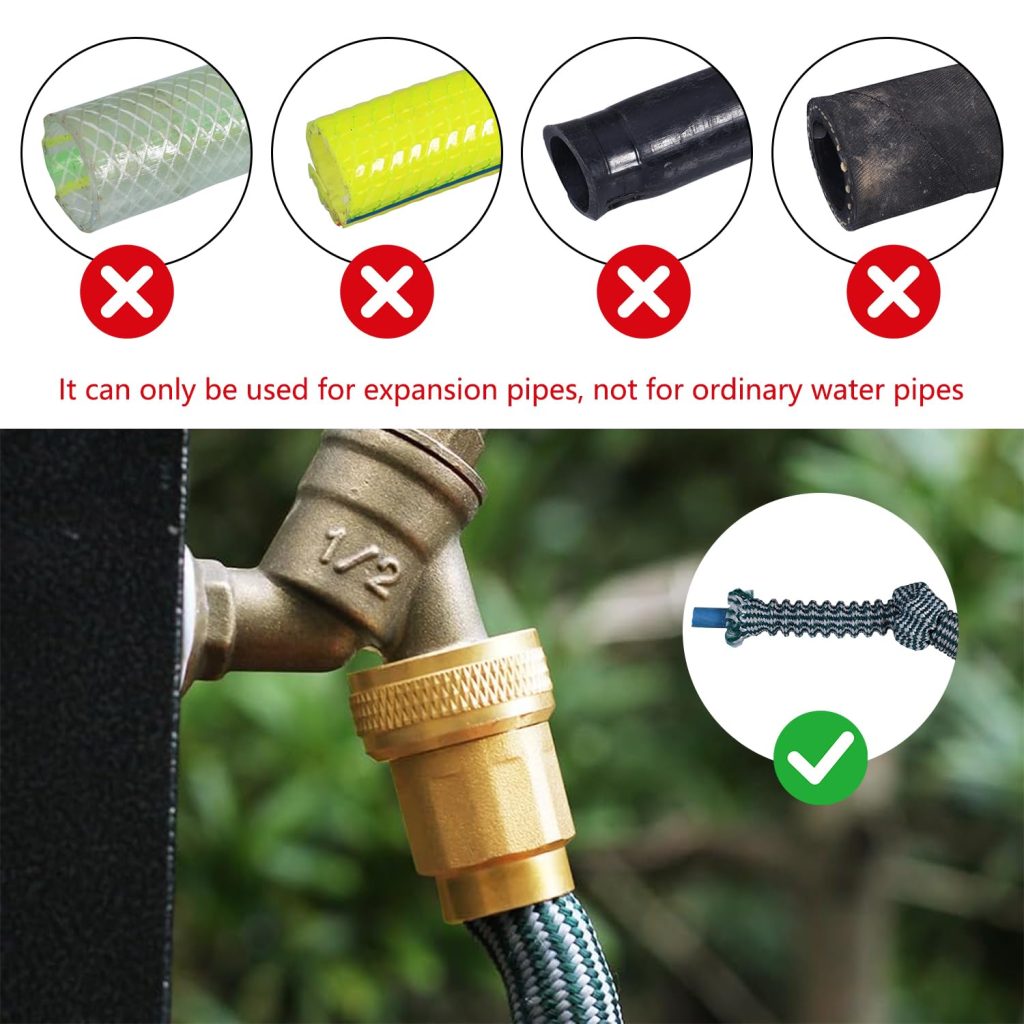
Is your garden hose leaking or won’t connect properly at the end? Fixing the end of your garden hose might seem tricky, but it’s easier than you think.
Imagine saving time, avoiding water waste, and getting back to watering your plants without hassle. In this guide, you’ll discover simple steps to repair or replace your hose’s end quickly. Keep reading, and you’ll have your garden hose working like new in no time.

Credit: diy.stackexchange.com
Common Hose End Problems
The end of a garden hose often faces wear and tear. Fixing these problems can save water and improve hose life.
Understanding common issues helps you repair the hose quickly and avoid buying a new one.
Leaks And Drips
Leaks and drips usually happen at the hose end due to worn washers or loose connections. These cause water waste and lower pressure.
- Turn off the water supply before working on the hose.
- Remove the hose end fitting and check the rubber washer inside.
- If the washer is cracked or missing, replace it with a new one.
- Tighten the fitting securely but avoid over-tightening.
- Test the hose for leaks by turning the water back on.
Cracks And Splits
Cracks and splits appear from sun damage or freezing weather. Small cracks can be patched, but large splits often need a hose replacement.
| Crack Size | Repair Method |
|---|---|
| Small (hairline cracks) | Use waterproof tape or hose repair tape |
| Medium (visible splits) | Try hose mender fittings to join the cut ends |
| Large (long splits or tears) | Replace the hose section or the entire hose |
Loose Or Broken Fittings
Fittings that are loose or broken cause leaks and make the hose hard to use. Tightening or replacing the fittings solves this problem.
- Check if the fitting screws onto the hose tightly.
- Use pliers to tighten loose metal fittings carefully.
- If the fitting is cracked or broken, remove it from the hose.
- Install a new fitting by pushing it firmly onto the hose end.
- Use hose clamps to secure the fitting in place.
Tools And Materials Needed
Fixing the end of a garden hose is simple if you have the right tools and parts. Preparing everything before you start helps you work faster and better.
This guide covers the tools, replacement parts, and safety gear you need. Each section explains what to get and why it is important.
Basic Repair Tools
You need a few basic tools to fix the garden hose end. These tools help you cut, tighten, and attach parts properly.
- Utility knife or hose cutter for clean cuts
- Adjustable wrench to tighten fittings
- Pliers for gripping and twisting small parts
- Screwdriver if clamps or screws are involved
- Measuring tape to measure hose length
Replacement Parts
Replacement parts fix the damaged hose end. Choose parts that fit your hose size and type to avoid leaks.
- New hose end fittings or couplings
- Rubber washers or gaskets for tight seals
- Hose clamps to secure the fittings
- Optional: Hose repair kits for quick fixes
Safety Gear
Safety gear protects you while working on the hose. It keeps you safe from cuts and other small injuries.
- Work gloves to protect your hands
- Safety glasses to shield your eyes
- Long sleeves to avoid skin scratches
Fixing Leaks And Drips
Garden hoses can leak and drip over time. Fixing these issues helps save water and keeps your garden tidy.
Simple fixes can make your garden hose work like new. Let’s explore some easy solutions.
Replacing Washers
Washers prevent leaks by creating a tight seal. Old washers can crack or wear out.
Replacing washers is quick and inexpensive. You only need a few tools.
- Turn off the water and disconnect the hose.
- Remove the old washer from the hose connector.
- Insert a new rubber washer of the same size.
Applying Seal Tape
Seal tape helps stop leaks at the hose connections. It is easy to use and very effective.
Wrap the tape around the threads of the hose connector. This ensures a tight fit.
- Clean the connector threads before applying tape.
- Wrap the tape clockwise, covering the threads fully.
- Screw the hose back onto the faucet or nozzle.
Using Hose Repair Kits
Hose repair kits help fix larger holes or splits. These kits include everything you need for a quick repair.
Cut out the damaged section of the hose and replace it with a connector from the kit.
- Cut the hose cleanly on both sides of the leak.
- Insert the hose ends into the repair connector.
- Tighten the connector to secure the hose.
Repairing Cracks And Splits
A garden hose can develop cracks and splits over time. These problems cause leaks and reduce water flow. Fixing these issues saves money and extends the hose’s life.
This guide explains simple ways to repair the end of a garden hose. You will learn how to cut damaged parts, join hose sections, and seal small cracks.
Cutting Damaged Sections
Start by finding the cracked or split area on the hose. Use a sharp knife or garden scissors to cut off the damaged part. Make a clean, straight cut to prepare for joining.
Joining With Couplers
Couplers are small connectors that join two hose ends. After cutting the damaged section, attach a coupler to each hose end. Push the hose ends firmly onto the coupler and tighten any clamps or screws.
- Choose a coupler that fits your hose size.
- Slide hose clamps over the ends before attaching the coupler.
- Push the hose ends fully onto the coupler to avoid leaks.
- Tighten clamps securely with a screwdriver.
- Test the connection by running water through the hose.
Sealing Small Cracks
Small cracks may not need cutting. Use waterproof tape or sealant to fix them. Clean and dry the hose surface first. Wrap tape tightly around the crack or apply sealant as directed.
| Material | Use | Notes |
| Waterproof Tape | Wrap around crack | Good for quick fixes |
| Rubber Sealant | Apply over crack | Creates a strong, flexible seal |
| Silicone Caulk | Fill crack and smooth | Use for longer-lasting repairs |
Replacing Hose Fittings
Fixing the end of a garden hose often means replacing the hose fittings. Old or damaged fittings can cause leaks and reduce water flow.
Replacing these parts can save your hose and keep your garden healthy. The process is simple and requires only a few tools.
Removing Old Fittings
Start by cutting off the damaged end of the hose cleanly with a sharp knife or scissors. Make sure the cut is straight to help the new fitting attach well.
Use pliers to loosen and remove any old fittings still attached. If the fitting is stuck, twist it gently back and forth until it comes off.
Installing New Connectors
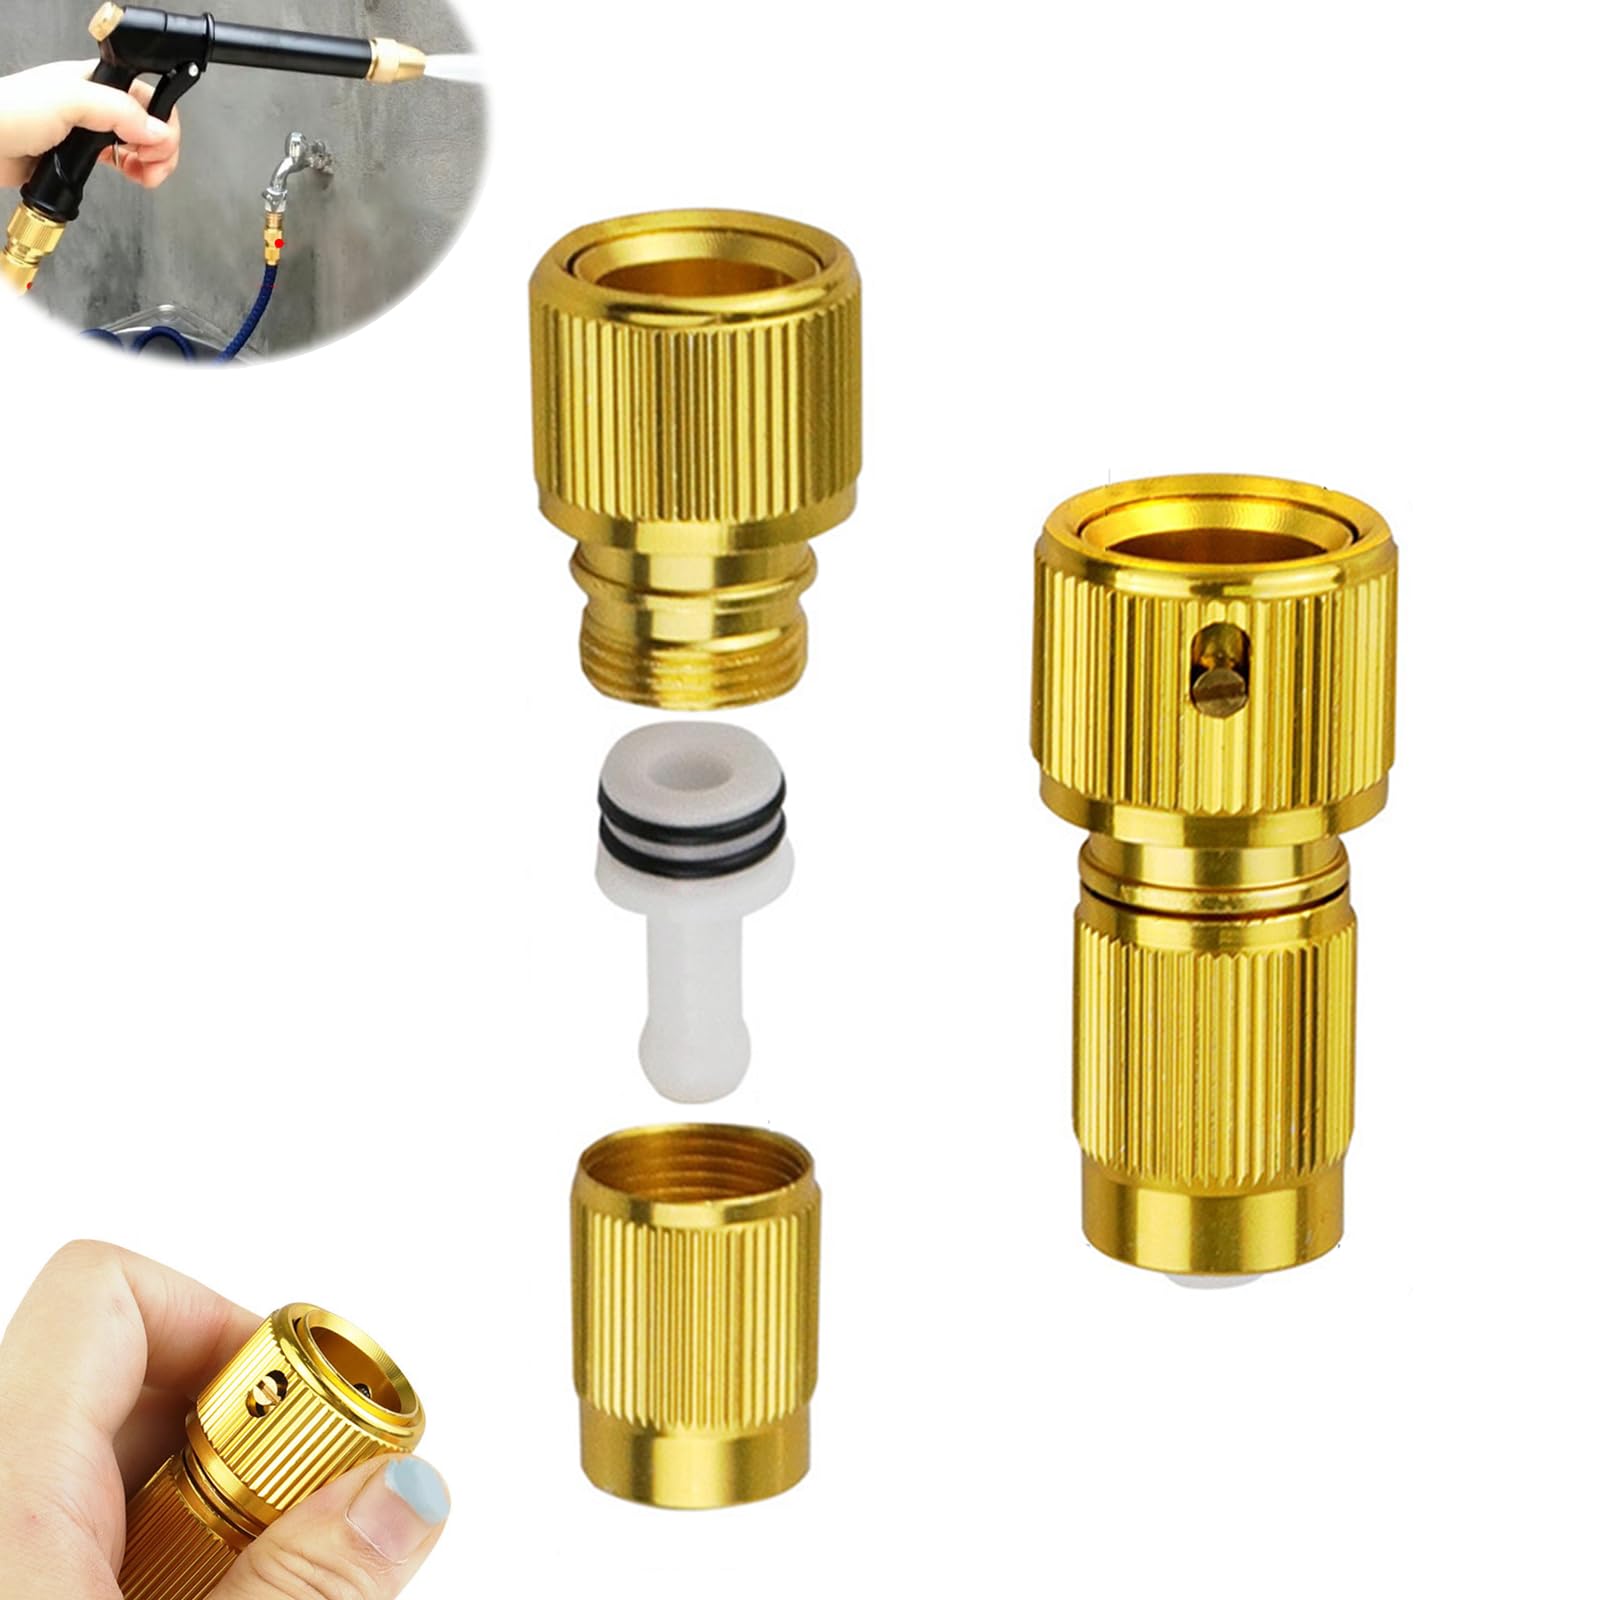
Slide a hose clamp over the cut end of the hose. Push the new connector firmly into the hose, making sure it fits tightly.
If the connector has barbs, push the hose past each barb to create a strong seal. The hose should cover the entire barbed area.
- Place the clamp about 1 inch from the hose end
- Push the fitting into the hose firmly
- Check that the hose covers all barbs on the fitting
Tightening And Securing
Use a screwdriver or wrench to tighten the hose clamp around the hose and fitting. Make sure it is snug but not too tight to avoid damaging the hose.
Test the connection by turning on the water. Look for leaks and tighten the clamp more if needed to stop dripping.
Credit: www.amazon.com
Preventing Future Damage
Fixing the end of a garden hose is just the start. Taking care of the hose helps it last longer. Avoiding damage saves time and money.
Simple habits can protect your hose from breaking again. Use smart storage, check it often, and pick strong materials.
Proper Storage Tips
Store the hose in a cool, dry place. Avoid direct sunlight to stop cracks and fading. Keep it off the ground to prevent dirt and pests.
Use hose reels or hangers to keep the hose neat. Coil the hose loosely to avoid kinks and bends that cause leaks.
- Keep hose away from sharp objects
- Drain water before storing to prevent freezing
- Use a hose reel or hanger
- Store indoors in winter
Regular Maintenance
Check the hose and fittings often for cracks or leaks. Fix small problems before they get worse. Clean dirt and debris from the hose ends.
Replace worn washers and tighten connections to stop water loss. Keep the hose dry after use to prevent mold and rust on metal parts.
- Inspect hose ends monthly
- Replace damaged washers
- Clean hose after use
- Dry hose before storage
Choosing Durable Materials
Pick hoses made from tough materials like rubber or reinforced vinyl. These handle pressure and weather better than thin plastic hoses.
Use metal fittings instead of plastic ones. Metal parts last longer and resist cracking or breaking at the hose end.
- Rubber hoses resist cracking
- Reinforced vinyl adds strength
- Metal fittings prevent breaks
- Avoid cheap plastic parts

Credit: www.familyhandyman.com
Frequently Asked Questions
How Do I Fix A Leaking Garden Hose End?
To fix a leaking hose end, first turn off the water supply. Remove the damaged fitting, replace washers if needed, and tighten the new connector securely. Use plumber’s tape for a watertight seal. Test the hose to ensure no leaks remain.
What Tools Do I Need To Repair A Garden Hose?
You need a utility knife, pliers, a screwdriver, replacement washers, and hose connectors. Plumber’s tape helps seal fittings. These tools allow you to cut, remove damaged parts, and attach new connectors properly, ensuring a leak-free hose end repair.
Can I Repair A Cracked Garden Hose End?
Yes, you can repair a cracked hose end by cutting off the damaged section. Attach a new hose connector with replacement washers. Secure the fitting tightly with clamps or screws to prevent leaks and restore your hose’s functionality quickly.
How Long Does It Take To Fix A Garden Hose End?
Fixing a garden hose end typically takes 10 to 20 minutes. It depends on the damage extent and your familiarity with the tools. Most repairs are straightforward and can be completed quickly with proper preparation.
Conclusion
Fixing the end of a garden hose is simple and saves money. Start by cutting the damaged part cleanly. Attach a new hose connector tightly to stop leaks. Check for water flow after the repair. This quick fix lets you water plants without delay.
Keep your tools ready for future hose problems. Small repairs keep your garden healthy and happy. Try these steps next time your hose needs fixing. Easy and effective—no need to call a plumber. Your garden will thank you for the care.