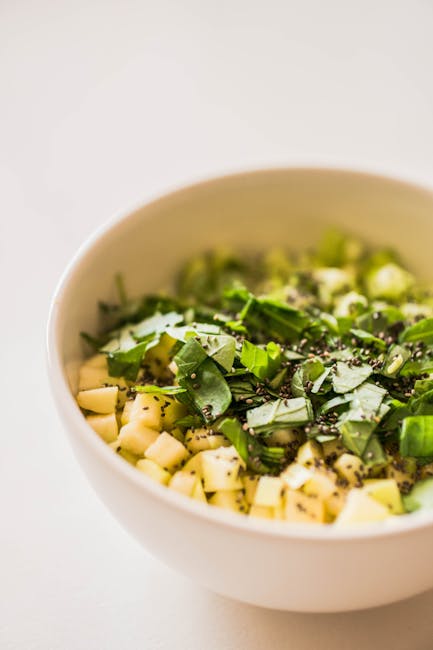
Are you tired of watching your fresh apples go bad before you have a chance to enjoy them? Imagine having a stash of perfectly preserved chopped apples at your fingertips, ready to toss into your favorite recipes anytime.
Freezing chopped apples is a simple yet powerful technique that can save you time, money, and reduce food waste. Whether you’re a busy parent, a culinary enthusiast, or someone who just loves apples, this guide will show you exactly how to freeze chopped apples to maintain their flavor and texture.
Stick around, and you’ll discover the step-by-step process to ensure your apples are ready whenever you are. Get ready to transform your kitchen routine with this incredibly handy skill!

Credit: www.acouplecooks.com
Choosing The Right Apples
Choosing the right apples is essential if you want your frozen chopped apples to taste fresh and maintain a great texture after thawing. Not all apples freeze equally well, and picking the correct variety can make a big difference in your recipes. Let’s look at how to select apples that will give you the best results in the freezer.
Best Varieties For Freezing
Some apples hold up better than others when frozen. You want varieties that stay firm and keep their flavor after thawing.
- Granny Smith:Tart and firm, they keep their shape and add a nice tang to cooked dishes.
- Honeycrisp:Sweet with a crisp texture, they freeze well if used quickly.
- Fuji:Very sweet and dense, they maintain texture but can be softer once thawed.
- Gala:Mildly sweet and firm, good for snacking and baking after freezing.
Do you prefer your apples tart or sweet? Choosing based on taste preference will enhance your dishes after freezing.
Selecting Fresh And Firm Apples
Freshness is key. Apples that are already soft or bruised won’t freeze well, turning mushy when thawed.
Look for apples that feel heavy for their size and have smooth, unblemished skin. Avoid any with wrinkles or dark spots.
Have you ever frozen apples that turned soggy? It’s usually because the apples weren’t firm enough before freezing. Picking crisp, fresh fruit will help you avoid that problem.
Credit: realfood.tesco.com
Preparing Apples For Freezing
Preparing apples for freezing is the first key step to keep them fresh and tasty. Proper preparation helps avoid browning and texture loss during freezing. It also makes sure your apples are clean, safe, and ready for use in recipes later.
Focus on washing, peeling, and chopping apples carefully. Each step plays a role in the final quality of frozen apples.
Washing And Peeling
Start by washing apples under cold running water. This removes dirt and pesticides. Use a soft brush to scrub the skin gently. Pat the apples dry with a clean towel.
Peeling is optional but recommended for smoother texture in dishes. Use a sharp peeler to remove the skin thinly. Peel only what you need to reduce waste.
Chopping Techniques
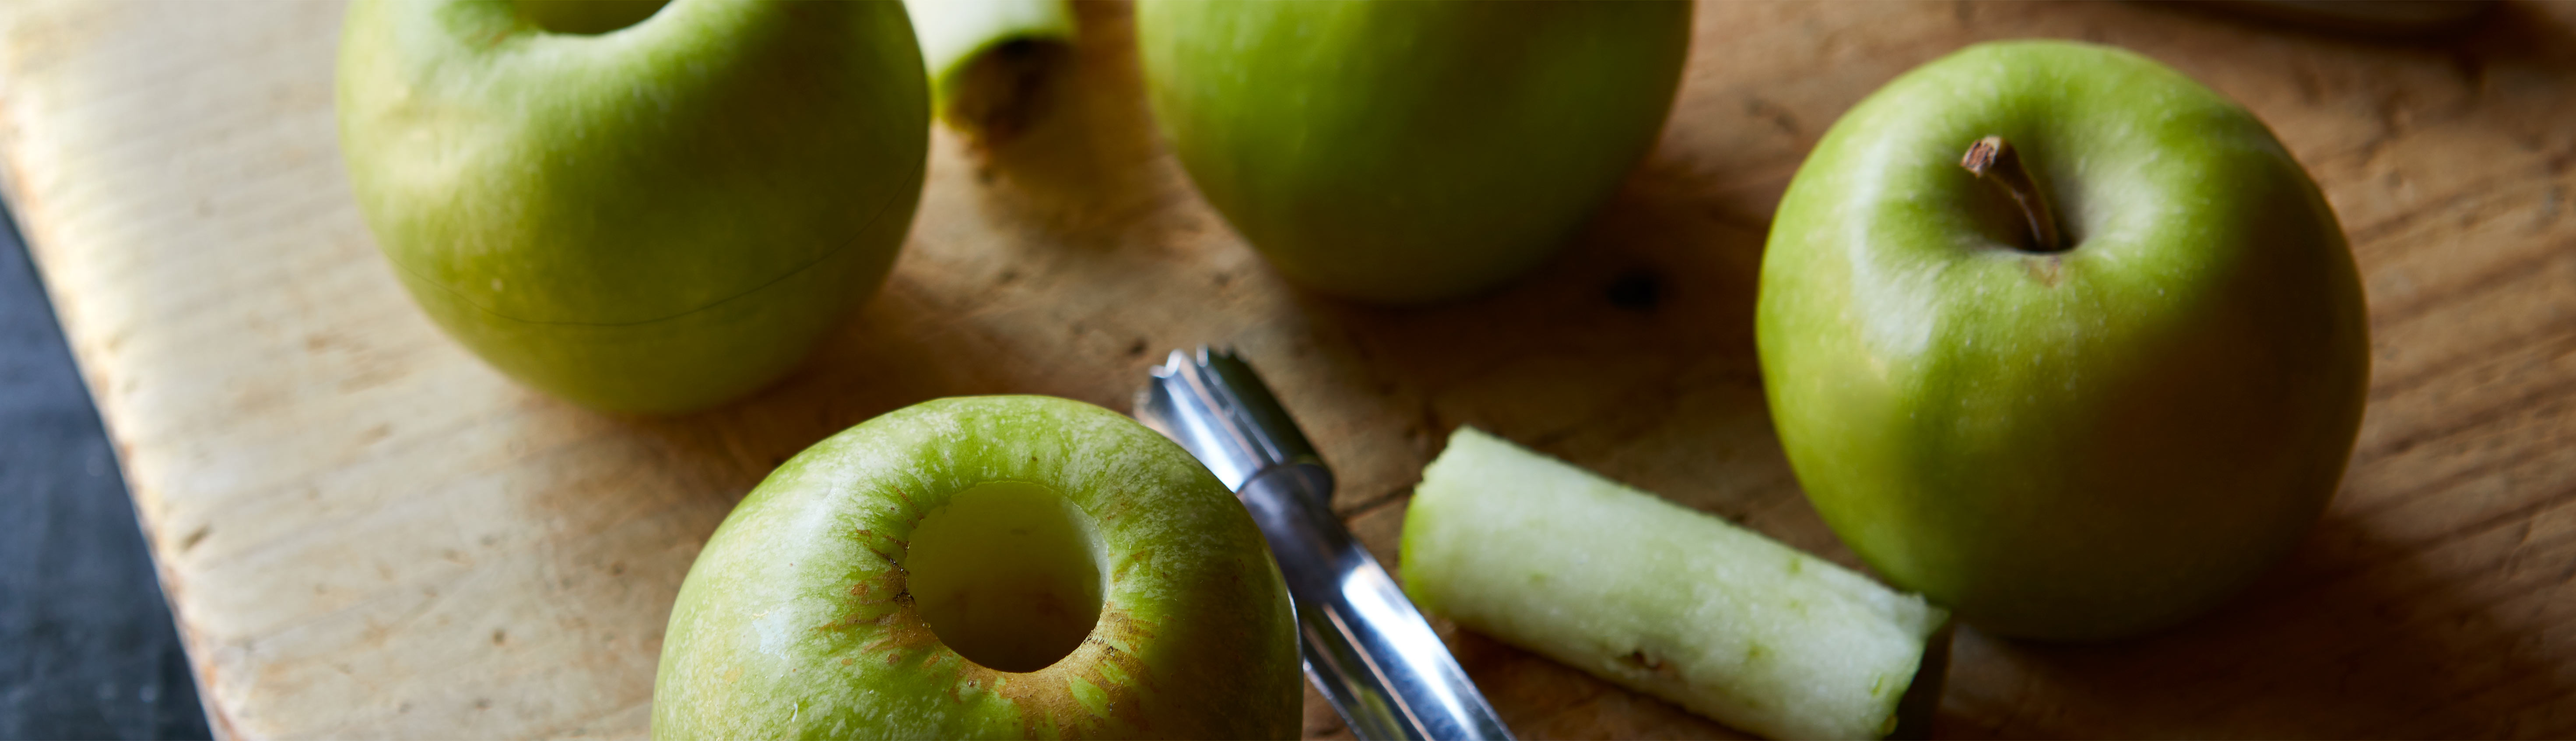
Cut apples into uniform pieces for even freezing and thawing. Use a sharp knife or apple corer to remove the core. Slice or dice apples based on how you plan to use them later.
- For pies, slice apples thinly.
- For smoothies, dice apples into small cubes.
- For snacks, cut into larger chunks.
Keep the pieces consistent in size to freeze evenly. This helps maintain texture and flavor after thawing.
Preventing Browning
Chopped apples quickly turn brown due to oxidation, which can make your frozen fruit look unappetizing. Preventing this browning is key to keeping apples fresh and appealing after freezing. Understanding simple ways to stop this process can save you from wasting perfectly good fruit.
Using Lemon Juice
Lemon juice is a classic and effective way to prevent apples from browning. Its natural acidity slows down the oxidation process that causes the color change. Just toss your chopped apples in a bowl with a little lemon juice—about one tablespoon per cup of apples works well.
You don’t need to soak them for long; a quick mix for a minute or two is enough. This method not only keeps the apples looking fresh but also adds a subtle tang that enhances their flavor. Have you tried this and noticed how much longer your apples stay bright?
Alternative Anti-browning Methods
If you’re out of lemon juice, don’t worry—there are other options. Here are a few alternatives you can try:
- Salt Water:Soak chopped apples in a solution of ½ teaspoon salt per cup of water for 3-5 minutes, then rinse lightly before freezing.
- Honey Water:Mix two tablespoons of honey with one cup of water and soak apples for about 30 seconds. Honey contains natural compounds that slow browning.
- Vitamin C Powder:Dissolve vitamin C powder in water and dip your apples in the solution for a quick antioxidant boost.
Each method offers a different way to keep your apples fresh without changing their taste too much. Which one sounds easiest for your kitchen routine?
Freezing Methods
Freezing chopped apples is a smart way to keep them fresh and ready for your favorite recipes. Choosing the right freezing method affects the texture and flavor after thawing. Let’s look at two effective techniques that you can try at home to preserve your apples perfectly.
Flash Freezing On Trays
Flash freezing helps keep your chopped apples from sticking together. Spread the apple pieces in a single layer on a baking tray lined with parchment paper. Make sure the pieces aren’t touching each other.
Place the tray in the freezer for about 2 to 4 hours. Once the apples are frozen solid, transfer them to a freezer-safe bag or container. This way, you can grab just the amount you need without thawing the whole batch.
Have you noticed how frozen apples often clump together? Flash freezing prevents that hassle and saves you time later.
Freezing In Containers Or Bags
You can freeze chopped apples directly in containers or freezer bags, but there’s a trick to avoid clumping and freezer burn. First, toss the chopped apples with a little lemon juice or ascorbic acid to keep them from browning.
Place the prepared apples in airtight containers or heavy-duty freezer bags. Press out as much air as possible before sealing to maintain freshness.
Label your containers with the date to track freshness easily. Have you ever opened a freezer bag only to find mushy or freezer-burned fruit? Proper sealing and air removal can help you avoid that disappointment.
Storage Tips
Proper storage plays a key role in keeping chopped apples fresh and tasty after freezing. Good storage prevents freezer burn and flavor loss. It also helps you organize your frozen apples and use them before they go bad. Follow these tips to store chopped apples the right way.
Labeling And Dating
Always label the container or bag with the date of freezing. Include the type of apple if possible. Use a permanent marker on freezer-safe bags or containers. Clear labels help you track how long the apples have been frozen. This practice prevents waste and keeps your freezer organized.
Ideal Freezer Conditions
Keep your freezer at 0°F (-18°C) or lower for best results. Store chopped apples in airtight containers or heavy-duty freezer bags. Remove as much air as possible to avoid freezer burn. Place the apples in a single layer to freeze quickly and evenly before stacking. Avoid frequent opening of the freezer to maintain steady temperature.

Credit: happymoneysaver.com
Thawing And Using Frozen Apples
Thawing frozen chopped apples properly can make a big difference in their texture and flavor. Knowing how to handle them once thawed helps you get the most out of your frozen stash. Let’s look at some smart ways to thaw and then use those apples in your favorite dishes.
Best Practices For Thawing
Thaw frozen chopped apples slowly to keep their texture intact. The best way is to move them from the freezer to the fridge and let them sit overnight. This gentle thaw preserves their shape better than rushing the process.
If you need the apples quicker, place the frozen pieces in a sealed plastic bag and submerge it in cold water for about 30 minutes. Avoid using hot water or microwaving, as these methods can make the apples mushy and watery.
After thawing, drain any excess liquid before using. This step prevents your recipes from becoming too soggy and helps maintain the right consistency.
Recipes Using Frozen Chopped Apples
Frozen chopped apples work wonderfully in cooked dishes where texture is less of an issue. Think about baking them into muffins, pies, or crisps. The heat softens the apples nicely, turning them tender and flavorful.
- Apple Muffins:Toss thawed apples with cinnamon and sugar, then fold into your batter for a moist, tasty treat.
- Apple Crisp:Layer thawed apples with oats and brown sugar before baking for a warm, comforting dessert.
- Apple Sauce:Simmer thawed apples with a bit of water and cinnamon until soft, then mash for homemade sauce.
Have you ever tried adding thawed chopped apples to oatmeal or pancakes? They add natural sweetness and a burst of flavor without extra sugar. Experimenting with frozen apples can open new doors in your cooking and baking adventures.
Frequently Asked Questions
How Do You Prepare Apples For Freezing?
To prepare apples for freezing, wash and peel them first. Then, chop into desired sizes. Blanch or soak in lemon water to prevent browning before freezing.
Can Chopped Apples Be Frozen Without Blanching?
Yes, but blanching helps maintain texture and color. Without blanching, apples may brown and become mushy after thawing.
How Long Do Frozen Chopped Apples Last?
Frozen chopped apples last about 8 to 12 months in the freezer. Proper packaging in airtight containers or freezer bags extends their shelf life.
What’s The Best Way To Thaw Frozen Chopped Apples?
Thaw frozen chopped apples slowly in the refrigerator. For quicker use, thaw at room temperature or use directly in cooking or baking.
Conclusion
Freezing chopped apples saves time and reduces waste. It keeps apples fresh for months. Just wash, chop, and use lemon juice to stop browning. Spread pieces on a tray, freeze, then store in bags. Easy to grab for cooking or snacks later.
Frozen apples work well in pies, smoothies, and sauces. This simple method helps you enjoy apples year-round. No need to worry about spoilage or last-minute prep. Try it today and keep apples ready anytime.