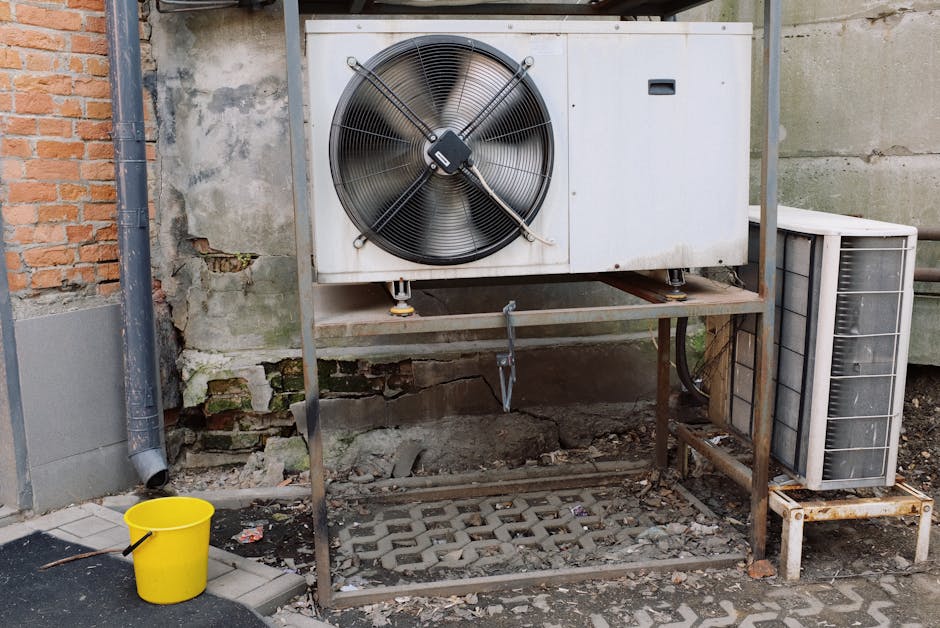
Looking to keep your home cool and comfortable without taking up window space? Installing an air conditioner in your wall might be the perfect solution.
You might think it’s a tough job, but with the right steps, you can do it yourself and save money. In this guide, you’ll discover simple, clear instructions to help you install your wall air conditioner safely and efficiently. Stick with me, and by the end, you’ll have the confidence to beat the heat all summer long.
Ready to get started? Let’s dive in!
Choose The Right Air Conditioner
Installing an air conditioner in a wall requires careful choice of the right unit. Picking the correct air conditioner improves comfort and saves energy.
Consider room size, unit type, and energy ratings before making a decision. These factors affect the cooling efficiency and cost.
Measure Your Room Size
Measure the length, width, and height of your room in feet. This helps find the right cooling capacity for the air conditioner.
- Calculate the room’s square footage by multiplying length by width.
- Note the ceiling height to adjust the volume if it is over 8 feet.
- Consider sun exposure and insulation quality for better accuracy.
Select The Correct Unit Type
Choose between window units, through-the-wall units, or split systems based on your wall space and installation needs.
| Unit Type | Installation | Best For |
| Window Unit | Fits in window or wall sleeve | Small rooms, easy install |
| Through-the-Wall Unit | Built into wall | Permanent, neat look |
| Split System | Indoor and outdoor parts | Quiet, larger spaces |
Check Energy Efficiency Ratings
Look for energy ratings to save money on electricity and reduce environmental impact. Higher ratings mean better efficiency.
- Check the SEER (Seasonal Energy Efficiency Ratio) value.
- Look for ENERGY STAR® certification.
- Compare power consumption in watts or BTUs.

Credit: thelenmechanical.com
Prepare The Wall Space
Installing an air conditioner in a wall needs careful preparation. The wall space must be ready to hold the unit safely and work well.
This guide covers how to prepare the wall space before installing your air conditioner.
Find The Ideal Location
Choose a spot on the wall that is strong and near an electrical outlet. Avoid areas with direct sunlight or heavy wind. Make sure there are no pipes or wires behind the wall.
Measure And Mark The Cutout
Use the air conditioner’s manual to get the exact size of the cutout. Measure carefully on the wall and mark the outline with a pencil.
- Measure the width and height of the unit’s installation area.
- Mark the top, bottom, and sides clearly on the wall.
- Double-check measurements before cutting.
Ensure Proper Support And Framing
The wall must support the weight of the air conditioner. Add framing around the cutout to keep it strong and secure.
| Support Item | Description |
| Wooden Frame | Reinforces the cutout edges |
| Metal Brackets | Provides extra stability |
| Sealant | Prevents air and water leaks |
Cut The Wall Opening
Installing an air conditioner in a wall needs a perfect opening. This opening must fit the unit well. Cutting the wall opening carefully is very important for a good install.
We will explain how to cut the wall opening step by step. This will help you avoid mistakes and keep the wall strong.
Gather Necessary Tools
Before cutting, collect all the tools you need. Having the right tools makes the job easier and safer.
- Measuring tape for accurate marks
- Level to keep lines straight
- Pencil or marker to draw cutting lines
- Stud finder to avoid hitting studs
- Drywall saw or reciprocating saw for cutting
- Safety glasses and gloves for protection
- Sandpaper or rasp for smoothing edges
Cut Along Marked Lines
Mark the wall where the air conditioner will go. Use a level to draw straight lines. Check twice before you cut.
Start cutting slowly along the lines. Use a drywall saw or reciprocating saw. Cut carefully to avoid damage to wiring or pipes inside the wall.
Smooth The Edges
After cutting, the edges may be rough or sharp. Use sandpaper or a rasp to smooth the edges. This prevents injury and helps the air conditioner fit better.
Check that the opening size matches the air conditioner. Adjust edges if needed for a perfect fit.
Install The Mounting Bracket
Installing the mounting bracket is a key part of fitting your air conditioner into the wall. It keeps the unit stable and secure.
Follow careful steps to ensure the bracket fits well and holds the air conditioner safely.
Secure The Bracket To The Wall
First, position the mounting bracket inside the wall opening. Align it with the edges to cover the space properly.
- Use screws that fit the bracket holes.
- Drill pilot holes into the wall for easy screwing.
- Tighten screws evenly to avoid bending the bracket.
- Check that the bracket is flush against the wall surface.
Check Level And Stability
After securing the bracket, check if it is level and stable. This step ensures the air conditioner will fit correctly and work well.
| Tool | Purpose | Tip |
| Level | Check horizontal alignment | Place it on top of the bracket |
| Wrench | Tighten screws firmly | Do not overtighten to avoid damage |
| Shaker test | Test bracket stability | Gently shake bracket after installation |
Place The Air Conditioner
Placing an air conditioner in a wall requires careful steps to ensure it fits well. A proper fit helps the unit work efficiently and keeps your room cool.
Follow these steps to place the air conditioner securely and seal it against outside air and moisture.
Insert The Unit Into The Opening
Lift the air conditioner carefully and slide it into the wall opening. Make sure it fits snugly without forcing it in. The unit should be level for best performance.
Seal Gaps With Weatherstripping
Use weatherstripping to close any gaps between the air conditioner and the wall. This prevents air leaks and keeps the unit energy efficient.
- Measure the edges where the unit meets the wall.
- Cut weatherstripping strips to the right length.
- Press the strips firmly into place around the unit.
- Check for any spaces and add more if needed.
Secure The Unit With Screws
Fasten the air conditioner to the wall frame using screws. Secure screws hold the unit steady and stop it from moving or falling out.
| Tool | Purpose |
|---|---|
| Electric drill | To drill holes for screws |
| Phillips screwdriver | To tighten screws |
| Wall screws | To secure the unit firmly |
| Level | To ensure the unit is even |

Credit: m.youtube.com
Connect Power And Test
After installing the air conditioner in the wall, the next step is to connect power safely. This ensures the unit works properly without risk. Testing the unit confirms it cools the room as expected.
Follow careful steps to plug in the unit and check its functionality. Safety is key to avoid electrical hazards or damage to the air conditioner.
Plug In The Unit Safely
Make sure the air conditioner is connected to a dedicated power outlet. Avoid using extension cords or power strips. Check that the outlet matches the power requirements listed on the unit’s label.
- Turn off the power supply before plugging in the unit.
- Use a grounded outlet to prevent electrical shocks.
- Inspect the power cord for damage before use.
- Do not force the plug into the socket.
- Ensure the plug fits tightly to avoid loose connections.
Turn On And Check Functionality
Once the unit is plugged in safely, turn on the power switch. Observe the air conditioner for any unusual noises or smells. Check if the air flows cold and steady from the vent.
| Test Item | What to Check | Expected Result |
| Power Switch | Unit turns on without delay | Immediate startup with light indicators |
| Cooling Air | Air temperature from vent | Cold air after a few minutes |
| Noise Level | Sound from the unit | Low humming, no rattling or banging |
| Remote Control | Function buttons work | Unit responds to commands |
Finish With Insulation And Trim
After installing your air conditioner in the wall, sealing and finishing are key. Proper insulation prevents air leaks and keeps your room comfortable.
Adding trim gives a clean look and protects the unit edges from damage. Follow these steps to complete the installation.
Add Insulation Around The Unit
Fill gaps between the air conditioner and the wall with insulation. Use foam or fiberglass to stop air and water from entering.
- Cut insulation pieces to fit tightly around the unit
- Place insulation on all sides, including top and bottom
- Seal edges with weatherproof tape or caulk
- Check that no gaps remain for air leaks
Install Exterior And Interior Trim
Trim hides gaps and gives a finished look. Install trim both outside and inside the wall opening.
| Trim Location | Material | Purpose |
| Exterior | Weather-resistant wood or PVC | Protect from rain and wind |
| Interior | Wood or plastic molding | Hide gaps and improve appearance |
Attach trim securely with nails or screws. Paint or seal exterior trim to extend its life.
Maintenance Tips
Keeping your wall air conditioner in good condition helps it last longer. Regular maintenance improves its performance and saves energy.
Simple checks and cleaning can prevent costly repairs. Focus on two key areas to maintain your air conditioner.
Clean Filters Regularly
Dirty filters reduce airflow and cooling efficiency. Clean your filters every month during heavy use or every three months otherwise.
- Turn off and unplug the air conditioner before cleaning.
- Remove the filter from the unit carefully.
- Use a vacuum or wash with warm water and mild soap.
- Let the filter dry completely before reinstalling.
- Replace filters if they are damaged or too dirty.
Inspect For Leaks And Damage
Check your unit for leaks or physical damage every few months. Early detection helps avoid bigger problems.
| What to Inspect | Signs to Look For | Action to Take |
| Seals around the unit | Cracks, gaps, or broken sealant | Reseal with weatherproof caulk |
| Drainage system | Water pooling or leaks | Clear blocked drains or tubes |
| Exterior casing | Dents, rust, or loose parts | Clean, tighten screws, or replace parts |

Credit: m.youtube.com
Frequently Asked Questions
How Do I Prepare The Wall For An Air Conditioner Installation?
First, select a sturdy wall with access to an electrical outlet. Measure and mark the area precisely. Cut a hole matching the AC unit’s size. Ensure the wall is clean and free of obstructions before installation.
What Tools Are Needed To Install A Wall Air Conditioner?
You need a drill, screwdriver, level, measuring tape, jigsaw or reciprocating saw, caulk gun, and mounting brackets. These tools help create the hole, secure the unit, and seal gaps for a proper fit and efficient operation.
How To Ensure The Air Conditioner Fits The Wall Opening?
Measure the AC unit’s dimensions carefully before cutting. Use a level to mark straight lines. Cut the opening slightly larger for easy placement but tight enough to avoid air leaks. Follow manufacturer instructions for ideal fit.
Can I Install A Wall Air Conditioner Alone Safely?
Yes, with proper preparation and the right tools, solo installation is possible. However, for heavy units or complex wiring, having a helper or professional is safer and ensures correct installation.
Conclusion
Installing an air conditioner in a wall can be simple. Follow the steps carefully. Always prioritize safety and use the right tools. Measure twice, cut once. This avoids costly mistakes. Secure the unit firmly for optimal performance. Check for any air leaks and seal them properly.
Good installation ensures better cooling efficiency. Regular maintenance extends the unit’s life. Stay comfortable during the hot months. Enjoy the fresh, cool air in your home. With these tips, you’re ready to tackle the installation.