
Thinking about upgrading your kitchen? Installing a new cooktop can transform your cooking space and elevate your culinary experiences.
Whether you’re a seasoned DIY enthusiast or just looking to save some money, learning how to install a cooktop yourself can be both rewarding and cost-effective. You might be wondering if it’s possible to tackle such a project on your own.
The answer is yes, and we’re here to guide you every step of the way. Imagine the satisfaction of prepping your next meal on a cooktop you installed yourself. Let’s dive into the essentials, so you can get cooking on your new, sleek appliance without a hitch.
Choosing The Right Cooktop
Choosing the right cooktop is crucial before you dive into installation. It affects your kitchen’s functionality, style, and how you prepare meals daily. Think about what fits your cooking habits and kitchen space best.
Types Of Cooktops
There are several cooktop types to consider, each with unique benefits. Gas cooktops offer precise heat control and are favored by many home chefs. Electric cooktops are easy to clean and provide consistent heat, perfect if you want low maintenance.
Induction cooktops use magnetic fields to heat pots directly, making them energy-efficient and fast. But remember, induction requires compatible cookware, so check if your pots work before buying. Which type matches your cooking style and kitchen setup?
Size And Fit Considerations
Cooktops come in various sizes, typically ranging from 24 to 36 inches wide. Measure your countertop space carefully to avoid surprises during installation. A cooktop too large or too small can disrupt your kitchen workflow.
Consider the number of burners you need. More burners mean more cooking flexibility but also require more space. Think about your usual cooking routine—do you often prepare multiple dishes simultaneously?
Power Source Options
Choosing the right power source impacts both installation and cooking performance. Gas cooktops need a gas line, so make sure your kitchen is equipped for it. Electric cooktops require the correct electrical outlet and voltage, which might mean upgrading your wiring.
Induction cooktops also run on electricity but usually need a dedicated circuit due to their power demands. Have you checked your kitchen’s existing utilities to match with the cooktop’s requirements? Planning this step ahead can save time and money.
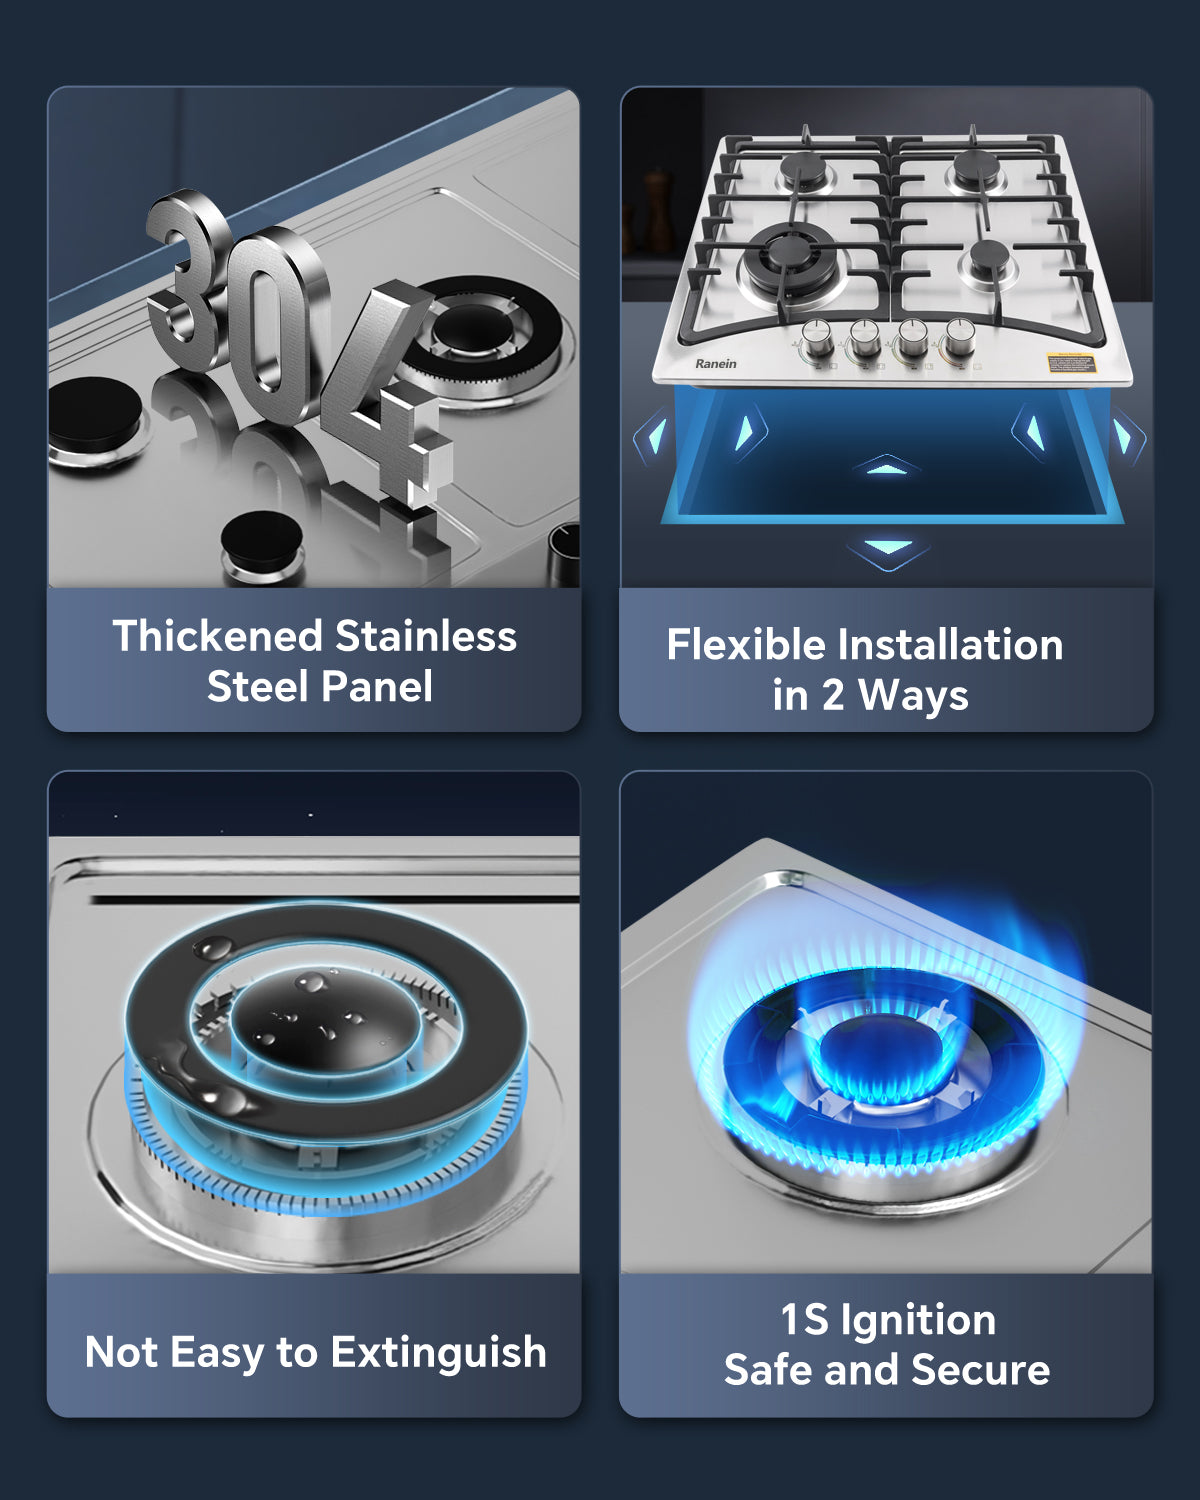
Credit: ranein.net
Gathering Tools And Materials
Before you start installing your cooktop, gathering the right tools and materials is crucial. Having everything at hand not only saves time but also reduces frustration during the process. Think about the last time you had to stop in the middle of a project because you were missing something important—avoiding that scenario makes your installation smoother and safer.
Essential Tools
You’ll need some basic tools to handle the installation efficiently. A screwdriver set is a must-have, especially both flat-head and Phillips-head types.
- Measuring tape to check dimensions accurately
- Level to ensure your cooktop sits perfectly flat
- Adjustable wrench for tightening bolts and fittings
- Utility knife for cutting any packaging or sealing materials
Having these tools ready means you won’t have to improvise or risk damaging your new appliance.
Safety Gear
Safety should be your top priority. Don’t underestimate the importance of protective gear during installation.
- Safety gloves to protect your hands from sharp edges or hot surfaces
- Safety goggles to shield your eyes from dust or debris
- Slip-resistant shoes to prevent accidents, especially in the kitchen environment
Wearing the right gear helps you focus on the task without risking injury. Have you ever ignored safety gear only to wish you hadn’t?
Additional Supplies
Besides tools and safety items, some extra supplies make the job easier and help the cooktop fit perfectly.
- Silicone sealant or heat-resistant caulk to create a secure, waterproof seal
- Electrical tape for securing wiring connections
- Mounting brackets or screws if they aren’t included with your cooktop
- Cleaning cloths for wiping down surfaces before and after installation
These supplies might seem small but can make a big difference in the final result. Are you prepared to handle those unexpected adjustments?
Preparing The Installation Area
Preparing the installation area is a key part of installing a cooktop. This step ensures safety and a perfect fit. Careful preparation helps avoid problems during and after installation. Focus on three main tasks: measuring the space, checking connections, and clearing the workspace.
Measuring The Space
Measure the countertop opening where the cooktop will sit. Use a tape measure to get exact width, depth, and height. Double-check these numbers with the cooktop’s size requirements. Keep in mind any extra space needed for ventilation. Accurate measurements prevent gaps and ensure a snug fit.
Checking Electrical And Gas Connections
Identify the type of cooktop: electric or gas. For electric cooktops, check the power outlet and voltage. Make sure the circuit can handle the cooktop’s power needs. For gas cooktops, inspect the gas line and shutoff valve. Ensure connections are secure and meet local codes. Safety is the top priority when dealing with utilities.
Clearing The Workspace
Remove all items around the installation area. Clean the countertop to remove dust and grease. This creates a safe and tidy work zone. Enough space allows easy access to tools and parts. A clutter-free area helps prevent accidents and speeds up the installation process.
Disconnecting Existing Appliances
Before installing a new cooktop, safely disconnecting any existing appliances is essential. This step protects you from electric shocks, gas leaks, and damage to your kitchen. Taking time to carefully disconnect ensures a smooth installation and prevents unexpected problems later.
Turning Off Power Or Gas
First, cut off the power supply to the cooktop at your home’s main breaker panel. Don’t rely on just the cooktop switch; turning off the breaker adds an extra layer of safety. If your cooktop uses gas, locate the gas valve and close it tightly to stop the flow.
Have you ever underestimated how dangerous a small gas leak can be? Double-checking that the power or gas is fully off can save you from serious hazards.
Removing Old Cooktop
Once the power or gas is off, carefully remove the old cooktop. Depending on the model, you may need to unscrew mounting brackets or simply lift it out. Keep a container nearby to hold screws and small parts—you don’t want to lose anything important.
Be gentle when pulling out the appliance to avoid damaging the countertop or the surrounding cabinetry. If you feel resistance, pause and check for hidden screws or clips before forcing it.
Inspecting The Area
With the old cooktop out, take a close look at the countertop and connections. Look for cracks, water damage, or signs of wear that might affect the new installation. Also, check that the electrical wiring or gas lines are intact and ready for the new unit.
Have you noticed any outdated wiring or loose gas fittings in your kitchen? Addressing these issues now can prevent costly repairs and safety risks later on.
Installing The New Cooktop
Installing a new cooktop can transform your kitchen experience, but it requires careful attention to detail. Proper installation ensures safety and functionality. Let’s dive into the key steps you’ll need to follow to get your cooktop ready for cooking.
Positioning The Cooktop
Start by placing the cooktop over the countertop cutout. Make sure it fits snugly without forcing it in. Check that the edges are even and there’s enough clearance around the unit for ventilation and easy cleaning.
Have you measured your countertop space twice before? It’s common to think one measurement is enough, but a small error can cause big problems later. Take your time to align the cooktop perfectly with your workspace.
Securing The Unit
Once positioned, secure the cooktop to the countertop using the brackets or clips provided. These typically attach underneath the counter and hold the cooktop firmly in place. Tighten all screws, but avoid overtightening which might crack the countertop or damage the cooktop frame.
Think about stability—your cooktop should feel solid when you press down gently. A wobbly cooktop can be dangerous and frustrating during cooking. If your model came with a gasket or seal, ensure it is properly seated to prevent moisture damage.
Connecting Electrical Or Gas Lines
Connecting your cooktop depends on its power source. For electric models, ensure the power is turned off before attaching the wiring. Follow the manufacturer’s wiring diagram carefully and use a voltage tester to confirm connections are correct before restoring power.
If your cooktop uses gas, double-check that the gas supply is off before starting. Use a flexible gas line and apply proper fittings. After connecting, test for leaks with a soap solution—bubbles mean you need to tighten the connection further. Never skip this step as gas leaks are hazardous.
Testing The Cooktop
Testing the cooktop is a crucial step after installation. It ensures the appliance works safely and correctly. This process helps identify any issues before using the cooktop for cooking. Follow these simple checks to confirm your cooktop is ready.
Powering On
Start by turning on the cooktop’s main power switch. Check if the indicator lights or display panel activates. Listen for any unusual sounds, such as buzzing or clicking. A smooth power-on means the electrical connection is secure. If nothing happens, double-check the power source and circuit breaker.
Checking Burners
Test each burner one by one. Turn the knob to ignite the flame or heating element. Observe the flame’s color and size; it should be steady and blue. For electric cooktops, the burner should heat up quickly and evenly. Make sure all burners respond correctly without flickering or delays.
Troubleshooting Common Issues
- No power: Confirm the cooktop is plugged in and the breaker is on.
- Burners won’t ignite: Clean burner ports and check gas supply for gas models.
- Uneven flame or heat: Adjust burner caps or check for blockages.
- Display errors: Reset the cooktop by switching off the power for a few minutes.
Testing helps spot problems early. Fixing these issues keeps your kitchen safe and efficient.
Safety Tips And Maintenance
Installing a cooktop is just the beginning of a safe and efficient cooking experience. Maintaining it properly and following essential safety tips can protect your home and extend the life of your appliance. Neglecting these small but crucial steps can lead to hazards or costly repairs down the line.
Regular Cleaning
Keeping your cooktop clean is more than just a matter of appearance—it’s about safety and performance. Food spills and grease buildup can clog burners or cause uneven heating, which might lead to dangerous flare-ups.
Use a soft cloth or sponge with mild detergent to wipe down surfaces after every use. Avoid abrasive cleaners that can scratch glass or stainless steel. Don’t forget to clean under the burner caps and knobs regularly to prevent grime from affecting ignition.
Preventive Checks
Have you ever noticed a burner that won’t light or heats unevenly? These signs often indicate underlying issues that can worsen if left unchecked. Take a few minutes every month to inspect your cooktop for loose parts, damaged wires, or unusual smells.
Check the gas connections for leaks using a soapy water solution—bubbles will form if there is a leak. Also, ensure the burners are properly aligned and that the ignition spark is strong. These simple checks can help you avoid unexpected breakdowns or safety risks.
When To Call A Professional
Some problems require more than just DIY fixes. If you detect persistent gas smells, malfunctioning ignition systems, or electrical issues, it’s time to call an expert. Attempting repairs beyond your skill level can be dangerous and might void your warranty.
Remember, professionals have the tools and knowledge to handle complex repairs safely. Don’t wait until a small problem turns into a costly emergency—know when to reach out for help.

Credit: www.russoelectrical.com.au

Credit: www.amazon.ca
Frequently Asked Questions
What Tools Are Needed To Install A Cooktop?
Basic tools include a screwdriver, adjustable wrench, measuring tape, and a level. You may also need wire strippers and a voltage tester for electrical connections. Having these tools ready ensures a smooth and safe installation process.
How Do I Prepare The Countertop For A Cooktop?
Measure the cooktop dimensions and mark the cutout area on the countertop. Use a jigsaw to cut precisely along the marked lines. Ensure the edges are smooth and the space fits the cooktop snugly to prevent gaps.
Can I Install A Cooktop Myself Safely?
Yes, if you follow the manufacturer’s instructions and local codes. Turn off power or gas supply before starting. If unsure, consult a professional to avoid hazards and ensure proper installation.
How To Connect Electrical Wiring For An Electric Cooktop?
Turn off the main power supply first. Connect the cooktop wires to the corresponding circuit wires using wire nuts. Follow the cooktop’s wiring diagram exactly to ensure safe and proper electrical connection.
Conclusion
Installing a cooktop can be simple with clear steps. Always follow safety rules to avoid accidents. Check your tools and materials before you start. Take your time and do each step carefully. Testing the cooktop after installation ensures it works well.
This guide helps you feel confident and ready. Enjoy cooking on your new cooktop soon!