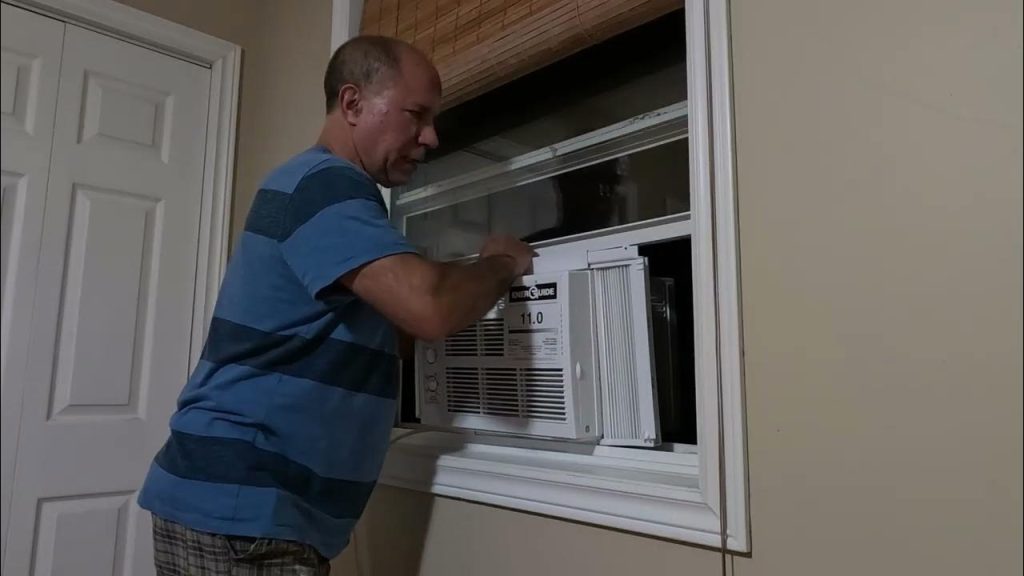
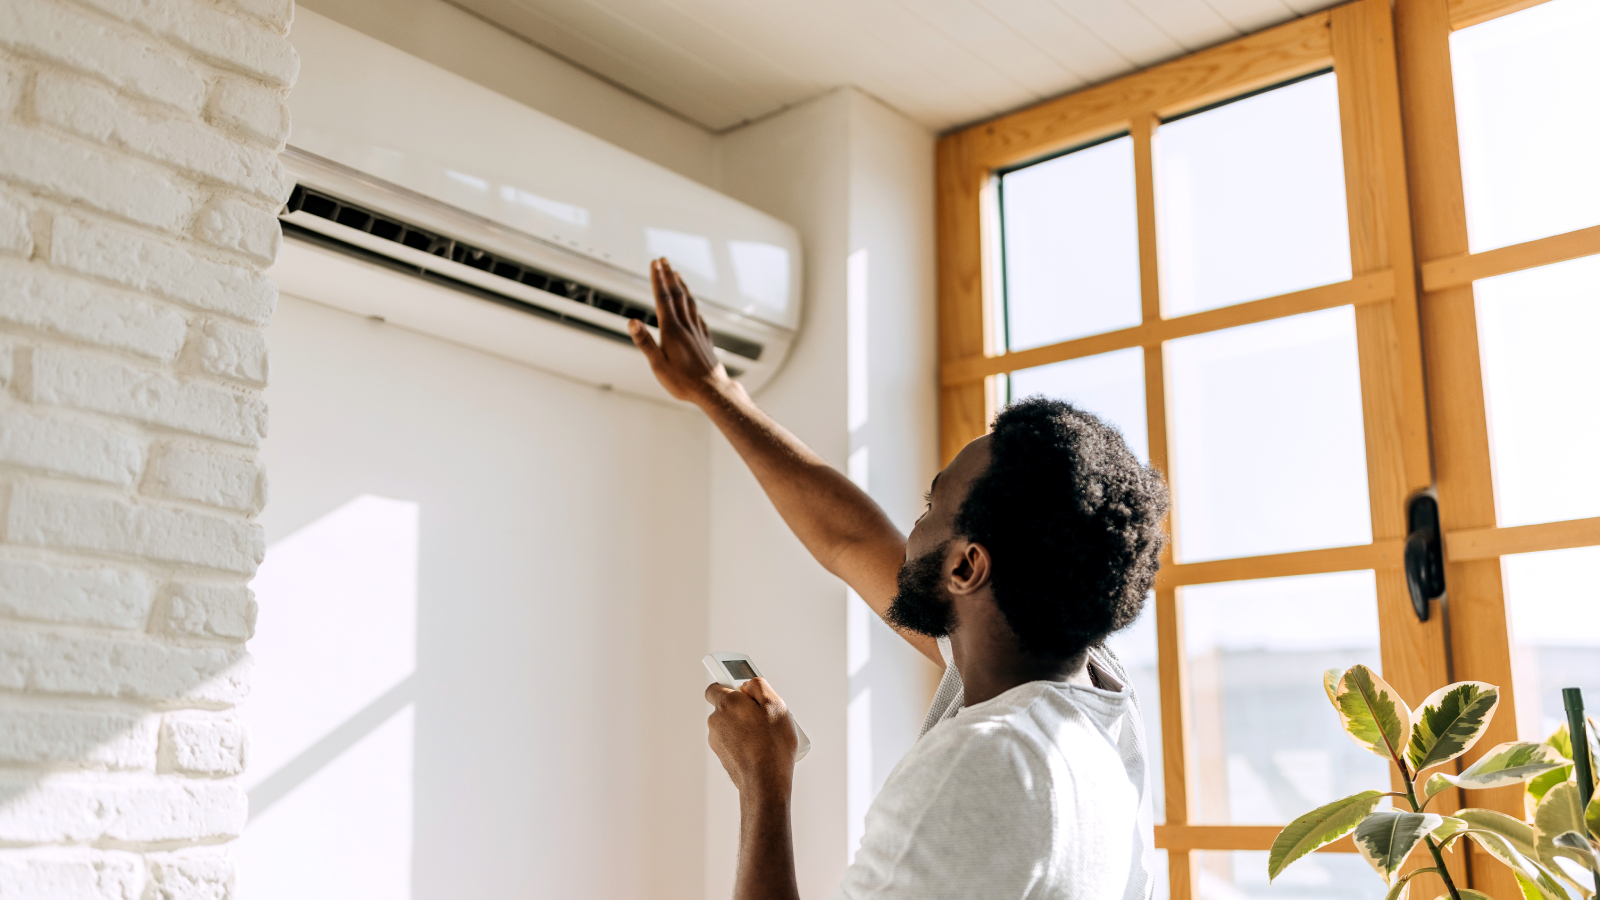
Are you tired of dealing with bulky window units or noisy portable air conditioners? Installing an in-wall air conditioner can be the perfect solution to keep your space cool and comfortable without sacrificing style or space.
But how do you get started? This guide will walk you through each step, making the process simple and manageable—even if you’re not a DIY expert. By the end, you’ll have the confidence and know-how to install your own in-wall AC, saving you money and hassle.
Ready to transform your home’s cooling system? Let’s dive in!
Credit: www.homebuilding.co.uk
Choosing The Right Unit
Installing an in-wall air conditioner needs a careful choice of the right unit. Picking the best model helps cool your room efficiently.
This guide covers how to measure your space, check electrical needs, and select energy-saving models.
Measuring Your Space
Measure the room size in square feet to find a suitable air conditioner. A unit too small will not cool well. Too large wastes energy.
- Measure the room’s length and width in feet.
- Multiply length by width to get square feet.
- Note if the room has high ceilings or many windows.
- Adjust size needs for sun exposure and room height.
Checking Electrical Requirements
Make sure your home’s electrical system can handle the air conditioner. Check the voltage and amperage needed by the unit.
| Requirement | Details |
| Voltage | Usually 115V or 230V |
| Amperage | Depends on unit size, often 10-15 amps |
| Circuit Breaker | Must match or exceed unit’s amperage |
| Dedicated Circuit | Recommended for safety and performance |
Selecting Energy Efficient Models
Choose models with good energy efficiency. This lowers power bills and reduces environmental impact.
- Look for units with a high Energy Efficiency Ratio (EER).
- Check for ENERGY STAR certification.
- Consider models with programmable timers or sleep modes.
- Read customer reviews on energy use.

Credit: www.youtube.com
Gathering Tools And Materials
Installing a wall air conditioner needs the right tools and materials. Getting them ready helps the job go smooth.
This guide lists the essential tools and safety gear you need for the installation.
Essential Tools List
You need some basic tools to install the air conditioner in your wall. These tools help you measure, cut, and fix the unit safely.
- Measuring tape to get the exact size
- Power drill for making holes
- Screwdriver to secure screws
- Level to keep the unit straight
- Hammer for fixing parts
- Jigsaw or saw to cut the wall opening
- Caulking gun for sealing gaps
- Stud finder to locate wall supports
Safety Gear To Use
Safety is important while installing the air conditioner. Wear the right gear to protect yourself from injuries.
Using safety gear helps you work without risks from sharp tools or dust.
- Safety goggles to protect your eyes
- Work gloves to shield your hands
- Dust mask to avoid breathing dust
- Ear protection if you use loud tools
- Long sleeves and pants to protect your skin
Preparing The Wall
Installing a wall air conditioner needs careful wall preparation. A strong, right-sized opening is essential.
Proper preparation helps the air conditioner fit well and work safely for a long time.
Locating The Installation Spot
Pick a wall that faces outside and is near a power outlet. The spot should be free from obstacles.
Avoid walls with pipes or wires inside. Check both inside and outside sides of the wall.
- Choose a sturdy wall
- Check for electrical outlet nearby
- Ensure no pipes or cables inside the wall
- Pick a spot with good air flow outside
Marking And Cutting The Opening
Measure the air conditioner’s size carefully. Mark the wall with a pencil to match the unit’s dimensions.
Use a level to keep the marks straight. Cut the wall using a saw or cutter, following the marks exactly.
- Measure air conditioner width and height
- Mark the wall with a pencil and level
- Cut along the marks slowly and carefully
- Wear safety gear while cutting
Reinforcing The Wall Frame
After cutting, the wall needs extra support around the opening. This keeps the air conditioner stable.
Install wooden or metal braces inside the wall frame. Secure them well with screws or nails.
- Use wood or metal braces around the opening
- Attach braces firmly to the wall studs
- Make sure the frame fits the air conditioner snugly
- Check the frame for stability before installation
Installing The Air Conditioner
Installing a wall air conditioner helps cool a room efficiently. You need the right tools and clear steps to do it safely.
This guide covers how to position, secure, and seal your air conditioner for the best results.
Positioning The Unit
Choose a wall space that supports the air conditioner’s size and weight. Make sure there is enough clearance around the unit for airflow.
Pick a spot near an electrical outlet and away from direct sunlight or heat sources.
Securing The Air Conditioner
Use the mounting brackets or frame that comes with the unit. Attach them firmly to the wall studs to hold the air conditioner in place.
Double-check the unit is level and stable before tightening all screws and bolts.
- Locate wall studs with a stud finder
- Drill pilot holes for mounting brackets
- Secure brackets using screws and anchors
- Place the unit on brackets and fasten it
Sealing Gaps And Insulation
Fill any gaps between the unit and wall with foam sealant or weatherstripping. This stops air leaks and improves cooling.
Add insulation around the air conditioner frame to keep outdoor air out and indoor air in.
- Apply foam sealant to all gaps
- Use weatherstripping for smaller spaces
- Check for drafts and add more insulation if needed
Electrical Connections
Installing an in-wall air conditioner requires careful electrical work. Proper connections ensure safety and good operation. This guide covers key electrical steps.
Always follow local codes and use the right tools. If unsure, ask a licensed electrician for help.
Wiring Basics
Use the correct wire type and size for the air conditioner’s power needs. Most units need a dedicated circuit to avoid overloads.
- Turn off power at the breaker before starting.
- Connect the live (hot) wire to the unit’s live terminal.
- Attach the neutral wire to the neutral terminal.
- Secure all wire connections tightly to avoid loose contacts.
- Use wire nuts or terminal blocks as recommended.
Ensuring Proper Grounding
Grounding protects you from electric shocks. Connect the ground wire from the wall to the air conditioner’s ground terminal.
| Wire Color | Purpose |
|---|---|
| Black or Red | Live (Hot) Wire |
| White | Neutral Wire |
| Green or Bare Copper | Ground Wire |
Make sure the grounding wire is intact and connected to a grounded outlet or metal box.
Testing The Power Supply
Check the power supply before connecting the air conditioner fully. Use a voltage tester to confirm correct voltage and wiring.
- Turn the circuit breaker on.
- Use a multimeter to test voltage at the outlet or wiring.
- Ensure voltage matches the air conditioner’s specifications.
- Look for any sparks or unusual sounds.
- If all tests pass, connect the air conditioner securely.

Credit: airgreen.ca
Final Adjustments
After installing your in-wall air conditioner, you need to make final adjustments. These steps help the unit work well and last longer.
Check airflow, install exterior covers, and plan for regular maintenance. These actions improve comfort and protect the air conditioner.
Checking Airflow And Settings
Ensure the air flows freely from the unit inside the room. Blocked airflow can reduce cooling and strain the system.
Adjust the settings for temperature and fan speed to match your comfort needs. Test the unit to confirm it cools properly.
- Remove any obstacles near the air intake and vents
- Set the temperature to a comfortable level
- Choose the fan speed for even air distribution
- Listen for unusual noises that may indicate problems
Installing Exterior Covers
Attach the exterior cover to protect the unit from weather and debris. This cover keeps the air conditioner safe and clean.
Make sure the cover fits well and seals tightly. Secure it with screws or clips included in the installation kit.
- Align the cover with the air conditioner’s outside frame
- Check for gaps where water or pests can enter
- Tighten fasteners to hold the cover firmly in place
- Inspect the cover regularly for damage or rust
Routine Maintenance Tips
Keep your air conditioner running smoothly with regular maintenance. Clean or replace filters often to improve air quality.
Check for signs of wear and clean debris from the unit. This care helps avoid costly repairs and keeps the system efficient.
- Clean or replace air filters every 1-3 months
- Remove dust and leaves from the exterior cover
- Inspect the drain hole to prevent water buildup
- Check electrical connections for damage or looseness
Frequently Asked Questions
What Tools Do I Need To Install A Wall Air Conditioner?
You need a drill, screwdriver, level, measuring tape, and mounting hardware. Safety gear like gloves and goggles is also essential.
How Do I Measure The Wall For Air Conditioner Installation?
Measure the wall’s thickness and opening size. Ensure it matches the air conditioner’s dimensions for a secure fit.
Can I Install A Wall Air Conditioner Alone?
Yes, but it’s safer with help. Assistance ensures proper alignment and handling of heavy units.
How Do I Seal Gaps After Installing The Air Conditioner?
Use weatherproof caulking or foam sealant around the unit’s edges. This prevents air leaks and improves efficiency.
Conclusion
Installing an in-wall air conditioner can be simple and rewarding. Follow the steps carefully to ensure safety and efficiency. Measure accurately before you cut the wall. Choose a suitable location with proper support. Secure the unit firmly to prevent any issues.
Connect the electrical parts correctly for optimal performance. Check the installation for any gaps or leaks. Enjoy a comfortable, cool room during hot days. Regular maintenance keeps your unit running smoothly. With these tips, anyone can succeed in this task.
Feel confident in your ability to install your air conditioner. Stay cool and comfortable all summer long.