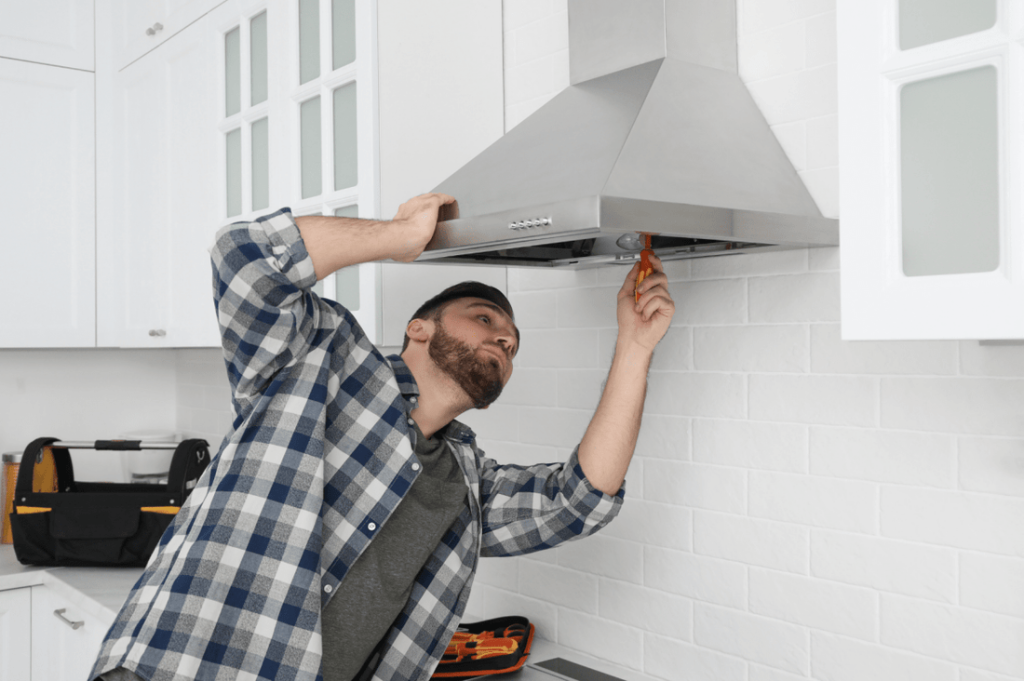
Are you ready to upgrade your kitchen and improve your cooking space? Installing a range hood vent through your ceiling can make a huge difference.
It helps remove smoke, odors, and grease, keeping your kitchen fresh and clean. But how do you do it right? This guide will walk you through each step clearly and simply. By the end, you’ll have the confidence to handle the installation yourself and enjoy a better kitchen atmosphere every day.
Keep reading to discover the easy way to install your range hood vent through the ceiling!
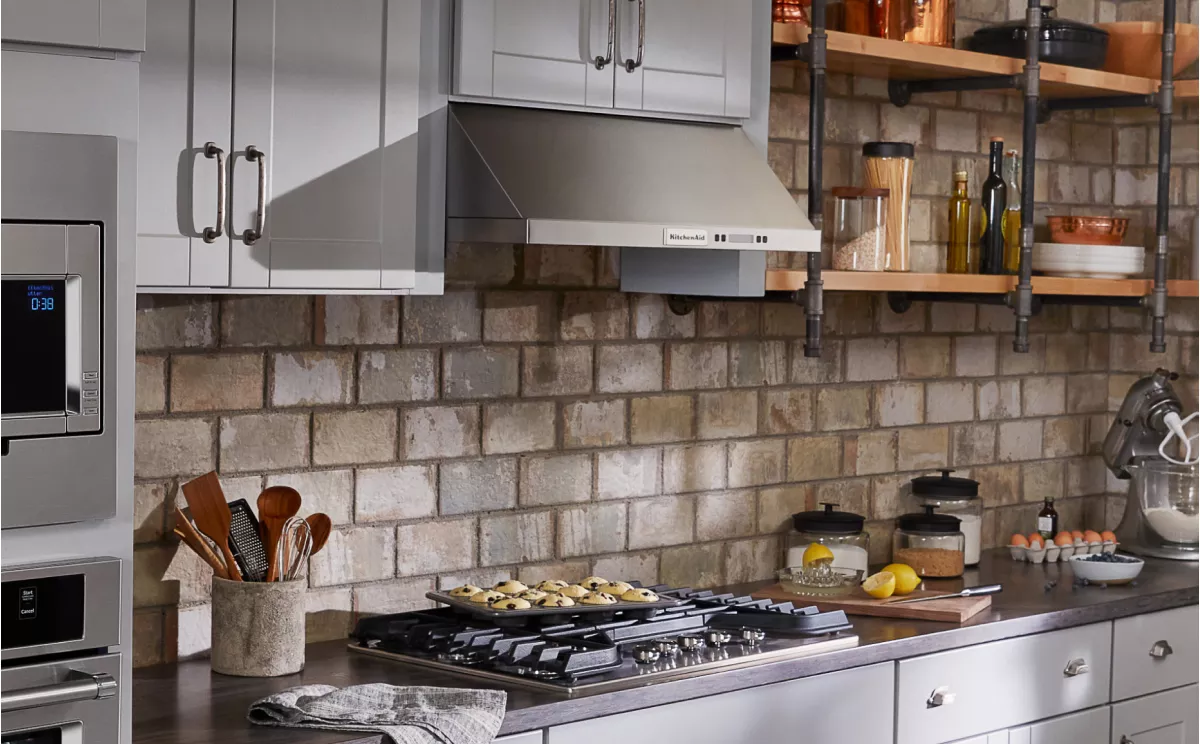
Credit: www.kitchenaid.com
Choosing The Right Range Hood
Choosing the right range hood is crucial for both functionality and aesthetics in your kitchen. It’s not just about extracting smoke and odors; it’s about enhancing your cooking experience. Let’s dive into how you can pick the ideal range hood for your culinary space.
Types Of Range Hoods
Range hoods come in various styles, each catering to different kitchen setups and personal preferences. Wall-mounted hoods are perfect for kitchens where the range is placed against a wall, providing a sleek and modern look. Island hoods, on the other hand, are designed for cooktops located in kitchen islands, offering a 360-degree focal point.
Under-cabinet hoods are a great choice if you’re looking to save space, fitting seamlessly beneath your cabinetry. Consider a ductless hood if you’re unable to install ductwork, as they filter and recirculate air back into the kitchen. Think about your kitchen layout and cooking habits to decide which type suits you best.
Sizing For Your Kitchen
Size matters when it comes to range hoods. Ideally, the hood should be at least as wide as your cooking surface to efficiently capture smoke and steam. A hood that’s too small won’t cover the entire area, while an excessively large one might overwhelm your space.
Measure your cooktop and ensure the hood extends slightly beyond its edges for optimal performance. If you frequently cook with high heat or smoke, consider a larger hood to ensure effective ventilation. Are you ready to measure your space and select the right size?
Ventilation Options
Ventilation is the heart of a range hood’s function, and you have two main options: ducted or ductless. Ducted hoods vent air to the outside, providing the best performance by removing smoke, heat, and odors from your kitchen. This option requires installation of ductwork, which might not always be feasible.
Ductless hoods use charcoal filters to purify and recirculate air back into the kitchen. They offer flexibility and ease of installation, making them ideal for apartments or homes where ductwork installation is challenging. Consider your kitchen’s existing setup and your willingness to make structural changes before deciding.
Gathering Tools And Materials
Before you start installing a range hood vent through your ceiling, gathering the right tools and materials is crucial. Having everything ready saves time and reduces frustration. It also helps you avoid unnecessary trips to the hardware store when you’re halfway through the job.
Essential Tools
Make sure you have the following tools on hand to make the installation smooth and precise:
- Drill with various bits:You’ll need these for making holes in the ceiling and securing screws.
- Jigsaw or reciprocating saw:Cutting through drywall and possibly ceiling joists requires a reliable saw.
- Measuring tape and pencil:Accurate measurements and marking are key to fitting the vent correctly.
- Level:Ensures your vent and range hood sit straight and look professional.
- Screwdrivers:Both Phillips and flathead may be necessary for different screws.
- Stud finder:Locating ceiling joists helps avoid cutting into structural components.
- Utility knife:Useful for trimming drywall or insulation cleanly.
Having these tools ready means you won’t have to improvise or pause the installation.
Required Materials
Besides tools, you need specific materials tailored to your kitchen and vent setup. Here’s what to prepare:
- Range hood vent kit:This includes the vent pipe, elbows, and possibly a roof or wall cap.
- Vent ducting:Choose rigid metal ducts over flexible ones for better airflow and durability.
- Drywall repair supplies:Patch kits or drywall sheets in case of any damage around the vent hole.
- Sealant or foil tape:Use these to seal duct joints and prevent leaks.
- Mounting hardware:Screws, brackets, and anchors suited for your ceiling type.
- Insulation:Sometimes necessary if your duct runs through unconditioned spaces.
Getting the right materials upfront helps you avoid costly mistakes, like buying the wrong duct size or type.
Safety Gear
Safety should never be an afterthought. Protect yourself with proper gear to avoid injuries during the installation.
- Safety goggles:Protect your eyes from dust and debris while cutting or drilling.
- Dust mask or respirator:Prevent inhaling drywall dust or insulation particles.
- Work gloves:Shield your hands from sharp edges and rough surfaces.
- Hearing protection:Using power tools can be loud, so earplugs or earmuffs help keep your hearing safe.
- Stable ladder or step stool:Ensure it’s sturdy enough to support you while working on the ceiling.
Have you ever underestimated safety gear and regretted it? Taking these precautions seriously prevents accidents and keeps you focused on the task.
Preparing The Installation Area
Preparing the installation area is key for a smooth range hood vent setup. Taking time to plan and organize ensures the vent fits properly and works well. Clear space and precise markings help avoid problems during installation. Follow these steps to prepare the ceiling and make the process easier and safer.
Locating Ceiling Joists
Ceiling joists provide support and structure. Find them using a stud finder or by tapping the ceiling. Mark joist edges clearly to avoid cutting into them. Position the vent between joists for a stable fit. Avoid joists to keep the ceiling strong and safe.
Marking Vent Placement
Measure the exact spot for the vent opening. Use a pencil to draw the vent outline on the ceiling. Double-check measurements to ensure the vent aligns with the range hood below. Mark edges carefully to guide your cuts. Clear and accurate marks prevent mistakes and save time.
Clearing Obstructions
Look for wires, pipes, or ducts in the marked area. Use a flashlight to inspect the ceiling cavity. Move or reroute any obstructions safely before cutting. Ensure the vent path is clear for smooth airflow. Removing barriers avoids damage and installation delays.
Cutting The Ceiling Opening
Cutting the ceiling opening is an important part of installing a range hood vent. It requires careful planning and precise work. The opening must fit the vent size perfectly. This ensures proper airflow and a secure installation.
Take your time during this step. A clean and accurate cut will make the rest of the process easier. Safety is also key, so use the right tools and protective gear.
Measuring The Vent Size
Start by checking the vent’s dimensions. Use a tape measure to find the exact width and length. Write down these numbers clearly.
Double-check your measurements before marking the ceiling. Measure twice to avoid mistakes. The opening must match the vent size exactly for a snug fit.
Using The Right Saw
Choose a saw suitable for cutting drywall or plaster ceilings. A keyhole saw or a drywall saw works well. These saws allow controlled and precise cuts.
A jigsaw can also be used if the ceiling material is thick. Make sure the blade is sharp to avoid rough edges. Always wear safety goggles to protect your eyes.
Ensuring A Clean Cut
Mark the cutting area clearly on the ceiling. Use a pencil and a straight edge for straight lines.
Cut slowly and steadily along the lines. Avoid rushing to keep the edges smooth. Remove any dust or debris after cutting to prepare for vent installation.
Check the hole size again before placing the vent. Adjust if needed by trimming carefully with the saw.
Installing The Vent Duct
Installing the vent duct is a key part of setting up your range hood vent through the ceiling. This step ensures that cooking fumes and smoke leave your kitchen efficiently. Paying close attention to the duct materials, how you secure the duct, and the connection to the exterior vent can save you from future issues like leaks or poor ventilation.
Choosing Duct Materials
Choosing the right duct material affects both performance and durability. Rigid metal ducts, especially those made from galvanized steel or aluminum, offer the best airflow and resist grease buildup. Flexible ducts might seem easier to install but can reduce airflow and clog quickly.
Think about your kitchen layout. Will the duct run through tight spaces or long distances? Rigid ducts work better for longer, straighter runs, while flexible ducts can fit curves but should be kept as short as possible.
Securing The Duct To Ceiling
Once you select the duct, securing it properly to the ceiling is crucial. Use metal straps or brackets spaced every 4 feet to hold the duct firmly in place. Loose ducts can sag, causing poor airflow or even disconnections.
Seal all joints with foil tape, not duct tape, to prevent air leaks. Also, make sure the duct slope is slight and directs moisture outside to avoid condensation buildup inside the duct.
Connecting To Exterior Vent
The final connection to the exterior vent must be airtight and weatherproof. Use a vent cap with a damper to keep out rain, pests, and cold air when the hood is off. Attach the duct securely to the vent cap with foil tape and screws if needed.
Check for any gaps or loose fittings. Proper sealing here will keep your kitchen fresh and your system working efficiently. Have you checked if your local building code requires a specific vent cap or duct size? It’s worth confirming before finishing the job.

Credit: www.create-enjoy.com
Mounting The Range Hood
Mounting the range hood is a key part of the installation process. It ensures the hood stays in place and works well. Proper mounting helps with ventilation and safety. Follow clear steps for a strong and stable setup.
Attaching Brackets And Supports
Start by fixing the mounting brackets to the ceiling or wall. Use a stud finder to locate strong support points. Secure brackets with screws rated for heavy loads. Double-check that brackets are level and aligned.
These brackets will carry the weight of the range hood. Make sure all screws are tight and secure. Use a drill for faster and stronger attachment. Avoid loose or shaky brackets to prevent accidents.
Positioning The Hood
Lift the range hood carefully into place. Align it with the attached brackets and the vent opening. The hood should sit flush against the ceiling or wall. Use a helper to hold the hood steady during this step.
Check the position with a level tool. Adjust if the hood tilts or is uneven. Proper alignment ensures better air flow and a neat look. Make sure the duct opening matches the vent path.
Securing The Unit
Once positioned, fasten the range hood to the brackets. Use all provided screws and hardware for stability. Tighten each screw evenly to avoid gaps or movement.
Connect the ductwork to the hood’s vent outlet. Seal joints with foil tape for an airtight fit. Test the hood by turning it on and checking for vibrations. The unit should feel solid and quiet during operation.
Electrical Connections
Electrical connections are a crucial part of installing your range hood vent through the ceiling. Proper wiring ensures your hood works safely and efficiently. Neglecting this step can lead to electrical hazards or a non-functioning appliance, so it’s worth paying close attention.
Turning Off Power
Before touching any wires, make sure to turn off the power at your home’s main breaker panel. This simple step prevents electric shock and protects you while working. Have a voltage tester handy to double-check that no current flows through the wires before proceeding.
Wiring The Hood
Locate the electrical wiring on your range hood and match it with your home’s wiring colors: black (live), white (neutral), and green or bare copper (ground). Use wire nuts to connect matching wires securely, twisting them clockwise for a tight fit. Don’t forget to tuck the wires neatly inside the junction box to avoid pinching during installation.
Testing The Electrical Setup
Once wired, turn the power back on and test your range hood’s electrical functions. Check if the fan and lights operate smoothly without flickering or unusual noises. If something feels off, switch off the power immediately and recheck your connections—your safety depends on it.
Sealing And Finishing Touches
After installing the range hood vent through the ceiling, sealing and finishing touches are essential. These steps protect your home from air leaks and moisture. They also make the installation look clean and professional. Proper sealing improves your kitchen’s air quality and energy efficiency. Follow these simple tips to complete the job with care.
Sealing Around Ducts
Use high-quality foil tape or mastic sealant to seal duct joints. Wrap the tape tightly around each connection point. This prevents air leaks and keeps the vent system working well. Avoid using regular duct tape, as it loses stickiness over time. Make sure all gaps between the duct and ceiling are sealed. This step stops dust and pests from entering your home.
Patching Ceiling Gaps
Fill any holes or gaps left in the ceiling with drywall compound. Use a putty knife to smooth the surface evenly. Let the compound dry completely before sanding it down. After sanding, paint the patched area to match the rest of the ceiling. This hides repair spots and gives a neat finish. Small gaps around the vent can also be sealed with caulk for a clean look.
Cleaning Up
Remove all dust and debris from the work area. Vacuum and wipe down surfaces to avoid dirt buildup. Clean the vent hood and surrounding ceiling for a polished appearance. Proper cleanup ensures your kitchen stays fresh and ready to use. Dispose of any leftover materials safely to keep your space tidy.
Testing And Maintenance
Testing and maintenance are key to keeping your range hood vent working efficiently. Skipping these steps can lead to poor ventilation, increased cooking odors, and even higher energy bills. Let’s dive into how you can check airflow, keep your vent clean, and fix common problems.
Checking Airflow
To ensure your range hood vent is moving air properly, hold a piece of tissue or lightweight paper near the vent opening. If it sticks or moves steadily, your airflow is good. If the paper barely moves, it’s time to inspect your ductwork for blockages or leaks.
Have you noticed lingering smells or smoke after cooking? That’s a strong sign airflow isn’t sufficient. Testing airflow regularly helps you catch issues early before they become bigger problems.
Routine Cleaning Tips
Grease and dust buildup reduce your vent’s efficiency and can pose a fire hazard. Clean or replace the filters every month, depending on your cooking frequency. Metal filters can be soaked in hot, soapy water, while charcoal filters need replacement.
Don’t forget to wipe down the vent exterior and the duct entrance inside your ceiling. Use a soft cloth and mild detergent to remove grime without damaging the surface. Regular cleaning keeps your system running smoothly and extends its lifespan.
Troubleshooting Common Issues
If your range hood is noisy, check if the fan blades are dirty or loose. Tighten any screws and clean the blades to reduce noise. Strange smells often mean grease buildup in the duct; a thorough cleaning usually fixes this.
What if your hood won’t turn on? Start by inspecting the power source and switch. Sometimes, the simplest issues cause the biggest headaches. If you’ve tried these steps and still face problems, it might be time to call a professional.

Credit: www.familyhandyman.com
Frequently Asked Questions
How Do I Vent A Range Hood Through The Ceiling?
To vent a range hood through the ceiling, cut a hole in the ceiling and roof. Attach a vent pipe from the hood to the roof vent. Ensure proper sealing to prevent leaks and secure the pipe with brackets.
What Tools Are Needed For Ceiling Vent Installation?
You will need a drill, saw, screwdriver, measuring tape, ladder, vent pipe, roof cap, and sealant. Safety gear like gloves and goggles is essential. These tools help you cut, secure, and seal the vent properly.
Can I Install A Range Hood Vent Myself?
Yes, if you have basic DIY skills and tools. Follow safety precautions and local building codes. Carefully measure and cut openings, and seal the vent pipe to prevent leaks. When unsure, consult a professional.
How Do I Prevent Leaks When Venting Through The Ceiling?
Use high-quality sealant around all joints and the roof cap. Ensure the vent pipe fits snugly and secure it with brackets. Proper flashing and weatherproofing at the roof exit prevent water infiltration and leaks.
Conclusion
Installing a range hood vent through the ceiling improves kitchen air quality. It removes smoke, odors, and heat efficiently. Follow the steps carefully to avoid mistakes. Measure and cut openings precisely. Secure the vent and connect the duct properly. Seal all gaps to prevent leaks.
Test the vent after installation to ensure it works well. A well-installed range hood keeps your kitchen fresh and comfortable. Take your time and stay safe during the process. This simple upgrade makes cooking more pleasant every day.