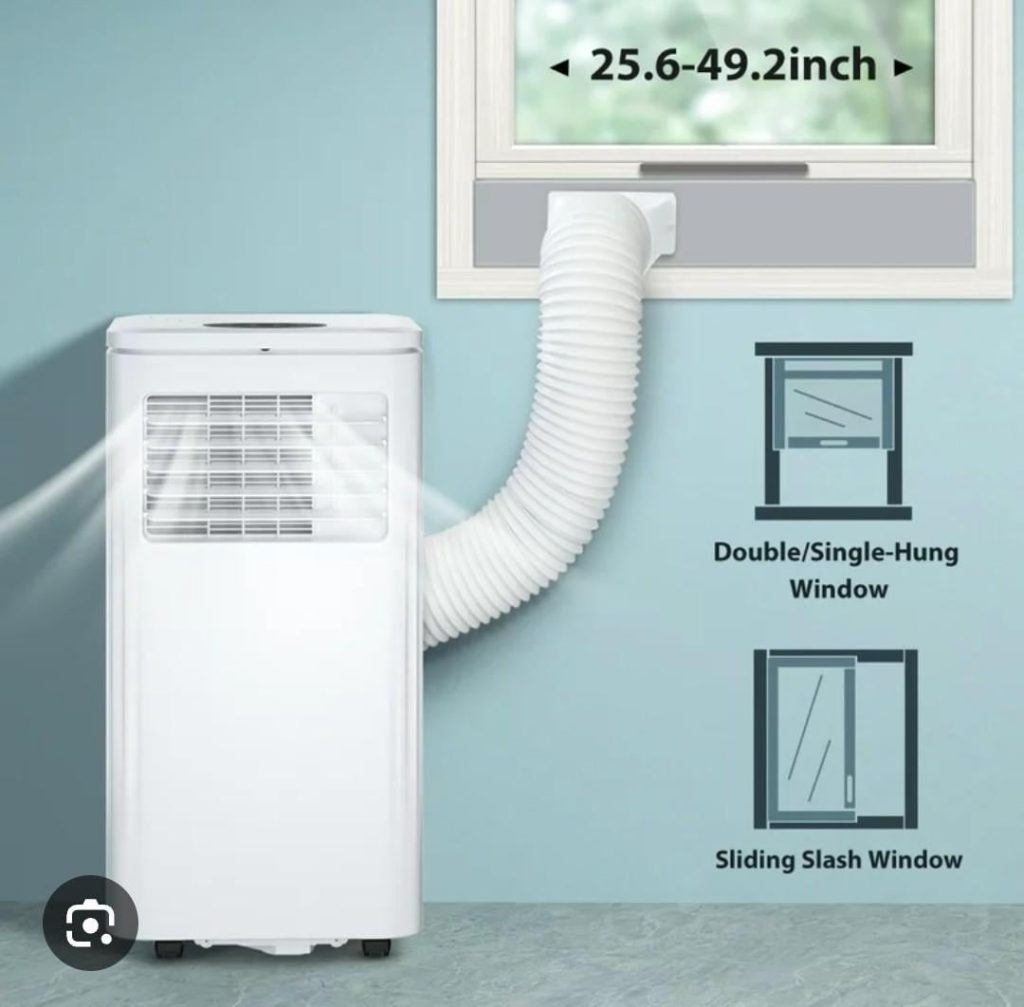
Installing a vertical window air conditioner might seem tricky, but you’re closer to cool, comfortable air than you think. Imagine beating the heat without calling a pro or waiting days for help.
In this guide, you’ll get simple, step-by-step instructions to install your unit quickly and safely. By the end, your room will feel refreshingly cool, and you’ll have the satisfaction of doing it yourself. Ready to take control of your comfort?
Let’s get started.
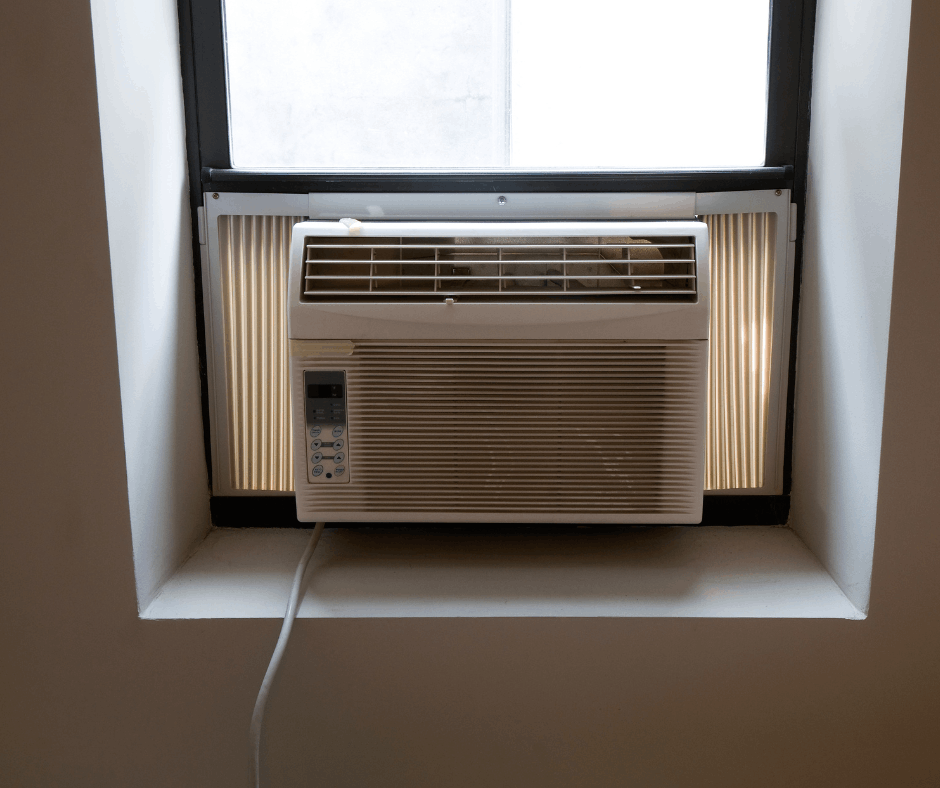
Credit: www.bluefrosthvac.com
Choosing The Right Unit
Choosing the right vertical window air conditioner helps you stay cool and save energy. Pick a unit that fits your window and meets your cooling needs.
Consider the size of your window, the power needed, and the room size before buying your unit.
Measuring Your Window Space
Measure the width and height of your window opening. This ensures the air conditioner fits well and works properly.
Check if your window has any obstructions like handles or locks that may block the unit.
- Use a tape measure for accuracy
- Note the window frame size
- Measure inside edges where the unit will sit
Checking Power Requirements
Look at the power needs of the air conditioner before you buy. Your home must have the right outlet and voltage.
Check the electrical circuit to avoid overload or safety risks when running the unit.
- Find the voltage rating on the unit label
- Confirm your outlet matches the voltage
- Use a dedicated circuit if possible
Selecting The Cooling Capacity
Choose an air conditioner with the right cooling power for your room size. Too small will not cool well. Too big wastes energy.
Cooling power is measured in BTUs (British Thermal Units). Match BTUs to your room area for best comfort.
| Room Size (sq. ft.) | Recommended BTUs |
|---|---|
| Up to 150 | 5,000 – 6,000 |
| 150 – 250 | 6,000 – 8,000 |
| 250 – 350 | 8,000 – 10,000 |
| 350 – 450 | 10,000 – 12,000 |
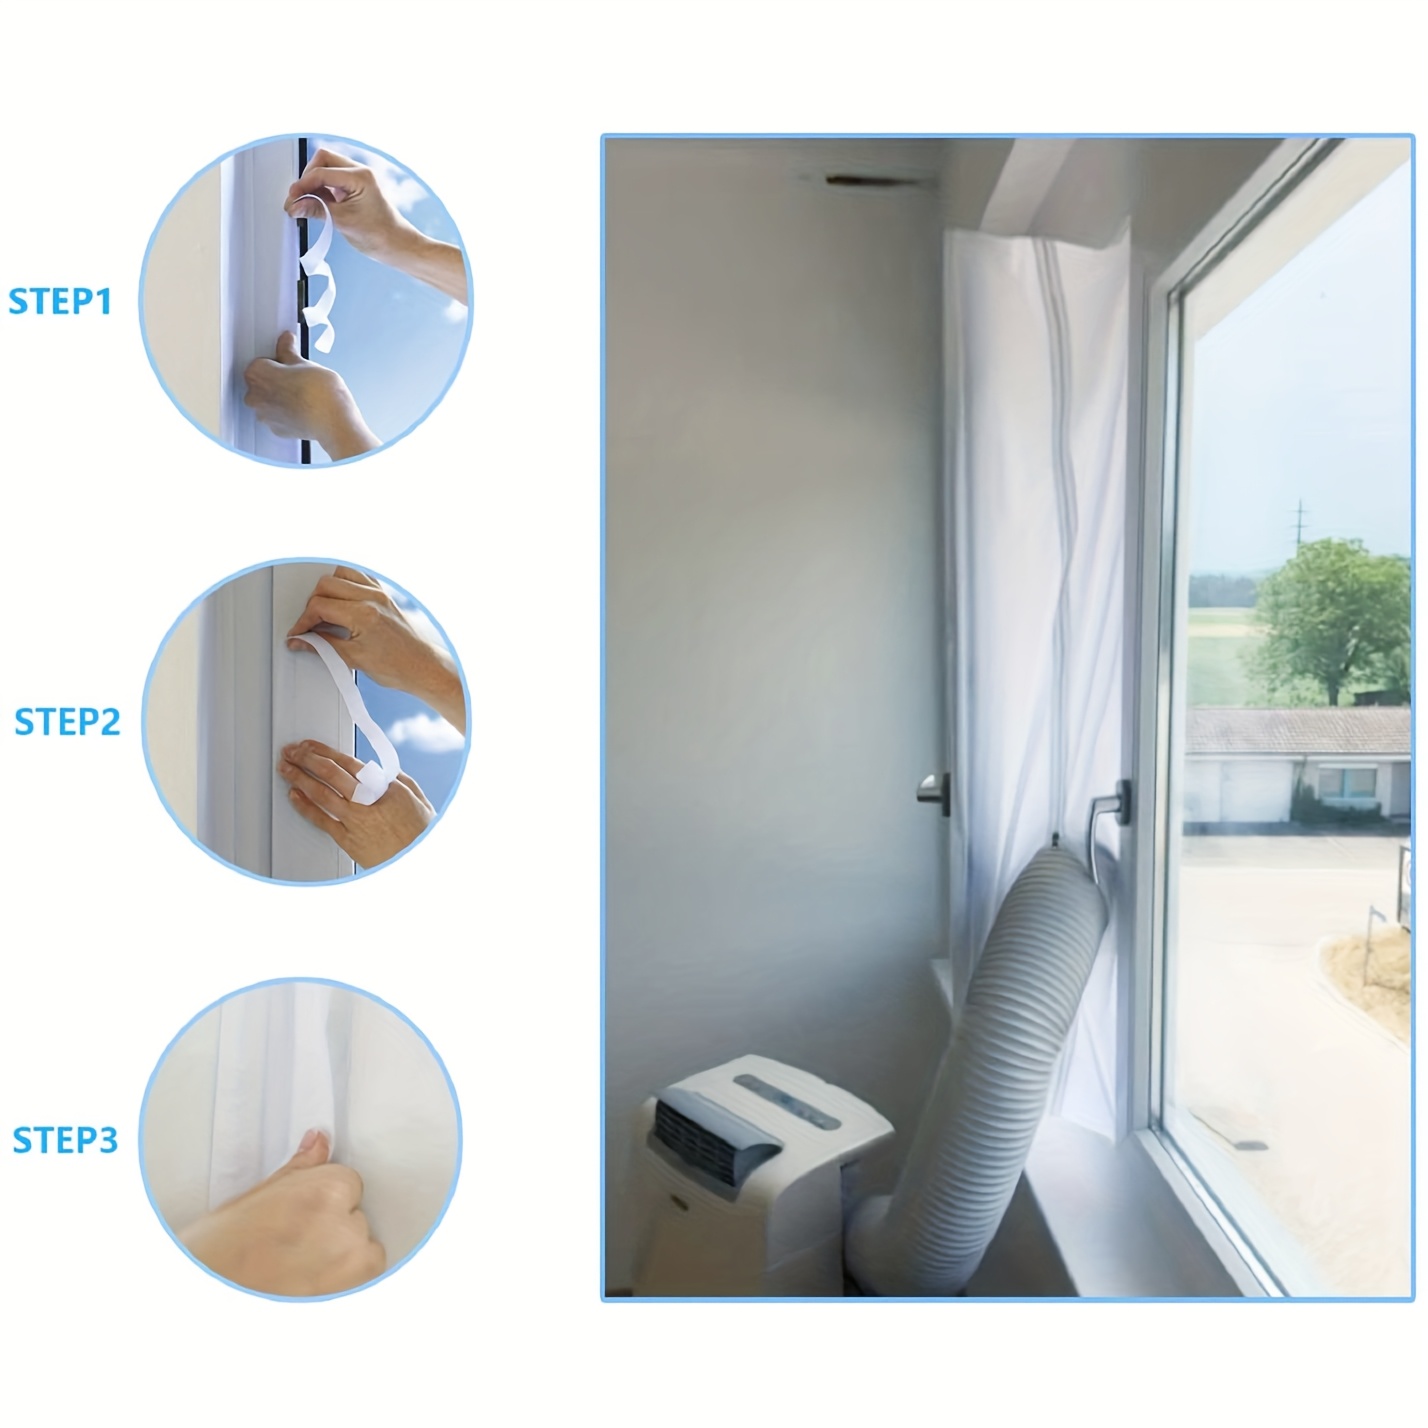
Credit: www.temu.com
Gathering Tools And Materials
Before installing a vertical window air conditioner, you need to collect all the tools and materials. This will make the process smoother and faster.
Having the right tools and safety gear helps you work safely and correctly. This guide covers what you need to prepare.
Essential Tools List
- Measuring tape to check window dimensions
- Screwdriver set for mounting screws
- Drill with drill bits for making holes
- Level to ensure the unit is straight
- Caulking gun and weatherproof sealant
- Utility knife for trimming insulation
- Wrench set for tightening bolts
Safety Gear Recommendations
| Safety Gear | Purpose |
| Safety goggles | Protect eyes from dust and debris |
| Work gloves | Prevent cuts and improve grip |
| Dust mask | Keep dust from entering your lungs |
| Non-slip shoes | Maintain balance while working on windows |
Preparing The Window
Installing a vertical window air conditioner starts with preparing the window. This step makes sure your unit fits well and works safely.
Proper preparation helps keep the air conditioner stable and prevents damage to your window or the unit.
Cleaning The Area
Clean the window area before installation. Remove dirt, dust, and debris from the window sill and frame.
Cleaning helps the air conditioner seal tightly and reduces the chance of air leaks or damage.
- Use a damp cloth to wipe the sill and frame
- Clear away any spider webs or leaves
- Dry the area completely before installation
Removing Obstructions
Check the window for any objects that might block the air conditioner. Remove screens, curtains, or blinds near the window.
Make sure nothing will stop the air conditioner from sliding in or block airflow after installation.
- Take out window screens if possible
- Move curtains or blinds away from the window
- Clear furniture or plants near the window
Checking Window Frame Stability
Inspect the window frame for strength. The frame must hold the air conditioner’s weight safely.
Look for cracks, loose parts, or signs of damage. Fix any issues before installing the unit.
- Press gently on the frame to check for movement
- Look for cracks or broken wood or metal
- Tighten screws or nails if needed
- Replace damaged parts before installation

Credit: thelenmechanical.com
Installing The Support Bracket
Installing the support bracket is a key step for a vertical window air conditioner. It holds the unit safely in place. Proper installation prevents damage and ensures good performance.
This guide covers how to locate the mounting points, secure the bracket, and check its stability. Follow each step carefully for a safe setup.
Locating The Mounting Points
Find the right spots on your window frame or wall for the bracket. These points must support the air conditioner’s weight. Use a level and measuring tape for accuracy.
- Measure the width and height of the air conditioner.
- Mark the bracket position on the window frame.
- Check for studs or solid wood behind the mounting area.
- Avoid weak or damaged parts of the frame.
- Confirm the marks are level and evenly spaced.
Securing The Bracket
Attach the bracket firmly to the mounting points. Use screws and anchors suitable for your wall type. The bracket must not move after installation.
| Tool | Use |
| Drill | Make holes for screws |
| Screwdriver | Tighten screws securely |
| Level | Check bracket is horizontal |
| Stud Finder | Locate solid support |
Verifying Stability
After securing the bracket, test its strength. The bracket should hold steady with no wiggling. This ensures the air conditioner will stay safe.
- Push and pull the bracket gently.
- Look for any movement or sound.
- Check screws and anchors are tight.
- Make adjustments if the bracket shifts.
- Confirm the bracket is level one last time.
Placing The Air Conditioner
Placing a vertical window air conditioner correctly is important for its performance. You need to find the right spot and secure it well.
This guide will help you place the unit safely and make sure it works efficiently.
Positioning The Unit
Choose a window that can hold the air conditioner’s weight. It should be near a power outlet and allow air to flow freely outside.
- Measure the window opening to match the unit size
- Check for any obstructions outside the window
- Make sure the unit will not block the window’s latch
- Place the unit so the controls are easy to reach inside
Securing The Unit To The Bracket
The bracket holds the air conditioner in place. Attach the unit firmly to avoid movement or falling.
| Tool | Purpose |
| Screwdriver | Tighten screws on bracket |
| Level | Check bracket alignment |
| Drill | Make holes for screws if needed |
| Screws | Secure bracket and unit |
Follow these steps to secure the unit:
- Place the bracket on the window frame.
- Use a level to align it straight.
- Drill holes if the frame needs them.
- Attach the bracket with screws tightly.
- Slide the air conditioner onto the bracket.
- Fasten screws to lock the unit in place.
Balancing And Leveling
Keep the air conditioner level. This helps water drain outside and stops leaks inside.
To balance the unit, follow these tips:
- Use a carpenter’s level on top of the unit.
- Adjust the angle so it tilts slightly outward.
- Place shims between the bracket and window frame if needed.
- Check the level again after adjustments.
Sealing And Insulating
Sealing and insulating your vertical window air conditioner keeps cold air inside. It stops warm air from coming in.
Good sealing helps save energy and keeps your room comfortable during hot days.
Applying Weather Stripping
Weather stripping fills gaps around the air conditioner. It blocks air from leaking through spaces.
Use adhesive weather stripping foam tape for easy installation. Press it firmly along the edges.
- Clean the surface before applying
- Cut strips to fit gaps
- Press tightly for a strong seal
Using Foam Sealant
Foam sealant fills bigger gaps around the air conditioner. It expands to block air leaks.
Apply foam carefully to avoid mess. Let it dry before trimming extra foam.
- Wear gloves to protect your hands
- Use a low-expansion foam for window units
- Trim dried foam with a utility knife
Preventing Air Leaks
Check all sides of the air conditioner for air leaks. Look for cracks and gaps.
Use a combination of weather stripping and foam sealant to close all openings. This stops drafts.
- Inspect the unit after installation
- Seal any visible cracks or holes
- Test by feeling for cold air around edges
Connecting To Power
Connecting your vertical window air conditioner to power is an important step. It ensures the unit works safely and efficiently.
Follow these guidelines to check the outlet, plug in the unit, and test it.
Checking Electrical Outlet
Make sure the electrical outlet matches the air conditioner’s power needs. Use a grounded outlet with the correct voltage and amperage.
- Check the outlet for any damage or loose connections.
- Ensure the outlet is near the window unit to avoid using long extension cords.
- Verify the circuit breaker can handle the air conditioner’s power draw.
- Use a voltage tester to confirm the outlet has the right voltage.
Plugging In The Unit Safely
Plug the air conditioner into the outlet carefully to avoid damage or electrical hazards.
- Turn off the air conditioner before plugging it in.
- Align the plug properly with the outlet slots.
- Push the plug fully into the outlet for a secure connection.
- Do not use extension cords or adapters not rated for the unit.
- Keep the power cord away from water and sharp edges.
Testing The Air Conditioner
After plugging in, test the unit to ensure it runs correctly and safely.
| Test | What to Check | Action if Issue Found |
| Power On | Unit turns on without sparks or noises | Unplug and inspect power cord or outlet |
| Cooling | Air flows cold after a few minutes | Check settings and restart unit |
| Noise | Unit runs quietly without rattling | Secure loose parts or call a technician |
| Safety | No smell of burning or overheating | Turn off unit and check electrical system |
Maintenance Tips
Keeping your vertical window air conditioner in good shape helps it work better and last longer.
Regular care stops problems and keeps your room cool all summer.
Cleaning The Filters
Dirty filters reduce airflow and cooling power. Clean them every month to keep air fresh.
- Turn off and unplug the air conditioner.
- Remove the filter carefully from the unit.
- Use a vacuum or rinse with water to clean the filter.
- Let the filter dry completely before putting it back.
- Put the filter back into the air conditioner.
Inspecting Seals Regularly
Seals keep hot air out and cool air in. Check them to avoid leaks that waste energy.
| What to Check | Signs of Damage | Action |
| Rubber seals around unit | Cracks or gaps | Replace or repair seals |
| Window frame seal | Loose fit or damage | Tighten screws or add weather stripping |
| Foam insulation | Worn or missing pieces | Replace foam to fill gaps |
Scheduling Professional Checkups
A technician can find hidden issues and keep your unit safe and efficient. Schedule a checkup once a year.
- Inspect refrigerant levels
- Clean internal parts
- Test electrical components
- Check drainage system
- Verify thermostat accuracy
Frequently Asked Questions
How Do I Measure For A Vertical Window Ac Unit?
Measure the window height and width accurately. Check the AC unit’s size requirements. Ensure the window frame supports the unit’s weight for a proper fit.
What Tools Are Needed To Install A Vertical Window Ac?
You’ll need a screwdriver, measuring tape, level, and possibly brackets. Also have a drill and sealant handy to secure and insulate the unit properly.
How Do I Secure A Vertical Ac Unit Safely?
Use mounting brackets or screws provided by the manufacturer. Ensure the unit is level and firmly attached to prevent movement or falling.
Can I Install A Vertical Ac Alone?
Yes, installation is possible solo, but an extra pair of hands helps. Safety is key; avoid working alone at heights or with heavy units.
Conclusion
Installing a vertical window air conditioner can be simple and quick. Follow each step carefully to avoid mistakes. Make sure the unit fits well in your window space. Seal gaps to keep air from escaping. Check that the air conditioner works before finishing.
This helps keep your room cool and comfortable. Regular cleaning and maintenance will keep it running longer. Enjoy a cooler home with less effort and cost. Your comfort matters, and a vertical air conditioner can help.