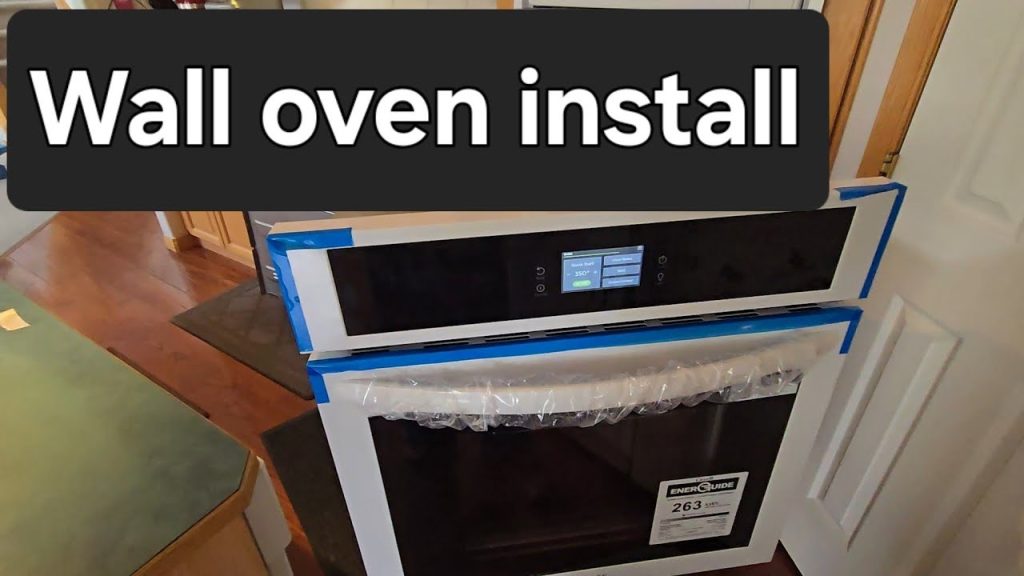
Thinking about upgrading your kitchen with a sleek wall oven? Installing one yourself might seem tricky, but it’s easier than you think.
Imagine having a modern oven perfectly built into your wall, saving space and giving your kitchen a clean look. In this guide, you’ll get simple, step-by-step instructions that anyone can follow. By the end, you’ll feel confident handling the installation and ready to enjoy your new cooking setup.
Keep reading, and discover how to transform your kitchen with your own hands!

Credit: www.youtube.com
Tools And Materials Needed
Installing a wall oven needs specific tools and materials. Having these ready makes the job easier and safer.
This guide lists the essential items you need before starting your wall oven installation.
Measuring Tape
A measuring tape helps check the space for the oven. Accurate measurements prevent fitting problems.
Measure the cabinet opening and the oven dimensions to make sure they match.
Screwdrivers And Drill
You will need screwdrivers to remove or install screws. A drill speeds up making holes.
- Phillips head screwdriver
- Flat head screwdriver
- Power drill with drill bits
Level
A level makes sure the oven sits straight. This helps it work properly and look good.
Stud Finder
Use a stud finder to locate studs inside the wall. The oven must be securely attached to studs for safety.
Wire Strippers And Electrical Tape
Wire strippers remove insulation from wires safely. Electrical tape protects wire connections.
- Wire stripper tool
- Electrical tape rolls
Safety Gear
Safety gear protects you during installation. Use gloves and safety glasses to avoid injuries.
- Work gloves
- Safety glasses
- Knee pads (optional)
Wall Oven And Installation Manual
Have your wall oven ready before starting. The installation manual guides you step-by-step.
Read the manual carefully to understand the specific needs of your oven model.
Mounting Brackets And Screws
Use mounting brackets and screws to secure the oven in place. These usually come with the oven.
- Mounting brackets (check your oven package)
- Assorted screws for mounting
Electrical Supplies
You need electrical supplies to connect your oven safely. This includes wires and connectors.
- Wire nuts or connectors
- Appropriate gauge electrical wire
- Electrical outlet or junction box (if needed)
Preparing The Installation Area
Installing a wall oven needs a safe and clear space. You must prepare the area before starting.
This guide covers measuring the wall space, checking electrical needs, and clearing the site.
Measuring The Wall Space
Measure the height, width, and depth of the space where the oven will go. Use a tape measure for accuracy.
- Measure the width between the cabinet sides
- Check the height from the floor or countertop
- Measure the depth from the wall to the front edge
- Note any obstacles like outlets or pipes
Checking Electrical Requirements
Wall ovens need the right electrical setup for safety and function. Confirm the power supply matches the oven’s needs.
| Requirement | Details |
|---|---|
| Voltage | Usually 220-240 volts |
| Breaker Size | Check oven manual for amperage |
| Outlet Type | Dedicated circuit with proper outlet |
| Wiring | Use correct gauge wiring for safety |
Clearing The Installation Site
Make sure the area is free of objects and debris. This gives you enough room to work safely.
- Remove any furniture or appliances nearby
- Clear the floor of tools and loose items
- Protect nearby surfaces with cloth or plastic
- Check the floor is level and sturdy
Removing The Old Oven
Removing your old wall oven is an important task before installing a new one. Take safety and care to avoid damage.
This guide covers how to disconnect power, detach the oven, and handle the old unit safely.
Disconnecting Power Supply
Ensure the oven is not connected to electricity before removal. This prevents shocks and accidents.
- Turn off the circuit breaker for the oven.
- Use a voltage tester to confirm no power is running.
- Unplug the oven if it has a plug connection.
- If hardwired, unscrew the connection panel carefully.
Detaching The Oven
Once power is off, you can start detaching the oven from its place.
- Remove any trim or frame around the oven.
- Unscrew mounting brackets or screws holding the oven.
- Gently pull the oven out from the wall cavity.
- Watch for any wires still connected.
Handling The Old Unit Safely
Old ovens can be heavy and awkward. Use safe handling methods to avoid injury or damage.
| Safety Tip | Description |
| Wear Gloves | Protect your hands from sharp edges and dirt. |
| Lift with Help | Ask someone to assist with heavy lifting. |
| Use Proper Tools | Use dollies or straps for easier movement. |
| Dispose Properly | Check local rules for appliance disposal or recycling. |
Installing The Wall Oven
Installing a wall oven requires careful steps to ensure safety and proper function. This guide covers the main tasks to install your oven correctly.
Follow the instructions for positioning, securing, and wiring the oven. Each step is important for a successful installation.
Positioning The Oven
Start by choosing the right place for your wall oven. Make sure the opening matches the oven’s size and shape.
Check the height so it is easy to use and fits your kitchen layout. Leave space for ventilation as per the oven’s manual.
Securing The Oven To The Wall
After positioning, fix the oven to the wall frame to keep it steady. Use screws and brackets that come with the oven.
Make sure the oven is level before tightening all screws. This prevents uneven cooking and damage.
- Use a level tool for accuracy
- Tighten screws evenly on all sides
- Check that the oven does not move
Connecting Electrical Wiring
Turn off power at the circuit breaker before starting electrical work. This step is crucial for safety.
Connect the oven’s wires to the home wiring following the oven’s wiring diagram. Match wire colors correctly.
- Connect black to black (hot wire)
- Connect white to white (neutral wire)
- Connect green or bare wire to ground
Use wire nuts and electrical tape to secure connections. Restore power and test the oven after wiring.
Testing And Finishing Touches
After installing your wall oven, it is important to ensure it works safely and properly. Testing and sealing the oven finish the installation process.
This guide covers powering on, running tests, and cleaning up for a safe start.
Powering On The Oven
First, connect the oven to the power supply. Make sure the circuit breaker is on and the oven’s power switch is set to on.
Check the oven display for any error messages. If all looks normal, proceed to the next step.
Running Initial Tests
Test the oven’s main functions to confirm correct operation. This includes heating, timer, and controls.
- Set the oven to a low temperature and wait for it to heat.
- Use the timer to check if it counts down properly.
- Try different cooking modes like bake and broil.
- Listen for unusual noises during operation.
- Verify the oven light turns on when the door opens.
Sealing And Cleaning Up
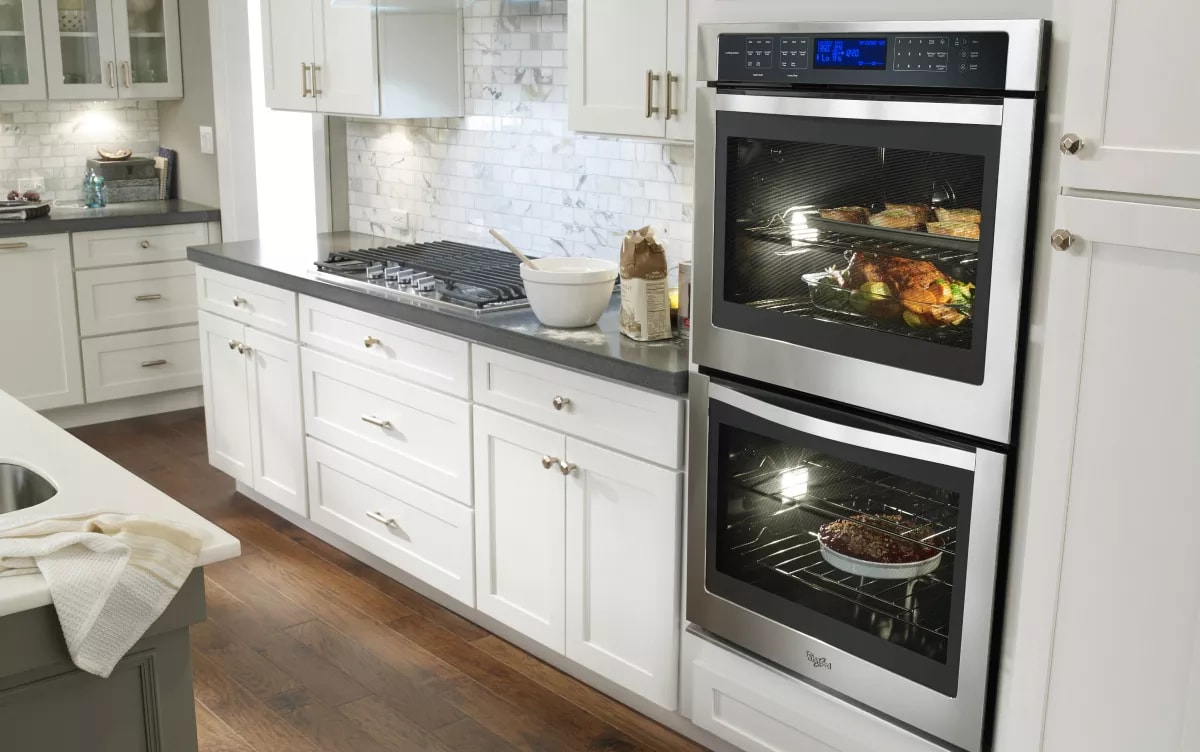
Seal gaps around the oven with heat-resistant caulk. This stops heat loss and keeps the installation neat.
| Task | Purpose | Tools Needed |
|---|---|---|
| Apply caulk around oven edges | Seal gaps and prevent heat escape | Heat-resistant caulk, caulking gun |
| Wipe down oven exterior | Remove dust and fingerprints | Soft cloth, mild cleaner |
| Dispose of packaging | Keep area clean and safe | Trash bags |
Credit: www.whirlpool.com
Safety Tips And Troubleshooting
Installing a wall oven can be a rewarding home project. Safety is key during the installation process. This guide will help you avoid common mistakes.
We will cover electrical safety, common installation problems, and when to call a professional. Ensure a safe and successful installation with these tips.
Common Installation Issues
Installing a wall oven can come with challenges. Knowing these issues helps you prepare and prevent them.
- Incorrect measurements can cause fitting problems.
- Poor ventilation may lead to overheating.
- Inadequate support can make the oven unstable.
Ensuring Electrical Safety
Electrical safety is crucial when installing a wall oven. Follow these tips to avoid electrical hazards.
| Tip | Action |
| Check Circuit | Ensure the circuit can handle the oven’s power needs. |
| Use Proper Wiring | Only use wiring recommended by the manufacturer. |
| Turn Off Power | Always turn off the power at the breaker before starting. |
When To Call A Professional
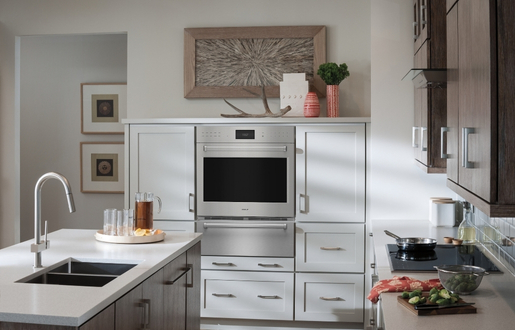
Some installations may require professional help. Knowing when to call an expert can save time and prevent damage.
If you are unsure about electrical connections, hire a licensed electrician.
Call a professional if the wall oven does not fit properly, or if there is any structural concern.
Professionals can handle complicated ventilation needs.
Credit: www.artisanwestappliance.com
Frequently Asked Questions
What Tools Do I Need To Install A Wall Oven?
You need a screwdriver, level, drill, measuring tape, and wire strippers. These tools help ensure a safe and precise installation.
How Do I Prepare The Space For A Wall Oven?
Measure the cabinet opening and clear the area. Ensure proper electrical connections and ventilation for safe operation.
Can I Install A Wall Oven Myself Safely?
Yes, if you follow instructions and local codes carefully. However, consider hiring a professional for electrical work.
How Do I Connect The Electrical Wiring For A Wall Oven?
Turn off power, match wire colors, and securely connect wires using wire nuts. Follow manufacturer guidelines and local codes.
Conclusion
Installing a wall oven can improve your kitchen’s look and function. Follow each step carefully to ensure safety and success. Take your time and double-check measurements before cutting or wiring. Use proper tools and read the manual for your oven model.
Ask for help if you feel unsure at any point. Enjoy cooking with your new wall oven once installation is complete. Simple steps lead to great results. Ready to upgrade your kitchen?