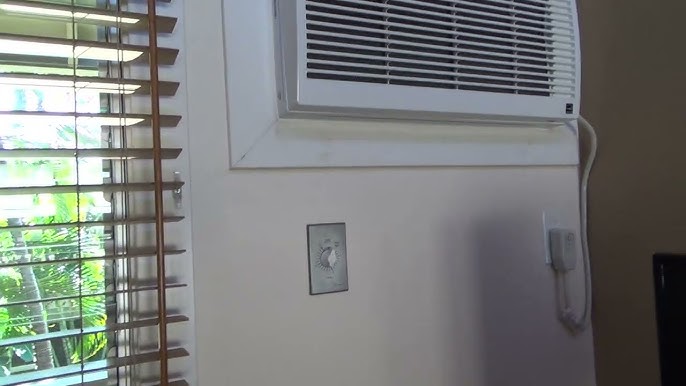
Are you ready to beat the heat without breaking the bank? Installing an air conditioner in your wall can be the perfect solution to keep your space cool and comfortable all year round.
But if you’re wondering how to do it yourself, you’re in the right place. This guide will walk you through every step, making the process simple and stress-free. By the end, you’ll have the confidence to install your AC like a pro and enjoy cool air whenever you want.
Let’s get started and transform your home into a refreshing oasis!

Credit: www.angi.com
Choosing The Right Ac Unit
Choosing the right air conditioner (AC) unit is key for comfort and savings. There are different types of wall air conditioners. Some cool only one room. Others can cool larger spaces. Each type fits different wall sizes and needs.
- Through-the-wall AC:Installed directly through a wall. Good for a permanent solution.
- Wall sleeve AC:Uses a sleeve for easy removal and cleaning.
- Portable wall AC:Moves easily but needs venting.
Sizing your AC is very important. Too small units can’t cool well. Too big units waste energy. Measure your room size. Use a BTU calculator or ask a professional for help.
| Energy Efficiency Rating | Meaning |
|---|---|
| SEER(Seasonal Energy Efficiency Ratio) | Higher means better energy saving. |
| EER(Energy Efficiency Ratio) | Shows efficiency at a fixed temperature. |
Choose AC units with high energy ratings. They save electricity and reduce bills. Look for Energy Star labels for trusted efficiency.
Gathering Tools And Materials
Gathering the right tools and materialsis key for installing a wall air conditioner. Prepare everything before starting work.
- Drillwith various drill bits
- Screwdriver(flathead and Phillips)
- Measuring tapeto mark accurate spots
- Levelto keep the unit straight
- Stud finderto locate wall supports
- Sealant or foamto close gaps
- Wrench or pliersfor bolts and screws
| Material | Purpose |
|---|---|
| Air Conditioner Unit | Main cooling device |
| Mounting Bracket | Supports the unit on the wall |
| Insulation Foam | Prevents air leaks around the unit |
| Weather Stripping | Protects from outside elements |
| Screws and Bolts | Secure the unit and bracket |
Selecting The Installation Spot
Choose a wall that faces outside and gets good air flow. Avoid walls near heat sources like ovens or direct sunlight. The wall should be strong enough to hold the air conditioner’s weight.
Clear the area of furniture, wires, and pipes. Make sure no wires or water pipes will be in the way inside the wall. Check for hazards like gas lines or electrical cables.
| Measurement | Details |
|---|---|
| Width | Measure the air conditioner’s width and add 2 inches for fitting space |
| Height | Measure the air conditioner’s height and add 2 inches for clearance |
| Depth | Check the wall thickness; ensure it fits the unit’s depth |

Credit: airgreen.ca
Preparing The Wall
Choose the right spot on the wall for the air conditioner. Use a pencil to mark the exact cutout areaaccording to the unit’s size. Check both inside and outside walls to avoid pipes or wires.
Wear safety goggles and gloves before cutting. Use a saw or drill carefully to cut the wall safely. Take your time to avoid damage to the wall or injury.
After cutting, clean the edges well. Use foam or weatherproof sealant to seal gapsaround the unit. Add insulation to stop air leaks and keep the room cool.
Installing The Ac Unit
First, find a strong wall to hold the mounting bracket. Use a level to make sure it is straight. Drill holes and fix the bracket with strong screws. This helps keep the air conditioner stable.
Next, slide the air conditionerinto the bracket carefully. Make sure it fits snuglyand does not wobble. Check that the unit’s frontis facing outside for proper air flow.
Finally, securethe air conditioner by tightening all screws. Use a level again to confirm the unit is even. This prevents water leaks and keeps the AC working well.
Electrical Connections
Check the power requirementsof the air conditioner before installation. Most units need a dedicated circuit with the right voltage and amperage. Use a circuit breakerthat matches the unit’s specifications to avoid electrical hazards.
Use proper wiringsized for the unit’s power needs. Secure all connections tightly to prevent loose wires. Always turn off the main powerbefore starting any electrical work. Use insulated tools and wear safety gloves.
Test the electrical setup by turning the power on and checking the unit’s response. Verify the breaker does not tripand the air conditioner runs smoothly. Use a voltmeterto ensure correct voltage at the unit’s terminals.
Finishing Touches
Sealing all gaps and cracksaround the air conditioner helps keep the room cool. Use caulk or foam sealantto fill spaces between the unit and wall. This stops air leaks and keeps bugs out.
Weatherproofingprotects the unit from rain and wind. Apply a weatherproof sealaround the edges. Use a cover or shield if needed to protect from harsh weather.
Cleaning the area removes dust and debris that may have fallen during installation. Wipe down the wall and unit. Dispose of old materials safely to keep the space neat.

Credit: m.youtube.com
Troubleshooting Common Issues
Leaks and dripsoften happen because the drain hole is blocked or the unit is not level. Clear any dirt from the drain hole. Use a small brush or a pipe cleaner. Check if the air conditioner sits flat on the wall. Adjust the position slightly if water pools inside.
Power problemsmight be due to a tripped breaker or loose wiring. Check your home’s circuit breaker box. Reset any tripped switches. Make sure the plug fits tightly into the socket. Avoid using extension cords, as they can cause power issues.
To improve cooling, keep windows and doors closed. Clean or replace the air filter regularly. Block sunlight with curtains during hot days. Ensure the air conditioner vents are not blocked by furniture or curtains.
Maintenance Tips
Cleaning the air conditioner’s filter often keeps it working well. Dust and dirt block airflow and reduce cooling power. Wash the filter every month during heavy use. Let it dry before putting back.
Changing the filter regularly helps avoid bad smells and allergies. Use a new filter every 3 to 6 months or as the manual says. A clean filter saves energy and keeps air fresh.
| Season | Care Tips |
|---|---|
| Spring | Check for leaks and clean coils before use |
| Summer | Keep area around unit clear for good airflow |
| Fall | Inspect and cover unit after last use |
| Winter | Store or protect unit from snow and ice |
Frequently Asked Questions
How Do I Choose The Right Wall Ac Unit Size?
Select a wall AC unit based on your room size and insulation. Check the BTU rating to match your room’s square footage. Proper sizing ensures efficient cooling and energy savings.
What Tools Are Needed To Install A Wall Ac?
Common tools include a drill, level, screwdriver, measuring tape, and mounting brackets. These tools help ensure accurate placement and secure installation of the AC unit.
Can I Install A Wall Ac Without Professional Help?
Yes, if you follow the instructions carefully and have basic DIY skills. However, professional installation is recommended for safety and optimal performance.
How Do I Prepare The Wall For Ac Installation?
Measure and mark the wall opening accurately. Ensure the wall is strong enough to support the unit. Remove any obstacles and check for electrical outlets nearby.
Conclusion
Installing a wall air conditioner can cool your room fast. Follow each step carefully to avoid common mistakes. Use the right tools and check the measurements twice. Make sure the unit fits well and seals tightly. Test the air conditioner after installation to confirm it works.
Enjoy a cooler, more comfortable space all summer long. Simple steps lead to great results.