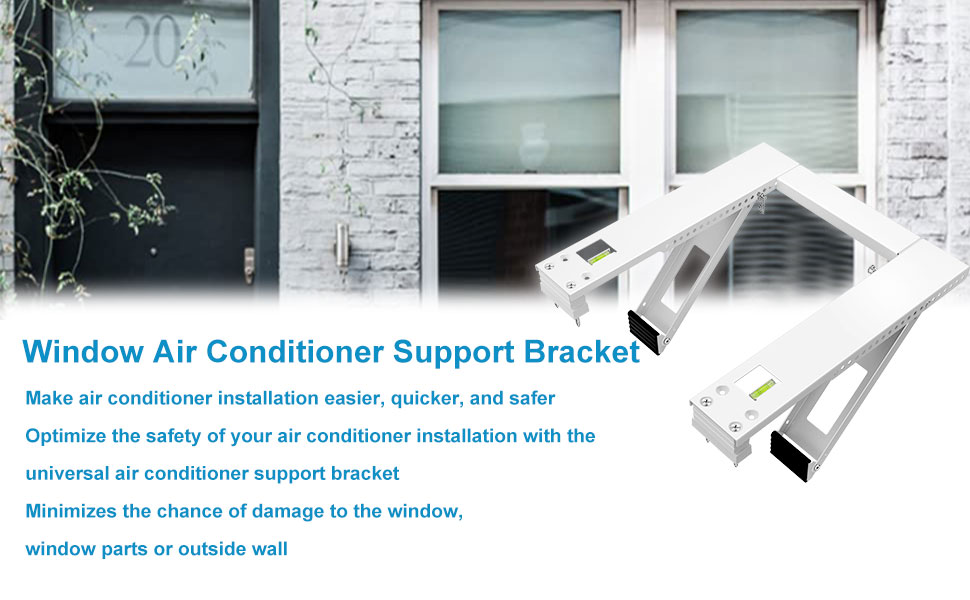
Are you planning to install an air conditioner support bracket but don’t know where to start? You’re in the right place.
Installing the right support bracket is key to keeping your air conditioner secure and working efficiently. In this guide, you’ll find simple, step-by-step instructions that anyone can follow—even if you’re not a DIY expert. By the end, you’ll have the confidence to install your support bracket safely and correctly, saving you time and money.
Ready to get started? Let’s dive in!

Credit: www.youtube.com
Tools And Materials Needed
Installing an air conditioner support bracket requires specific tools and materials. Getting these ready helps make the job easier and safer.
This guide lists what you need before starting the installation process.
Essential Tools
Gather the right tools to ensure proper installation and avoid damage.
- Power drill with drill bits
- Screwdrivers (flathead and Phillips)
- Measuring tape
- Level
- Wrench or socket set
- Hammer
- Pencil or marker
Bracket And Hardware
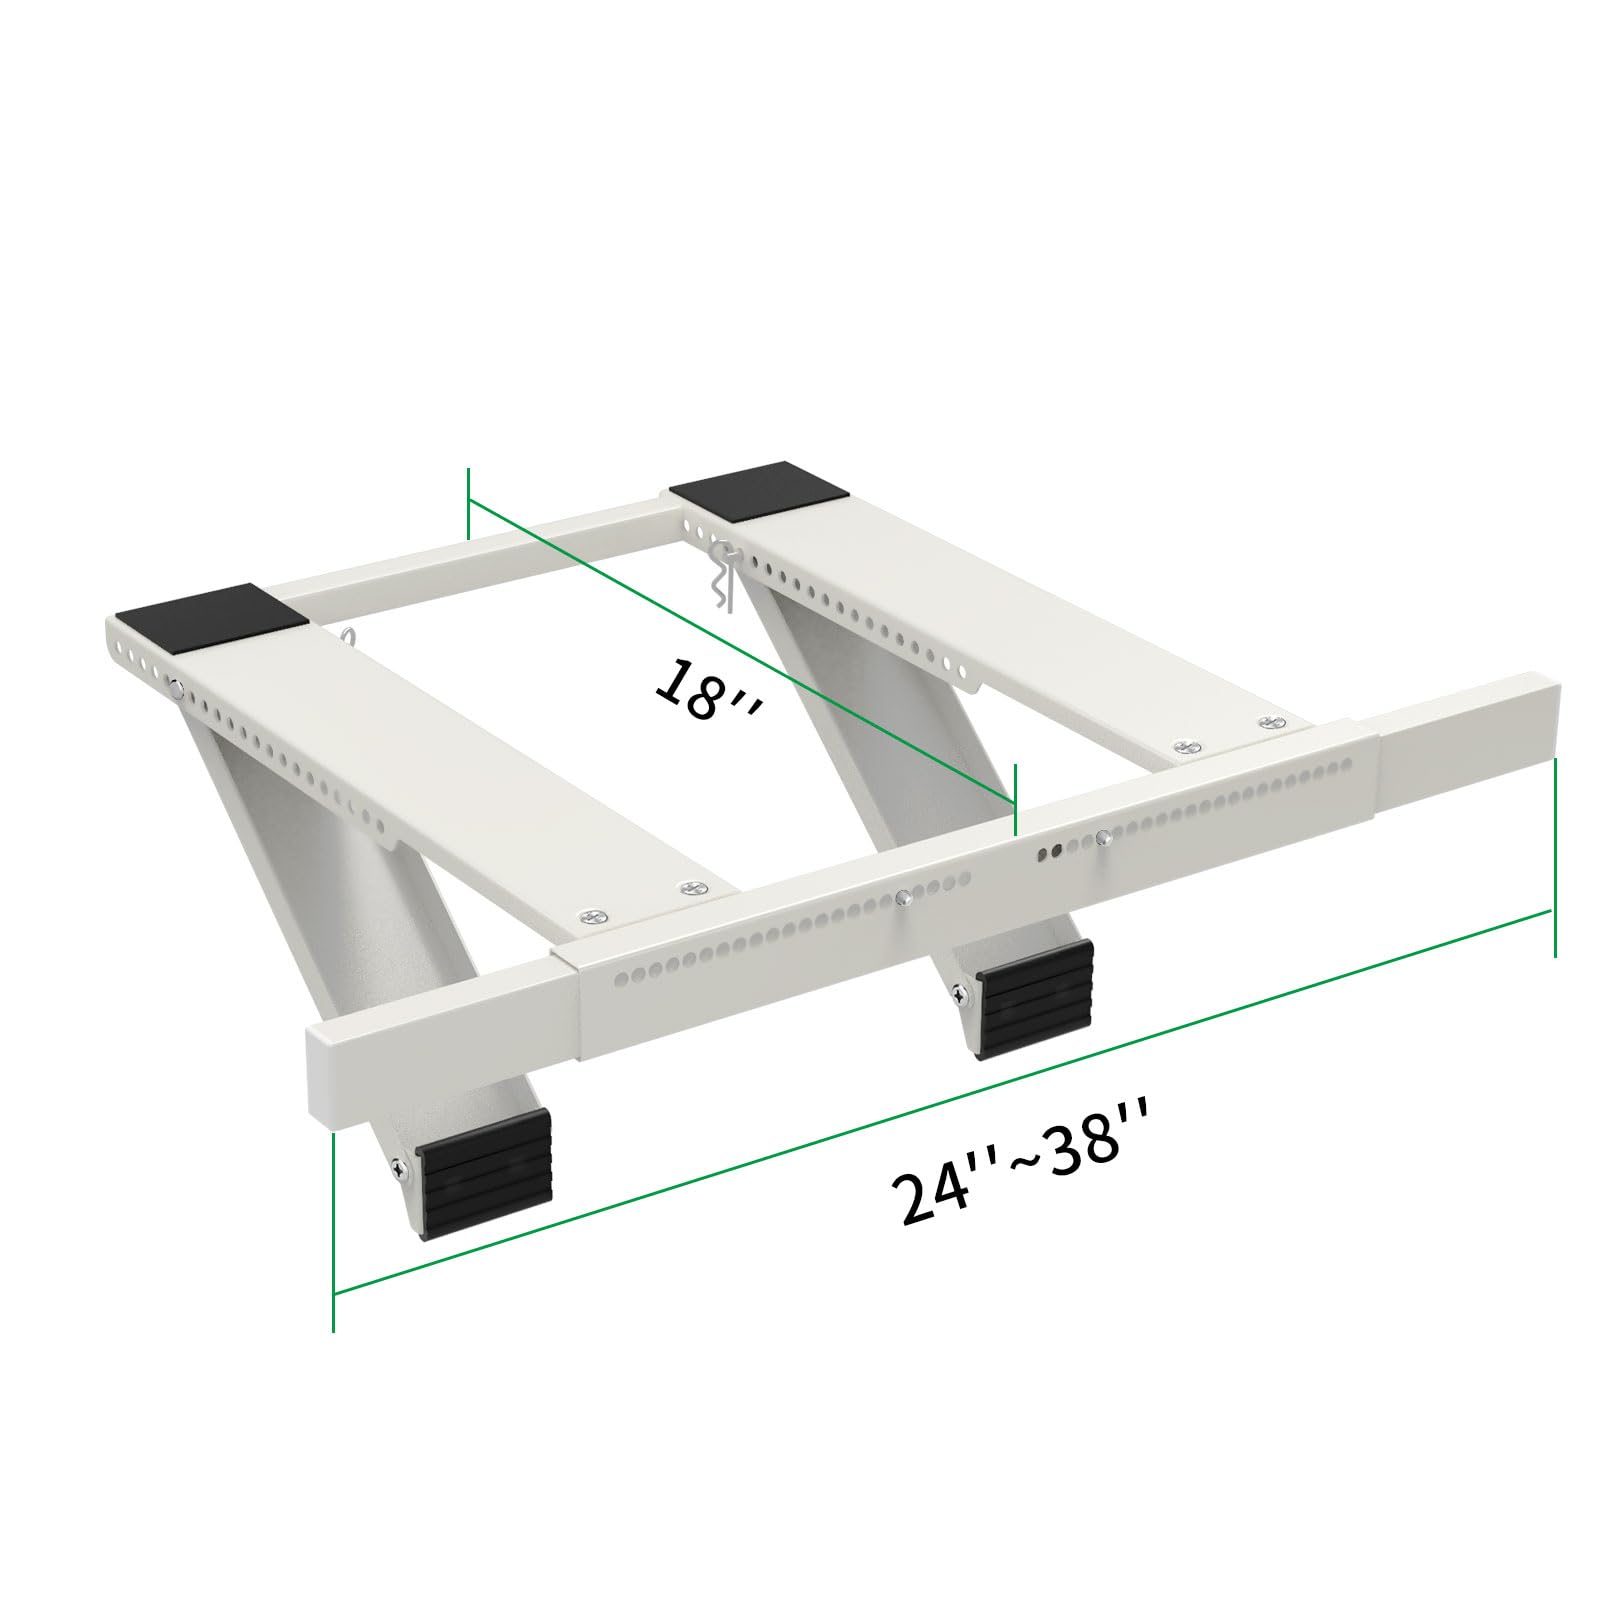
Select the correct bracket and mounting hardware made for your air conditioner model.
| Item | Description | Quantity |
| Support bracket | Heavy-duty metal bracket to hold the unit | 1 |
| Mounting screws | Corrosion-resistant screws for secure attachment | 4-6 |
| Wall anchors | Strong anchors for drywall or masonry walls | 4-6 |
| Washers | To distribute screw pressure evenly | 4-6 |
Safety Equipment
Use safety gear to protect yourself during installation.
- Safety goggles to shield your eyes
- Work gloves for hand protection
- Dust mask if drilling into old walls
- Sturdy shoes to prevent foot injuries
Selecting The Right Location
Choosing the right location for your air conditioner support bracket is important. It helps keep the unit stable and safe.
Think about the surface, the weight of the unit, and any nearby objects before installing.
Choosing A Stable Surface
Pick a flat and strong surface to hold the bracket. The surface must not bend or break under weight.
Concrete walls or solid wood panels work well. Avoid weak materials like thin drywall or hollow spaces.
- Check for cracks or damage
- Use a level to ensure flatness
- Pick a surface that can hold the bracket firmly
Considering Weight And Balance
Know the weight of your air conditioner before placing the bracket. The bracket must support the full load safely.
Place the bracket so the unit stays balanced. Uneven weight can cause the bracket to fail or the unit to fall.
- Check the air conditioner’s weight label
- Use brackets rated for more than this weight
- Center the unit on the bracket for balance
Avoiding Obstructions
Make sure the bracket location is clear from pipes, wires, and vents. These can block airflow or cause damage.
Keep the area around the bracket open for easy maintenance and good air flow.
- Look for electrical wires or plumbing behind the wall
- Check for vents that need space to work
- Leave room around the unit for cleaning and repairs
Measuring And Marking
Installing an air conditioner support bracket needs careful measuring and marking. This step ensures the bracket is strong and the unit fits properly.
Follow these instructions to place the bracket correctly and prepare for drilling.
Determining Bracket Placement
Choose a sturdy wall area for the bracket. It should support the air conditioner’s weight without damage.
- Check the wall material (concrete, brick, or wood)
- Find a spot near a power source and window
- Measure the height for easy access and airflow
- Avoid places exposed to direct rain or extreme sun
Marking Drill Points
Mark the spots on the wall where you will drill holes. Accurate marks help secure the bracket firmly.
| Tool | Purpose |
| Measuring tape | Measure distances for bracket holes |
| Pencil or marker | Mark drill points clearly |
| Bracket template (if available) | Use as a guide for hole positions |
| Level | Check marks are straight and aligned |
Checking Level Alignment
Ensure the marked drill points are level. This step prevents the air conditioner from tilting.
- Place the level on the marks
- Adjust marks slightly if the bubble is not centered
- Double-check measurements from floor or window frame
- Confirm all points line up horizontally
Drilling And Anchoring
Installing an air conditioner support bracket needs careful drilling and anchoring. This ensures the bracket holds the unit safely.
Follow clear steps to drill holes and use anchors properly. This helps keep the bracket strong and secure on the wall.
Drilling Holes Safely
Choose the right drill bit for your wall type. Use a drill that matches the size of the anchors you will install.
Mark the spots where you will drill. Wear safety glasses and keep your hands clear of the drill bit.
- Check for wires or pipes inside the wall
- Drill straight holes at marked points
- Clean dust from holes after drilling
Installing Wall Anchors
Wall anchors give extra strength to hold the bracket. Use anchors suitable for your wall type like drywall or concrete.
Push or tap anchors gently into the drilled holes until they sit flush with the wall surface.
- Select anchors based on wall material
- Insert anchors fully into holes
- Do not force anchors or damage the wall
Securing The Bracket
Align the bracket holes with the anchors in the wall. Use screws to attach the bracket firmly to the wall.
Tighten screws evenly to avoid bending the bracket. Check the bracket is stable before mounting the air conditioner.
- Match screws to anchor size
- Tighten screws with a screwdriver or drill
- Test bracket stability by applying light pressure
Mounting The Air Conditioner
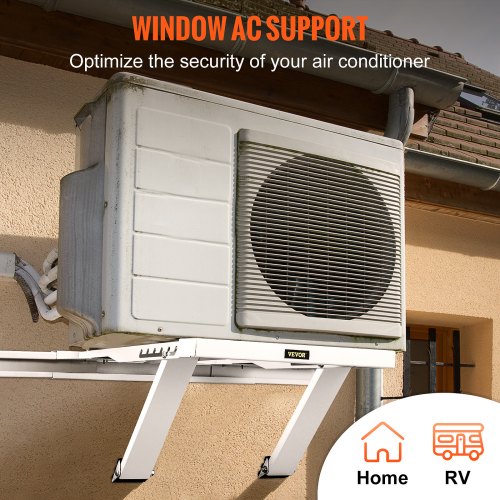
Installing an air conditioner support bracket helps hold the unit safely on the wall. Proper mounting keeps the air conditioner stable and secure.
Follow these steps to lift, attach, and stabilize your air conditioner on the bracket.
Lifting And Positioning
Ask for help to lift the air conditioner. The unit can be heavy and awkward to hold alone.
Lift the unit carefully and place it close to the bracket. Align it with the mounting points before setting it down.
- Use gloves for a better grip
- Keep the unit level while lifting
- Position the air conditioner near the wall bracket
Attaching To The Bracket
Secure the air conditioner to the bracket using bolts or screws. Make sure you use the right size fasteners for your bracket.
Tighten all bolts firmly to hold the unit in place. Check that the air conditioner sits flush against the wall.
- Find bolt holes on the air conditioner and bracket
- Insert bolts and hand-tighten first
- Use a wrench to fully tighten each bolt
- Avoid over-tightening to prevent damage
Ensuring Stability
After attaching, check that the air conditioner does not wobble. Stability is important for safety and performance.
Use a level tool to confirm the unit is straight. Adjust bolts if needed to keep the unit steady.
- Press gently on the unit to test movement
- Use a spirit level to check horizontal position
- Tighten or loosen bolts to fix any tilt
- Ensure the bracket supports the full weight
Credit: www.amazon.com
Final Checks And Maintenance
After installing the air conditioner support bracket, it is important to do final checks. These checks ensure the bracket holds the air conditioner safely. Regular maintenance keeps the bracket in good condition for a long time.
This guide covers how to verify the installation, inspect the bracket routinely, and solve common problems.
Verifying Secure Installation
Check if the bracket is tightly fixed to the wall. Loose screws or bolts can cause the bracket to fail. Make sure the air conditioner sits evenly on the bracket.
- Check all screws and bolts are tight
- Ensure the bracket does not wobble or move
- Confirm the air conditioner is level on the bracket
- Look for cracks or bends in the bracket
Routine Inspection Tips
Inspect the bracket every few months to prevent problems. Dirt and rust can weaken the support over time. Cleaning and tightening parts help keep it safe.
- Clean the bracket and surrounding wall area
- Look for rust or corrosion on metal parts
- Tighten any loose screws or bolts
- Check if the bracket is still level and firm
Troubleshooting Common Issues
If you notice the bracket is loose or damaged, act quickly. Fixing small problems early avoids bigger damage. Replace parts if needed to keep the air conditioner safe.
- Retighten loose screws or bolts
- Replace rusted or bent brackets immediately
- Use wall anchors if the bracket feels weak
- Consult a professional if the problem continues
Credit: www.vevor.com
Frequently Asked Questions
What Tools Are Needed To Install An Ac Support Bracket?
You need a drill, level, measuring tape, wrench, screws, and a pencil. These tools ensure precise and secure bracket installation.
How Do I Choose The Right Ac Support Bracket Size?
Select a bracket matching your AC unit’s weight and dimensions. Check the manufacturer’s guidelines for accurate size and load capacity.
Can I Install An Ac Support Bracket On Drywall?
No, drywall cannot support the weight. Install brackets on studs or solid walls for safety and stability.
How High Should An Ac Support Bracket Be Installed?
Install the bracket at the height recommended by the AC manual. Usually, it’s about 7 feet from the ground for optimal airflow.
Conclusion
Installing an air conditioner support bracket is simple with the right steps. Start by choosing a strong wall and gathering tools. Measure and mark the spots carefully. Secure the bracket firmly to hold the unit safely. Check that the bracket is level and stable before placing the air conditioner.
Taking your time helps avoid mistakes and keeps the unit secure. This process saves money and ensures your air conditioner works well. Enjoy a cooler home with a properly installed support bracket.