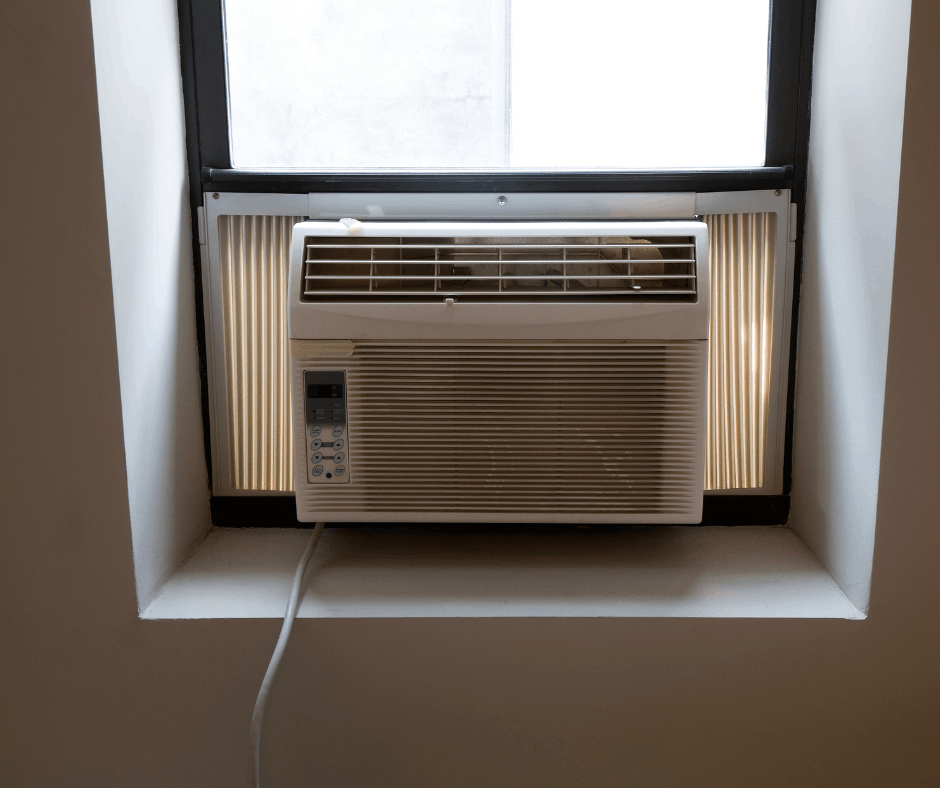
Are you ready to beat the heat and stay cool this summer? Installing an air conditioner window unit might seem tricky, but with the right steps, you can do it yourself quickly and safely.
Imagine enjoying a refreshing breeze without waiting for a professional or spending extra money. In this guide, you’ll discover simple, clear instructions that make installation easy—even if you’ve never done it before. Keep reading, and you’ll be chilling comfortably in no time.

Credit: thelenmechanical.com
Choosing The Right Window Unit
Picking the right air conditioner window unit is important for comfort. The right unit cools your space well and saves energy.
Consider the size of your room, energy use, and cooling power. These factors help you choose the best unit.
Assess Room Size
Measure your room’s length and width in feet. Multiply them to find the square footage.
Larger rooms need more powerful units. Small units cool small rooms only.
- Small rooms: under 150 square feet
- Medium rooms: 150 to 300 square feet
- Large rooms: over 300 square feet
Evaluate Energy Efficiency
Check the Energy Efficiency Ratio (EER) on the label. Higher EER means less electricity use.
Choose units with Energy Star ratings. These models save money and use less power.
- Look for EER above 10 for good efficiency
- Energy Star units meet strict efficiency rules
- Efficient units lower electric bills
Select The Correct Btu Rating
BTU measures how much heat the unit can remove. Match BTU to your room size for best cooling.
| Room Size (sq ft) | BTU Needed |
|---|---|
| Up to 150 | 5,000 – 6,000 |
| 150 – 250 | 6,000 – 8,000 |
| 250 – 350 | 8,000 – 10,000 |
| 350 – 450 | 10,000 – 12,000 |
Too small BTU means poor cooling. Too big wastes energy and costs more.
Gathering Necessary Tools And Materials
Installing a window air conditioner needs the right tools and materials. Gathering these first makes the job easier.
Having everything ready helps you work safely and quickly. Let’s look at what you need.
List Of Required Tools
You will need some basic tools to install your window air conditioner. These tools help secure the unit and prepare the window.
- Screwdriver (flathead and Phillips)
- Measuring tape
- Level
- Drill with bits
- Utility knife
- Putty knife
- Wrench or pliers
- Caulking gun
- Weather stripping or foam seal
Essential Safety Gear
Safety gear protects you during the installation. It helps prevent injuries from sharp edges and tools.
Always wear safety gear before starting the installation. Here are the key items to have.
- Safety glasses to protect your eyes
- Work gloves to protect your hands
- Closed-toe shoes for foot safety
- Dust mask if working with old window seals or insulation
Preparing The Window
Before installing an air conditioner window unit, prepare the window properly. This makes the installation easier and safer. Follow these steps to get your window ready.
Focus on clearing space, checking the window’s condition, and removing any obstacles. These tasks help the unit fit well and work efficiently.
Clear The Area
Remove all items near the window inside and outside. This gives you space to work and helps the air conditioner fit correctly.
- Take away curtains or blinds
- Move furniture away from the window
- Clear plants or decorations outside
- Remove window screens if needed
Check Window Condition
Look at the window frame and glass carefully. The window must be strong enough to hold the air conditioner unit safely.
| Window Part | Check For |
| Frame | Cracks, rotting wood, or loose parts |
| Glass | No broken or cracked panes |
| Lock | Works well to hold the window closed |
Remove Obstacles
Some windows have obstacles that block the air conditioner unit. Remove these to make installation easier and safer.
Common obstacles include:
- Window locks that block lowering the window sash
- Heavy curtains or blinds that interfere with the unit
- Debris or dirt on the window sill
Clear these obstacles before starting installation.
Installing The Mounting Brackets
Mounting brackets hold your air conditioner window unit securely. Proper installation ensures safety and efficiency. Follow the steps carefully to place and fix the brackets.
This guide covers marking bracket positions and securing them to the window frame. Use the right tools and take measurements to avoid mistakes.
Mark Bracket Positions
Start by measuring the window frame width and height. Position the brackets so they support the air conditioner evenly. Mark the spots with a pencil before drilling.
- Measure the width of the air conditioner unit.
- Place the brackets on the window frame edges.
- Ensure brackets are level and aligned.
- Mark screw holes on the frame with a pencil.
- Double-check marks before drilling.
Secure Brackets To Window Frame
Once marks are ready, use a drill to make holes. Attach the brackets with screws that fit your window frame material. Tighten screws firmly but avoid over-tightening.
| Tool | Purpose | Tip |
|---|---|---|
| Drill | Create screw holes | Use proper drill bit size |
| Screws | Fix brackets securely | Choose screws for wood or metal |
| Level | Check bracket alignment | Adjust position before securing |
| Pencil | Mark screw points | Mark clearly but lightly |
Positioning The Air Conditioner
Placing the air conditioner window unit correctly is important for good cooling. The right position helps it work well and stay safe.
Make sure the window you choose is near an electrical outlet. The unit needs power and fresh air to work right.
Lift And Align The Unit
Lift the air conditioner carefully with help if needed. Hold it steady as you bring it to the window.
Align the unit so it fits well in the window frame. The front should face outside, and the back should face inside the room.
- Check that the unit sits level to avoid water leaks.
- Make sure it is centered in the window opening.
- Keep the unit stable before securing it.
Secure In Place
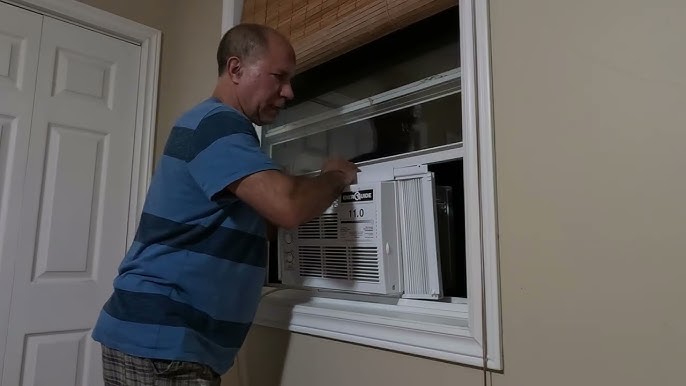
Once aligned, fasten the air conditioner so it does not move. Use screws or brackets that came with the unit.
Check that the window is closed tightly against the unit. Seal any gaps with weatherstripping or foam to keep air out.
- Attach brackets to hold the unit firmly.
- Screw the window frame to the unit for support.
- Use foam strips around edges to block air leaks.
- Double-check stability before finishing.
Credit: m.youtube.com
Sealing And Insulating
Sealing and insulating your window air conditioner keeps your home cool. It stops warm air from coming in and cold air from escaping.
Proper sealing improves your AC’s efficiency and lowers energy bills. Let’s look at how to apply foam insulation and seal gaps.
Apply Foam Insulation
Use foam insulation around the air conditioner to fill empty spaces. This blocks outside air and helps the unit work better.
Cut foam strips to fit between the AC and window frame. Press the foam firmly to seal all edges.
- Measure the gap around the unit.
- Cut foam strips to match the measurements.
- Place foam strips around all sides of the unit.
- Press foam tightly for a good seal.
Seal Gaps For Efficiency
Check for small gaps or cracks around the unit. Use weatherstripping or caulk to seal these openings.
Sealing gaps stops drafts and keeps your room cooler. It also keeps bugs and dust outside.
- Look for gaps between the unit and window frame.
- Apply weatherstripping along the edges.
- Use caulk to fill tiny cracks.
- Make sure all gaps are closed tightly.
Connecting To Power
Connecting your air conditioner window unit to power is important for safe use. Make sure you follow simple steps to avoid problems.
Check the electrical setup in your home before plugging in the unit. This helps prevent damage and keeps you safe.
Check Electrical Requirements
Look at the air conditioner’s label to find power needs. Check the voltage and amperage required for the unit.
Make sure your outlet matches these needs. Using the wrong outlet can cause short circuits or fire hazards.
- Most units need a 110-120 volt outlet
- Check if a dedicated circuit is recommended
- Verify your home’s circuit breaker can handle the load
- Avoid using extension cords or power strips
Plug In The Unit Safely
Plug the air conditioner directly into a wall outlet. Avoid using extension cords to reduce fire risk.
Make sure the plug fits snugly and the cord is not damaged. Keep the cord away from water and heat sources.
- Turn off the air conditioner before plugging it in
- Use a grounded outlet with three holes
- Do not force the plug into an incompatible socket
- Keep the cord untangled and away from walkways
Testing The Air Conditioner
After installing your window air conditioner, testing it ensures proper function. This step confirms the unit cools well and runs smoothly.
Testing helps identify any issues early. Follow these checks to make sure your unit works as expected.
Turn On The Unit
Plug in the air conditioner and switch it on. Set the temperature lower than the room temperature. Listen for any unusual noises or vibrations.
- Check if the fan starts running
- Verify the control panel lights up
- Make sure the air flows from the front vent
- Listen for steady and quiet operation
Check For Proper Cooling
Wait about 10 to 15 minutes for the air conditioner to cool the air. Measure the temperature difference between the air coming out and the room air.
| Check Point | Expected Result |
| Air temperature at vent | At least 15°F cooler than room temperature |
| Air flow | Strong and steady |
| Condensation | Light moisture under unit is normal |
| Noise level | Low and consistent |
Maintenance Tips
Keeping your air conditioner window unit in good shape helps it work well. Regular care stops problems and saves money.
Simple maintenance tasks make your unit last longer and cool better. Follow these tips to keep it running smoothly.
Regular Filter Cleaning
Cleaning the filter often helps your air conditioner work better. A dirty filter blocks airflow and makes the unit work harder.
Check the filter every month during heavy use. Remove dust and dirt by washing with water or using a vacuum.
- Turn off the unit before removing the filter
- Wash the filter gently with warm water
- Let the filter dry completely before putting it back
- Replace the filter if it is torn or very dirty
Annual Professional Inspection
Have a professional check your air conditioner once a year. They find small problems before they get big.
The expert can clean inside parts, check refrigerant levels, and test the unit’s performance. This keeps it safe and efficient.
- Schedule inspection before summer starts
- Ask for a full cleaning and tune-up
- Make sure seals and insulation are checked
- Keep records of all service visits

Credit: www.abt.com
Frequently Asked Questions
How Do I Prepare The Window For Ac Installation?
Clean the window sill and frame thoroughly. Remove any obstacles or debris. Measure the window to ensure the unit fits properly. Open the window fully and have necessary tools ready before starting installation.
What Tools Are Needed To Install A Window Ac Unit?
You typically need a screwdriver, level, measuring tape, foam seal, mounting brackets, and weatherstripping. Some models may require additional tools. Having these ready ensures a smooth installation process and a secure fit.
How Do I Secure The Air Conditioner In The Window?
Place the unit on the window sill. Use mounting brackets to support the weight. Tighten screws to stabilize the AC. Seal gaps with foam or weatherstripping to prevent air leaks and improve efficiency.
Can One Person Install A Window Ac Unit Alone?
It is possible but not recommended. Window AC units can be heavy and awkward. Having a second person helps with lifting and positioning, reducing the risk of damage or injury during installation.
Conclusion
Installing a window air conditioner can cool your room fast. Follow each step carefully for best results. Check that the unit fits your window securely. Seal any gaps to keep the cool air inside. Turn on the air conditioner and enjoy the fresh breeze.
Regular cleaning keeps your unit working well. With these tips, you can stay comfortable all summer. Simple and safe installation saves time and money too. Ready to beat the heat? Your cool room awaits.