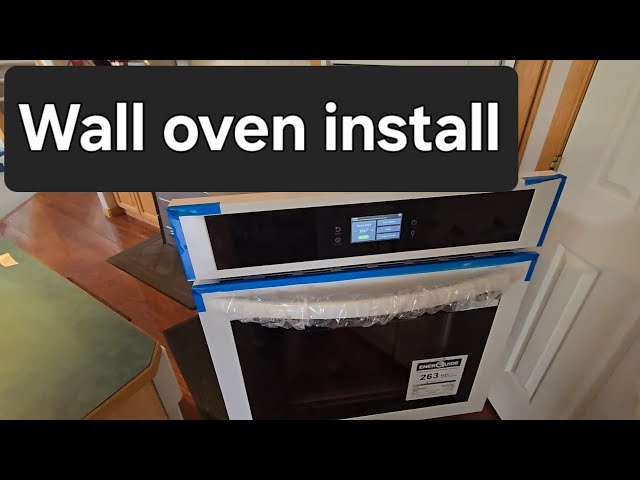
Thinking about installing an oven in your wall? It’s a smart way to save space and give your kitchen a sleek, modern look.
But if you’re not sure where to start, don’t worry—you’re in the right place. This guide will walk you through every step, making the process clear and manageable. By the end, you’ll have the confidence to tackle this project yourself and enjoy a stylish, functional kitchen upgrade.
Ready to transform your cooking space? Let’s dive in!

Credit: www.youtube.com
Choose The Right Oven
Installing an oven in the wall saves kitchen space and looks neat. Picking the right oven is important for your cooking needs and kitchen size.
This guide helps you understand different types of wall ovens, how to measure your space, and energy options to consider.
Types Of Wall Ovens
Wall ovens come in various styles. Choose one that fits your cooking style and kitchen design.
- Single Wall Oven:Fits one oven in the wall, good for small kitchens.
- Double Wall Oven:Two ovens stacked, lets you cook more at once.
- Convection Oven:Circulates hot air for faster, even cooking.
- Microwave Wall Oven Combo:Combines microwave and oven in one unit.
Measuring Your Space
Measure your wall space carefully before buying an oven. The right fit is key for safety and performance.
| Measurement | What to Check |
| Height | Space from floor to top of the wall cabinet |
| Width | Space between the two sides of the wall opening |
| Depth | Distance from front to back of the wall cavity |
| Ventilation | Room for air to flow around the oven |
Energy Efficiency Options
Choosing an energy-efficient oven saves electricity and cuts costs over time. Look for ovens with good energy ratings.
- Look for the ENERGY STAR label.
- Choose ovens with convection features to cook faster.
- Consider ovens with good insulation to keep heat inside.
- Check the oven’s power consumption in the manual.
Prepare The Installation Area
Installing an oven in the wall needs careful preparation. This helps keep the process safe and smooth.
Start by checking the wall, gathering tools, and turning off power. These steps make the job easier.
Check Wall Structure
Check if the wall can hold the oven’s weight. The wall should be strong and stable.
Look for studs, pipes, and wires inside the wall. Avoid areas with plumbing or electrical wires.
- Use a stud finder to locate studs.
- Check for any hidden pipes or cables.
- Make sure the wall surface is flat and even.
Gather Necessary Tools
Get all tools before starting the installation. This saves time and prevents interruptions.
- Measuring tape
- Level
- Drill and drill bits
- Screwdrivers
- Stud finder
- Utility knife
- Safety gloves and goggles
Turn Off Power Supply
Switch off the power at the circuit breaker. This keeps you safe from electric shock.
Use a voltage tester to confirm no power flows to the oven area before starting work.
- Locate the correct circuit breaker
- Switch off power to the oven’s space
- Test for live wires with a voltage tester
Create The Wall Opening
Installing an oven in the wall needs a precise opening. The space must fit the oven size perfectly. This guide covers creating that opening safely and securely.
Follow these steps to mark, cut, and reinforce the wall. Proper preparation helps avoid damage and keeps your kitchen safe.
Mark Cutting Lines
Measure the oven and mark its outline on the wall. Use a pencil and a level to draw straight lines. Double-check all measurements before cutting.
- Measure the oven width, height, and depth.
- Transfer measurements to the wall surface.
- Use a level to ensure lines are straight.
- Mark inside the lines for the exact opening.
- Check all marks twice for accuracy.
Cut Drywall Safely
Wear safety goggles and a mask before cutting drywall. Use a drywall saw or rotary tool to follow your marked lines carefully. Cut slowly to avoid damage behind the wall.
- Turn off electricity near the cutting area.
- Wear protective gear for eyes and lungs.
- Cut along the marked lines with steady hands.
- Remove drywall pieces gently.
- Inspect the cavity for wires or pipes before going deeper.
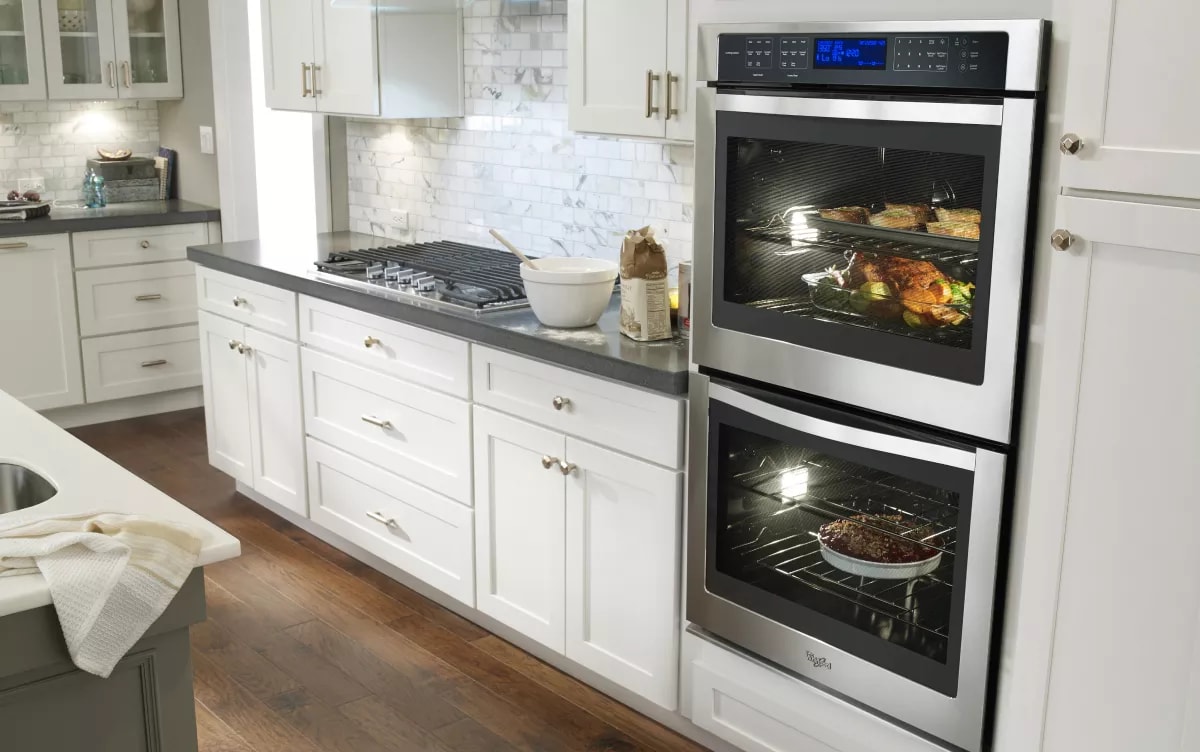
Reinforce Wall Frame
After cutting the opening, add support to the wall frame. This keeps the oven stable and the wall strong. Use the right wood pieces and fasteners.
| Material | Purpose | Notes |
|---|---|---|
| 2×4 Lumber | Frame opening edges | Cut to fit opening size |
| Metal Brackets | Strengthen joints | Use at corners |
| Wood Screws | Secure pieces together | Use proper length |
| Level | Ensure frame is straight | Check before fastening |
Credit: www.whirlpool.com
Install Electrical Connections
Installing an oven in the wall requires careful electrical setup. You need to ensure everything is safe and up to code.
Learn how to connect the power supply correctly for your new wall oven.
Understand Wiring Requirements
Check the wiring requirements of your oven. Most wall ovens need a dedicated circuit.
- Verify the voltage: Typically 240 volts.
- Check the amp rating: Usually between 30 to 50 amps.
- Ensure the circuit breaker matches the oven’s requirements.
Connect Power Supply
Connect the power supply to the oven. Make sure the power is off before starting.
- Attach the ground wire to the ground terminal.
- Connect the neutral wire to the neutral terminal.
- Join the live wires to the corresponding live terminals.
Test Electrical Setup
Once the connections are complete, test the electrical setup. Make sure everything works safely.
| Test | Action |
| Power On | Switch the breaker on |
| Oven Functions | Check if the oven heats correctly |
| Safety Check | Look for any unusual smells or sparks |
Mount The Oven
Mounting the oven in the wall is an important step for a clean kitchen look. It needs to be done carefully to ensure safety and function.
This part of the installation focuses on placing the oven correctly and securing it tightly.
Position Oven In Wall
Slide the oven gently into the wall opening. Make sure the oven fits well without forcing it.
Check that the oven front is flush with the wall surface for a neat look.
Secure Oven With Brackets
Use the mounting brackets that came with your oven. Attach them to the oven and wall as shown in the manual.
Tighten all screws firmly so the oven does not move or wiggle in the wall.
- Align brackets with pre-drilled holes
- Use a screwdriver to tighten screws
- Check that brackets hold the oven tight
Check Alignment And Level
Use a level tool to make sure the oven sits evenly. Check both side-to-side and front-to-back angles.
Adjust the oven or brackets if the oven is tilted or not aligned with the wall.
- Place the level on the top edge of the oven
- Adjust until the bubble is centered
- Tighten screws again after leveling
Finish And Seal
After fitting the oven in the wall, finishing and sealing are key. These steps protect your kitchen and give a clean look.
Proper finishing stops heat and moisture damage. It also keeps the oven stable in its place.
Install Trim And Panels
Trim and panels cover gaps and rough edges around the oven. They add a polished look to your installation.
- Measure the space around the oven carefully.
- Cut trim pieces to fit exactly around the edges.
- Attach the trim using screws or adhesive recommended by the oven maker.
- Install side and bottom panels if your oven design requires them.
- Check that all pieces fit snugly without gaps.
Seal Gaps Around Oven
Sealing gaps stops heat loss and keeps pests out. Use heat-resistant sealant made for kitchen appliances.
| Type of Sealant | Use | Drying Time |
| High-Temp Silicone | Heat areas near oven walls | 24 hours |
| Acrylic Latex Caulk | Non-heat areas, minor gaps | 1 hour |
| Fireproof Foam | Large gaps, insulation | 30 minutes |
Clean Installation Area
Cleaning the area ensures safety and a tidy finish. Remove dust, debris, and leftover materials.
- Wipe all surfaces around the oven with a damp cloth.
- Vacuum dust and small particles from corners and crevices.
- Check that no tools or materials remain inside the oven cavity.
- Dispose of packaging and waste properly.
- Inspect the oven and surrounding area for any final touch-ups.
Test The Oven
Once your oven is installed in the wall, you need to test it. This ensures that everything works as expected and is safe to use.
Follow these steps to power on the oven, perform an initial setup, and conduct a cooking test.
Power On And Initial Setup
First, connect your oven to the power supply. Ensure the power switch is turned on.
- Locate the main power button on the oven.
- Press the button to turn the oven on.
- Set the clock and basic settings as per the user manual.
Run First Cooking Test
To ensure your oven cooks properly, run a simple cooking test. Use a basic recipe that you are familiar with.
Set the oven to preheat at 350°F (175°C). Use an oven thermometer to verify the internal temperature.
Troubleshoot Common Issues
If the oven does not function correctly, check these common issues. This can help you quickly identify and solve problems.
| Issue | Solution |
| Oven not heating | Check power connection |
| Strange smell | Run an empty cycle to burn off factory coatings |
| Uneven cooking | Calibrate oven temperature |
Safety Tips
Installing an oven in the wall requires careful attention to safety. Following basic safety tips helps prevent accidents and damage.
Focus on electrical safety, proper ventilation, and regular maintenance. These key areas keep your oven working safely and efficiently.
Avoid Electrical Hazards
Electric ovens need a dedicated power supply. Avoid overloading circuits to reduce fire risks. Make sure the wiring meets local codes.
- Turn off power before installation or repair.
- Use a qualified electrician for wiring connections.
- Check that the outlet matches oven power needs.
- Install a circuit breaker for safety protection.
- Avoid using extension cords or adapters.
Proper Ventilation
Ovens generate heat that must escape to keep the wall safe. Proper ventilation prevents overheating and damage to surrounding materials.
| Ventilation Tip | Reason |
|---|---|
| Leave space around the oven | Allows heat to flow out freely |
| Use vents or grills | Helps air circulate behind the oven |
| Follow manufacturer spacing instructions | Ensures proper airflow and oven safety |
Regular Maintenance
Keep your oven in good shape with regular checks. Maintenance helps spot issues before they become hazards or costly repairs.
- Clean oven surfaces and vents often.
- Inspect electrical connections yearly.
- Test oven controls and safety features.
- Replace any damaged parts immediately.
- Schedule professional service if unsure.
Credit: www.artisanwestappliance.com
Frequently Asked Questions
What Tools Do I Need To Install A Wall Oven?
You need a drill, screwdriver, level, measuring tape, and safety gloves. Also, have electrical tools handy for wiring. These tools ensure a safe and precise oven installation.
How To Measure Space For A Wall Oven?
Measure the height, width, and depth of the cavity. Ensure the space matches your oven’s dimensions plus clearance for ventilation. Accurate measurements prevent fitting issues during installation.
Can I Install A Wall Oven Myself?
Yes, if you have basic DIY skills and follow instructions carefully. However, for electrical connections, it’s safer to hire a licensed electrician to avoid hazards.
What Safety Precautions Are Needed During Installation?
Turn off power at the breaker, wear safety gloves, and use proper tools. Avoid damaging electrical wires and ensure the oven is securely mounted to the wall.
Conclusion
Installing an oven in the wall can improve your kitchen’s look and space. Follow each step carefully to ensure safety and fit. Take your time measuring and cutting to avoid mistakes. Use the right tools and ask for help if needed.
A well-installed oven makes cooking easier and your kitchen neater. Enjoy your upgraded kitchen and the new cooking experience. Simple steps lead to great results. Ready to cook with your new wall oven?