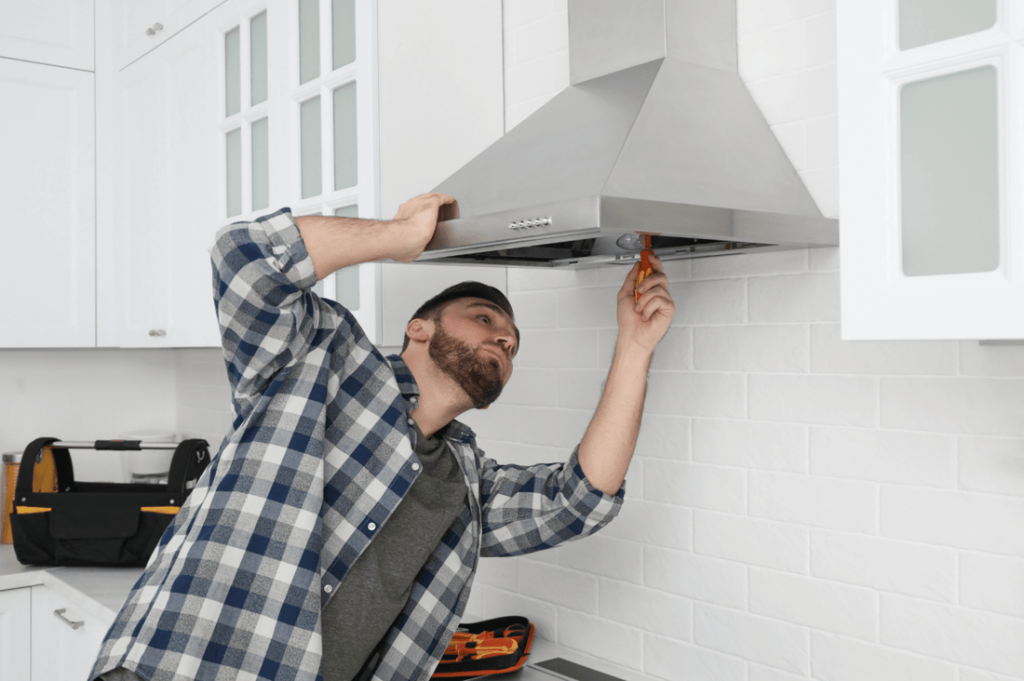
Are you tired of cooking smells lingering in your kitchen? Installing a ducted range hood can be the game-changer you need.
It not only clears the air but also keeps your kitchen fresh and free from grease buildup. You might think installing one is tricky or expensive, but with the right steps, you can do it yourself and save money. In this guide, you’ll discover simple, clear instructions to help you install your ducted range hood quickly and safely.
Keep reading, and soon you’ll enjoy a cleaner, more comfortable cooking space.

Credit: us.ciarraappliances.com
Choosing The Right Range Hood
Choosing the right range hood ensures proper kitchen ventilation and safety. Installing a ducted range hood involves connecting it to an external vent for effective smoke and odor removal. Proper placement and secure ductwork are key for best performance.
Choosing the right range hood is crucial for ensuring efficient ventilation and a clean, odor-free kitchen. It’s not just about picking a style that complements your kitchen decor. The right range hood should also fit your cooking habits and kitchen space seamlessly. Let’s explore some key factors to consider.Types Of Ducted Range Hoods
Ducted range hoods come in various styles, each designed to cater to different kitchen layouts and personal preferences. – Wall-Mounted Hoods: These are perfect if your cooktop is against a wall. They offer strong ventilation and often have a sleek design. – Island Hoods: Ideal for kitchen islands, these hoods hang from the ceiling and provide 360-degree ventilation. – Under-Cabinet Hoods: If space-saving is your priority, under-cabinet hoods fit snugly beneath your cabinets. Consider your kitchen’s design and the location of your cooktop when choosing the type of hood.Measuring Your Kitchen Space
Accurate measurements are key to ensuring your range hood fits perfectly. Start by measuring the width and depth of your cooktop. Next, measure the height from your cooktop to the ceiling. This will help you determine the necessary clearance for optimal ventilation. Finally, assess the available space in your kitchen for ductwork. You’ll want to ensure there’s enough room for proper installation without hindering other kitchen functionalities.Matching Hood Size To Cooktop
The size of your range hood should match or exceed the width of your cooktop. If your cooktop is 30 inches, opt for a 30-inch or larger hood. This ensures efficient capture of smoke and odors. A too-small hood might look stylish but won’t perform effectively. Ask yourself: Is your kitchen prone to heavy, smoky cooking? If so, a larger hood might be more beneficial for you. Choosing the right range hood involves balancing aesthetics with practicality. By considering the types, measuring accurately, and matching your hood size to your cooktop, you ensure a smarter, cleaner kitchen environment.Gathering Tools And Materials
Before starting the installation of your ducted range hood, gathering the right tools and materials is crucial. Having everything on hand saves time and helps avoid frustrating interruptions. It’s like preparing for a recipe—you wouldn’t want to realize halfway through that you’re missing a key ingredient or utensil.
Essential Tools For Installation
Make sure you have these tools ready before you begin:
- Power drill:For drilling holes and securing screws quickly and accurately.
- Screwdrivers:Both Phillips and flathead types for various screws.
- Measuring tape:To measure distances precisely, ensuring proper hood placement.
- Level:To keep your range hood perfectly straight, preventing any airflow issues.
- Stud finder:To locate wall studs for secure mounting.
- Jigsaw or reciprocating saw:To cut through drywall or cabinets for ductwork.
- Wire stripper and electrical tape:Essential if you need to handle wiring safely.
- Safety gear:Gloves and safety glasses to protect your hands and eyes.
Missing just one of these tools can turn a smooth installation into a frustrating ordeal. Have you ever started a project only to realize you don’t have the right screwdriver? Avoid that hassle by double-checking your toolkit now.
Required Materials And Parts
Along with tools, you’ll need specific materials and parts to complete the job:
- Ducted range hood unit:Make sure it fits your kitchen layout and venting setup.
- Ducting kit:Includes pipes, elbows, and connectors to direct air outside.
- Wall or roof vent cap:Prevents pests and weather from entering the duct system.
- Mounting hardware:Screws, brackets, and anchors compatible with your wall type.
- Electrical wiring:If the hood isn’t plug-and-play, you may need wire, connectors, and a junction box.
- Sealant or duct tape:To make airtight connections and prevent leaks.
Choosing the right duct size and material affects your hood’s performance significantly. Have you checked if your local building codes specify ducting requirements? Skipping this step can lead to costly adjustments later.
Gathering all these tools and materials before you start guarantees a smoother, faster installation. It also gives you a chance to spot any missing items early, so you won’t waste time searching mid-project.
Preparing The Installation Area
Preparing the installation area is a crucial step before fitting your ducted range hood. Taking the time to get this right will save you from headaches later on and ensure the hood works efficiently. It’s about setting a solid foundation that supports the entire setup.
Locating The Ventilation Path
Start by identifying where the vent will exit your kitchen. This path needs to be as straight and short as possible to maximize airflow and reduce noise. Check for any obstacles like beams, pipes, or wiring that could block or complicate the duct’s route.
Think about where the existing vents or external walls are. Can you align the new duct with these? Your goal is to avoid unnecessary bends or long duct runs, which reduce the hood’s effectiveness.
Marking Mounting Points
Next, carefully mark where the range hood will attach to the wall or ceiling. Use a level to ensure your marks are perfectly horizontal; even a slight tilt can affect both performance and aesthetics. Measure twice before drilling to avoid any misalignment.
Take into account the manufacturer’s recommended height above your stove—usually between 24 to 30 inches. Mark the spots for screws or brackets clearly, and double-check the spacing for the mounting hardware.
Ensuring Electrical Access
Your range hood needs power, so verify there’s a suitable electrical outlet or wiring nearby. If there isn’t, plan for a licensed electrician to install one safely. Avoid using extension cords; they’re not safe for permanent kitchen appliances.
Check the voltage requirements specified in your range hood’s manual. This step might sound basic, but I once saw a DIY project halted because the power supply didn’t match the hood’s needs. Don’t let that happen to you.
Installing The Vent Duct
Installing the vent duct is a vital part of setting up your ducted range hood. This step ensures the kitchen smoke and odors move outside efficiently. Proper duct installation improves air quality and keeps your kitchen fresh. Focus on choosing the right duct, connecting it correctly, and sealing it well. These details make the system work smoothly and safely.
Choosing The Right Duct Type
Select a duct that matches your range hood’s size and power. Common types include:
- Rigid metal ducts:Best for smooth airflow and durability.
- Flexible ducts:Easier to install but may reduce airflow.
- Double-wall ducts:Good for insulation and noise reduction.
Use the shortest and straightest duct path possible. Avoid sharp bends to maintain strong airflow.
Connecting Ducts To Exterior Vent
Attach the duct securely to the range hood outlet and the exterior vent. Use metal screws to hold connections tight. Ensure the exterior vent has a proper flap or cover to stop pests and weather. Check that the vent opens freely when the hood runs.
Sealing And Insulating The Ductwork
Seal all duct joints with foil tape designed for ducts. Do not use regular duct tape as it can fail over time. Insulate ducts running through unheated spaces to prevent condensation. Proper sealing and insulation stop air leaks and improve efficiency.
Mounting The Range Hood
Mounting the range hood correctly is crucial for its performance and safety. A securely fixed hood ensures effective ventilation and prevents any accidents. Pay close attention to the mounting process to keep your kitchen both stylish and functional.
Securing The Hood To The Wall Or Cabinet
Start by locating the studs in your wall using a stud finder. Attaching the hood to studs provides the strongest support. If your hood mounts under a cabinet, check that the cabinet is sturdy and well-secured.
Use a level to mark the mounting points to keep the hood perfectly horizontal. Drill pilot holes to avoid splitting the wood or drywall. Then, secure the hood with heavy-duty screws or bolts, making sure it sits flush against the surface.
Have you checked if your mounting hardware matches the weight of your hood? Using the wrong fasteners can lead to dangerous falls. Double-check the manufacturer’s recommendations to match screw size and type.
Adjusting Hood Height And Position
The height of your range hood affects both its efficiency and your comfort. The ideal distance between the cooktop and hood is usually between 24 and 30 inches, but check your model’s instructions for specifics.
After mounting, adjust the hood to align directly over the center of your stove. This ensures maximum capture of smoke and steam. Small shifts in positioning can make a big difference in performance.
Don’t forget to test the range hood’s clearance with your tallest pots and pans. You want enough space to cook freely without bumping into the hood. What’s your cooking style? That might influence the best height for your setup.
Wiring The Range Hood
Wiring the range hood is a crucial part of the installation process. It ensures your appliance functions properly and safely. Taking the right steps here prevents electrical hazards and keeps your kitchen running smoothly.
Safety Precautions For Electrical Work
Always turn off the power at the circuit breaker before starting any wiring. This simple action protects you from electric shocks. Use a voltage tester to double-check that the wires are not live.
Wear insulated gloves and avoid working in wet conditions. These precautions reduce the risk of injury. If you feel unsure about handling electrical wiring, consider hiring a licensed electrician.
Connecting Power Supply
Locate the power supply cable and prepare it by stripping about half an inch of insulation from the wires. Match the wires by color: black to black (hot), white to white (neutral), and green or bare copper to the ground wire.
Use wire nuts to secure these connections tightly. Make sure no bare wire is exposed outside the nuts. This keeps the connections safe and prevents shorts.
Testing Electrical Connections
Once connected, restore power at the circuit breaker. Turn on the range hood to check if it powers up correctly. Listen for the motor and check if the lights work.
If the hood does not start, turn off the power again and inspect your connections. Loose wires or incorrect matching can cause failures. Testing ensures your installation is solid and reliable before finishing up.
Final Checks And Maintenance Tips
Final checks and regular maintenance keep your ducted range hood working well. These steps ensure good air flow and remove cooking smells efficiently. Simple care extends the life of your appliance and avoids repairs.
Testing Ventilation Efficiency
Turn on the range hood and check the airflow. Hold a piece of paper near the vent. The paper should stick to the vent, showing strong suction. Make sure air moves freely outside through the duct. No strange noises or vibrations should occur. Proper airflow removes smoke and odors fast.
Cleaning And Filter Replacement
Clean the hood surface with mild soap and water. Avoid harsh chemicals that can damage the finish. Remove filters and soak them in warm, soapy water. Scrub gently to clear grease and dirt. Replace charcoal filters every 3 to 6 months. Metal filters need cleaning every month. Dry filters completely before reinstalling them.
Troubleshooting Common Issues
- Low suction: Check for duct blockages or clogged filters.
- Noise: Tighten loose parts and clean the fan blades.
- Light not working: Replace bulbs with the right type and wattage.
- Switches fail: Inspect wiring or consult a technician.
- Excessive vibration: Ensure the hood is mounted securely and balanced.

Credit: prolinerangehoods.com

Credit: www.reddit.com
Frequently Asked Questions
What Tools Are Needed To Install A Ducted Range Hood?
You need a drill, screwdriver, measuring tape, level, and ducting materials. Safety gear like gloves and goggles is also essential.
How High Should A Ducted Range Hood Be Installed?
Install the range hood 24 to 30 inches above your cooktop for optimal ventilation and safety.
Can I Install A Ducted Range Hood Myself?
Yes, if you have basic DIY skills. Follow instructions carefully and ensure proper ducting for ventilation.
How Do I Connect The Ductwork For A Range Hood?
Use rigid or flexible metal ducting. Secure connections with foil tape and avoid sharp bends for better airflow.
Conclusion
Installing a ducted range hood can improve kitchen air quality. Follow the steps carefully for best results. Measure and plan before starting any work. Secure all parts tightly to avoid air leaks. Proper installation helps reduce smoke and cooking odors.
Clean the filters regularly to keep it working well. Enjoy a fresher, cleaner kitchen space every day. Taking time on this task pays off in comfort. Simple tools and patience make the job easier. Now, your kitchen smells better and feels healthier.