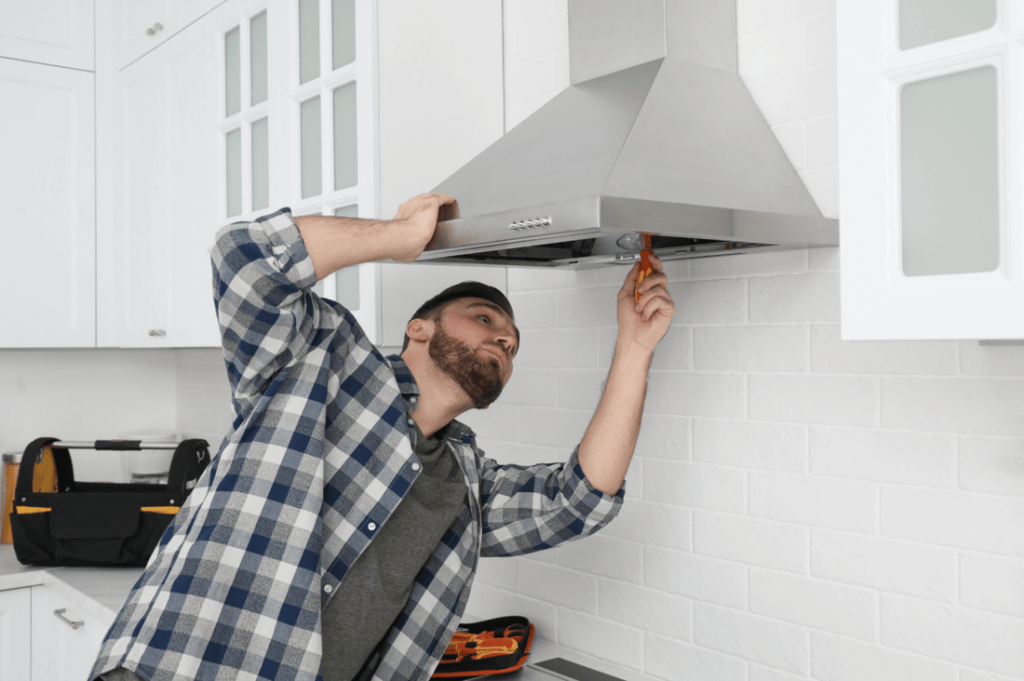
Are you ready to upgrade your kitchen with a ductless range hood but don’t know where to start? Installing one might seem tricky, but it’s easier than you think.
Imagine cooking without worrying about smoke, odors, or grease filling your kitchen. In this guide, you’ll find simple, step-by-step instructions that anyone can follow. By the end, you’ll have a fresh, cleaner kitchen space – all from a project you did yourself.
Keep reading, and let’s get your new range hood up and running quickly!
Choosing The Right Ductless Range Hood
Choosing the right ductless range hood sets the foundation for a cleaner, fresher kitchen environment. It’s more than just picking a design that matches your space; it’s about finding a model that suits your cooking habits and kitchen layout. Let’s break down what you need to consider to make the best choice for your home.
Types Of Ductless Hoods
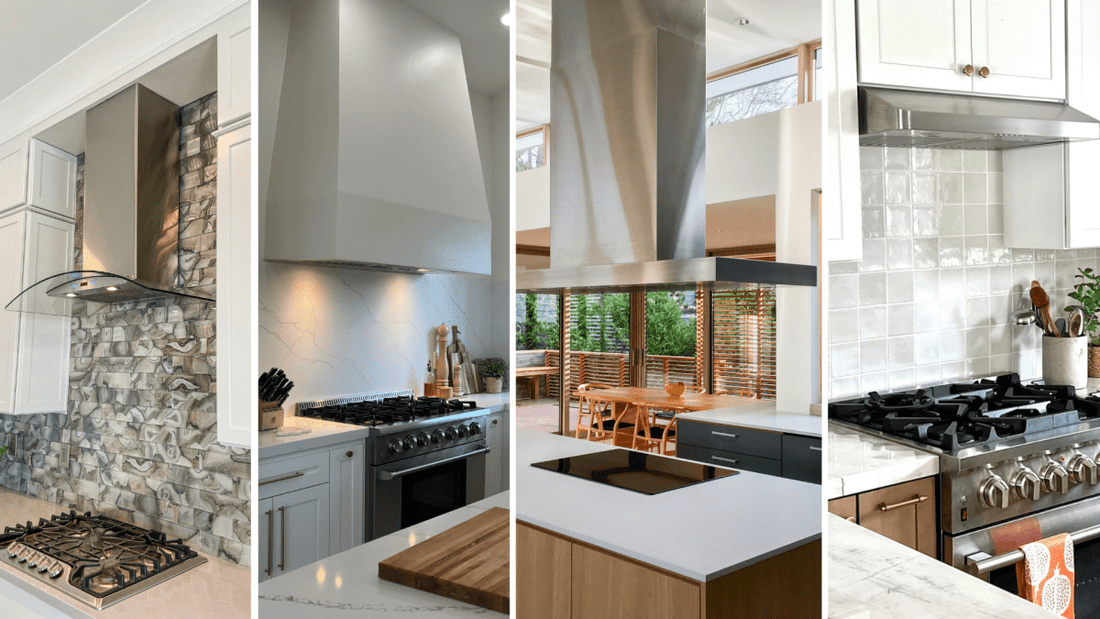
Ductless range hoods come in several styles, each designed for different kitchen setups and personal preferences. The most common types include:
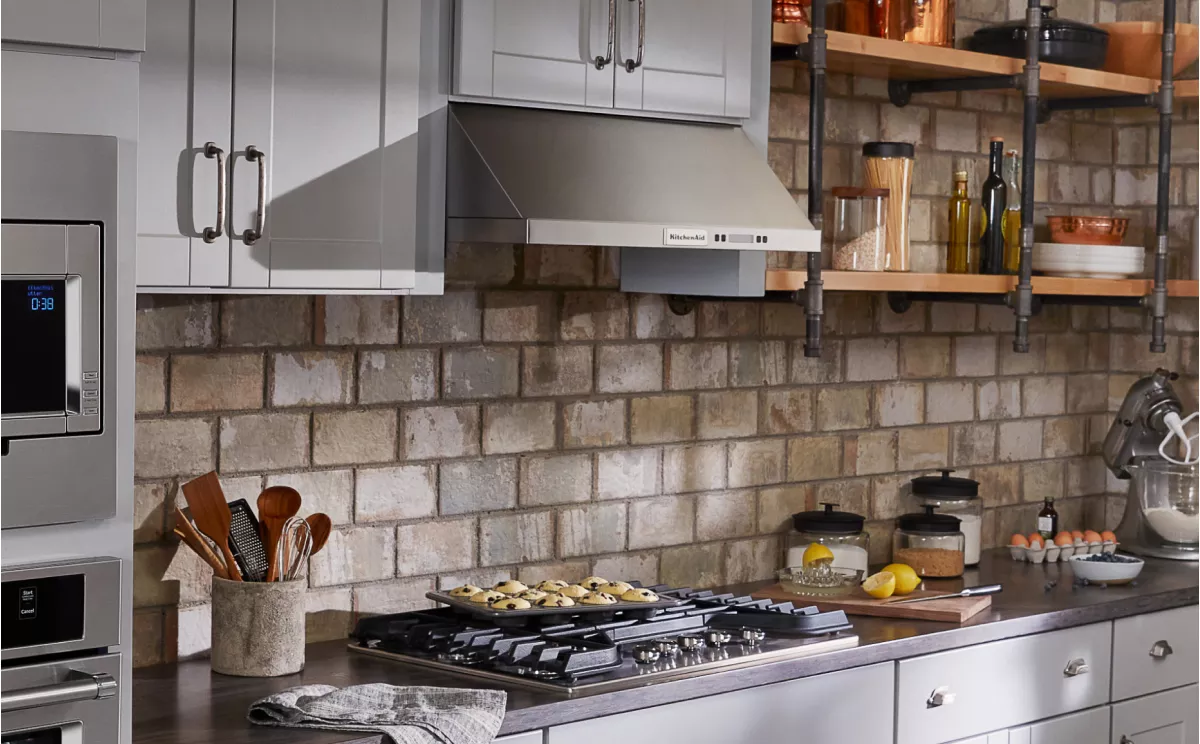
- Under-cabinet hoods:Mounted beneath cabinets, these are space-efficient and popular in many kitchens.
- Wall-mounted hoods:Fixed on the wall above the stove, they often offer stronger suction and a modern look.
- Island hoods:Suspended from the ceiling over an island cooktop, perfect for open kitchens.
Think about your kitchen layout and where you cook most often. Which hood style fits best without crowding your space?
Size And Power Considerations
Choosing the right size is crucial. A hood too small won’t capture smoke effectively, while one too large can overwhelm your kitchen.
Measure your cooktop width and match it closely with the hood size. Most manufacturers recommend a hood at least as wide as your cooking surface.
Power is measured in cubic feet per minute (CFM), indicating how much air the hood can move. Higher CFM suits heavy cooking with lots of smoke or grease. Ask yourself: How often do you cook greasy or smoky dishes? This helps decide the power you need.
Features To Look For
Modern ductless hoods offer several features that improve performance and convenience. Some key features include:
- Multiple fan speeds:Adjust airflow based on cooking intensity.
- Effective charcoal filters:Critical for odor removal in ductless systems.
- Quiet operation:Look for models with noise ratings that won’t disrupt your kitchen atmosphere.
- Easy filter maintenance:Removable and dishwasher-safe filters save time and effort.
- Lighting options:Bright, adjustable lights help you see what you’re cooking.
Which of these features do you value most during cooking? Prioritize based on your kitchen habits and lifestyle to get the most out of your range hood.
Credit: prolinerangehoods.com
Preparing For Installation
Preparing for the installation of a ductless range hood sets the stage for a smooth process. Proper preparation saves time and prevents errors during installation. It involves gathering the right tools, measuring accurately, and following safety steps. Each task ensures the range hood fits perfectly and works efficiently.
Gathering Tools And Materials
Collect all necessary tools before starting. This includes a drill, screwdriver, measuring tape, level, and pencil. Have the mounting brackets and screws ready. Check if the range hood package includes all parts. Keep a step ladder handy for reaching higher spots.
Measuring And Marking Placement
Measure the space above your cooking area carefully. Mark the wall where the range hood will be installed. Use a level to ensure marks are straight and even. Double-check measurements to avoid mistakes. Proper placement helps the hood work at its best.
Safety Precautions
Turn off the power to the kitchen area before starting work. Wear safety goggles and gloves to protect your eyes and hands. Keep the work area clean to avoid slips and falls. Use a sturdy ladder and avoid overreaching. Follow all safety guidelines to prevent accidents.
Mounting The Range Hood
Mounting the range hood correctly is key to ensuring it works efficiently and stays securely in place. This part of the installation requires precision and the right tools. Let’s break down the essential steps that will help you mount your ductless range hood with confidence.
Locating Studs And Anchors
Start by finding the studs in your wall. Use a stud finder to locate them because range hoods need strong support to hold their weight. If you can’t align the hood with studs, you’ll need to use heavy-duty wall anchors to keep it stable.
Mark the spots clearly where you’ll drill. Skipping this step can lead to a wobbly hood or damage to your wall. Have you ever installed something only to realize it wasn’t anchored properly? Avoid that frustration by double-checking your markings.
Securing The Mounting Bracket
The mounting bracket is what holds the range hood firmly against the wall. Attach it carefully using screws that fit the studs or anchors you’ve marked. Tighten the screws well but don’t overdo it—stripping the holes can weaken the hold.
Make sure the bracket is level before fully securing it. A crooked bracket means a crooked hood, which affects both appearance and function. Use a level tool to get it just right; this small step makes a big difference.
Attaching The Hood Unit
Once the bracket is secure, lift the hood and align it with the bracket hooks or slots. This part can be tricky alone, so having a helper can save time and prevent accidents. Carefully hang the hood on the bracket and check that it fits snugly.
After it’s mounted, connect any electrical wiring if needed and install filters or covers. Don’t rush this—your safety depends on proper electrical connections. How comfortable do you feel handling wiring? If unsure, consider consulting a professional.
Setting Up Ventilation Components
Setting up the ventilation components is a crucial part of installing your ductless range hood. This process ensures that your kitchen stays fresh by filtering and recirculating air effectively. Each component must fit perfectly to maintain optimal performance and avoid any unwanted odors or smoke buildup.
Installing The Charcoal Filters
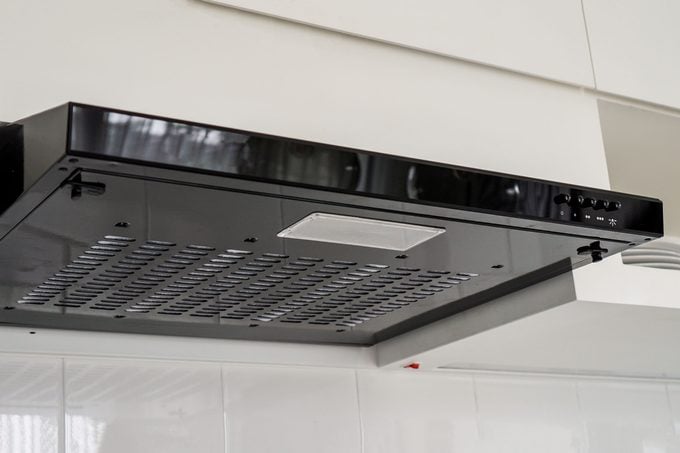
Charcoal filters trap grease and odors, keeping your kitchen air clean. These filters usually slide or snap into place inside the range hood’s filter frame. Make sure you handle them gently to avoid damaging the charcoal material.
Check the manufacturer’s guide for the exact placement and orientation. A poorly installed filter won’t capture particles efficiently, leading to lingering smells. Think about how often you cook—if you use your range frequently, replacing these filters every 3 to 6 months is a smart move.
Connecting The Recirculation Kit
The recirculation kit redirects filtered air back into your kitchen rather than venting it outside. This is essential for ductless setups since they don’t have external vents. When connecting the kit, ensure all duct connections are secure to prevent leaks.
Use clamps or adhesive tape recommended by the manufacturer for a tight seal. A common mistake is leaving gaps at the joints, which reduces efficiency and can cause noise. If you notice unusual sounds after installation, double-check all connections first.
Ensuring Proper Airflow
Proper airflow keeps your kitchen comfortable and smoke-free. The range hood should have enough clearance around the filters and recirculation outlets to avoid air blockages. Avoid installing any obstacles like cabinets or lighting too close to the hood’s vents.
Have you checked if your kitchen layout allows the air to circulate freely? Sometimes rearranging nearby fixtures or adding a small fan can improve airflow dramatically. Remember, even the best filters won’t work well if the air can’t move properly through the system.
Electrical Connections
Electrical connections are a crucial part of installing your ductless range hood. Ensuring these connections are done right affects not only the performance but also the safety of your kitchen. Let’s look at how you can handle this part with confidence and care.
Power Supply Options
Your ductless range hood needs a reliable power source to function efficiently. Most models require a dedicated 120-volt circuit, but some might work with a standard outlet or hardwired connection.
Think about your kitchen’s layout and existing wiring. Does your range hood location have easy access to an electrical outlet, or will you need to run new wiring? If you’re unsure, consulting your model’s manual or an electrician can save you time and trouble.
Wiring The Hood Safely
Safety comes first when connecting your range hood to electricity. Make sure the power is turned off at the breaker before starting any wiring.
Use wire nuts to secure the connections, matching the wires by color: black to black (hot), white to white (neutral), and green or bare copper to ground. Improper wiring can cause shorts or fire hazards, so double-check every connection.
If your hood requires hardwiring, follow the manufacturer’s instructions precisely. Don’t force wires or skip the grounding step—this small detail prevents shocks and keeps your kitchen safe.
Testing The Electrical Setup
Once wired, it’s time to test your setup before finalizing the installation. Turn the power back on and switch on the range hood.
Check for all functions: the fan, lights, and any controls. If something doesn’t work, turn the power off and recheck your wiring connections carefully.
Have you ever had a project where a small mistake caused big delays? Electrical setups often require patience and attention to detail, but getting it right means your hood will serve you without interruption for years.
Finishing Touches And Testing
After you’ve mounted your ductless range hood and connected all the electrical and ventilation components, it’s time to focus on the finishing touches and testing. This stage ensures your installation looks polished and works efficiently. Don’t rush through it; these final steps can make a big difference in performance and safety.
Securing Covers And Panels
Once the main unit is in place, secure all covers and panels tightly. These parts protect the internal components from dust and grease. Loose panels might cause rattling noises or let in unwanted debris, which can reduce the hood’s lifespan.
Check that all screws and clips are firmly fastened. If your hood has filters, make sure they’re properly seated and easy to remove for future cleaning. Taking a few extra minutes here prevents annoying issues later on.
Cleaning The Area
Installing a range hood can leave behind dust, grease, or small debris. Wipe down the entire area around the hood, including the stove top and nearby cabinets. This keeps your kitchen looking fresh and prevents anything from clogging your new appliance.
Use a mild cleaner suitable for your kitchen surfaces. Avoid harsh chemicals that might damage finishes or leave residues on your range hood. You’ll appreciate the clean space every time you cook.
Running Initial Tests
Turn on your range hood and test all the settings. Listen for unusual sounds like buzzing or rattling, which could indicate loose parts or installation errors. Make sure the fan speed adjusts smoothly and the lights turn on without flickering.
Check the airflow by holding a piece of tissue or paper near the vent. Does it pull the paper steadily? If not, you might need to recheck your filters or installation. How confident do you feel about your installation after this test? If something feels off, it’s better to fix it now than later.
Maintenance Tips For Longevity
Maintaining your ductless range hood ensures it works well for a long time. Simple care keeps the air clean and the appliance efficient. Regular attention prevents costly repairs and improves performance. Follow these tips to keep your range hood in top shape.
Cleaning Filters Regularly
Filters trap grease and dust from cooking fumes. Clean them every one to three months for best results. Remove filters gently and soak them in warm, soapy water. Use a soft brush to scrub away stubborn grease. Rinse well and let them dry completely before reinstalling. Some filters are dishwasher safe; check the manual to be sure.
Replacing Components When Needed
Parts wear out over time and need replacement. Check the fan blades, lights, and filters often. Replace burnt-out bulbs with the correct type and size. Change filters if they become damaged or too dirty to clean. Use only parts recommended by the manufacturer. Proper replacements keep the hood working safely and quietly.
Troubleshooting Common Issues
Range hoods may face simple problems like poor suction or noise. Clean the filters and vents to fix weak airflow. Tighten loose screws or parts to reduce rattling sounds. Check electrical connections if lights or fans do not work. For serious issues, contact a professional technician. Regular checks help catch problems early and avoid bigger damage.
Credit: www.kitchenaid.com
Credit: www.familyhandyman.com
Frequently Asked Questions
What Tools Are Needed For Installation?
To install a ductless range hood, you’ll need a drill, screwdriver, measuring tape, level, and wall anchors. Ensure you have the hood’s mounting template and brackets. Always follow the manufacturer’s instructions for specific tools and parts needed to ensure a proper fit and secure installation.
Can I Install A Range Hood By Myself?
Yes, you can install a ductless range hood by yourself. However, ensure you follow the manufacturer’s instructions carefully. It’s crucial to have the right tools and safety equipment. If you’re not confident, consider hiring a professional to ensure a secure and effective installation.
How Long Does Installation Take?
Installing a ductless range hood typically takes around two to three hours. This includes measuring, marking, drilling, and mounting the hood. Time may vary based on experience level and complexity of the model. Always allocate extra time for any unforeseen challenges during installation.
Do I Need An Electrician For Installation?
An electrician is not usually needed for a ductless range hood installation. Most models plug into a standard outlet. However, if you’re hardwiring the unit or need a new outlet, consulting an electrician is wise. Safety should always be a priority when dealing with electrical work.
Conclusion
Installing a ductless range hood can improve kitchen air quality. It helps remove smoke, odors, and grease while cooking. Follow each step carefully for a safe setup. Choose the right location and secure the hood properly. Check the filters regularly to keep it working well.
With proper care, your range hood will last a long time. Enjoy a cleaner and fresher kitchen every day. Simple steps bring big benefits to your cooking space.