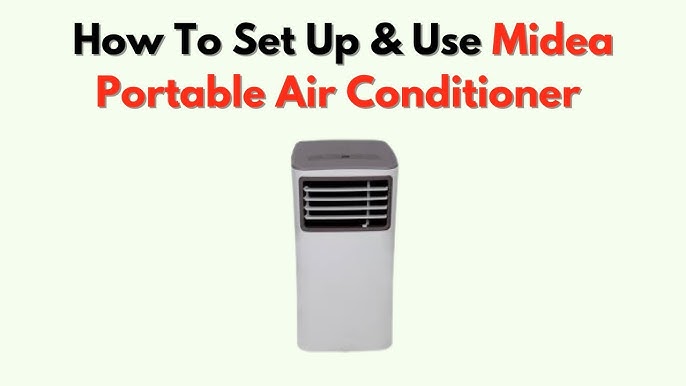
Are you ready to beat the heat with your new Midea portable air conditioner? Installing it might seem tricky, but with the right steps, you can have it up and running in no time.
This guide will walk you through the process in simple, clear steps so you can start enjoying cool, fresh air right away. Keep reading, and you’ll discover how easy it is to set up your Midea portable AC without any hassle.
Your comfort is just a few clicks away!
Preparing For Installation
Open the box carefully. Check all parts against the list in the manual. Make sure nothing is missing or damaged.
Pick a flat surface near a window for the air conditioner. It should be close to a power outlet. Leave space for air to flow around the unit.
Gather these tools before starting:
- Screwdriver
- Measuring tape
- Scissors or box cutter
- Window bracket (usually included)

Credit: www.youtube.com
Setting Up The Exhaust Hose
Connect the exhaust hose firmly to the air conditioner’s vent port. Push it until it fits tightly. This stop air leaks and helps the unit work well.
Extend the hose carefully. Avoid bending or twisting it too much. A stretched hose helps hot air leave the room faster. Keep it as straight as possible.
- Fix the hose to the window kit.
- Use the clips or screws provided for a strong hold.
- Seal gaps with foam or tape to block hot air.
Make sure the hose stays in place and does not fall out. This keeps your room cool and the unit running smoothly.
Installing The Window Kit
Adjust the window panel to fit the size of your window. Slide the panel to match the window width. Make sure it fits snugly without forcing it. This allows the air conditioner to vent properly.
Fit the panel into the window frame by placing it securely. The panel should sit firmly without gaps. Lock or secure the panel as per the instructions to keep it stable.
Seal any gaps around the panel with foam or weatherstripping. This helps keep hot air out and cool air in. Proper sealing improves energy efficiencyand performance.

Credit: www.reddit.com
Powering The Unit
The portable air conditioner must be plugged into a suitable outlet. Use a dedicated 120V outletto avoid electrical issues. Avoid using extension cords or power strips, as they may cause overheatingor fire hazards.
Check the outlet’s voltage and current rating. The unit needs a grounded outletto work safely. Make sure the plug fits firmly and does not wobble.
| Electrical Safety Check | Details |
|---|---|
| Outlet Type | 120V grounded outlet |
| Extension Cord Use | Not recommended |
| Plug Fit | Firm, no wobble |
| Breaker Check | Ensure circuit can handle unit load |
Testing The Air Conditioner
Turn on the Midea portable air conditionerusing the power button. Select the desired mode: cool, fan, or dehumidify. The display will show the current mode clearly.
Adjust the temperature using the up and down arrows. Set a comfortable level for your room. Change the fan speed to low, medium, or high as needed.
Watch the unit for a few minutes. Check if air flows smoothly from the vent. Listen for any unusual sounds.
Use a thermometer to see if the room cools down. The air conditioner should lower the temperature steadily. Make sure the fan moves air well.
| Function | What to Check |
|---|---|
| Power On | Unit starts without delay |
| Mode Selection | Correct mode lights up |
| Temperature | Displays and adjusts properly |
| Fan Speed | Changes smoothly between speeds |
| Performance | Air feels cool and strong |
Maintenance Tips
Cleaning the filteris key to keep your air conditioner working well. Remove the filter gently and wash it with warm water. Let it dry fully before putting it back. Do this every two weeks for best results.
Storing the unit during off-seasonhelps protect it from damage. Clean the unit and dry all parts. Store it in a cool, dry place. Cover it with a cloth to keep dust away.
Troubleshooting common issuescan save time and money. Check if the unit is plugged in and the power is on. Clean the filter if airflow is weak. Reset the unit if it stops working. Contact support if problems continue.

Credit: www.youtube.com
Frequently Asked Questions
How Do I Set Up Midea Portable Ac?
To set up your Midea portable AC, first, choose a suitable location. Attach the exhaust hose and window kit. Plug in the unit, and set the desired temperature. Ensure proper ventilation for optimal performance. Refer to the manual for detailed instructions.
What Tools Do I Need For Installation?
For installation, you typically need a screwdriver and measuring tape. These tools help in adjusting and securing the window kit. Additional tools might be required based on your specific window type. Always refer to the manual for any special tools.
Can I Install Midea Ac In Any Room?
Yes, you can install a Midea portable AC in any room with a window. It requires a power outlet and proper ventilation. Ensure the room size matches the unit’s capacity for efficient cooling. Avoid installing in rooms with no windows or poor ventilation.
Do I Need Professional Help For Installation?
No, professional help isn’t necessary for installing a Midea portable AC. The installation process is straightforward and can be done by following the manual. However, if you encounter difficulties, seeking professional assistance ensures proper setup and operation.
Conclusion
Installing a Midea portable air conditioner is simple and quick. Follow each step carefully for the best results. Make sure the unit sits on a flat surface near a window. Connect the exhaust hose and seal the window properly. Plug in the power cord and turn on the device.
Adjust settings to cool your room efficiently. Regular cleaning helps keep the air conditioner working well. Enjoy cool air during hot days without hassle. This guide helps anyone install the unit with ease. Stay comfortable and save energy this summer.