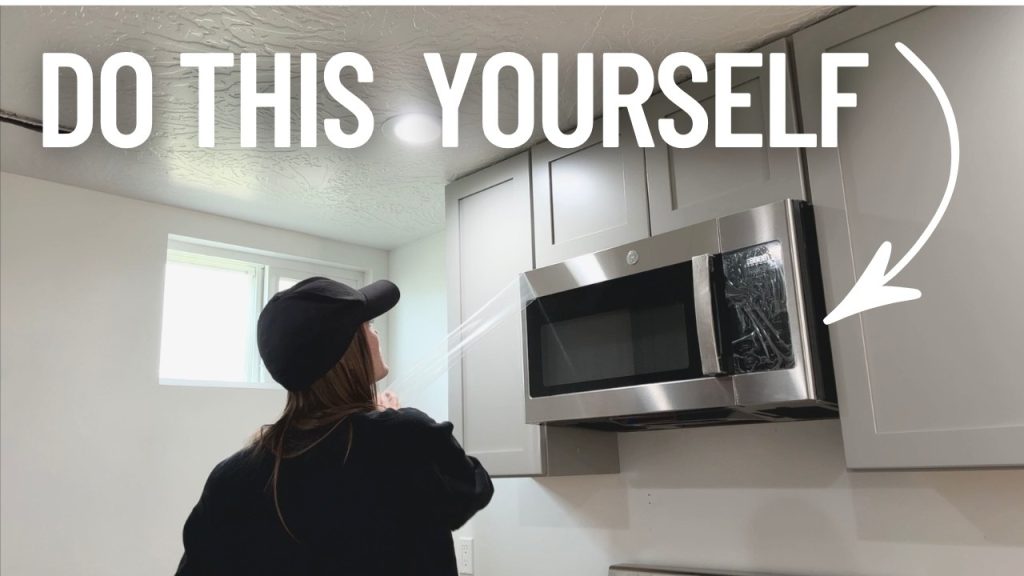
Installing an over-the-range microwave oven can transform your kitchen into a more efficient and spacious area. If you’re planning to tackle this project yourself, you’re in the right place.
Whether you’re tired of your countertop microwave taking up valuable space or simply want to update your kitchen’s look, this guide has you covered. Imagine having more room to prepare meals, keeping your counters clutter-free, and enjoying a sleek, modern aesthetic.
It’s all possible with the right know-how and a little effort. Ready to make your kitchen work better for you? Let’s dive in and discover how simple it can be to install your new over-the-range microwave oven.

Credit: www.youtube.com
Tools And Materials Needed
Having the right tools and materials ready before you start installing your over the range microwave oven saves you time and frustration. It also helps you avoid unnecessary trips to the hardware store mid-project. Knowing exactly what you need ensures a smooth and safe installation process.
Essential Tools For Installation
- Drill and Drill Bits:You’ll need a drill for making holes in the cabinetry and wall. Make sure your drill bits are appropriate for wood and metal surfaces.
- Screwdrivers:Both Phillips and flathead screwdrivers are necessary for securing screws and brackets.
- Stud Finder:This tool helps you locate wall studs, crucial for mounting the microwave securely.
- Measuring Tape:Accurate measurements prevent misalignment and ensure the microwave fits perfectly.
- Level:A level guarantees your microwave sits straight, avoiding any awkward tilts.
- Pencil:Marking drill points and alignment spots is easier with a pencil.
Materials You’ll Need
- Mounting Bracket:Usually included with your microwave, this bracket is necessary to attach the microwave to the wall or cabinet.
- Screws and Anchors:Use screws suitable for your wall type. Anchors provide extra support if you can’t drill directly into studs.
- Electrical Wiring and Outlet:Check if your kitchen has a dedicated outlet above the range; you may need to install one or use a power cord compatible with your microwave.
- Vent Kit (if applicable):Some microwaves require a venting system to the outside or recirculate air inside your kitchen.
- Protective Gear:Safety glasses and gloves protect you from dust and sharp edges during installation.
Why Preparation Matters
Have you ever started a project only to realize you’re missing a crucial tool? It’s frustrating and can cause delays. Taking the time to gather everything beforehand makes installation faster and safer.
Think about the last time you had to pause a job because of missing screws or the wrong drill bit. Avoid that by double-checking your list before you begin. Your microwave will be mounted securely, and you’ll feel confident knowing you’re well-prepared.
Preparing The Installation Area
Preparing the installation area is a crucial first step for a successful over the range microwave oven setup. Taking the time to carefully assess and ready your space helps avoid common pitfalls like misalignment or electrical issues. Getting these details right ensures your new appliance fits perfectly and works safely.
Measuring The Space
Start by measuring the width, height, and depth of the area above your range. Use a tape measure to check the exact dimensions and compare them with the microwave’s specifications. Don’t forget to account for any trim or molding that might interfere with the microwave’s fit.
Have you ever bought something that looked perfect online but didn’t fit once home? Accurate measuring saves you from this hassle.
Checking Electrical Requirements
Your microwave will need a dedicated electrical outlet nearby. Check that the power supply matches the microwave’s voltage and amperage needs, usually found in the manual or on the appliance label. If your kitchen doesn’t have the right outlet, you might need a licensed electrician to install one.
Ignoring electrical requirements can cause dangerous situations or damage your microwave. Make sure your outlet is properly grounded and accessible before moving forward.
Clearing The Mounting Surface
Remove any items, such as spice racks or decorative pieces, from the wall above your range. Clean the surface thoroughly to ensure the mounting bracket will attach securely. Inspect the wall for any damage or uneven areas and repair them to provide a stable base for installation.
Think about the last time you tried to hang something on a rough or cluttered wall—did it stay put? Clearing and prepping the surface is key to a stable, lasting mount.
Removing The Old Microwave
Removing the old over the range microwave is the first step. This task requires care and some basic tools. Safety is important because the microwave connects to electricity and the wall.
Before starting, unplug the microwave from the power outlet. If the microwave is hardwired, turn off the circuit breaker to avoid electric shock. Check that the power is off by testing the microwave.
Gather Necessary Tools
Having the right tools makes removal easier. Common tools include:
- Screwdriver (usually Phillips head)
- Socket wrench
- Step ladder
- Work gloves for protection
- Assistant to help hold the microwave
Disconnect Power And Venting
Unplug the microwave or switch off the circuit breaker. Locate the vent duct connected to the microwave. Carefully disconnect the vent pipe from the microwave’s vent outlet. This may require loosening screws or clips.
Remove Mounting Screws
Locate the screws that secure the microwave to the wall bracket. These are usually inside the microwave cavity or on the underside. Use the screwdriver or socket wrench to remove all mounting screws. Keep the screws safe for later use.
Lift And Remove The Microwave
With help, carefully lift the microwave from the wall bracket. Hold it firmly to avoid dropping. Slowly pull the microwave away from the wall. Set it down gently on a sturdy surface.
Mounting The Bracket
Mounting the bracket is a key step to install your over the range microwave. It holds the microwave securely on the wall. Proper placement and strong attachment prevent accidents and damage. Take time to do it right for safe use.
Locating Studs
Studs provide the strongest support for the bracket. Use a stud finder to locate them inside the wall. Move the finder slowly to mark the edges of each stud. Mark the center of the studs with a pencil. This ensures screws go into solid wood, not just drywall.
Securing The Bracket
Hold the bracket up to the wall, aligning it with the stud marks. Use a level to make sure it is perfectly horizontal. Drill pilot holes through the bracket holes into the studs. Screw the bracket tightly using long wood screws. Check the bracket is firm with no wiggle before mounting the microwave.
Wiring The Microwave
Wiring the microwave is a crucial part of its installation. Proper wiring ensures safety and optimal performance. This process involves connecting the power supply and confirming the unit is grounded correctly. Careful attention to these details prevents electrical hazards and equipment damage.
Connecting Power Supply
First, locate the microwave’s power cord. Usually, it connects to a dedicated circuit breaker. Turn off the main power before starting any wiring. Use a voltage tester to confirm the power is off. Connect the microwave’s wires to the corresponding house wires:
- Black wire to black (hot)
- White wire to white (neutral)
- Green or bare wire to ground
Secure connections with wire nuts. Wrap each connection with electrical tape for extra safety. Avoid loose wiring to prevent shorts or sparks. Once connected, push wires neatly into the junction box.
Ensuring Proper Grounding
Grounding protects against electrical shocks. Attach the green or bare copper wire to the grounding screw or grounding wire in the box. Check that the ground wire is continuous and unbroken. Use a grounding tester to confirm a good connection. Proper grounding helps the microwave operate safely and reduces the risk of electric shock.
Credit: www.maytag.com
Lifting And Securing The Microwave
Lifting and securing the microwave is a crucial part of the installation process. This step ensures the microwave stays safely mounted above your range. Proper handling prevents damage and ensures the appliance functions well.
Focus on steady lifting and precise alignment. Secure the microwave firmly to avoid any movement during use. Take your time to match the microwave with the mounting bracket exactly.
Aligning With The Bracket
Hold the microwave close to the wall and bracket. Make sure the mounting tabs fit into the bracket slots. Check the microwave’s bottom hooks engage firmly with the wall bracket.
Do not force the microwave. Slight adjustments help the unit slide smoothly into place. Keep the microwave level to avoid future issues.
Fastening Screws
Use the screws provided by the manufacturer to secure the microwave. Tighten the screws evenly on both sides. This prevents tilting or wobbling during cooking.
Double-check the screws are tight but avoid overtightening. Over-tightening can strip the screws or damage the microwave. Confirm the unit feels stable and secure before finishing.
Testing The Microwave
Testing the microwave after installation is essential. It ensures the appliance works properly and safely. This step helps you catch issues before regular use. Follow these checks carefully to confirm your microwave operates as expected.
Powering On
Start by plugging in the microwave securely. Turn on the power using the control panel. Look for the display screen to light up. This shows the microwave is receiving electricity. If the screen stays blank, check the power source again.
Checking Ventilation
Turn on the microwave’s ventilation fan. Listen for the fan running smoothly without strange noises. Check the air flow by placing your hand near the vent. You should feel air moving steadily. Proper ventilation prevents overheating and keeps the kitchen air fresh.
Verifying Operation
Test the microwave by heating a cup of water. Set the timer for one minute and start it. Watch the microwave run and listen for normal sounds. After the timer ends, check if the water is hot. This confirms the microwave heats food correctly and safely.
Common Installation Issues
Installing an over the range microwave oven can be tricky. Some common issues might slow down the process or cause problems later. Knowing these issues helps you avoid mistakes and ensures a smooth installation. Two major problems installers face are uneven surfaces and electrical problems.
Dealing With Uneven Surfaces
Uneven surfaces make mounting the microwave difficult. The appliance might not sit flush against the wall or cabinet. This can cause gaps, vibrations, or even damage the microwave over time.
Check the wall and cabinet surface for flatness before installation. Use a level tool to spot any dips or bumps. If the surface is uneven, use shims or spacers to create a flat base. Attach these carefully to avoid shifting or loosening later.
Always tighten screws gradually. This helps the microwave stay even and stable. Avoid forcing screws as it may crack the microwave casing or wall.
Handling Electrical Problems
Electrical issues often delay microwave installation. The microwave needs a dedicated power outlet nearby and proper wiring. Check if the outlet is grounded and supports the microwave’s power requirements.
Turn off the power at the breaker before working with electrical connections. Use a voltage tester to ensure no current flows. Connect the microwave’s power cord securely to the outlet or hardwire it following the manufacturer’s instructions.
If wiring looks old or damaged, replace it. Faulty wiring can cause sparks or short circuits. If unsure, hire a licensed electrician to handle electrical parts safely.

Credit: danmarcappliance.com
Frequently Asked Questions
How Do I Prepare For Over The Range Microwave Installation?
First, turn off the power supply. Remove the old microwave and clean the area. Measure the space accurately. Gather all tools and hardware needed before starting the installation.
What Tools Are Needed For Installation?
You will need a drill, screwdriver, stud finder, measuring tape, level, and mounting bracket. Also, have safety glasses and gloves for protection during installation.
How Do I Mount The Microwave Securely?
Locate wall studs using a stud finder. Attach the mounting plate to the studs. Lift the microwave onto the bracket and secure it with screws to ensure stability.
How To Connect The Microwave To Power Safely?
Use a dedicated 120-volt, 15-amp circuit for the microwave. Follow the manufacturer’s wiring instructions carefully. If unsure, hire a licensed electrician to handle electrical connections.
Conclusion
Installing an over the range microwave oven is simpler than it seems. Follow each step carefully for safety and success. Take your time measuring and securing the unit properly. Double-check all electrical connections before use. A well-installed microwave saves space and adds convenience to your kitchen.
Enjoy cooking with your new appliance safely and confidently. Feel proud of your DIY effort and the fresh look it brings. Keep the manual handy for future reference or troubleshooting. Simple tools and clear instructions make the job easy and quick.