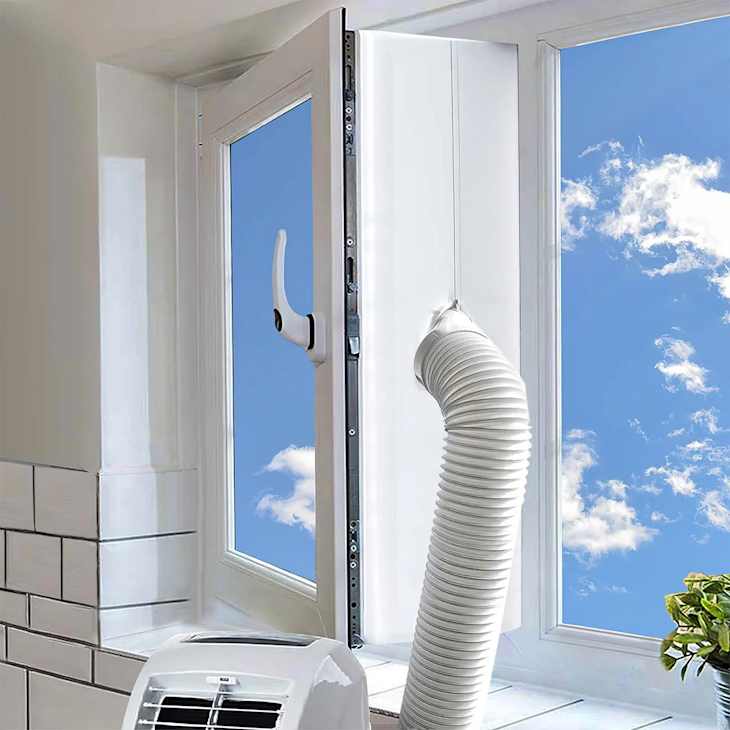
Looking to cool down your space without the hassle of a full AC installation? Installing a portable air conditioner in your casement window is easier than you might think.
With the right steps, you can enjoy cool, refreshing air in no time, all while keeping your window secure and energy-efficient. In this guide, you’ll discover simple, clear instructions that anyone can follow—no special tools or skills needed. Ready to beat the heat and make your home more comfortable?
Keep reading to learn exactly how to install your portable air conditioner in a casement window with confidence.
Choosing The Right Portable Ac
Choosing the right portable air conditioner means knowing your room size. A small room needs less power. Larger rooms need stronger units to cool well. This helps save energy and money.
Check the power requirements to match your home’s electric system. Most portable ACs use 110-120 volts. Make sure your outlet can handle the unit’s power without tripping breakers.
- Timer: Set cooling times to save energy.
- Fan speeds: Adjust airflow for comfort.
- Dehumidifier: Removes moisture for dryer air.
- Remote control: Easy to change settings from anywhere.
Preparing The Casement Window
Measure the width and height of the casement window carefully. Use a tape measure for accuracy. Write down the dimensions to ensure the portable air conditioner fits well.
Clean the window frame thoroughly. Remove dirt, dust, and old paint flakes. A clean frame helps the air conditioner seal tightly and work better.
Clear the area around the window. Move furniture and other items away. This gives enough space for installation and easy access to the window.
Gathering Necessary Tools And Materials
Gathering the right toolsis key for a smooth installation. Basic tools include:
- Screwdriver(Phillips and flathead)
- Measuring tapeto check window size
- Drillwith bits for making holes
- Levelto keep the unit even
- Utility knifeto cut insulation or foam
Additional accessories help secure and seal the air conditioner. These include:
- Foam insulation stripsto block gaps
- Weather strippingto keep air tight
- Window bracketor support for safety
- Sealant or caulkto prevent leaks
- Extension cordrated for the unit’s power
Having these tools and accessories ready saves time and effort.
Installing The Window Bracket
Place the window bracketon the bottom edge of the casement window frame. Make sure it fits snuglyand aligns with the window’s width. The bracket must sit levelto hold the air conditioner securely.
Use a pencilto mark where the screws will go. These marks help keep the bracket in the right place during installation. Double-check the position before drilling.
Secure the bracket with screwsthat are the right size for your window frame. Tighten them firmly to avoid any movement. Use a screwdriver or a drill for better grip.
Check the bracket’s stabilityby pressing gently. It should not wobble or shift. A stable bracket keeps the air conditioner safe and working well.
Connecting The Exhaust Hose
Attach the exhaust hose firmly to the air conditioner’s exhaust port. Make sure the hose fits tightly to avoid air leaks. Use the clamps or screws provided with the unit to secure the hose in place. A loose connection reduces cooling efficiency.
Seal the hose connection using weatherproof tape or sealant. Wrap the tape around the joint several times to create a strong barrier. This prevents hot air from entering your room through gaps. Check the seal regularly to keep it intact.
Credit: www.apartmenttherapy.com
Fitting The Exhaust Hose In The Window
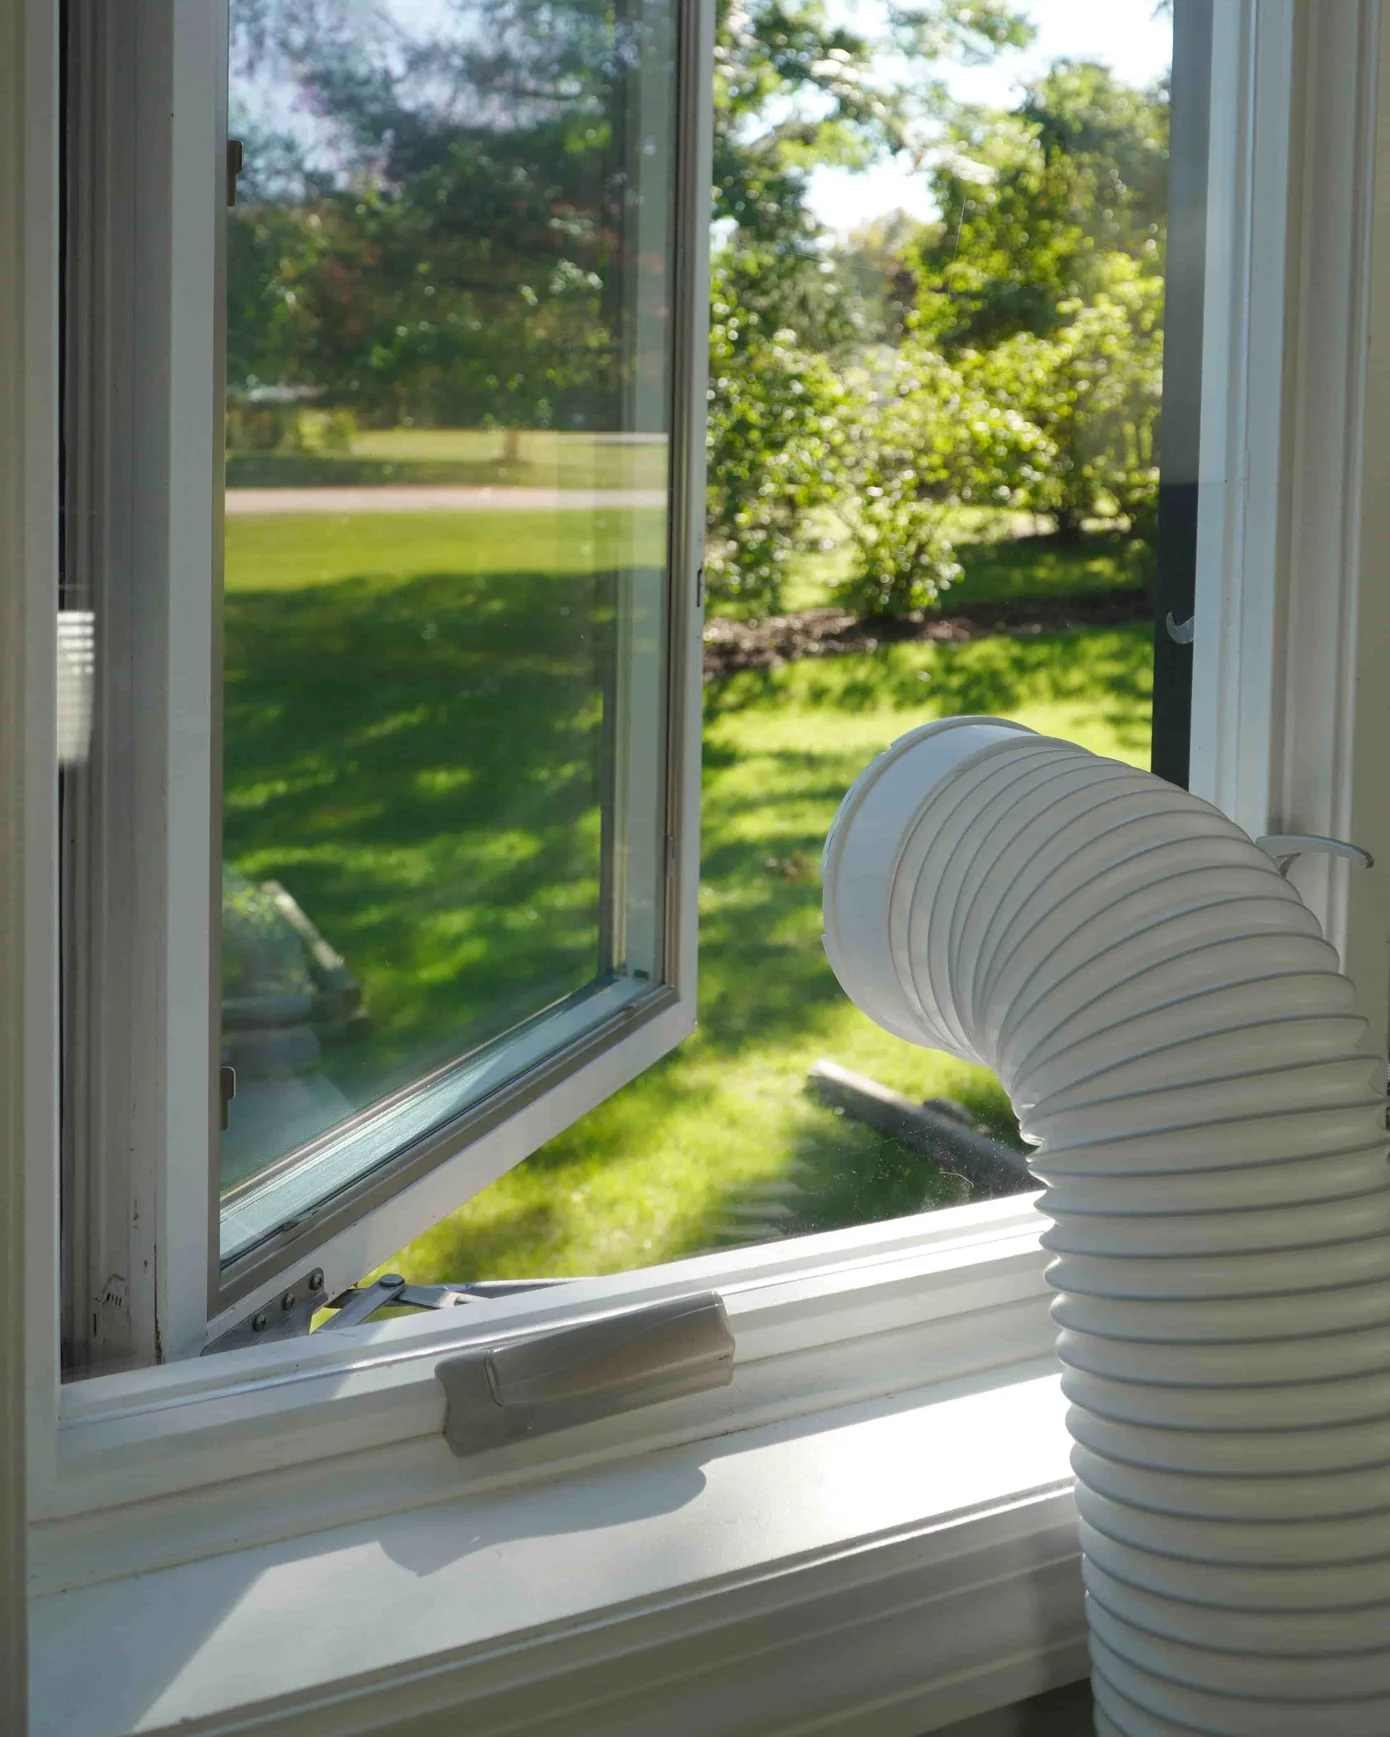
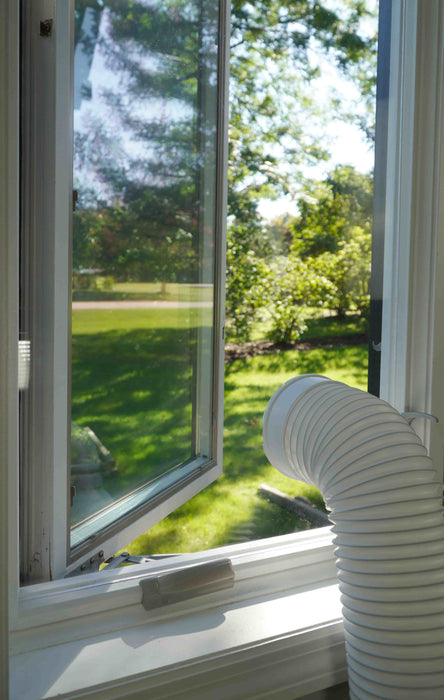
Open the casement window carefully, swinging it outward. Make sure it stays stable and secure. The window should be wide enough to fit the exhaust hose adapter.
Position the hose adapter inside the open window frame. Align it so the hose can connect easily. The adapter must sit firmly to hold the hose well.
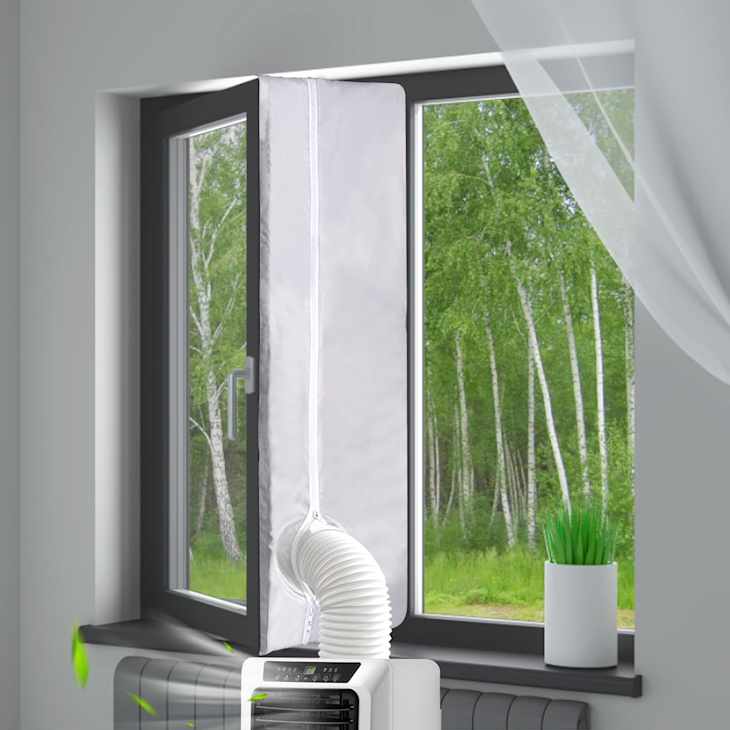
Seal any gaps around the adapter to keep cool air in and hot air out. Use weatherstripping or foam sealant for a tight fit. This helps the air conditioner work better and saves energy.
Securing The Portable Ac Unit
Place the portable AC unit as close to the casement window as possible. Ensure the exhaust hose can easily reach outside for proper ventilation. The unit should sit on a flat, stable surface to avoid tipping.
Stabilizing the AC unit is key for safety. Use brackets or foam pads to keep it steady. Check that the unit does not block the window from closing properly. Secure the exhaust hose firmly to prevent leaks.
- Keep the unit level to avoid water spills.
- Use screws or clips to fix the exhaust hose in place.
- Check the window seal to stop warm air from entering.
- Ensure no gaps are left between the window and AC unit.
Credit: www.apartmenttherapy.com
Testing And Troubleshooting
Plug the unit into a working power outlet and press the power button. Listen for the fan sound and feel for cool air. If the unit does not start, check the power cord and outlet for damage.
Inspect the window seal where the unit is installed. Look for gaps or holes that let air escape. Use weatherstripping or foam to fill any leaks. Sealing air leaks keeps the room cooler and saves energy.
- Set the temperature to your comfort level using the control panel.
- Choose the fan speed: low, medium, or high.
- Try different modes like cooling or fan-only.
- Adjust settings until the room feels comfortable.
Maintenance Tips For Longevity
Keep the portable air conditioner clean to ensure it works well. Dust and dirt can block airflow and reduce cooling power.
Clean the filter regularly. A dirty filter makes the unit work harder and use more energy. Replace the filter if it looks worn out.
During the off-season, store the air conditioner in a dry place. Remove all water and dry it completely to stop mold and bad smells.
- Wipe the outside and vents with a soft cloth.
- Check and clean the filter every 2 weeks.
- Use mild soap and water for cleaning parts.
- Keep the unit covered when not in use.
- Store in a cool, dry area during winter.
Credit: martinsonmanufacturing.com
Frequently Asked Questions
How Do I Install A Portable Ac In A Casement Window?
First, measure the window opening. Attach the portable AC’s window bracket securely. Seal gaps with foam or weatherstripping for a tight fit and proper airflow.
Can Portable Acs Fit All Casement Window Sizes?
Portable ACs fit most casement windows, but check the unit’s size and window measurements. Use adjustable brackets or extension kits if needed for a secure installation.
What Tools Are Needed For Installation In Casement Windows?
You’ll need a screwdriver, measuring tape, foam sealant, and possibly a drill. These tools help secure the unit and seal gaps for efficient cooling.
How To Ensure No Air Leaks Around The Ac Unit?
Use foam seal strips or weatherstripping around the window bracket. This prevents hot air from entering and cold air from escaping, improving efficiency.
Conclusion
Installing a portable air conditioner in a casement window is simple. Just follow the steps carefully. Gather all necessary tools before starting. Ensure the window kit fits properly. Secure the unit to prevent any movement. Double-check all connections for a snug fit.
This ensures efficient cooling. Enjoy your cool space without any hassle. Stay cool and comfortable during hot days. Remember, safety first during installation. Now, your room is ready for summer. Enjoy the refreshing breeze.