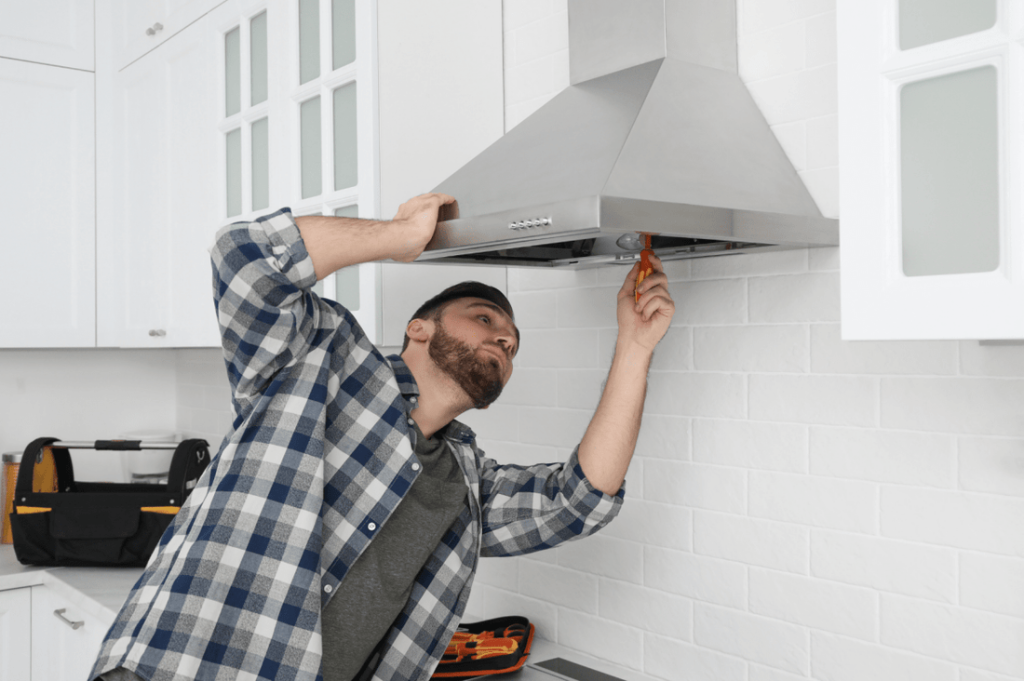
Are you ready to improve your kitchen’s air quality and keep it fresh while cooking? Installing a range hood exhaust vent is a simple way to remove smoke, odors, and grease from your kitchen.
But how do you make sure it’s done right? In this guide, you’ll find easy steps to install your range hood vent quickly and safely. Whether you’re a beginner or just want to save money by doing it yourself, this article will walk you through everything you need to know.
Keep reading, and soon you’ll enjoy a cleaner, more comfortable kitchen space.

Credit: www.create-enjoy.com
Choosing The Right Range Hood
Choosing the right range hood is crucial for your kitchen’s efficiency. A well-chosen range hood ensures proper ventilation and complements your kitchen’s design. Consider the type, size, and ventilation needs before purchasing.
Types Of Range Hoods
Range hoods come in various styles to suit different kitchens.
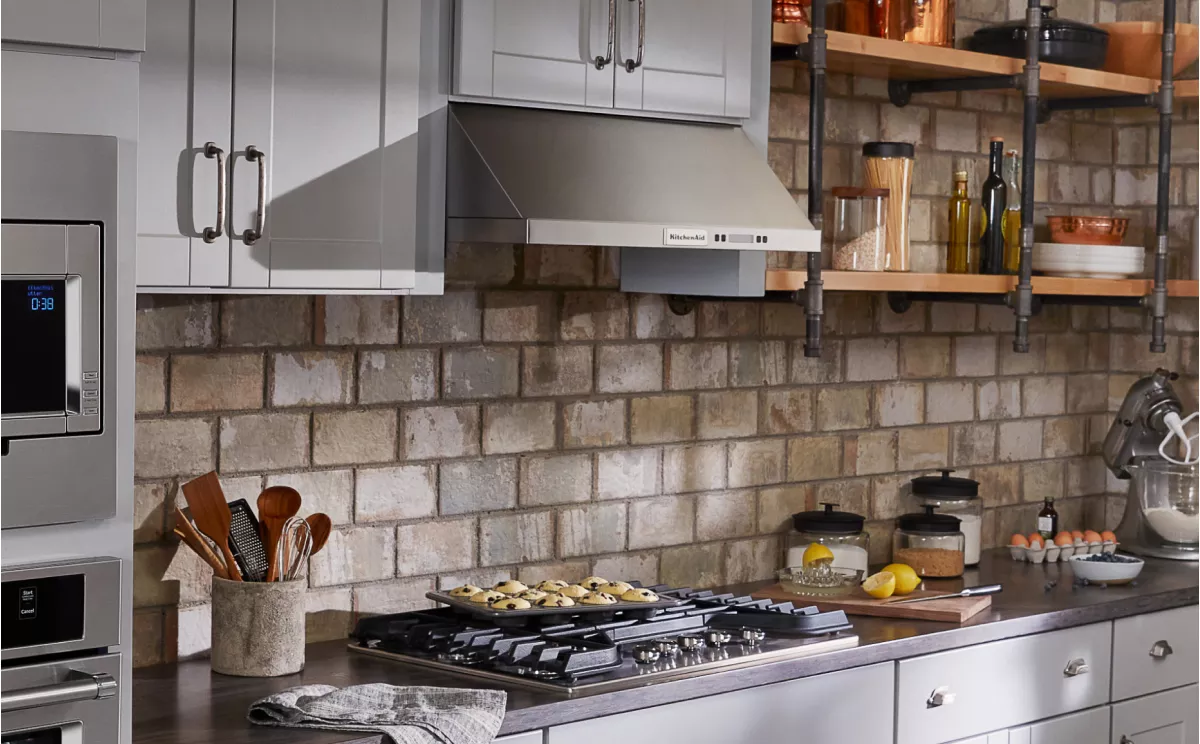
- Under-cabinet:Fits below kitchen cabinets. Ideal for compact spaces.
- Wall-mounted:Attaches to the wall above the stove. Suitable for open spaces.
- Island:Hangs from the ceiling over an island stove. Great for kitchen islands.
- Downdraft:Pulls air downwards. Useful for kitchens without overhead space.
Sizing Your Range Hood
Correct sizing ensures the hood performs efficiently. Measure the width of your stove. The hood should be at least as wide as the stove. For an island stove, consider a wider hood for better coverage. Check the hood’s CFM (cubic feet per minute) rating. Higher CFM is better for heavy cooking.
Ventilation Options
Choose between ducted and ductless ventilation.
- Ducted:Vents air outside. Requires duct installation.
- Ductless:Recirculates air with filters. Easier to install.
Gathering Tools And Materials
Before you start installing your range hood exhaust vent, gathering the right tools and materials is crucial. Having everything on hand saves time and keeps your work smooth. It also prevents frustrating interruptions when you realize something important is missing.
Essential Tools
- Drill:Needed for making holes in walls or cabinets for mounting brackets and screws.
- Screwdrivers:Both flathead and Phillips types help with various screws during installation.
- Measuring Tape:Ensures accurate placement of the vent and hood for optimal performance.
- Level:Keeps your range hood straight, preventing uneven installation.
- Utility Knife:Useful for cutting drywall or vent tubing.
- Pencil:For marking measurements and drill points clearly.
- Metal Snips:Needed if you have to cut vent ducting to size.
Required Materials
- Range Hood Exhaust Vent Kit:Usually includes the hood, mounting brackets, and ductwork.
- Ducting:Rigid or flexible metal duct for venting air outside.
- Vent Cap:Installed on the exterior wall or roof to prevent debris and pests from entering the duct.
- Screws and Anchors:Ensure secure attachment to walls or cabinets.
- Foil Tape:Seals duct joints tightly to prevent leaks.
- Caulk:Helps seal around the vent cap on the outside wall.
Safety Gear
- Safety Glasses:Protect your eyes from dust and debris while drilling or cutting.
- Gloves:Shield your hands from sharp edges on metal ducting and tools.
- Dust Mask:Keeps you from inhaling dust, especially when cutting drywall or vent pipes.
- Ear Protection:Consider using earplugs if your drill or tools are loud during extended use.
Do you have all these items ready? Missing even one could slow your progress or affect the quality of your installation. Taking a moment to double-check your toolkit can save you a lot of hassle later.
Preparing The Installation Area
Preparing the installation area is a vital part of fitting a range hood exhaust vent. It sets the stage for a smooth and secure installation. Proper preparation helps avoid future issues and ensures the hood works well.
Start by clearing the space around the installation site. Remove any items that could block your work or cause hazards. Clean the surface to give a clear view of the wall or ceiling where the vent will go.
Measuring And Marking
Accurate measurements are key to a perfect fit. Measure the width and height of the range hood. Mark the exact points on the wall where the hood will be attached. Use a level tool to keep lines straight. Mark where the vent hole will be cut, ensuring it aligns with the duct system.
Removing Old Fixtures
Remove any existing range hood or vent covers carefully. Turn off the power supply before working near electrical parts. Unscrew old fixtures and disconnect wires safely. Check for any damage to the wall or vent pipe. Fix any issues before installing the new hood.
Checking Electrical And Venting
Inspect the electrical wiring to make sure it meets safety standards. Confirm the power source matches the hood’s requirements. Check the vent pipe for blockages or leaks. Verify the pipe leads outside to allow proper airflow. Replace damaged ducts for better performance and safety.

Credit: www.reddit.com
Installing The Vent Duct
Installing the vent duct is a key part of setting up your range hood exhaust. It moves the cooking fumes outside, keeping your kitchen fresh. This process needs careful attention to ensure good airflow and safety.
Selecting Vent Duct Type
Choose a duct made from metal, like aluminum or galvanized steel. These materials resist heat and are durable. Avoid plastic ducts; they can melt or catch fire.
Pick a round duct if possible. Round ducts offer better airflow and less noise than flat or rectangular ones. Match the duct size to your range hood’s outlet for best performance.
Cutting And Fitting The Duct
Measure the distance from the hood to the outside vent carefully. Mark the duct and cut it with tin snips or a metal saw. Wear gloves to protect your hands from sharp edges.
Fit the duct in place, making sure it runs straight and smooth. Avoid bends or kinks, which reduce airflow. If you need to use elbows, keep them to a minimum.
Sealing And Securing The Duct
Seal all joints with foil tape designed for metal ducts. Do not use duct tape; it will not last long. Proper sealing prevents leaks and keeps air moving outside.
Secure the duct with metal straps or brackets. Attach them to wall studs or ceiling joists for strong support. This keeps the duct from sagging or coming loose over time.
Mounting The Range Hood
Mounting the range hood properly is essential for its performance and safety. A well-mounted hood ensures efficient ventilation and prevents damage to your walls. Follow these clear steps to position and secure the hood correctly.
Positioning The Hood
Measure the distance between the cooktop and the wall. The hood should sit about 24 to 30 inches above the cooking surface. Mark the centerline on the wall for precise alignment. Check for studs behind the wall to support the hood’s weight. Use a level to keep the hood straight.
Attaching Mounting Brackets
Locate the mounting brackets included with your range hood. Align the brackets with the marked centerline and studs on the wall. Use a drill to secure screws tightly into the studs. Make sure brackets are level and firmly fixed. These brackets will hold the hood securely in place.
Securing The Hood To The Wall
Lift the range hood carefully and hook it onto the mounted brackets. Confirm the hood sits flush against the wall. Use screws to fasten the hood to the brackets and wall studs. Double-check that all screws are tight and the hood does not move. Proper securing prevents vibrations and noise during use.
Connecting Electrical Components
Connecting electrical components is a vital part of installing a range hood exhaust vent. Proper wiring ensures the hood works safely and efficiently. It is important to handle all electrical connections with care to avoid hazards. Basic knowledge of wiring and safety can make this task easier. Follow clear steps to wire, test, and troubleshoot the electrical parts of your range hood.
Wiring The Range Hood
Turn off the power at the main circuit breaker before starting. Locate the electrical junction box on the range hood. Match the wires from the hood to the house wiring:
- Black wire connects to black (hot)
- White wire connects to white (neutral)
- Green or bare copper wire connects to ground
Use wire nuts to secure connections tightly. Wrap each connection with electrical tape for safety. Mount the wiring inside the junction box carefully. Avoid loose wires that might cause shorts or sparks.
Testing Electrical Connections
Restore power at the breaker once wiring is complete. Turn on the range hood switch to check if it powers up. Test the fan and light functions separately to ensure both work. Listen for unusual sounds or flickering lights. Use a voltage tester to verify proper current flow if needed. Confirm all controls respond smoothly and the hood runs without interruption.
Troubleshooting Common Issues
If the range hood does not turn on, check the power supply first. Make sure the circuit breaker has not tripped. Inspect all wire connections again for loose or incorrect wiring. Look for blown fuses or damaged switches inside the hood. Replace any faulty parts with compatible ones. If problems persist, consider calling a licensed electrician for help.
Final Adjustments And Testing
After installing your range hood exhaust vent, making final adjustments and testing is crucial to ensure it works efficiently. This phase lets you fine-tune performance and catch any issues before regular use. Taking the time to check airflow, adjust fan speeds, and follow cleaning tips can save you headaches later.
Checking Airflow
Start by verifying the airflow direction and strength. Hold a piece of lightweight tissue paper near the vent to see if it gets pulled toward the hood. If the airflow feels weak or inconsistent, check for blockages in the ductwork or loose connections.
Have you noticed any unusual noises while the fan is running? These could signal airflow restrictions or improper installation. Fixing these early ensures your kitchen stays smoke-free and odor-free.
Adjusting Fan Speeds
Your range hood likely offers multiple fan speeds. Test each speed setting to find the balance between quiet operation and effective ventilation. If the highest speed is too loud, try using the medium setting during everyday cooking.
Some models allow you to adjust fan speed electronically or manually. Make sure the controls respond smoothly and match your needs. Does your current setup make cooking more comfortable without overwhelming noise?
Cleaning And Maintenance Tips
Regular cleaning keeps your range hood working at peak performance. Grease buildup can reduce airflow and strain the motor, so clean filters monthly if you cook often. Use warm, soapy water or follow the manufacturer’s cleaning instructions.
Don’t forget to wipe down the exterior and check vent caps for debris. Simple maintenance can extend your range hood’s life and maintain a fresh kitchen environment. How often do you schedule cleaning to keep your ventilation system efficient?
Credit: www.kitchenaid.com
Frequently Asked Questions
What Tools Are Needed To Install A Range Hood Vent?
You need a drill, screwdriver, measuring tape, level, and duct tape. Also, have a vent pipe, screws, and safety gear ready. These tools help ensure a safe and precise installation of your range hood exhaust vent.
How Do I Choose The Right Vent Size For Installation?
Measure your range hood’s exhaust outlet diameter before buying the vent pipe. Choose a vent size matching this diameter to ensure proper airflow and efficiency. Using the correct size prevents leaks and maintains optimal ventilation performance.
Can I Install A Range Hood Vent Without Professional Help?
Yes, with basic DIY skills and proper tools, you can install it yourself. Follow the manufacturer’s instructions carefully and ensure safety precautions. If unsure, consult a professional to avoid damage or improper installation.
How To Maintain And Clean A Range Hood Exhaust Vent?
Regularly clean the vent filters and wipe the exterior with mild detergent. Inspect the ductwork for blockages or damage every few months. Proper maintenance keeps your range hood efficient and extends its lifespan.
Conclusion
Installing a range hood exhaust vent improves kitchen air quality. It removes smoke, odors, and heat while cooking. Proper installation ensures the vent works efficiently and safely. Following the steps carefully helps avoid common mistakes. Check all connections and test the vent after installation.
Regular cleaning keeps the vent working well for years. Enjoy a fresher, cleaner kitchen with your new vent. Simple steps make a big difference in your cooking space.