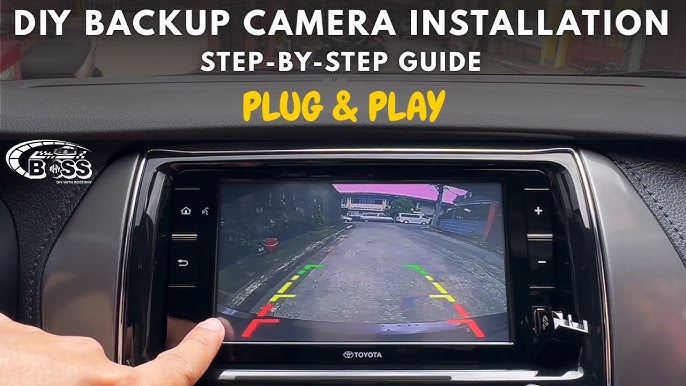
Installing a rear view camera in your car can change the way you drive. Imagine backing up with confidence, avoiding blind spots, and parking with ease every time.
You don’t need to be a tech expert or spend a fortune to make this happen. In this guide, you’ll discover simple, step-by-step instructions that anyone can follow. By the end, your car will have a powerful safety upgrade that protects you and your loved ones.
Ready to make your driving safer and smarter? Let’s get started!
Choosing The Right Camera
Installing a rear view camera improves safety while driving. Picking the right camera is important for the best results.
There are different types of cameras and features to consider. You also need to check if the camera fits your car model.
Types Of Rear View Cameras
You can find several types of rear view cameras. Each type has unique benefits and installation styles.
- Wired Cameras:Connect to the car monitor using cables. They offer reliable video quality.
- Wireless Cameras:Use Wi-Fi or Bluetooth. They are easier to install but can have signal issues.
- Flush Mount Cameras:Installed inside the car bumper for a clean look.
- Surface Mount Cameras:Attached on the car’s surface. They are easier to fit but less hidden.
Key Features To Consider
| Feature | Why It Matters |
| Resolution | Clearer image helps you see obstacles better. |
| Night Vision | Improves visibility in low light or at night. |
| Viewing Angle | Wide angle covers more area behind the car. |
| Waterproof Rating | Protects the camera from rain and dirt. |
| Guide Lines | Helps judge distance when reversing. |
Compatibility With Your Car
Not all cameras fit every car. Check your car’s make and model before buying.
- Ensure the camera matches your car’s power supply (12V or other).
- Check if the camera fits the mounting location on your car.
- Verify the camera works with your car’s display or monitor system.
- Look for cameras that come with installation kits for your car type.

Credit: www.youtube.com
Gathering Tools And Materials
Installing a rear view camera in your car needs the right tools and materials. Preparing these items before you start will save time.
This guide helps you gather everything needed for a smooth installation process.
Essential Tools List
You need some basic tools to install the rear view camera properly. These tools help you remove panels, connect wires, and mount the camera.
- Screwdrivers (flathead and Phillips)
- Wire strippers and cutters
- Electrical tape
- Power drill with bits
- Multimeter or voltage tester
- Panel removal tool
- Measuring tape
- Zip ties or cable clips
Additional Supplies You Might Need
Besides essential tools, some extra supplies may help you finish the job cleaner and safer. These depend on your car model and camera type.
- Fuse tap adapter for power connection
- Extension wires for longer cable runs
- Heat shrink tubing for wire protection
- Double-sided mounting tape
- Silicone sealant to protect connections
- Cleaning cloth to prepare surfaces
Preparing Your Car
Installing a rear view camera needs good preparation. Getting your car ready helps the process go smoothly.
Check the area where you will place the camera. Make sure you have the right tools and space to work.
Selecting The Camera Mounting Location
Pick a spot on your car that shows a clear view behind. The camera should be low and centered if possible.
Common places include above the license plate or inside the rear bumper. Avoid spots that get dirty fast.
- Choose a location with a wide view
- Make sure the camera is safe from damage
- Check that wires can reach the screen easily
- Avoid areas blocked by the trunk or spare tire
Cleaning And Accessing Installation Area
Clean the area where you will mount the camera. Dirt and dust can stop the camera from sticking well.
Open the trunk or tailgate to reach wires and mounting points. Remove any covers blocking the spot.
- Use a soft cloth and mild cleaner to wipe the area
- Dry the surface fully before mounting the camera
- Have screwdrivers or trim tools ready to open panels
- Be gentle to avoid breaking clips or panels
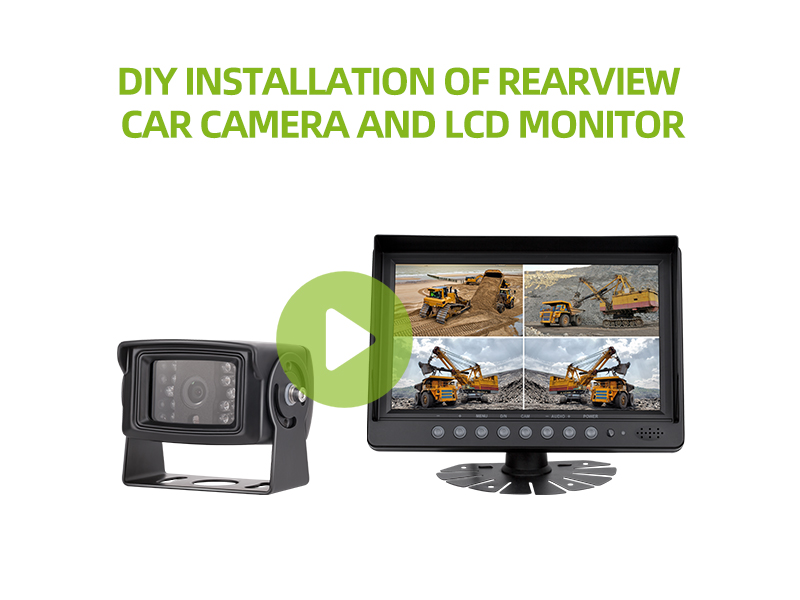
Credit: luview.com
Installing The Camera
Installing a rear view camera improves safety while reversing. It helps you see what is behind your car clearly.
This guide explains how to mount the camera and run the wiring through your vehicle.
Mounting The Camera Securely
Find a good place at the back of your car to mount the camera. Usually, the center above the license plate works best.
Clean the surface well before attaching the camera. Use screws or strong adhesive to keep it in place.
- Choose a spot with a clear view behind the car
- Avoid areas with too much dirt or water exposure
- Secure the camera tightly to prevent shaking
- Check the camera angle before fixing it permanently
Running The Wiring Through The Vehicle
Route the camera wires from the back to the front of the car carefully. Avoid sharp edges and moving parts.
Hide the wires inside panels or under the car floor to keep them safe and neat.
- Start from the camera and follow the car’s frame
- Use wire clips or tape to secure the cables
- Connect the wires to the reverse light power source
- Run the video cable to the dashboard display or monitor
- Test the wiring before final assembly
Connecting To Power And Display
Installing a rear view camera needs power and a screen to show the image. You must connect the camera to the car’s power and display system.
This guide explains how to connect the camera to the reverse light power source and link it to the monitor or head unit.
Wiring To Reverse Light Power Source
Find the reverse light wires in your car’s tail light. These wires get power only when you shift to reverse.
Connect the camera’s power wire to the positive reverse light wire. Connect the camera’s ground wire to a metal part of the car.
- Use a test light or multimeter to find the positive wire
- Strip a small section of the reverse light wire insulation
- Attach the camera power wire with a wire tap or connector
- Secure the ground wire to the car chassis using a bolt or screw
- Check connections for tightness and safety
Linking Camera To Monitor Or Head Unit
Run the video cable from the rear view camera to the monitor or head unit inside the car. Use the provided cable or an RCA cable.
Connect the video cable to the video input port on your monitor or head unit. Some head units have a special camera input.
- Route the cable carefully along the car frame to avoid damage
- Use cable clips or zip ties to keep wires neat
- Connect the video cable securely to the monitor input
- Test the camera by shifting into reverse gear
Credit: dashcamtalk.com
Testing The Camera System
After installing the rear view camera, testing it is important. This helps ensure the system works well and is safe.
Check the camera’s angle and image quality before driving. Fix problems early to avoid issues on the road.
Checking Camera Angle And Image Quality
Look at the camera screen to see the view behind your car. The angle should cover a wide area without blind spots.
Make sure the image is clear and bright. Adjust the camera if the picture is blurry or too dark.
- Check for any dirt or water on the lens and clean it.
- Adjust the camera to center the view behind your car.
- Test in daylight and at night for image clarity.
Troubleshooting Common Issues
If the camera does not turn on, check the power connections. Loose wires can cause the system to fail.
Flickering or no image can mean a bad cable or a weak signal. Inspect all cables for damage or loose plugs.
- No image: Check power supply and fuse.
- Flickering screen: Inspect cables and connectors.
- Blurry image: Clean the camera lens.
- Wrong angle: Reposition the camera mount.
Final Adjustments And Safety Tips
After installing the rear view camera, you must make final adjustments. These ensure the camera shows a clear view behind your car. Safety is very important to avoid accidents.
Check the camera angle and image on your screen. Make sure you see the full area behind your car. Adjust the camera if the view is blocked or not centered.
Securing Loose Wires
Loose wires can cause problems or damage the camera system. Secure them tightly to avoid pulling or cutting. This also stops wires from getting caught in moving parts.
Use zip ties or electrical tape to bundle the wires. Keep wires away from hot engine parts and sharp edges. Check that wires do not hang or drag under the car.
- Bundle wires neatly with zip ties
- Avoid contact with hot or sharp parts
- Check wires do not interfere with car parts
- Test connections for firmness
Maintaining The Camera For Longevity
Keep your rear view camera clean and well maintained. Dirt and water can blur the camera lens and reduce visibility. Regular cleaning helps maintain a clear image.
Inspect the camera and wires often. Look for cracks, loose connections, or damage. Fix issues quickly to avoid bigger problems and keep your camera working well.
- Clean the camera lens with a soft cloth
- Avoid harsh chemicals on the lens
- Check wires and connections regularly
- Protect the camera from extreme weather
Frequently Asked Questions
How Do I Install A Rear View Camera In My Car?
To install a rear view camera, mount it near the license plate. Connect the camera to your car’s reverse light power source. Run the video cable to the dashboard monitor or rear view mirror. Secure all connections and test the system before use.
What Tools Are Needed For Rear View Camera Installation?
You will need a screwdriver, wire stripper, electrical tape, drill, and zip ties. These tools help mount the camera, connect wires, and secure cables neatly inside your vehicle.
Can I Install A Rear View Camera Myself?
Yes, with basic tools and instructions, most people can install a rear view camera. Follow the user manual carefully, ensure proper wiring, and test the system for functionality.
How Much Does It Cost To Install A Rear View Camera?
Installing a rear view camera yourself can cost between $20 to $100 for the kit. Professional installation may add $50 to $200 depending on your car and camera type.
Conclusion
Installing a rear view camera enhances your driving safety significantly. It’s a straightforward process with the right tools. Follow the steps carefully to avoid any mistakes. This addition to your car helps with parking and reversing. You gain better visibility of your surroundings.
Plus, it can prevent minor accidents. Always refer to your car’s manual for specific instructions. If unsure, seek professional help. Safety is always worth the effort. Enjoy the convenience and peace of mind a rear view camera offers. Drive with confidence knowing you’re well-equipped.