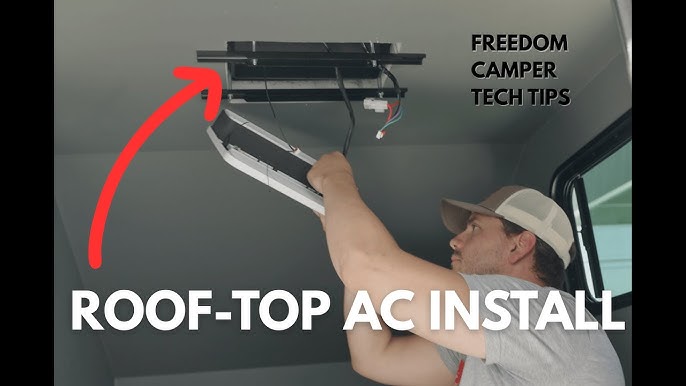
Are you ready to beat the heat and keep your RV cool all summer long? Installing an RV air conditioner might seem tricky, but with the right steps, you can do it yourself and save money.
Imagine stepping into your RV after a hot day and feeling a refreshing breeze instantly. In this guide, you’ll discover simple, clear instructions that make the installation process easy to follow, even if you’re not a pro. Keep reading, and you’ll soon enjoy a cool, comfortable ride no matter where the road takes you.
Choosing The Right Rv Air Conditioner
Installing an RV air conditioner keeps your space cool and comfortable. Picking the right unit is important for good results.
Consider the type, size, and energy use before buying an RV air conditioner. These factors affect comfort and efficiency.
Types Of Rv Air Conditioners
There are several types of RV air conditioners. Each works differently and fits different needs.
- Roof-Mounted Units:These sit on top of the RV and cool the entire space.
- Portable Units:These move around and can cool small areas inside the RV.
- Window Units:These fit into a window or vent and are easy to install.
- Split Systems:These have two parts and offer quiet, efficient cooling.
Sizing Your Unit
Choosing the right size is key to effective cooling. A unit that is too small will not cool well. One that is too large uses extra power.
| RV Size (sq. ft.) | Recommended BTU |
| Up to 250 | 8,000 – 10,000 |
| 250 – 400 | 11,000 – 13,500 |
| 400 – 600 | 14,000 – 15,000 |
| 600 and above | 15,000+ |
Energy Efficiency Considerations
Energy efficiency lowers power use and saves battery life. Look for units with good energy ratings.
- Choose models with Energy Star labels.
- Consider inverter technology for variable speed cooling.
- Check the unit’s power consumption in watts.
- Use thermostats and timers to control cooling.

Credit: www.youtube.com
Preparing For Installation
Installing an RV air conditioner needs good preparation. You must get ready before starting the work.
This guide helps you prepare well for the installation process. Follow these steps to make the job easier.
Gathering Necessary Tools And Materials
Collect all tools and materials before you begin. This saves time and avoids interruptions.
- RV air conditioner unit
- Measuring tape
- Marker or pencil
- Drill and drill bits
- Screwdrivers
- Caulk or sealant
- Safety glasses and gloves
- Roof sealant tape
- Utility knife
- Wrench set
- Electrical wire and connectors
Safety Precautions
Safety is very important when installing an air conditioner on your RV roof. Take steps to protect yourself.
Wear safety gear and work carefully. Make sure the RV is parked on flat ground and power is off.
- Wear gloves and safety glasses
- Use a sturdy ladder
- Work with a helper if possible
- Turn off all electrical power
- Check for any roof damage before starting
- Keep tools organized and away from edges
Measuring And Marking The Roof
Measure the roof carefully to find the best spot for the air conditioner. Mark the area clearly.
Check the air conditioner’s size and shape. Use a tape measure and pencil to mark where you will cut.
- Measure the air conditioner base
- Find a flat, clear spot on the roof
- Mark the center point for the unit
- Draw the outline of the hole to cut
- Double-check all measurements
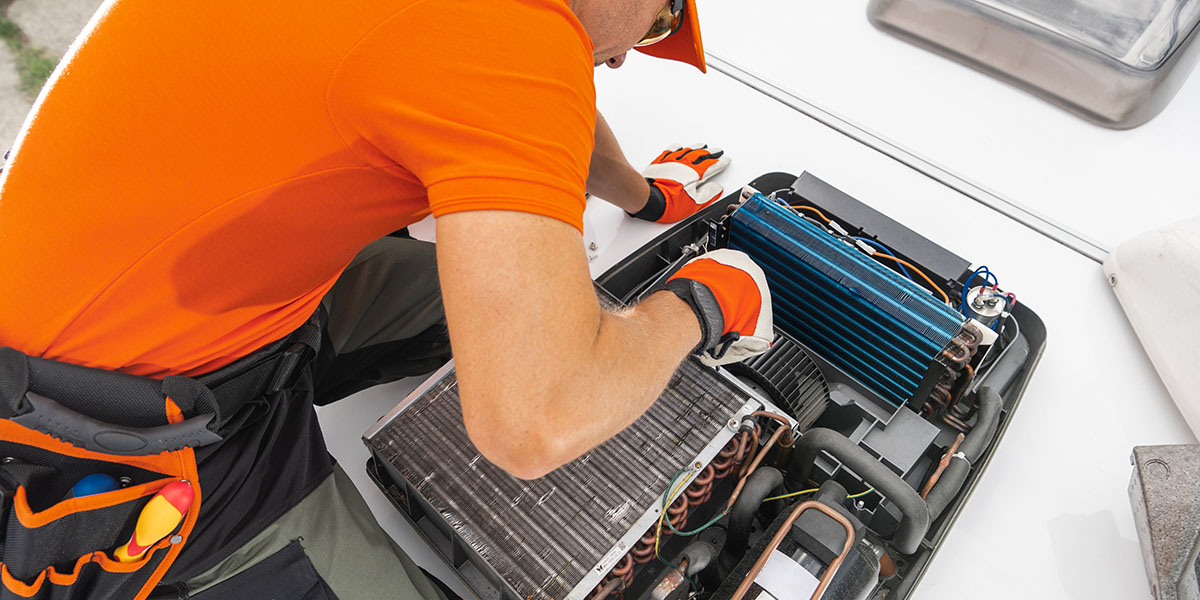
Removing The Old Air Conditioner
Removing an old RV air conditioner is the first step before installing a new one. It is important to do this carefully to avoid damage.
This guide covers the key tasks: disconnecting power, detaching the unit, and cleaning the area.
Disconnecting Power Supply
Always start by turning off the power to the air conditioner. This step keeps you safe and prevents electrical issues.
- Locate the circuit breaker or fuse that controls the air conditioner.
- Switch off the breaker or remove the fuse to cut power.
- Use a voltage tester to make sure no power is flowing.
- Unplug the air conditioner if it has a plug connection.
Detaching The Old Unit
After disconnecting power, remove the air conditioner from the roof or mounting area carefully.
- Unscrew the mounting bolts or screws holding the unit in place.
- Have a helper hold the unit to avoid dropping it.
- Lift the air conditioner gently and set it aside.
- Disconnect any wiring or duct connections attached to the unit.
Cleaning The Installation Area
Cleaning the space after removal helps prepare for the new air conditioner installation.
| Cleaning Task | Tools Needed | Purpose |
| Remove debris | Brush, vacuum | Clear dirt and leaves |
| Clean sealing surface | Scraper, cloth | Ensure good seal for new unit |
| Check for damage | Flashlight, inspection mirror | Spot cracks or leaks |
| Dry the area | Cloth or air blower | Prevent moisture buildup |
Credit: www.rvtrader.com
Installing The New Air Conditioner
Installing a new RV air conditioner needs care and attention. This guide helps you place and connect the unit safely.
Follow simple steps to position, seal, and wire your air conditioner. This ensures it works well and lasts long.
Positioning The Unit
Start by placing the air conditioner on the roof. Make sure it fits the existing opening or the new cutout.
Center the unit so it sits evenly. Check that no parts hang over the edges to avoid leaks or damage.
- Clean the roof area before placing the unit
- Use help to lift and position the heavy AC
- Align the unit with the roof opening carefully
Sealing And Securing The Ac
Apply a strong sealant around the unit base to stop water leaks. Use a sealant made for outdoor use.
Use screws or bolts to fasten the AC to the roof. Tighten them evenly to keep the unit stable.
- Use a quality waterproof sealant
- Check for gaps and fill them fully
- Tighten all mounting hardware securely
Connecting Electrical Components
Turn off power before connecting wires. Follow the manufacturer’s wiring diagram exactly.
Connect the power wires to the AC unit. Use wire nuts and electrical tape for safety.
- Use proper gauge wire for the current
- Connect ground wire to metal frame
- Check all connections are tight and insulated
Testing And Final Adjustments
After installing your RV air conditioner, testing the unit ensures it works correctly. Final adjustments help improve comfort and efficiency.
Follow these steps to check and adjust the system before regular use.
Powering On The Unit
Turn on the air conditioner using the main power switch. Listen for any unusual noises, such as rattling or buzzing.
- Ensure the RV is connected to a stable power source.
- Switch on the air conditioner and let it run for 5 minutes.
- Check if air blows steadily from the vents.
- Note any strange sounds or vibrations.
- Turn off the unit before moving to the next step.
Checking For Leaks And Proper Sealing
Inspect the air conditioner’s installation area to find leaks or gaps. Proper sealing keeps cool air inside and prevents moisture damage.
| Check Area | What to Look For | Fix Needed |
|---|---|---|
| Roof Seal | Cracks or gaps around the unit base | Apply roofing sealant or replace sealant |
| Vent Covers | Loose fittings or cracks | Tighten screws or replace vent covers |
| Drainage Holes | Blockages or leaks | Clear blockages or seal leaks |
Check each area carefully. Reseal or repair any problem spots before using the air conditioner regularly.
Adjusting Thermostat Settings
Set the thermostat to your desired temperature. Adjust settings for fan speed and mode to match your comfort needs.
- Set temperature between 72°F and 78°F for efficiency.
- Choose “Cool” mode for air conditioning.
- Adjust fan speed to low, medium, or high.
- Use “Auto” mode to let the unit regulate fan speed automatically.
- Observe how the unit maintains the temperature and adjust if needed.

Credit: www.youtube.com
Maintenance Tips For Longevity
Keeping your RV air conditioner in good shape helps it last longer. Regular care prevents costly repairs and keeps it working well.
Follow simple maintenance steps to make sure your AC runs smoothly all year. These tips help you avoid common problems.
Regular Cleaning
Clean your RV air conditioner often to stop dust and dirt buildup. Dirty parts reduce cooling and cause damage.
Focus on filters and vents. Clean or replace filters every few months to keep air flowing well.
- Turn off power before cleaning
- Use a soft brush or vacuum for vents
- Wash filters with mild soap and water
- Dry filters fully before reinstalling
Inspecting Seals And Connections
Check seals around the AC unit to stop air leaks. Broken seals let warm air in and reduce cooling.
Look at electrical connections and wiring. Tighten loose wires and fix damage to avoid failures.
- Inspect rubber seals for cracks or gaps
- Replace damaged seals promptly
- Check wiring for wear or frays
- Ensure all connections are secure
Seasonal Preparations
Prepare your RV air conditioner for each season to keep it safe. This helps avoid damage from weather changes.
Before summer, test the unit to make sure it cools well. In winter, cover or remove it to protect from cold and moisture.
- Run the AC for 15 minutes before summer use
- Check for unusual noises or leaks
- Use a weatherproof cover in winter
- Store removable parts indoors during cold months
Frequently Asked Questions
How Do I Prepare My Rv Roof For Ac Installation?
Clean the roof surface thoroughly to remove dirt and debris. Measure the opening size accurately. Ensure the roof is dry and free from damage. Use sealant to prevent leaks during installation.
What Tools Are Needed To Install An Rv Air Conditioner?
You will need a screwdriver, sealant, measuring tape, drill, and a wrench. Having a helper is also useful for lifting and positioning the unit safely.
How Long Does It Take To Install An Rv Air Conditioner?
Installation usually takes 2 to 4 hours, depending on your experience. Proper preparation and following instructions can speed up the process significantly.
Can I Install An Rv Air Conditioner Myself?
Yes, if you follow the instructions carefully and have the right tools. Basic DIY skills and safety precautions are essential for a successful installation.
Conclusion
Installing an RV air conditioner can feel challenging. But it’s manageable with the right steps. Gather all necessary tools before you start. Follow the instructions carefully. Pay attention to safety tips. Double-check your work to ensure everything fits. Seek help if you’re unsure at any step.
Regular maintenance keeps your air conditioner running smoothly. Enjoy the comfort of cool air on your travels. Stay cool, and travel comfortably. Your RV adventures will be much more enjoyable.