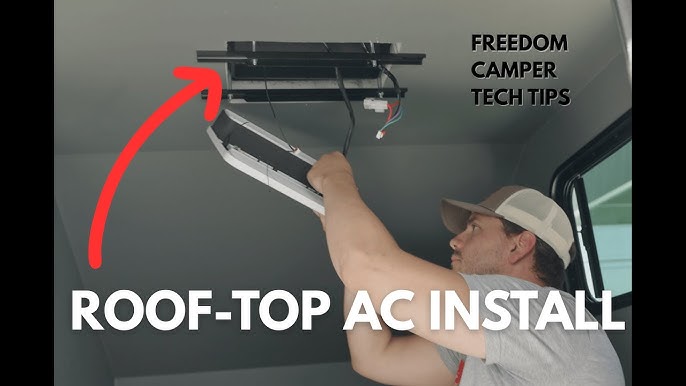
Installing an RV air conditioner might seem tricky, but with the right steps, you can do it yourself and enjoy cool comfort on your trips. If you want to beat the heat and make your RV a refreshing retreat, this guide is made just for you.
By the end, you’ll know exactly how to install your air conditioner safely and efficiently. Ready to keep your RV cool no matter where you go? Let’s get started!

Credit: www.youtube.com
Choosing The Right Rv Air Conditioner
Choosing the right RV air conditionermeans knowing different types. The most common types are roof-mountedand portable units. Roof-mounted units save space and cool evenly. Portable units are easy to move and install.
| Type | Advantages | Disadvantages |
|---|---|---|
| Roof-mounted | Space-saving, cools large areas | Harder to install, needs roof space |
| Portable | Easy to install, flexible placement | Takes floor space, less powerful |
Size matters. Choose a unit with the right cooling capacityfor your RV. Too small won’t cool well. Too big wastes energy.
- Small RVs: 5,000 – 8,000 BTU
- Medium RVs: 8,000 – 13,500 BTU
- Large RVs: 13,500 – 15,000 BTU
Energy use is important. Look for energy-efficientmodels. They save power and money. Check the Energy Star ratingif available. Lower power use means longer battery life on trips.
Tools And Materials Needed
Essential tools include a screwdriver, wrench, and a drill. A tape measureand caulking gunare also helpful.
Required materials are the RV air conditioner unit, mounting hardware, and sealant. Electrical wires and connectors will be needed too.
Safety gear is a must. Use glovesto protect your hands. Wear gogglesto shield your eyes. A dust maskhelps keep you safe from particles.
Preparing The Installation Site
Remove the old unit carefully. Disconnect power and screws first. Lift the unit out slowly to avoid damage. Dispose of the old air conditioner properly.
Clean the roof area well. Remove dirt, dust, and debris. Check for cracks or damage on the roof surface. Fix any damage before installing the new unit.
Measure the opening on the roof precisely. Use a tape measure for width and length. Check if the opening matches the new unit’s size. Adjust if needed to ensure a tight fit.

Credit: www.youtube.com
Installing The Mounting Plate
Place the mounting plate carefully on the roof opening. Align it so it fits perfectly without gaps. Check that the plate is level to avoid water pooling later. Use a pencil to mark the screw holes clearly on the roof.
Apply a strong sealant around the edges of the plate to keep water out. Secure the plate tightly with screws at the marked points. Make sure each screw goes in straight and is tight, but avoid over-tightening which can damage the roof.
| Check Area | What to Look For | Fix If Needed |
|---|---|---|
| Seal Around Plate | No cracks or gaps | Apply extra sealant |
| Screw Tightness | Firm but not cracked roof | Adjust screws carefully |
| Water Test | No leaks after rain or water spray | Reseal and retighten screws |
Wiring The Air Conditioner
The air conditionerneeds a proper power source. Check the RV’s electrical panelfor the right voltageand amperage. Most RV air conditioners use 120 voltsand require a dedicated circuit. Make sure the circuit breaker matches the AC unit’s power rating.
Use the correct wireswith proper thickness. Thicker wires handle more current safely. Connect the live, neutral, and ground wiresto their matching terminals. Ensure all connections are tightand secure. Loose wires can cause short circuitsor fires.
- Turn off the RV power before starting.
- Use wire nuts or terminal blocks.
- Double-check wire colors and positions.
- Use a voltage tester to confirm no power.
After wiring, turn on the power and test the unit. The AC should start without any sparksor noise. Check the circuit breaker doesn’t trip. If it trips, turn off power and inspect wiring. Use a multimeter to verify all connections are correct and safe.
Credit: www.rvtrader.com
Mounting The Air Conditioner Unit
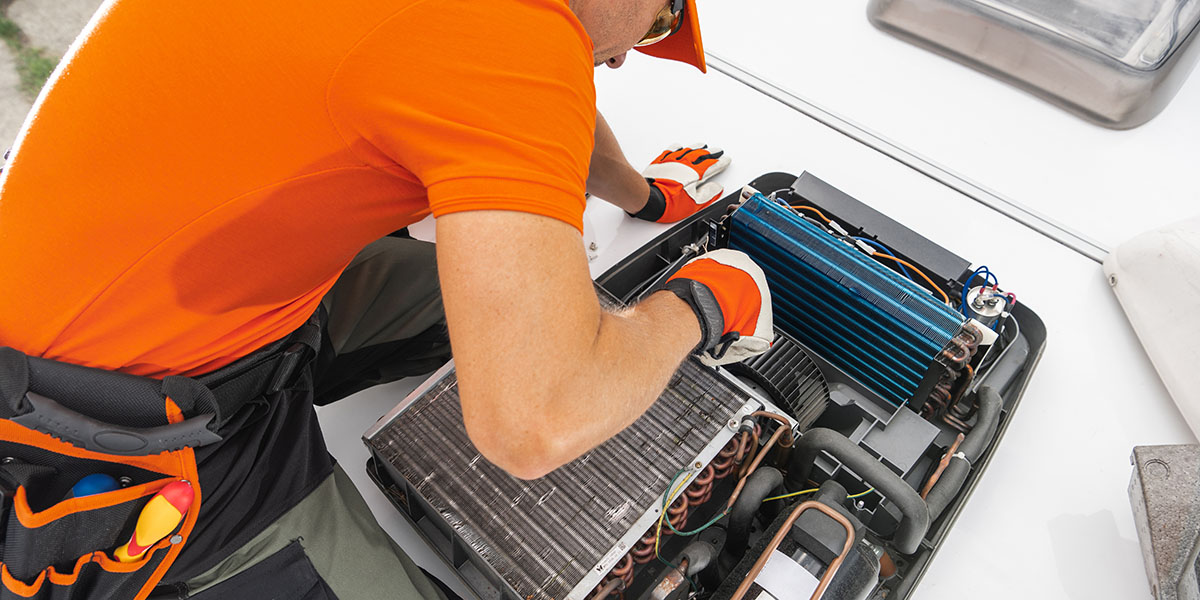
Lift the air conditioner unitcarefully to avoid damage. Use two or more people to help with heavy units. Position the unit over the mounting area with care.
Make sure the unit sits evenly on the mount. Check for any gaps or uneven spots. This helps the unit stay steady and work well.
- Secure the unitusing bolts or screws provided by the manufacturer.
- Tighten all fasteners firmly but do not over-tighten to avoid damage.
- Double-check that the unit is stable and cannot move.
Seal all edges with a good weatherproof sealant. This stops water and air leaks. Use weatherproof tape or caulk around the edges.
Check for gaps or holes after sealing. Proper sealing keeps your RV dry and comfortable.
Testing And Troubleshooting
Power on the unit by connecting it to the power source. Check the circuit breaker if it does not start. Ensure the remote control has working batteries and points at the sensor.
Cooling performance depends on proper airflow and correct settings. Make sure vents are open and clean. Set the temperature lower than the room temperature for cooling. Listen for unusual noises or vibrations.
| Common Issue | Possible Cause | Fix |
|---|---|---|
| Unit won’t turn on | Power supply problem | Check breaker and power cord |
| Air not cold | Dirty filters or low refrigerant | Clean filters or call technician |
| Water leaking | Blocked drain or improper installation | Clear drain or adjust installation |
| Strange noises | Loose parts or debris | Tighten parts and clean debris |
Maintenance Tips For Longevity
Keep the air conditioner running well by cleaning it regularly. Dirt and dust can block airflow and make the unit work harder. Clean the filters every few weeks to help air move freely. Use a soft brush or cloth to wipe the outside parts.
Change the filtersoften. Dirty filters reduce cooling power and waste energy. Replace them every 1-3 months, or more if used a lot. This keeps the air fresh and the system efficient.
Before storing the air conditioner for the season, drain all waterinside. Cover the unit to protect it from dust and weather. Store it in a dry, cool place. This prevents damage and keeps it ready for next use.
Frequently Asked Questions
How Do I Install An Rv Air Conditioner Myself?
To install an RV air conditioner, first remove the old unit if present. Measure the roof opening, place the new AC unit, secure it with bolts, and seal all gaps properly. Connect the electrical wiring and test the unit for proper operation before finishing.
What Tools Are Needed For Rv Ac Installation?
You need a drill, screwdriver, wrench, sealant, measuring tape, and safety gear. These tools help with mounting, securing, and sealing the air conditioner on your RV roof. Having proper tools ensures a safe and efficient installation process.
Can I Install An Rv Air Conditioner Without Professional Help?
Yes, you can install an RV air conditioner yourself if you follow instructions carefully. Basic electrical and roofing knowledge is helpful. However, for complex wiring or roof repairs, professional help is recommended to ensure safety and warranty compliance.
How Do I Seal The Rv Air Conditioner Roof Properly?
Use a high-quality, weatherproof sealant around the air conditioner base. Apply evenly to prevent leaks and protect from water damage. Proper sealing is crucial for maintaining your RV’s roof integrity and preventing costly repairs.
Conclusion
Installing an RV air conditioner is easier than it seems. Follow each step carefully and take your time. Use the right tools and double-check your work. This will help your AC run smoothly and keep you cool. Remember to read the manual for specific instructions.
Stay safe and enjoy your comfortable travels. A well-installed AC makes all the difference on the road. Keep your RV cool and enjoy every trip. Simple steps lead to great results.