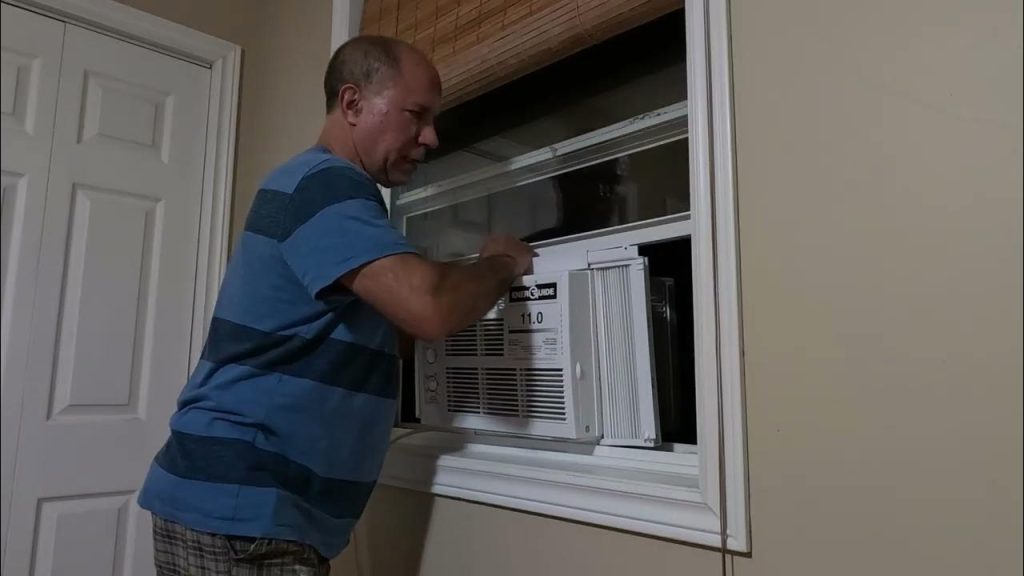
Installing a through the wall air conditioner can seem tricky, but it doesn’t have to be. Imagine having cool, refreshing air flowing into your room without the hassle of window units or bulky fans.
You’re about to learn a simple, step-by-step method to get your air conditioner up and running quickly. Whether you want to beat the heat this summer or improve your home’s comfort, this guide is made just for you. Keep reading, and by the end, you’ll have the confidence to install your unit like a pro.
Choose The Right Air Conditioner
Picking the right air conditioner is important for comfort and energy savings. It helps cool your room well without wasting power.
This guide will help you select the best unit for your wall and space size.
Measure Your Space
First, measure the size of the room you want to cool. Measure the length, width, and height in feet.
Calculate the room’s square footage by multiplying length by width. This helps find the right air conditioner size.
Select Suitable Btu Rating
BTU means British Thermal Unit. It shows how much heat the air conditioner can remove.
Choose a BTU rating that matches your room size. Too small won’t cool well. Too big wastes energy.
- Up to 150 sq ft: 5,000 BTU
- 150 to 250 sq ft: 6,000 BTU
- 250 to 350 sq ft: 8,000 BTU
- 350 to 450 sq ft: 10,000 BTU
- 450 to 550 sq ft: 12,000 BTU
Check Wall Compatibility
Make sure your wall can hold the air conditioner. It needs a strong, flat wall with enough space.
Check the wall thickness and whether it has an electrical outlet nearby. Some units need special support brackets.

Credit: www.angi.com
Gather Required Tools And Materials
Installing a through the wall air conditioner needs the right tools. Gathering these tools first will save time and effort.
This guide covers the essential tools, safety gear, and extra supplies you will need for the job.
Essential Tools List
These tools help you measure, cut, and secure the air conditioner in the wall.
- Measuring tape
- Power drill with drill bits
- Level
- Jigsaw or reciprocating saw
- Screwdrivers (Phillips and flathead)
- Hammer
- Pencil or marker
Safety Equipment
Safety gear protects you from injuries while cutting and installing the unit.
| Safety Item | Purpose |
| Safety glasses | Protect eyes from flying debris |
| Work gloves | Protect hands from sharp edges |
| Dust mask | Prevent inhaling dust and particles |
| Ear protection | Reduce noise from power tools |
Additional Supplies
These supplies help with installation and finishing touches around the air conditioner.
- Caulk or weatherproof sealant to block air leaks
- Wood shims for leveling the unit
- Foam insulation strips for extra sealing
- Screws and anchors for mounting
- Plastic or metal trim for a clean look
Prepare The Wall Opening
Installing a through the wall air conditioner requires a properly prepared wall opening. This step ensures the unit fits securely and works efficiently. Take your time to prepare the space carefully.
Follow these instructions to locate, mark, and cut the wall opening safely and accurately.
Locate The Installation Spot
Choose a wall spot close to an electrical outlet. The location should be near the center of the wall for best cooling. Avoid walls with pipes or wires inside. Check both inside and outside the wall before cutting.
Mark And Measure The Cutout
Measure the air conditioner’s dimensions carefully. Use a tape measure to mark the cutout on the wall. Double-check the width, height, and depth needed for the unit to fit. Use a pencil and a level to draw straight lines.
| Dimension | Measure Twice |
| Width | Measure the unit’s width plus clearance |
| Height | Measure the unit’s height plus clearance |
| Depth | Measure wall thickness and unit depth |
Cut The Wall Safely
Wear safety goggles and gloves before cutting. Use the correct saw for your wall type. Follow your pencil marks carefully to avoid mistakes. Cut slowly to keep the edges clean and even.
- Clear the area around the wall
- Use a stud finder to avoid studs
- Cut along the marked lines
- Remove debris after cutting
- Check the opening fits the unit snugly
Install Support Brackets
Support brackets hold your through the wall air conditioner in place. Proper installation is important for safety and performance.
This guide shows how to attach interior brackets, secure exterior support, and ensure the unit is level.
Attach Interior Bracket
Start by positioning the interior bracket inside the wall opening. Align it with the air conditioner’s frame.
Use screws to fasten the bracket to the wall studs. Check that it is tight and stable before moving on.
Secure Exterior Support
The exterior support holds the weight of the air conditioner outside your home.
- Place the exterior bracket under the unit on the outside wall.
- Mark the screw holes on the wall surface.
- Drill pilot holes at the marked points.
- Attach the bracket with heavy-duty screws or anchors.
- Double-check that the bracket is firmly fixed and can bear weight.
Ensure Level Positioning
Correct leveling prevents water leaks and ensures efficient cooling.
| Step | Action | Tools Needed |
|---|---|---|
| 1 | Place a level on top of the unit frame. | Carpenter’s level |
| 2 | Adjust brackets or shim under the unit until level is centered. | Wood shims or spacer |
| 3 | Tighten all screws to hold the position firmly. | Screwdriver or drill |
Mount The Air Conditioner
Mounting the air conditioner correctly is key for good cooling. Follow these steps to secure it properly in the wall.
Take your time and make sure the unit fits snugly in place. This helps prevent air leaks and improves efficiency.
Insert The Unit Into The Opening
Hold the air conditioner carefully and slide it into the wall opening. Make sure the unit sits evenly and the weight is supported.
Seal Gaps And Insulate
Seal all gaps around the unit to keep air and water out. Use weatherstripping or foam insulation for a tight fit.
- Check for spaces between the unit and wall
- Apply silicone caulk or foam sealant
- Use insulation strips to fill larger gaps
- Ensure all seals are even and complete
Fasten The Unit Firmly
Secure the air conditioner with screws or brackets. This stops movement and keeps the unit stable during use.
| Fastening Part | Purpose | Tip |
|---|---|---|
| Mounting screws | Hold unit to wall frame | Use rust-resistant screws |
| Support brackets | Support unit weight | Place brackets under unit |
| Locking clips | Prevent unit from sliding out | Check clips fit tightly |

Credit: www.youtube.com
Connect Power And Test
After installing your through the wall air conditioner, it is important to connect the power safely. Testing the unit ensures it works correctly before regular use.
Follow these steps to plug in the unit, check its operation, and adjust the settings for comfort.
Plug In The Unit
Locate the air conditioner’s power cord and plug it into a suitable electrical outlet. Make sure the outlet matches the unit’s voltage requirements.
Use a grounded outlet to prevent electrical hazards. Avoid using extension cords for safety.
Check For Proper Operation
Turn on the air conditioner using the control panel or remote. Listen for any unusual sounds like rattling or buzzing.
Ensure air flows smoothly from the front vents. Check that the unit cools the room as expected.
- Verify the fan runs without noise
- Check for steady cool air output
- Watch for any error lights on the display
Adjust Settings
Set the temperature to your comfort level using the thermostat controls. Choose the fan speed for desired airflow.
Use mode settings like cooling or fan-only to match your needs. Adjust the timer if you want the unit to turn off automatically.
- Set temperature between 72°F and 78°F for comfort
- Select low, medium, or high fan speed
- Use energy-saving modes if available
Finish And Maintain
After installing your through the wall air conditioner, it is important to finish the setup properly. Regular care helps keep it working well.
This guide covers how to install the exterior cover, clean filters, and schedule maintenance.
Install Exterior Cover
The exterior cover protects the unit from weather and debris. Make sure it fits tightly and is secure.
- Place the cover over the outside part of the air conditioner.
- Align screw holes on the cover with the unit.
- Use screws to fasten the cover firmly.
- Check for gaps and seal if needed.
Clean The Filters
Filters catch dust and dirt to keep air clean. Clean them often to maintain airflow and efficiency.
| Filter Cleaning Tips | Frequency |
| Remove the filter carefully | Every month |
| Wash with warm water and mild soap | Every month |
| Let the filter dry completely before reinstalling | Every month |
| Replace filter if damaged | As needed |
Schedule Regular Maintenance
Regular maintenance keeps your air conditioner running smoothly and extends its life.
- Check the unit for leaks or unusual noises.
- Inspect electrical connections for safety.
- Clear any blockages around the unit.
- Have a professional service the unit yearly.

Credit: www.youtube.com
Frequently Asked Questions
What Tools Do I Need To Install A Through The Wall Air Conditioner?
You need a drill, screwdriver, level, measuring tape, sealant, and mounting brackets. These tools ensure a secure and precise installation.
How Do I Measure The Wall For The Air Conditioner?
Measure the unit’s dimensions and mark the wall accordingly. Ensure the opening fits the air conditioner snugly with a slight clearance.
Can I Install A Through The Wall Ac Myself?
Yes, with basic DIY skills and proper tools, you can install it. Follow manufacturer instructions carefully for safety and efficiency.
How Do I Seal The Air Conditioner To Prevent Leaks?
Use weatherproof sealant around the unit’s edges after installation. This prevents air and water leaks, improving energy efficiency.
Conclusion
Installing a through-the-wall air conditioner is a straightforward task. Follow the steps carefully for a cool home. Start by measuring the wall opening. Ensure the unit fits snugly. Use proper tools for cutting and framing. Secure the unit safely in place.
Seal gaps to prevent air leaks. Test the air conditioner to confirm it works well. Regular maintenance keeps it efficient. Enjoy a comfortable, cool space. Stay cool all summer with a properly installed unit. Remember, safety first and follow instructions closely.