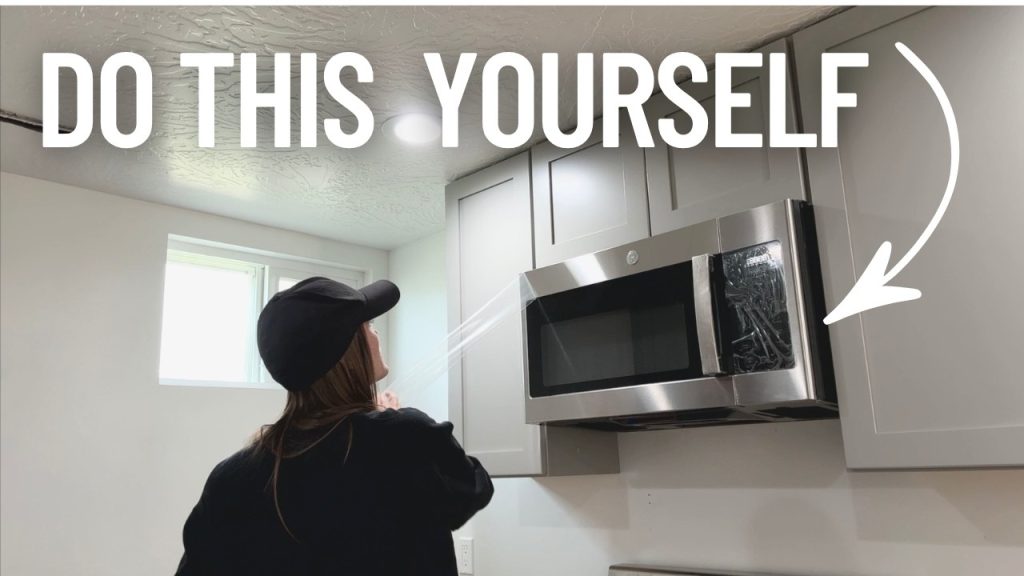
Are you ready to free up your countertop and give your kitchen a sleek, modern look? Installing an under cabinet microwave oven is the perfect way to save space and keep your cooking area organized.
But if you’re worried it might be too complicated or time-consuming, don’t be. This guide will walk you through every step, making the process simple and stress-free. By the end, you’ll have a stylish, functional microwave installed just where you need it—without the hassle.
Keep reading to discover how easy it is to transform your kitchen today!

Credit: danmarcappliance.com
Choosing The Right Microwave
Choosing a microwave that fits your kitchen size is key for easy under cabinet installation. Ensure it has proper ventilation and matches your kitchen style for a neat look. Accurate measurements help avoid installation problems.
Choosing the perfect microwave for under-cabinet installation matters. It ensures functionality and enhances your kitchen’s appeal. Understanding key factors helps you pick the right one for your needs.Size And Dimensions
Measure your space before selecting a microwave. Accurate measurements prevent installation issues. Consider the width, height, and depth. Ensure the microwave fits snugly under your cabinet. Leave room for ventilation to avoid overheating.Power And Features
Microwave power influences cooking efficiency. Generally, 800 to 1,200 watts suffices for most tasks. Think about additional features like defrosting and sensor cooking. These enhance convenience and make food preparation easier.Style And Finish
A microwave’s style should match your kitchen’s design. Stainless steel offers a modern look. Black or white finishes provide a classic appeal. Ensure the microwave’s finish complements your existing appliances. This creates a cohesive and attractive kitchen space.Gathering Tools And Materials
Before you begin installing your under cabinet microwave oven, gathering the right tools and materials is crucial. Having everything on hand saves time and prevents frustrating interruptions. It also helps you avoid unnecessary trips to the hardware store and ensures a smoother installation process.
Required Tools
You’ll need a few essential tools to get the job done efficiently. A power drill with various drill bits is a must for creating mounting holes. A stud finder helps you locate the best spots to secure your microwave safely.
Additionally, a screwdriver set (both flathead and Phillips) will come in handy for tightening screws. Don’t forget a tape measure and a pencil for accurate marking. A level is also important to make sure your microwave sits straight and looks professional.
Safety Gear
Your safety should never be overlooked during installation. Protective gloves will shield your hands from sharp edges and rough surfaces. Safety goggles protect your eyes from dust and debris when drilling.
Consider wearing a dust mask if you’re working in a confined space. It’s easy to skip safety gear when you’re eager to finish, but taking precautions prevents injuries and keeps you focused on the task.
Installation Kit Components
Most under cabinet microwaves come with an installation kit, but it’s important to check what’s included before you start. Typically, you’ll find mounting brackets, screws, and sometimes a template for drilling.
Make sure the screws and brackets match the weight and size of your microwave. If the kit doesn’t have everything you need, you’ll want to get the missing parts beforehand to avoid delays.
Preparing The Installation Area
Preparing the installation area is an important first step for a smooth microwave setup. This stage helps avoid problems during and after installation. A well-prepared space ensures your microwave fits well and works safely. Take time to check every detail before mounting the oven under your cabinet.
Measuring Cabinet Space
Start by measuring the width, height, and depth of the cabinet space. Use a tape measure for accurate numbers. Compare these measurements with the microwave’s dimensions. Leave extra room for ventilation and easy access. Proper fit prevents damage and allows the microwave to cool properly.
Checking Electrical Supply
Check the electrical outlet near the installation area. The microwave needs a dedicated 120-volt outlet. Confirm the outlet is grounded and in good condition. Avoid using extension cords or power strips. This step ensures safety and prevents electrical issues during use.
Clearing The Workspace
Clear the area under the cabinet and nearby countertops. Remove all items that might block access or cause accidents. Clean the surface to remove dust and grease. A clean workspace helps you work faster and keeps your microwave clean during installation.
Marking And Drilling Holes
Marking and drilling holes is a key step in installing an under cabinet microwave oven. This process ensures the microwave fits securely and safely. Precise markings help avoid mistakes and damage to cabinets. Drilling the right holes also supports the weight of the microwave and keeps it stable during use.
Positioning The Template
Begin by placing the mounting template under the cabinet. Align it according to the microwave’s instructions. Use a level to keep the template straight. Tape the template firmly to the cabinet bottom. This prevents slipping during marking. Mark all drill points clearly with a pencil. Double-check the marks before removing the template.
Drilling Pilot Holes
Choose a drill bit that matches the screw size. Drill small pilot holes at each marked point. These holes guide screws and prevent wood from splitting. Drill slowly and steadily to avoid mistakes. Keep the drill perpendicular to the cabinet surface. Clean any debris from the holes before proceeding.
Avoiding Wiring And Pipes
Check for electrical wires or plumbing before drilling. Use a stud finder with wire detection features. Avoid drilling near outlets or plumbing lines. Mark safe drill zones on the cabinet bottom. If uncertain, consult a professional for help. Safety prevents costly damage and keeps the installation secure.
Mounting The Bracket
Mounting the bracket is a crucial part of installing your under cabinet microwave oven. This step ensures the microwave is securely attached to your cabinet, supporting its weight safely. Taking your time here can save you from potential mishaps later on.
Securing The Mounting Plate
Start by aligning the mounting plate with the pre-marked spots under your cabinet. Use a stud finder to locate the cabinet’s studs, as they provide the strongest support. If you can’t find studs, use heavy-duty wall anchors designed for the weight of your microwave.
Hold the mounting plate firmly against the cabinet and mark the screw holes with a pencil. Drill pilot holes before inserting screws to avoid splitting the wood. This makes the process smoother and helps the screws grip better.
Ensuring Level Placement
Use a spirit level to check that the mounting plate is perfectly horizontal. Even a slight tilt can affect how your microwave sits and operates. Adjust the plate as needed before fully securing it to the cabinet.
Ask yourself: Is the plate flush against the cabinet surface? Gaps can cause instability or uneven pressure on the screws. Take your time to get this right—it’s worth the effort.
Tightening Screws
Once the mounting plate is positioned and level, tighten the screws firmly but avoid over-tightening. Over-tightened screws can strip the holes or damage the cabinet material. Use a screwdriver or drill with a clutch to control the torque.
After securing all screws, give the plate a gentle shake to confirm it’s firmly attached. If it feels loose, reassess your anchor points or screw tightness. A solid mounting plate is key to safely supporting your microwave.

Credit: www.youtube.com
Installing The Microwave Oven
Installing the microwave oven under the cabinet requires careful handling and precise placement. Proper installation ensures safety and efficient use of space. This section guides you through lifting, aligning, securing, and connecting the microwave.
Lifting And Aligning
Ask for help to lift the microwave safely. Hold the unit firmly on both sides. Align the microwave with the mounting bracket or cabinet frame. Check that it sits flush and level. Adjust the position until it fits perfectly under the cabinet.
Securing The Microwave
Use screws to fasten the microwave to the cabinet or mounting bracket. Tighten screws evenly to avoid gaps. Make sure the microwave feels stable and does not move. Double-check all screws for a secure hold. This step keeps the microwave safe during use.
Connecting Power
Locate the power cord and plug it into a grounded outlet. Avoid using extension cords or adapters. Ensure the cord does not hang loosely or get pinched. Test the microwave by turning it on briefly. Confirm the power connection works correctly before final use.
Final Adjustments And Testing
After installing the under cabinet microwave oven, final adjustments and testing are crucial. These steps ensure the microwave works safely and fits perfectly. Take your time to check every detail. This guarantees the best performance and longevity of your appliance.
Checking Stability
Ensure the microwave is firmly attached to the cabinet. Give it a gentle shake to see if it moves. The unit should feel solid and secure. Tighten screws if you notice any wobbling. A stable microwave prevents accidents and damage.
Testing Microwave Functions
Plug in the microwave and test all its functions. Start with simple heating to check the power. Use different settings like defrost and timer. Listen for unusual noises during operation. Confirm the turntable rotates smoothly. These tests confirm the microwave works correctly.
Adjusting Door Alignment
Open and close the microwave door several times. Check if it seals tightly and evenly. Misaligned doors cause heat loss and affect cooking. Adjust hinges or screws to fix gaps. The door should close smoothly without force. Proper alignment keeps heat inside and ensures safety.

Credit: www.youtube.com
Troubleshooting Common Issues
Installing an under cabinet microwave oven can be straightforward, but sometimes you might run into small issues that stop it from working perfectly. Troubleshooting these common problems early can save you time and frustration. Here are some practical tips to help you get your microwave up and running smoothly.
Microwave Not Turning On
If your microwave refuses to power up, first check if it’s properly plugged in. Sometimes the outlet might be faulty, so try plugging another device into the same socket to confirm.
Another reason could be a blown fuse or tripped circuit breaker in your home’s electrical panel. Resetting the breaker or replacing the fuse might fix the issue quickly.
Don’t overlook the microwave’s internal door switch. If the door isn’t fully closed or the switch is faulty, the microwave won’t start. Gently pressing the door firmly shut can sometimes solve the problem instantly.
Door Not Closing Properly
A door that won’t close right can prevent your microwave from working and cause safety concerns. Check if anything is blocking the door latch, like packaging or dirt buildup.
Inspect the door hinges for bending or damage. Even a slight misalignment can stop the door from sealing correctly.
Sometimes the gasket or seal around the door gets worn out. If your microwave is older, replacing the gasket might be necessary to ensure a proper close.
Unusual Noises
Strange sounds during operation often signal something is off inside your microwave. Listen carefully—grinding or rattling noises could mean a loose turntable or roller guide.
Inspect the microwave’s fan and motor area for debris or damage. A simple clean-out might remove any stuck particles causing the noise.
If you hear buzzing or humming, it could point to electrical issues, which might require professional attention. Have you checked the manual for noise-specific troubleshooting tips? Sometimes, the manufacturer provides sound descriptions that can help identify the problem.
Frequently Asked Questions
How Do I Prepare The Cabinet For Microwave Installation?
Measure the cabinet space to ensure it fits the microwave. Remove any shelves or obstacles. Ensure proper ventilation and electrical access. Follow manufacturer guidelines for cabinet dimensions and support requirements to avoid damage.
What Tools Are Needed For Under Cabinet Microwave Installation?
You will need a drill, screwdriver, measuring tape, level, pencil, and mounting brackets. Safety gear like gloves and goggles is also recommended. These tools help secure the microwave safely and accurately.
How Do I Safely Mount The Microwave Under Cabinets?
Use the mounting template to mark drill holes. Secure the mounting bracket firmly with screws. Lift the microwave and hook it onto the bracket. Tighten all screws and check stability before use.
Can I Install An Under Cabinet Microwave Without Professional Help?
Yes, if you follow instructions carefully and have basic tools. Ensure proper measurements, electrical connections, and secure mounting. However, for electrical work, consulting a professional is safer and recommended.
Conclusion
Installing an under cabinet microwave oven saves space and adds convenience. Follow each step carefully to ensure safety and proper fit. Take your time measuring and securing the unit firmly. Double-check electrical connections before use. Enjoy your new microwave that keeps counters clear and kitchen neat.
Simple tools and clear instructions make the job easier. A well-installed microwave lasts longer and works better. Ready to cook and heat food quickly? Now you know how to install it yourself.