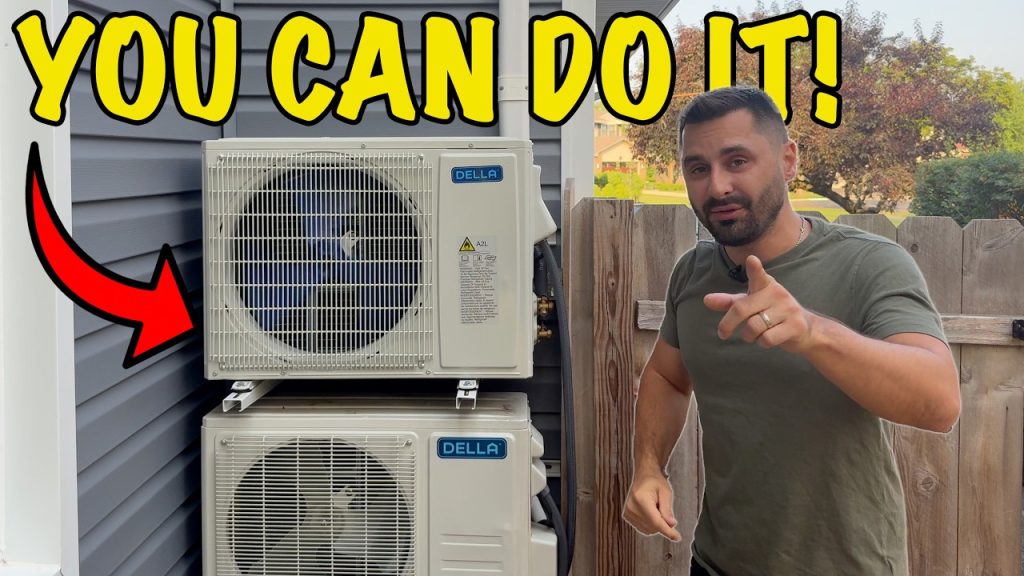
Are you tired of feeling hot and uncomfortable in your own home? Installing a wall air conditioner can be the perfect solution to keep your space cool and refreshing all year round.
But if the thought of setting it up yourself feels overwhelming, don’t worry—you’re in the right place. This step-by-step guide will walk you through the entire process, making it simple and manageable. By the end, you’ll have the confidence to install your wall air conditioner quickly and safely, so you can enjoy cool comfort whenever you need it.
Keep reading, and let’s get started!
Choosing The Right Wall Ac
Measure the room size carefully to choose the right wall AC. The size of the room affects the cooling power needed. Small rooms need less power; large rooms need more.
Check the power requirements before buying. Make sure your room’s electrical outlet can handle the air conditioner’s power. This avoids electrical problems and saves energy.
- Look for energy-efficient models to save money on bills.
- Energy-efficient ACs use less electricity and cool well.
- Choose models with good Energy Star ratings for best efficiency.

Credit: m.youtube.com
Gathering Tools And Materials
Gathering the right tools and materialsis key for a smooth installation. Essential tools include a drill, screwdriver, level, and measuring tape. Having a utility knifeand caulking gunhelps seal gaps.
Safety is important. Use safety glassesto protect your eyes. Wear glovesto keep hands safe. A dust maskstops dust from entering your lungs during cutting.
| Essential Tools | Safety Equipment |
|---|---|
| Drill | Safety glasses |
| Screwdriver | Gloves |
| Level | Dust mask |
| Measuring tape | |
| Utility knife | |
| Caulking gun |
Preparing The Installation Site
Choose a wall that gets some shade to keep the unit cool. The location should allow the air conditioner to blow air freely. Avoid spots near heat sources or direct sunlight.
Measure the air conditioner’s dimensions carefully. Mark the wall where the unit will fit. Use a pencil and a level to make straight lines.
Cut an opening on the marked lines. Make sure the hole is slightly bigger than the unit. This allows space for installation and sealing.
Installing The Support Bracket
Place the support bracket against the wall where the air conditioner will sit. Use a level tool to make sure the bracket is perfectly horizontal. This helps the air conditioner stay stable and work well.
Mark the spots for drilling holes on the wall through the bracket’s holes. Use a drill to make holes in the wall. Insert wall anchors if the wall is drywall or plaster.
Secure the bracket with screws or bolts. Tighten them firmly, but do not overtighten. Check the level again to ensure the bracket is straight. This step is important for the air conditioner’s safety and function.
Mounting The Air Conditioner
Choose a wall space near a window or vent for good air flow. The unit must sit level for proper drainage. Make sure the spot can hold the weight of the air conditioner. Check there are no obstructions blocking the front or back of the unit.
Attach the mounting bracket firmly to the wall using strong screws. Align it straight to keep the air conditioner stable. The bracket should be fixed to wall studs for safety. Double-check the bracket is secure before placing the unit.
- Lift the air conditioner carefully onto the bracket.
- Make sure it fits snugly and does not wobble.
- Use screws or bolts to secure the unit to the bracket.
- Tighten all fasteners to prevent movement.
- Check the unit’s level again after securing.

Credit: www.youtube.com
Sealing And Insulating
Apply weatherproof sealantaround the air conditioner edges. This stops air leaks and keeps water out. Use a caulking gun for a smooth line. Press the sealant into all gaps. Let it dry fully before moving on.
Install insulationaround the unit to keep cool air inside. Use foam strips or weatherproof tape. Cover gaps between the unit and wall. This helps save energy and prevents drafts.
Connecting Electrical Components
Wiring the AC unit needs care and safety. Use the correct wire size for the unit’s power needs. Connect wires to the correct terminals: live, neutral, and ground. Tighten all connections firmly to avoid loose wires. Use wire nuts or connectors to secure connections safely.
Testing electrical safety is key before powering the unit. Use a multimeter to check voltage and continuity. Make sure no wires touch or are damaged. Confirm the unit is properly grounded. Check the circuit breaker or fuse to match the AC unit’s power rating. Safety first, always.
Final Checks And Testing
Before powering on, double-check all connections are secure and tight. Make sure the unit is properly mounted and sealed.
Turn on the power supply to the air conditioner. Listen for any unusual sounds or vibrations. The unit should start smoothly and quietly.
- Check if cool air is blowing from the vent.
- Verify that the fan speed matches the setting.
- Observe if the temperature changes as expected.
- Look for any water leaks or excess condensation.
Adjust the thermostat to your preferred temperature. Set the fan speed and mode (cool, fan, or dry). Test the remote control and buttons on the unit.
Make small adjustments until the unit works comfortably and efficiently. Ensure the airflow is not blocked or restricted. Ready for use.
Maintenance Tips For Longevity
Cleaning filters regularlyhelps keep the air conditioner working well. Dust and dirt block airflow, making the unit less efficient. Remove filters gently and wash them with warm water. Let them dry completely before putting them back. Doing this every month or two can prevent damage and improve air quality.
Scheduling professional servicingensures that small problems are fixed early. A technician can check refrigerant levels and clean parts you cannot reach. Plan a service visit once a year to keep the unit running smoothly. This helps avoid costly repairs and extends the lifespan of the air conditioner.

Credit: airgreen.ca
Frequently Asked Questions
What Tools Do I Need For Installation?
To install a wall air conditioner, gather essential tools like a drill, level, screwdriver, and measuring tape. Ensure you have safety gear such as gloves and goggles. Additionally, check the air conditioner’s manual for any specific tools required. A well-prepared toolkit ensures a smooth and efficient installation process.
How To Select The Perfect Location?
Choose a location near a power outlet and away from direct sunlight. Ensure the wall can support the unit’s weight. Avoid areas with heavy foot traffic or obstructions. Proper placement ensures efficient cooling and prolongs the unit’s lifespan. Consider consulting the manufacturer’s guidelines for optimal performance.
Can I Install It Myself Or Hire A Pro?
You can install it yourself if you’re handy and follow instructions carefully. However, hiring a professional ensures correct installation and avoids potential mishaps. Pros have the expertise and tools for efficient setup. Consider your skill level and comfort with electrical work before deciding.
How Do I Ensure Proper Sealing?
Proper sealing is crucial to prevent air leaks. Use weather stripping or foam insulation around the unit. Ensure the unit fits snugly in the wall opening. Regularly inspect seals for wear and replace as needed. Good sealing improves efficiency and reduces energy costs.
Conclusion
Installing a wall air conditioner can cool your room quickly. Follow each step carefully for the best results. Use the right tools and safety measures throughout the process. Check the unit for proper fit and secure it firmly. Clean the area to keep the air fresh and clear.
Enjoy a cooler home without extra cost or hassle. This simple project saves energy and adds comfort. Stay cool all summer with your new wall air conditioner.