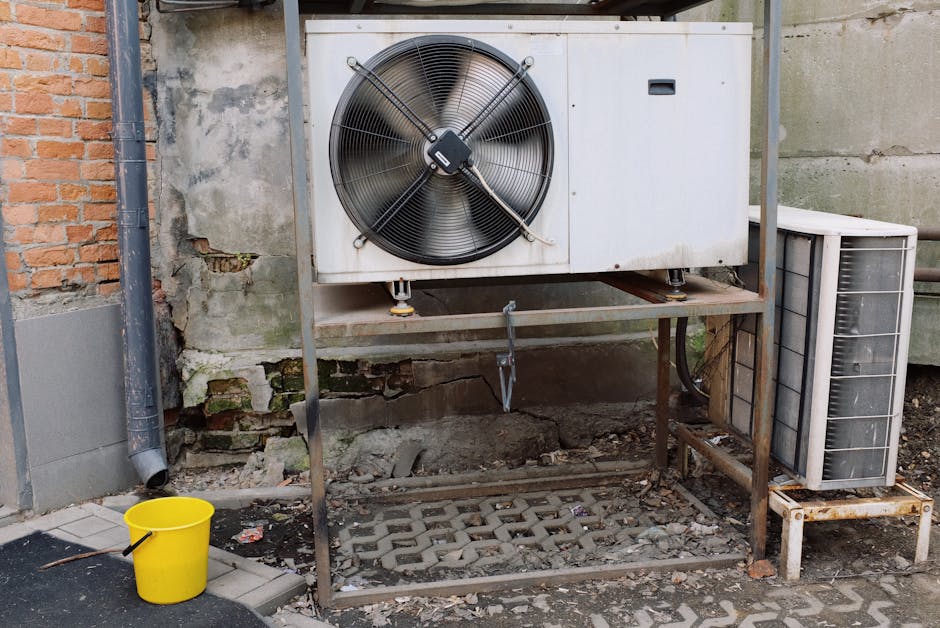
Are you tired of struggling with bulky air conditioners that take up too much space? Installing a wall-mounted air conditioner might be the perfect solution for your home or office.
It saves space, looks sleek, and keeps your room cool and comfortable. But how do you install it yourself without hiring a pro? Don’t worry—you’re about to discover a simple, step-by-step guide that will make the process easy and stress-free.
By the end, you’ll have the confidence to install your wall-mounted air conditioner quickly and efficiently. Ready to get started? Let’s dive in!
Tools And Materials Needed
Installing a wall-mounted air conditioner needs specific tools and materials. This guide helps you gather everything before you start.
Having the right items will make the installation easier and safer. Check the list carefully to prepare well.
Essential Tools
You need certain tools to install the air conditioner correctly. These tools help with measuring, cutting, and fixing parts securely.
- Drill with various bits
- Screwdrivers (flathead and Phillips)
- Measuring tape
- Level tool
- Stud finder
- Pipe cutter
- Wrench set
- Utility knife
- Sealant gun
- Safety gloves and goggles
Required Materials
Besides tools, you need certain materials to complete the installation. These materials help mount the unit and connect it to power and drainage.
- Wall-mounted air conditioner unit
- Mounting bracket kit
- Insulated copper tubing
- Electrical wiring and connectors
- Drain hose
- Foam insulation tape
- Silicone sealant
- Plastic anchors and screws
- Electrical tape
- Protective cover for outdoor unit

Credit: m.youtube.com
Choosing The Right Location
Installing a wall mounted air conditioner needs careful location choice. The right spot helps it cool your room well.
Picking the best place makes the unit work efficiently and last longer. Think about where it fits best on your wall.
Optimal Height And Placement
Place the air conditioner high on the wall. Cool air flows down, so a higher spot cools the room faster.
Make sure the unit is centered on the wall for even air distribution. Avoid corners or narrow spaces.
- Mount 7 to 8 feet above the floor
- Keep it at least 6 inches below the ceiling
- Center on the longest wall if possible
Avoiding Obstacles And Heat Sources
Do not place the air conditioner near heat sources. Heat makes the unit work harder and wastes energy.
Avoid obstacles like furniture, curtains, or shelves. They block airflow and reduce cooling power.
- Keep away from direct sunlight or lamps
- Leave 12 inches of space around the unit
- Do not block vents with objects
Preparing The Wall
Installing a wall mounted air conditioner starts with preparing the wall properly. This ensures the unit stays secure and works well.
Check the wall for strength and clear space. Avoid weak spots or areas with pipes and wires behind.
Measuring And Marking
Measure the height and width where the air conditioner will go. Use a tape measure for accuracy.
Mark the spots for the mounting bracket holes. Use a pencil to make small marks on the wall.
- Measure twice to avoid mistakes
- Mark holes level and evenly spaced
- Check the marks with a level tool
Drilling And Mounting Bracket Installation
Use a drill with the right bit size to make holes in the wall at the marked spots. Wear safety glasses.
Fix the mounting bracket to the wall using screws and anchors. Tighten them to make the bracket firm and steady.
- Choose drill bit size based on wall type
- Use wall anchors for extra support
- Check bracket is level before tightening
Installing The Air Conditioner Unit
Installing a wall mounted air conditioner requires care. You must place the unit securely to keep it safe.
This guide covers how to secure the unit on the bracket and connect the electrical parts.
Securing The Unit On The Bracket
First, check that the bracket is strong and level. The unit must sit firmly on the bracket.
Lift the air conditioner carefully and place it on the bracket. Make sure it fits well.
- Align the unit with the bracket slots
- Slide the unit slowly into place
- Use bolts or screws to lock the unit
- Check that the unit does not move
Connecting Electrical Components
Before connecting, turn off the power supply. This keeps you safe from shocks.
Connect the wires from the air conditioner to the power source. Follow the color codes carefully.
- Match live, neutral, and ground wires
- Use wire connectors or terminal blocks
- Secure all wire connections firmly
- Check that no wires are loose or exposed
- Turn power back on and test the unit
Sealing And Insulating
Sealing and insulating your wall mounted air conditioner helps keep your home comfortable. It stops air leaks and keeps cool air inside.
Proper sealing and insulation also save energy and reduce your electric bill. This guide explains how to do it right.
Preventing Air Leaks
Air leaks let warm air enter and cool air escape. Seal all gaps around the air conditioner to stop this.
- Use weatherstripping around the edges of the unit.
- Apply caulk to fill cracks between the wall and the air conditioner.
- Check the seal after installation and replace any damaged materials.
- Use foam sealant for larger gaps that caulk cannot fill.
- Ensure the mounting bracket fits tightly against the wall.
Adding Insulation For Efficiency
Insulation keeps the cold air inside and the heat outside. It improves the air conditioner’s efficiency.
| Insulation Type | Where to Use | Benefits |
| Rigid Foam Board | Around the unit frame | Strong and moisture resistant |
| Spray Foam | Fill hard-to-reach gaps | Expands to seal cracks |
| Fiberglass Batts | Inside wall cavities | Good thermal resistance |
Always cover insulation with a vapor barrier if needed. This stops moisture buildup and damage.

Credit: www.amazon.ca
Testing The Installation
After you install the wall mounted air conditioner, you need to test it. Testing ensures the unit works safely and correctly.
Check all functions and controls before using the air conditioner regularly.
Powering On The Unit
First, connect the unit to the power source and switch it on. Make sure the power supply matches the unit’s requirements.
- Turn on the circuit breaker or plug in the unit.
- Press the power button on the remote or control panel.
- Listen for startup sounds like the fan or compressor running.
- Check that the display or indicator lights turn on.
- Stop immediately if you smell burning or see smoke.
Checking For Proper Functionality
Once powered on, check the air conditioner for correct cooling and airflow.
| Function | What to Check | Action if Problem |
|---|---|---|
| Cooling | Air feels cold after 5 minutes | Check refrigerant levels or call a technician |
| Airflow | Fan blows air strongly | Clean filters or check fan motor |
| Noise | Unit runs quietly | Inspect for loose parts or debris |
| Controls | Buttons and remote work properly | Replace batteries or reset controls |
Maintenance Tips
Maintaining your wall mounted air conditioner helps it work well for a long time. Regular care keeps the air clean and the unit efficient.
Two key tasks are cleaning the filters and doing regular inspections. These steps stop problems before they start.
Cleaning Filters
Clean filters trap dust and dirt to keep air fresh. Dirty filters reduce cooling power and use more energy.
- Turn off the air conditioner before cleaning.
- Remove the front panel carefully.
- Take out the filters and wash them with warm water.
- Let the filters dry completely before putting them back.
- Clean the filters every two weeks during heavy use.
Regular Inspections
Check your air conditioner often to find small issues. Early fixes save money and keep the unit safe.
| Inspection Item | What to Check | How Often |
| Power Supply | Ensure cords and plugs are in good condition | Monthly |
| Drainage | Check for blockages or leaks in the drain pipe | Monthly |
| Cooling Performance | Make sure air blows cold and strong | Monthly |
| Noise Levels | Listen for unusual sounds during operation | Monthly |

Credit: airgreen.ca
Frequently Asked Questions
How Do I Install A Wall Mounted Air Conditioner?
First, choose a sturdy wall with proper support. Then, mount the bracket securely. Connect the unit to power and seal any gaps. Finally, test the air conditioner for proper operation.
What Tools Are Needed For Installation?
You need a drill, screwdriver, level, measuring tape, and mounting bracket. Also, have a stud finder and sealant ready. These tools ensure accurate and safe installation of your air conditioner.
Can I Install A Wall Ac Myself?
Yes, if you have basic DIY skills and follow instructions carefully. However, professional help is recommended for electrical connections and heavy lifting. Safety should always come first during installation.
How High Should A Wall Ac Be Installed?
Install the unit about 7 feet above the floor. This height ensures optimal air circulation and cooling efficiency. Avoid placing it too low or near heat sources for best results.
Conclusion
Installing a wall-mounted air conditioner is simple with the right steps. Follow the guide, and you’ll enjoy cool air in no time. Begin by choosing the right location for your unit. Next, ensure you have the necessary tools ready. Carefully read the manufacturer’s instructions before starting.
Safety should always be your priority. Once installed, regular maintenance keeps it running smoothly. Clean filters and check for any leaks. Feel the refreshing breeze and enjoy a comfortable home environment. With these steps, you can confidently install your air conditioner.
Stay cool and comfortable all summer long!