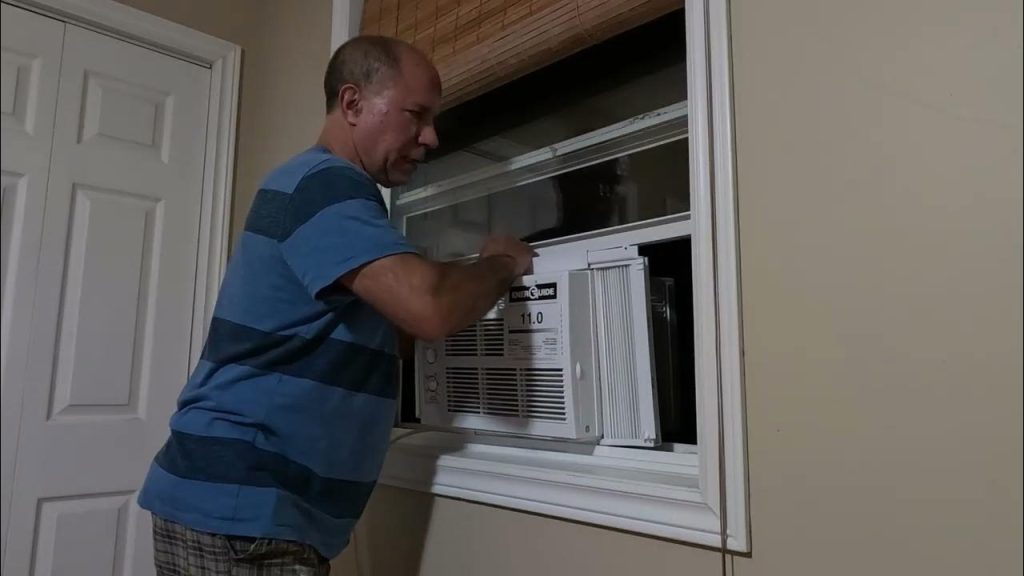
Are you tired of struggling with a bulky window air conditioner that blocks your view and lets in hot air? Installing a window air conditioner right into your wall could be the perfect solution.
It saves space, improves cooling efficiency, and gives your room a cleaner look. But how do you do it yourself without calling a pro? This guide will walk you through simple, step-by-step instructions to help you install your window air conditioner in a wall safely and securely.
Keep reading, and you’ll soon enjoy cool comfort without the hassle.
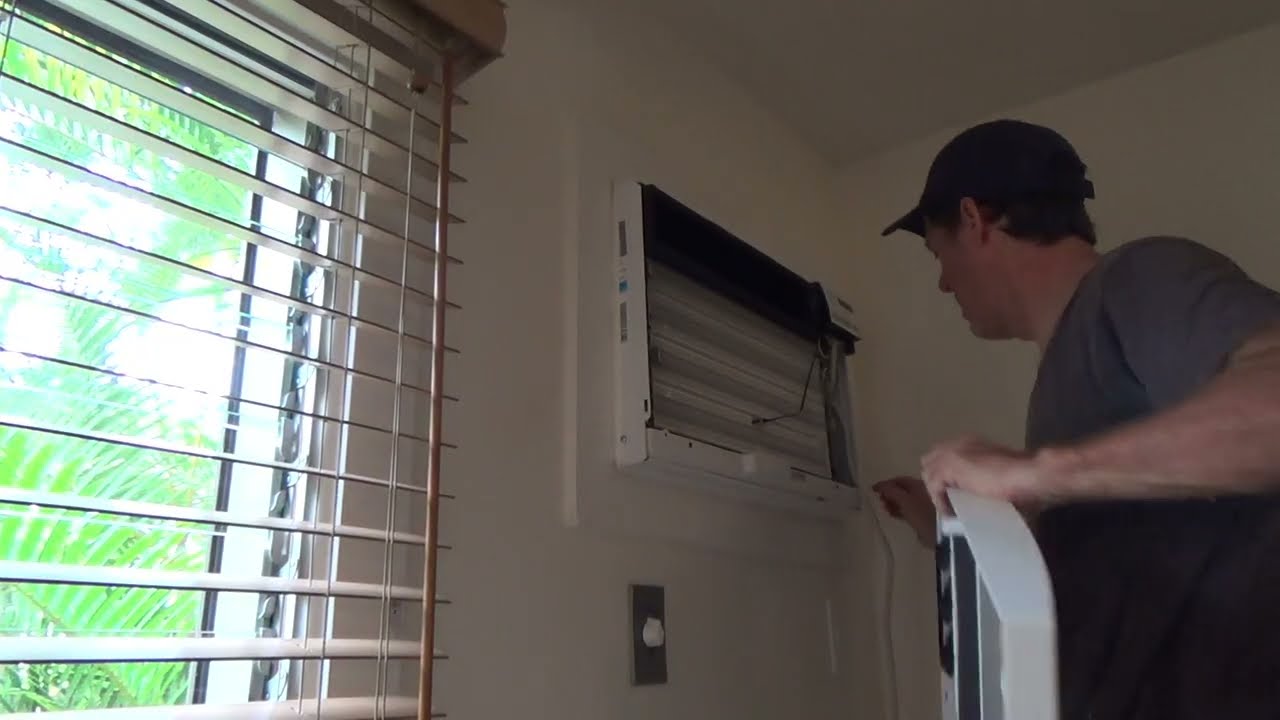
Credit: www.youtube.com
Choose The Right Air Conditioner
Choosing the right air conditioner is important before installing it in your wall. The correct size and features will help cool your room well and save energy.
This guide helps you pick the best unit by measuring your space and checking the unit’s details.
Measure Your Space
Measure the length, width, and height of the room where you want to install the air conditioner. This helps determine the cooling power you need.
- Calculate the room’s square footage by multiplying length by width.
- Note any extra heat sources like sunlight or appliances.
- Consider the ceiling height if it is higher than standard.
Check Unit Specifications
Look at the air conditioner’s specifications to make sure it fits your room and wall opening.
| Specification | Why It Matters |
|---|---|
| Cooling Capacity (BTU) | Matches your room size for effective cooling |
| Dimensions | Fits the wall opening and space |
| Energy Efficiency Ratio (EER) | Uses less power and saves money |
| Weight | Checks if your wall can support the unit |
Gather Necessary Tools And Materials
Installing a window air conditioner in a wall needs careful preparation. You must gather all tools and materials before starting the job.
Having the right items ready helps you work safely and finish faster. This guide lists what you need for a smooth installation.
List Of Tools
Tools help you cut, measure, and fix the air conditioner securely. Use tools that fit the job well and are in good condition.
- Measuring tape to get the exact size of the wall opening
- Level to ensure the unit sits straight
- Power drill for making holes and screwing parts
- Screwdriver to tighten screws and bolts
- Jigsaw or handsaw for cutting the wall opening
- Stud finder to locate wall studs for support
- Caulking gun to seal edges and prevent air leaks
- Safety glasses and gloves for personal protection
Required Materials
Materials help hold the air conditioner in place and keep your home safe. Choose quality items to avoid problems later.
- Wall sleeve or mounting bracket designed for your AC model
- Weather stripping to block air and water from outside
- Foam insulation to fill gaps around the unit
- Wooden planks or support brackets if needed for extra strength
- Sealant or caulk to close any cracks or openings
- Screws and bolts compatible with your wall and AC unit
- Drip pan or drainage kit if recommended by the manufacturer
Select The Installation Location
Choosing the right spot for your window air conditioner is key for its efficiency. The location affects cooling performance and ease of installation.
Focus on a wall that supports the unit well and has nearby power access. This helps keep the installation safe and effective.
Find A Suitable Wall
Select a wall that can hold the weight of the air conditioner. It should be sturdy and free from damage or moisture.
- Choose a wall with enough thickness for the unit.
- Ensure the wall faces outside for proper ventilation.
- Avoid walls near doors or windows that open often.
- Check for any pipes or wiring inside the wall.
- Pick a location with shade to improve cooling efficiency.
Consider Power Source
Check the power source near the installation spot. The air conditioner needs a dedicated outlet for safety and performance.
| Power Requirement | Details |
| Voltage | Usually 115V or 230V depending on the model |
| Dedicated Circuit | Recommended to prevent overload |
| Outlet Location | Close to the unit for easy connection |
| Extension Cords | Not advised; may cause hazards |

Credit: archexteriors.com
Prepare The Wall Opening
Installing a window air conditioner in a wall needs a proper opening. Preparing this opening carefully helps the unit fit well and work efficiently.
Follow these steps to get the wall ready for your air conditioner.
Mark The Dimensions
Start by measuring the size of your air conditioner. Write down the height, width, and depth.
Use these measurements to mark the wall. Draw a rectangle where the unit will go.
- Measure the air conditioner’s dimensions accurately
- Mark the wall with a pencil or chalk
- Double-check the marks before cutting
Cut The Wall
Cut along the marked lines using a saw or other tools. Take care to cut straight for a good fit.
Remove the wall section carefully. Clear away debris and smooth rough edges.
- Wear safety gear like goggles and gloves
- Use a level to keep cuts straight
- Clean the opening after cutting
Ensure Proper Support
Check that the wall can hold the air conditioner’s weight. Add support if needed to avoid damage.
Use wood or metal braces around the opening for extra strength.
- Inspect the wall structure near the opening
- Add framing if the wall is weak
- Secure supports firmly before installing the unit
Install The Mounting Bracket
Installing the mounting bracket is a key step for placing your window air conditioner in a wall. The bracket holds the unit firmly and ensures it stays secure.
Follow the right process to position the bracket correctly and fasten it with screws. This will help the air conditioner work safely and efficiently.
Position The Bracket
First, find the right spot on the wall where the air conditioner will sit. The bracket must be level and strong enough to hold the unit’s weight.
- Use a level tool to check the bracket’s horizontal position.
- Mark the wall for drill holes using the bracket as a guide.
- Make sure the bracket is at the height needed for the air conditioner.
- Check that the bracket fits the air conditioner size.
Secure With Screws
After positioning, attach the bracket firmly to the wall using screws. Tight screws keep the bracket steady and prevent it from moving.
| Type of Screw | Recommended Size | Purpose |
|---|---|---|
| Wood Screws | 3-inch | Use if mounting on wooden studs |
| Masonry Screws | 3-inch | Use if mounting on brick or concrete |
| Lag Bolts | 4-inch | Use for extra heavy support |

Credit: thelenmechanical.com
Place And Secure The Air Conditioner
Installing a window air conditioner in a wall needs careful placement. You must secure the unit well to keep it stable and safe.
This section explains how to lift the unit into position and seal the edges properly.
Lift The Unit Into Position
Ask for help to lift the air conditioner into the wall opening. The unit can be heavy and hard to hold alone.
Make sure the unit sits evenly in the opening. The bottom should rest on the support bracket or ledge.
- Wear gloves for a better grip
- Lift slowly and carefully
- Check that the unit does not tilt forward or backward
- Align the sides with the wall opening
Seal And Insulate Edges
After placing the air conditioner, seal the edges to keep air and water out. This step improves energy efficiency.
Use insulation foam or weatherstripping around the sides. Then apply waterproof sealant outside.
- Fill gaps with expanding foam or insulation strips
- Check for any holes or cracks
- Apply sealant to protect against rain
- Allow sealant to dry before using the unit
Connect The Power Supply
Connecting the power supply is a key step when installing a window air conditioner in a wall. It ensures the unit runs safely and efficiently.
Follow electrical safety rules and check your home’s wiring before starting. This guide helps you connect power correctly.
Check Electrical Requirements
Make sure your electrical system can handle the air conditioner’s power needs. Check the voltage, amperage, and circuit type.
- Confirm the air conditioner’s voltage rating matches your home supply.
- Use a dedicated circuit breaker to avoid overloads.
- Verify the circuit amperage supports the unit’s current draw.
- Check if grounding is required for your model.
- Ensure the power outlet is in good condition and properly installed.
Plug In Or Hardwire Safely
You can plug the air conditioner into an outlet or hardwire it. Follow the correct method for safety and code compliance.
| Connection Type | When to Use | Safety Tips |
|---|---|---|
| Plug In | Standard models with plug and outlet | Use a grounded outlet and avoid extension cords |
| Hardwire | Built-in or custom installations | Turn off power before wiring and use a licensed electrician |
Test The Air Conditioner
After installing your window air conditioner in the wall, testing it ensures it works well. This step helps find any problems early.
Follow the steps below to turn on the unit and check its operation carefully.
Turn On The Unit
Plug in the air conditioner and switch it on using the control panel or remote. Set the mode to cooling and the temperature to a lower setting.
- Make sure the unit powers up without error lights.
- Listen for any unusual noises like rattling or buzzing.
- Check that the fan starts spinning smoothly.
- Confirm the display shows the correct temperature and settings.
Check For Proper Operation
Watch the air conditioner for 10 to 15 minutes to ensure it cools the room properly. Use this table to check key functions and expected results.
| Function | Expected Result |
| Cooling | Cold air flows steadily from the unit |
| Airflow | Fan speed changes when adjusted |
| Drainage | No water leaks inside or outside |
| Noise | Normal humming, no loud or sharp sounds |
| Temperature Display | Shows current room temperature correctly |
Maintain Your Wall Air Conditioner
Keeping your wall air conditioner well maintained helps it work better. It also lasts longer and uses less energy.
Simple care tasks can prevent problems and keep your room cool. Regular attention to your unit is important.
Clean Filters Regularly
Dirty filters reduce airflow and lower cooling power. Clean the filters every month during heavy use.
- Turn off and unplug the air conditioner.
- Remove the front cover to access the filters.
- Take out the filters carefully.
- Wash the filters with warm water and mild soap.
- Let the filters dry completely before putting them back.
- Replace the front cover and plug the unit back in.
Schedule Routine Checks
Regular checks help find small issues before they get worse. Inspect key parts of your air conditioner every few months.
| Check Item | What to Look For | Action Needed |
| Coils | Dust or dirt buildup | Clean gently with a soft brush |
| Drainage | Blocked drain holes | Clear any clogs to avoid water leaks |
| Seal Around Unit | Cracks or gaps | Seal with weatherproof caulk |
| Electrical Connections | Loose wires or damage | Call a professional for repairs |
Frequently Asked Questions
How Do I Prepare The Wall For An Air Conditioner?
Measure the wall opening accurately. Cut a hole matching the AC unit size. Ensure the wall is sturdy enough to hold the unit safely.
What Tools Are Needed To Install A Wall Ac?
You need a drill, screwdriver, level, measuring tape, saw, and mounting brackets. These tools help secure the air conditioner properly.
How Do I Secure The Air Conditioner In The Wall?
Use mounting brackets to hold the unit firmly. Seal gaps around the unit with weatherproof foam or caulk to prevent air leaks.
Can A Window Ac Fit In A Wall Opening?
Yes, with proper measurements and support, a window AC can fit in a wall. Ensure the wall opening matches the unit size precisely.
Conclusion
Installing a window air conditioner in a wall is straightforward. Follow the steps carefully. Measure your wall opening accurately. Ensure the unit fits snugly. Gather all necessary tools beforehand. Safety should be your priority. Secure the air conditioner properly. This prevents any mishaps.
Regular maintenance prolongs its lifespan. Clean filters often for efficiency. Enjoy the cool comfort it provides. A wall-mounted unit saves space. It offers effective cooling for your room. Embrace the refreshing air during hot days. Your home will be a haven.
Stay cool and comfortable with ease.