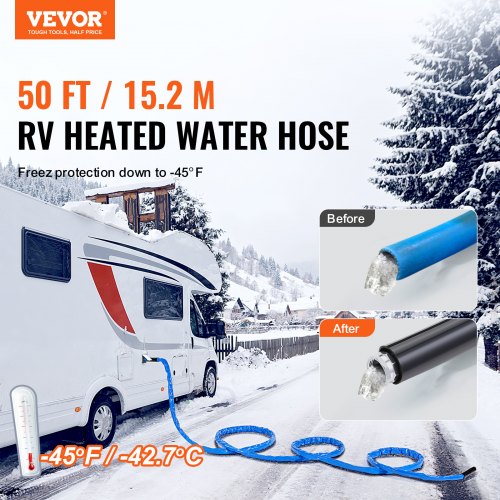
Freezing water in your RV can turn a fun trip into a chilly nightmare. You don’t want burst pipes, wasted water, or costly repairs ruining your adventure.
But how do you stop your water from freezing when temperatures drop? In this guide, you’ll discover simple, effective ways to keep your water flowing smoothly, no matter how cold it gets outside. Keep reading to protect your RV and enjoy your travels without the worry of frozen pipes.
Choose The Right Antifreeze
Choosing the right antifreeze is crucial to keep your RV’s plumbing safe and functional during freezing temperatures. Not all antifreeze products are suitable for your RV’s water system. Using the wrong type can cause damage or introduce harmful chemicals, so understanding your options is key to protecting your investment.
Types Safe For Rv Use
RV antifreeze is specially formulated to be non-toxic and safe for potable water systems. Look for products labeled as “nontoxic” or “food-grade.” These types are usually made from propylene glycol, which is safe if accidentally ingested in small amounts.
- Propylene Glycol Antifreeze:The most common and safest choice for RV plumbing.
- Ethylene Glycol Antifreeze:Common in cars but toxic and should never be used in RV water systems.
- Food-Grade RV Antifreeze:Meets strict safety standards and is ideal for filling water lines and tanks during winterization.
Have you ever wondered if the pink or green antifreeze you see at auto shops is safe for your RV? It usually isn’t. Always double-check the label to avoid costly mistakes.
Proper Application Methods
Simply pouring antifreeze into your water tank isn’t enough. You need to ensure it reaches every pipe and fixture. This protects your entire system from freezing and cracking.
- Drain all water from tanks, pipes, and the water heater.
- Use a hand pump or the RV’s water pump to push antifreeze through the system.
- Open each faucet (hot and cold) until you see pink antifreeze flowing out.
- Don’t forget to pour antifreeze into drains and toilets to protect those traps.
Applying antifreeze correctly means your pipes won’t freeze and burst during cold snaps. How confident are you that your RV’s winterization process covers every corner?
Insulate Water Lines
Keeping your RV’s water lines from freezing is essential for a comfortable and hassle-free trip during cold weather. Insulating your water lines creates a barrier against the chill, preventing costly damage and ensuring you always have running water. Let’s look at how you can effectively insulate those lines yourself.
Materials For Effective Insulation
Choosing the right materials makes all the difference in keeping your water lines warm. Here are some common options:
- Foam pipe insulation:Easy to install and affordable, foam sleeves fit snugly over pipes to block cold air.
- Heat tape or heat cables:These electric strips wrap around pipes and provide gentle warmth, ideal for extremely cold conditions.
- Reflective insulation:Reflects radiant heat back to the pipes, often used in combination with foam.
- Fiberglass insulation:A durable choice but requires careful handling to avoid irritation.
Do you have access to these materials at your local hardware store? Sometimes the simplest, widely available items work best.
Diy Insulation Techniques
Insulating water lines doesn’t have to be complicated or expensive. Here’s a straightforward way to protect your pipes:
- Start by cleaning and drying the pipes thoroughly.
- Slide foam pipe insulation over each exposed section of pipe.
- Secure the foam with waterproof tape or zip ties to keep it in place.
- If you expect severe cold, wrap heat tape around the pipes before adding the foam insulation.
- Seal any gaps with spray foam or caulk to stop drafts.
I once underestimated how cold it would get and didn’t insulate properly. The pipes froze overnight. Since then, I always double-check for gaps and add extra layers if needed. What’s your plan for tackling those cold nights?
Use Heat Tape Or Cable
Using heat tape or cable is a smart way to prevent your RV’s water lines from freezing during cold weather. These products provide consistent warmth directly to your pipes, stopping ice before it forms. This simple addition can save you from costly repairs and the hassle of dealing with burst pipes.
Selecting The Correct Heat Tape
Choosing the right heat tape depends on the size and material of your pipes. Look for heat tape that is specifically designed for outdoor or RV plumbing use. Some tapes have built-in thermostats that turn on only when temperatures drop, which can save energy.
Check the wattage to make sure it matches your power source and pipe length. Overheating can damage your pipes, while underpowered tape won’t keep them warm enough. Brands like Frost King and EasyHeat are popular and reliable options to consider.
Installation Tips And Safety
Before installation, clean and dry your pipes thoroughly to ensure good contact with the heat tape. Wrap the tape evenly around the pipe, following the manufacturer’s instructions. Avoid overlapping the tape, as this can cause overheating and potential hazards.
Secure the tape with electrical tape or zip ties, but don’t use metal fasteners that can damage the tape. Plug the heat tape into a GFCI-protected outlet to reduce the risk of electrical shock. Always test the tape after installation to confirm it’s heating properly.
Have you ever experienced frozen pipes despite your best efforts? Adding heat tape might be the practical solution you’re missing. It’s a straightforward way to protect your RV’s plumbing and keep your travels worry-free in cold weather.
Maintain A Consistent Temperature
Maintaining a consistent temperature inside your RV is key to preventing water lines and tanks from freezing. Sudden drops in temperature cause pipes to freeze quickly, leading to costly repairs and inconvenient downtime. By keeping the temperature steady, you protect your plumbing and enjoy peace of mind even in the coldest weather.
Using Rv Heaters Efficiently
Your RV heater is your first line of defense against freezing water. Set it to a low, steady heat rather than turning it on and off frequently. This approach avoids cold spots and keeps the entire space warm enough to protect your pipes.
Consider using a space heater with a thermostat for precise control. Placing heaters near vulnerable plumbing areas can make a big difference. Have you noticed how a small heater near your water tank can prevent freezing better than heating the whole RV unevenly?
Sealing Drafts And Openings
Cold air sneaking in through cracks and gaps can quickly drop the temperature inside your RV. Check windows, doors, and vents for drafts and seal them with weather stripping or caulk. Even a small draft near plumbing can cause freezing.
Pay special attention to compartments and storage areas where pipes run. Using foam pipe insulation alongside sealing drafts creates a double layer of protection. How often do you inspect these hidden areas during winter travel?
Drain And Bypass Water Systems
Draining and bypassing water systems in an RV protects pipes from freezing during cold weather. These actions remove water from the plumbing to prevent ice damage. They also help maintain the integrity of the RV’s water system over winter or during long storage periods.
Draining the pipes fully removes water that could freeze and cause cracks. Bypassing the water heater avoids filling it with antifreeze, saving costs. Both steps are essential for winterizing the RV effectively.
Steps To Properly Drain Pipes
- Turn off the water pump and disconnect the fresh water supply.
- Open all faucets, including hot and cold taps, to allow air in.
- Drain the water heater by opening its drain valve and pressure relief valve.
- Locate and open the low point drains in the plumbing system.
- Remove the drain plugs from the water pump if possible.
- Flush the system by running water out until no water flows.
- Check all drains again to ensure no water remains.
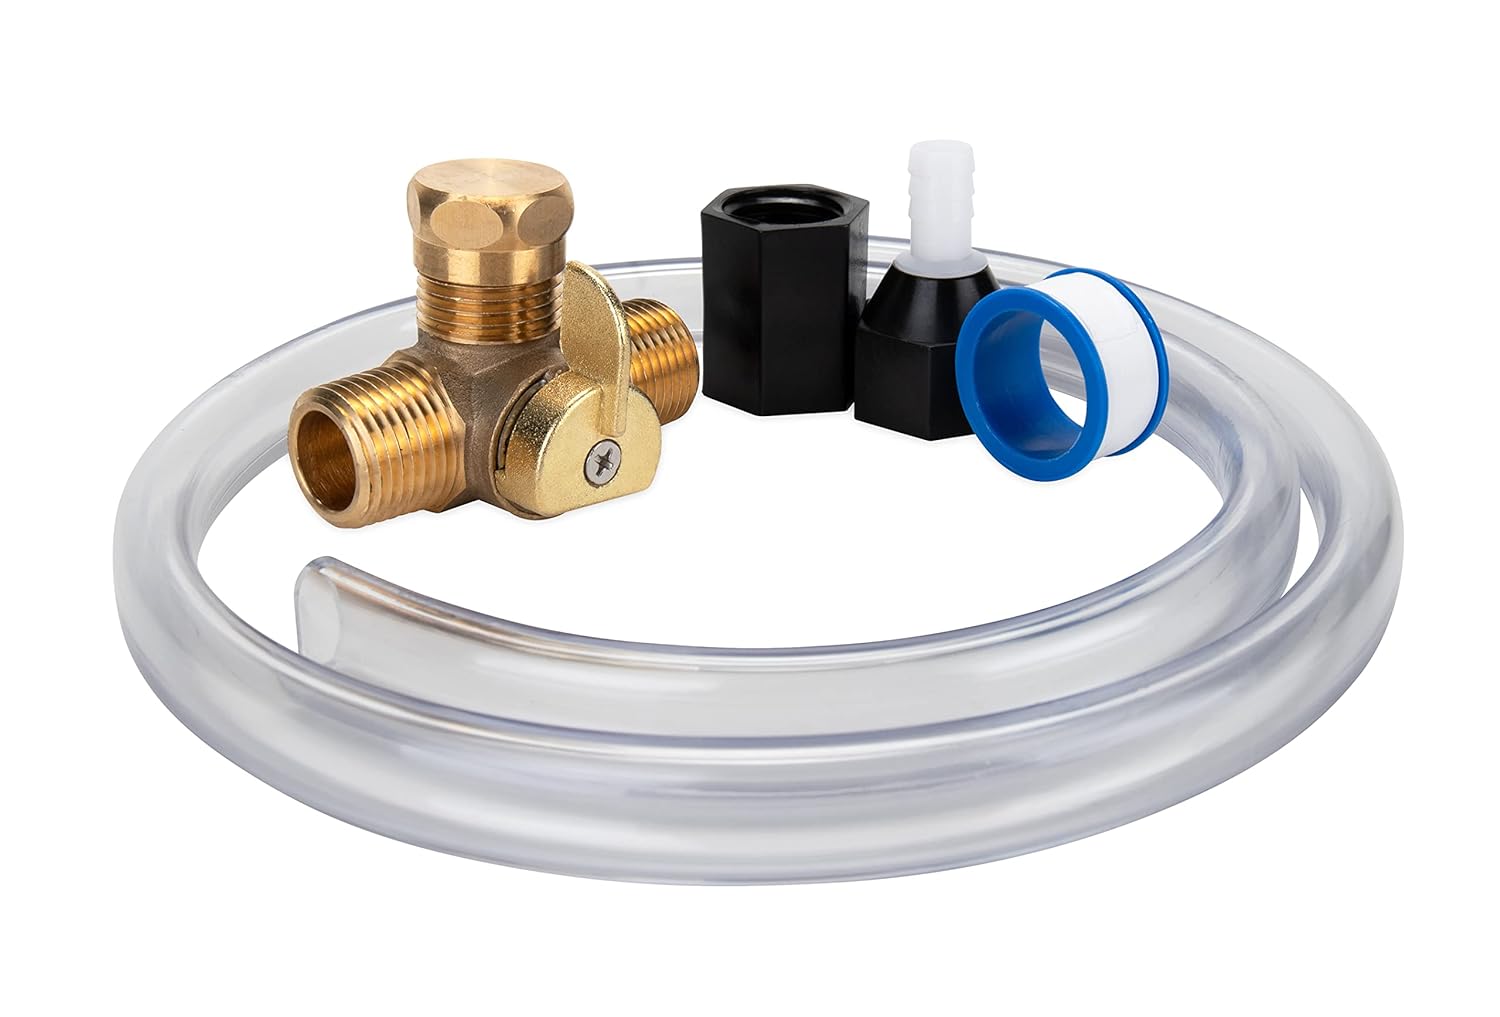
Using Bypass Valves Effectively
- Identify the water heater bypass valves on the RV’s plumbing.
- Close the valves that allow water into the water heater tank.
- Open the valves that reroute water around the water heater.
- Ensure antifreeze flows only through the pipes, not the heater.
- Check valves periodically to confirm they stay in the bypass position.
- After winterizing, reset valves to normal operation before use.

Credit: www.amazon.ca
Keep Faucets Dripping
Keeping your RV faucets dripping is one of the simplest and most effective ways to prevent your pipes from freezing. A slow drip ensures water keeps moving through the pipes, reducing the chance of ice forming and causing damage. This small action can save you from costly repairs and the hassle of dealing with frozen plumbing.
Why Dripping Prevents Freezing
Water freezes when it stays still in cold pipes. By allowing faucets to drip, you keep water moving, making it harder for ice to form. Even a small, steady drip can maintain pressure and flow, which helps prevent freezing in vulnerable sections of your plumbing.
Think about your own experience: have you noticed how moving water in streams rarely freezes compared to still ponds? The same principle applies inside your RV pipes. The trick is to keep that flow consistent, especially overnight when temperatures drop the most.
Best Practices For Minimal Water Waste
Dripping faucets can raise concerns about water waste, especially if you’re relying on limited water tanks. To manage this, focus on dripping only the faucets that are most likely to freeze, such as those farthest from the water source or exposed to cold air.
- Use a fine drip rather than a full stream to conserve water.
- Consider dripping both hot and cold taps to balance flow and pressure.
- Monitor your water levels regularly to avoid running out unexpectedly.
Have you ever thought about capturing that dripping water to use for plants or cleaning? Simple containers placed under the faucet can save every drop and reduce waste. This way, you protect your pipes without sacrificing your precious water supply.
Store Water Tanks Properly
Storing water tanks properly is crucial to prevent freezing in your RV. Cold temperatures cause water to freeze, damaging tanks and pipes. Proper storage keeps water flowing and safeguards your system. Simple measures can make a big difference in cold weather.
Location Tips For Tanks
Place water tanks in warm, insulated areas inside the RV. Avoid outside storage where temperatures drop quickly. Underbelly compartments work well if insulated and heated. Keep tanks away from drafty spots or cold walls. Elevate tanks slightly to avoid cold ground contact.
Heating Options For Tanks
Use tank heaters designed for RV water systems. Electric heating pads wrap around tanks to keep water warm. Heat tape with thermostat control prevents freezing along pipes and tanks. Portable heaters in compartments add extra warmth. Always follow safety guidelines when using heating devices.
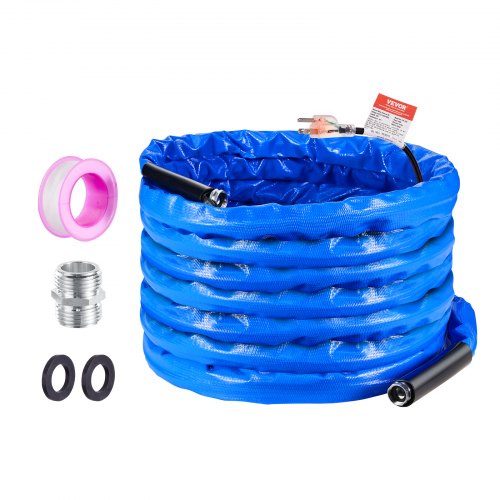
Credit: www.vevor.ca
Monitor Weather And Prepare
Keeping your RV’s water from freezing starts with staying ahead of the weather. Monitoring conditions closely allows you to take action before temperatures drop too low. Preparing in advance can save you from costly repairs and uncomfortable situations on the road.
Using Weather Apps For Alerts
Weather apps are your best friend when it comes to tracking temperature changes. Choose apps that send real-time alerts for freezing temperatures or sudden cold snaps near your location. Set these alerts to notify you early enough so you can act quickly.
Some apps even offer hourly forecasts and precipitation details, helping you plan water usage and heating schedules. Imagine getting a warning the night before a freeze—this gives you time to drain pipes or turn on heat tape. Do you check your weather app as often as you check your fuel gauge?
Emergency Measures For Extreme Cold
If freezing weather hits unexpectedly, you need a quick plan. Keep a small portable heater or heat tape ready to wrap around vulnerable pipes. These tools can prevent ice buildup and keep water flowing.
Another option is using RV antifreeze in the plumbing system, but only as a last resort and with caution. In extreme cases, consider shutting off and draining the water system entirely to avoid damage. Have you prepared an emergency kit for your RV’s plumbing yet?
Credit: www.happycampers.store
Frequently Asked Questions
How Can I Prevent Rv Water Pipes From Freezing?
Insulate your RV water pipes with foam sleeves or heat tape. Keep water moving by running faucets slightly. Store your RV in a heated garage if possible to maintain warmth and prevent freezing.
What Temperature Causes Rv Water To Freeze?
Water typically freezes at 32°F (0°C). However, RV water lines can freeze at slightly higher temperatures, especially if exposed to wind or cold drafts. Monitor temperatures closely during cold weather.
Is Rv Antifreeze Safe For Potable Water Systems?
Use only non-toxic, RV-specific antifreeze for potable water systems. Regular automotive antifreeze is toxic and unsafe. Follow manufacturer guidelines when adding antifreeze to your RV plumbing.
Should I Drain My Rv Water System In Winter?
Yes, draining your RV water system helps prevent freezing damage. Remove all water from tanks, pipes, and pumps. Use compressed air to clear lines if needed.
Conclusion
Keeping water from freezing in your RV is essential. Simple steps can make a big difference. Insulate pipes and tanks to avoid freezing. Use RV antifreeze for extra protection. Heated water hoses ensure a steady flow. A little preparation goes a long way in winter.
Regular checks prevent surprises. Stay warm and worry-free on your travels. Remember, a well-prepared RV is a happy RV. Enjoy your journey without winter woes. Safe travels and cozy adventures await you!