
Are you ready to transform your gardening experience and boost your plant’s health? Learning how to line a raised garden bed can make a huge difference in how well your plants grow.
The right lining protects your soil, improves drainage, and keeps pests away—helping you get the most out of your garden. You’ll discover simple, effective tips to line your raised bed like a pro. Keep reading, and you’ll soon have a thriving garden that looks great and grows strong!
Choosing The Right Liner
Lining a raised garden bed helps protect the wood and soil. It also keeps unwanted weeds and pests away. Choosing the right liner is important for a healthy garden.
This guide explains types of garden bed liners, their pros and cons, and how to select one based on your climate and soil.
Types Of Garden Bed Liners
Garden bed liners come in many materials. Each type has different uses and benefits. Some common liners include plastic, landscape fabric, rubber, and metal sheets.
- Plastic Liners:Affordable and easy to install.
- Landscape Fabric:Breathable and prevents weeds.
- Rubber Liners:Durable and flexible.
- Metal Sheets:Long-lasting but can heat soil.
Pros And Cons Of Different Materials
| Material | Pros | Cons |
|---|---|---|
| Plastic | Blocks water and soil, cheap | Can trap water, not breathable |
| Landscape Fabric | Allows water flow, controls weeds | Can tear easily, less durable |
| Rubber | Strong, flexible, lasts long | More expensive, hard to cut |
| Metal | Very durable, resistant to pests | Can heat soil, may rust |
Selecting Based On Climate And Soil
Choose liners that fit your climate and soil type. In wet areas, use breathable liners to avoid water buildup. In dry places, plastic liners can keep moisture in.
- Warm climates: Avoid metal to prevent soil overheating.
- Cold climates: Use thick liners to protect roots.
- Sandy soil: Use liners that stop soil loss.
- Clay soil: Choose liners that allow water drainage.
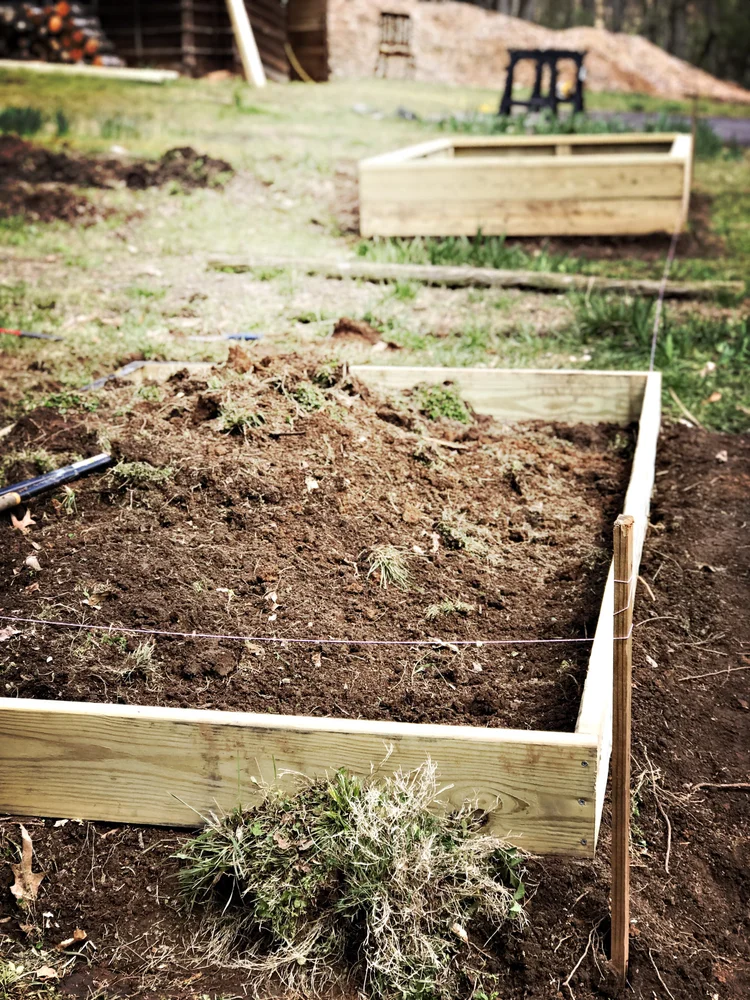
Credit: www.thunderbirddisco.com
Preparing The Raised Bed
Preparing your raised garden bed is important for a healthy garden. Start by ensuring it is clean and ready for a new liner.
This process includes inspecting the bed, measuring the liner, and ensuring good drainage. Follow these steps to get your raised bed ready.
Cleaning And Inspecting The Bed
Start by removing any old soil or debris from the bed. Check for any signs of damage or pests.
Inspect the wood or material for rot or cracks. A clean and sturdy bed is essential for your plants.
- Remove old soil
- Check for pests
- Inspect for damage
- Ensure structure is solid
Measuring And Cutting The Liner
Measure the inside dimensions of your raised bed. This helps you cut the liner accurately.
Use a sharp tool to cut the liner. Make sure it fits snugly in the bed, covering all sides and bottom.
- Measure bed dimensions
- Cut liner to fit
- Ensure it covers all areas
Ensuring Proper Drainage
Good drainage keeps plants healthy. Add small holes in the liner’s bottom for water to escape.
Place small rocks or gravel at the bottom of the bed. This helps water drain away from the roots.
- Add drainage holes
- Use rocks or gravel
- Check water flow regularly
Installing The Liner
Installing a liner in your raised garden bed protects the wood and soil. It also helps keep moisture in and pests out.
This guide explains how to secure the liner, avoid damage, and seal all edges and corners properly.
Securing The Liner In Place
Place the liner inside the bed carefully and stretch it flat. Use staples or nails to hold the liner to the wood frame.
- Start by attaching the liner at one corner.
- Pull the liner tight along the edge.
- Staple every 6 to 8 inches to keep it secure.
- Repeat for all sides and corners.
Avoiding Wrinkles And Tears
Wrinkles and tears can cause water to pool or soil to spill out. Handle the liner gently and check for folds as you work.
- Do not stretch the liner too hard, or it may tear.
- Smooth out wrinkles with your hands as you go.
- Trim any excess liner carefully with scissors.
- Fix small tears with waterproof tape or patch material.
Sealing Edges And Corners
Seal edges and corners to keep the liner tight and prevent soil from leaking.
| Sealing Method | Materials Needed | Purpose |
|---|---|---|
| Staple and Fold | Staples, Hammer | Keep liner secure and neat |
| Waterproof Tape | Waterproof Tape | Cover small gaps and tears |
| Silicone Sealant | Silicone Sealant, Caulking Gun | Seal corners against water leaks |
Press the liner into corners and fold any extra material. Use tape or sealant to close gaps and protect against water damage.

Credit: savvygardening.com
Adding Soil And Plants
Filling a raised garden bed needs the right soil and plants. Good soil helps roots grow strong. Picking the correct plants makes your garden healthy and full of life.
This guide covers how to choose soil, layer it well, and plant correctly for raised beds. Follow these tips for a thriving garden.
Choosing The Right Soil Mix
Soil in raised beds must drain well and hold nutrients. A good mix has three parts: topsoil, compost, and a light material like perlite or sand.
- Topsoil provides structure and minerals.
- Compost adds nutrients and helps soil hold water.
- Perlite or sand improves drainage and keeps soil loose.
Layering For Optimal Growth
Layering soil helps plants get air, water, and nutrients. Start with coarse material at the bottom. Add compost and topsoil on top. This setup supports roots well.
| Layer | Material | Purpose |
| Bottom | Twigs, Straw | Drainage and airflow |
| Middle | Compost | Nutrition and moisture retention |
| Top | Topsoil | Plant support and root growth |
Planting Techniques For Raised Beds
Planting in raised beds needs space and depth. Place bigger plants in the center or back. Smaller plants go near the edges. Keep roots covered but not too deep.
- Dig holes twice as wide as the plant’s root ball.
- Set the plant gently into the hole.
- Fill soil around roots and press lightly.
- Water the plants right after planting.
- Add mulch to keep soil moist and cool.
Maintaining Your Lined Bed
Lining a raised garden bed helps protect wood and soil. Proper maintenance keeps the liner strong and useful.
Check your lined bed often to catch problems early. Good care extends the life of the liner and your garden.
Regular Inspection Tips
Look over the liner at least once a month. Check for holes, tears, or signs of decay. Pay close attention to corners and edges.
Also, inspect the soil inside the bed. Make sure water drains well and the liner holds up under moisture.
- Inspect after heavy rain or strong winds
- Check for pest damage or burrowing insects
- Look for color changes that show wear
Dealing With Wear And Tear
Small holes or tears can get worse if not fixed quickly. Use garden tape or patch kits made for liners to repair damage.
If wood parts press hard against the liner, add a thin layer of cushioning material. This prevents new tears from forming.
- Patch small holes with waterproof tape
- Replace liner parts if damage is large
- Keep sharp tools away from the liner
Extending Liner Life
Keep your liner clean by removing dirt and debris regularly. Avoid standing water on top of the liner to stop mold growth.
Use a breathable liner to allow air flow. This helps the soil stay healthy and reduces liner breakdown over time.
- Clean the liner surface every few months
- Ensure proper drainage in the bed
- Use liners made for outdoor use and UV resistance
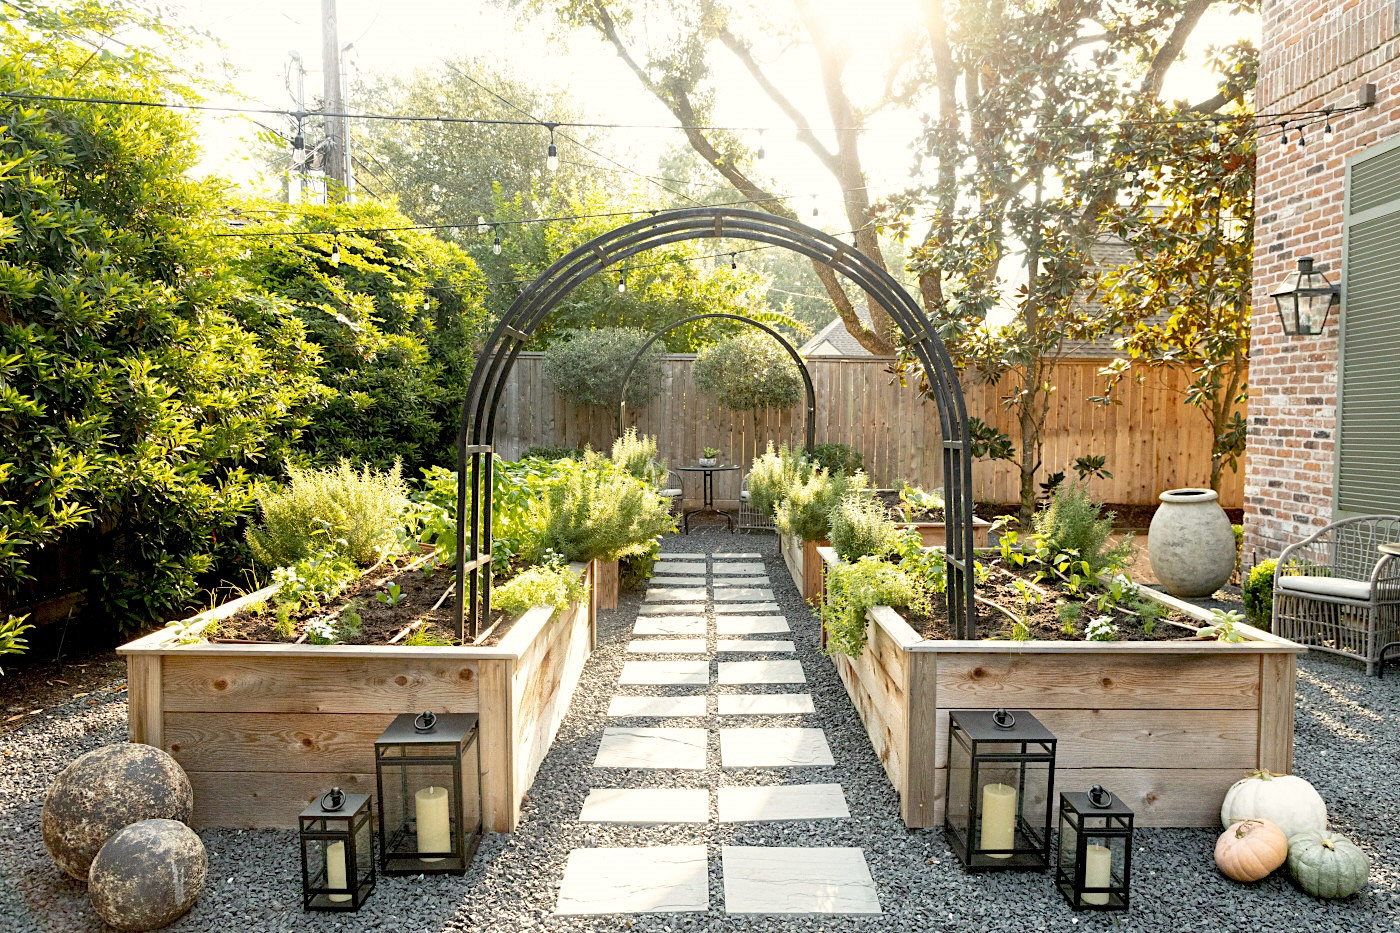
Credit: www.gardenary.com
Common Mistakes To Avoid
Lining a raised garden bed needs care and good choices. Mistakes can harm your plants and soil.
Learn what to avoid to keep your garden healthy and growing well.
Using Inappropriate Materials
Some materials can hurt plants or break down too fast. Avoid using treated wood with chemicals. Plastic liners that trap water can cause root rot.
- Do not use treated wood with toxic chemicals
- Avoid plastic that stops water flow
- Choose natural fabrics or safe liners instead
- Do not use metal that rusts quickly
Neglecting Drainage Needs
Poor drainage causes water to stay in the bed. This can drown roots and stop plants from growing well.
| Drainage Issue | Problem | Result |
| Poor drainage | Water pools at bottom | Roots rot and plants die |
| No drainage holes | Water cannot escape | Soil stays too wet |
| Wrong liner type | Blocks water flow | Soil does not drain |
Improper Installation Practices
Installing the liner wrong can cause leaks or soil loss. Liner must fit well and stay in place.
- Do not leave gaps between liner and bed walls
- Secure liner edges to stop slipping
- Trim liner carefully to avoid tears
- Make sure liner is smooth without wrinkles
Frequently Asked Questions
What Materials Are Best For Lining A Raised Garden Bed?
Use landscape fabric, plastic sheeting, or pond liner to line raised beds. These materials prevent weeds, retain moisture, and protect wood from rot, ensuring a healthy growing environment and longer bed life.
How Do I Prepare The Bed Before Lining It?
Clear debris, remove weeds, and level the soil before lining. This creates a smooth base, improves drainage, and ensures the liner fits properly without wrinkles or gaps.
Can I Use Plastic Liners Without Harming Plants?
Yes, use breathable plastic liners with drainage holes to avoid waterlogging. Proper drainage ensures roots get oxygen and prevents mold or root rot in your garden bed.
How Often Should I Replace A Raised Bed Liner?
Replace liners every 3-5 years or when damaged. Regular inspection helps maintain soil health and prevents contamination or liner failure that can harm your plants.
Conclusion
Lining a raised garden bed protects your plants and soil. It keeps weeds and pests away. Choosing the right material helps water drain well. Simple steps make the process easy and effective. Your garden will stay healthy and strong. Enjoy growing fresh vegetables and flowers.
Start lining your raised bed today for better results. Happy gardening!