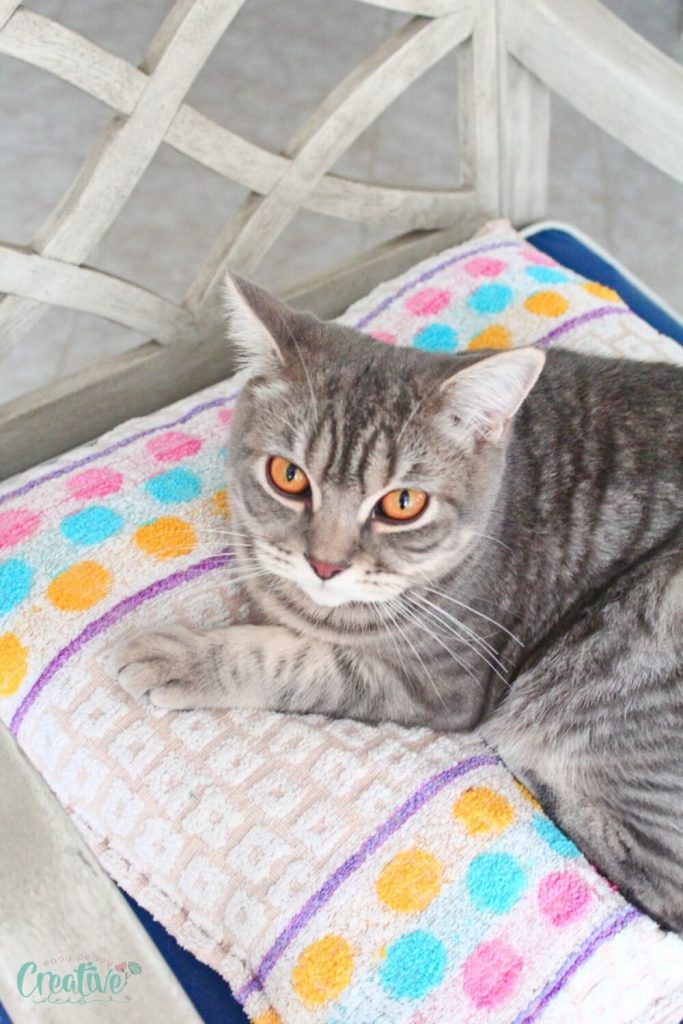
If you want to give your cat a cozy spot to curl up and sleep, making a cat sleeping bag is easier than you think. Imagine your furry friend snuggling into a soft, warm bed that you made yourself—doesn’t that sound perfect?
In this guide, you’ll find simple steps to create a comfy sleeping bag that your cat will love. Whether you’re a beginner or just looking for a quick project, you’ll be surprised how fast and fun this can be. Keep reading, and soon your cat will have the ultimate cozy hideaway.
Materials Needed
Making a cat sleeping bag is simple and fun. You need the right materials to keep your cat cozy and safe.
This guide lists what fabrics, tools, and accessories you need to get started.
Fabric Choices
Choosing soft and warm fabric helps your cat feel comfortable inside the sleeping bag. Pick fabrics that are gentle on your cat’s skin.
- Fleece: Soft and warm, easy to clean
- Cotton: Breathable and natural
- Minky fabric: Plush and cozy for extra comfort
- Flannel: Warm and soft, good for colder weather
- Canvas: Durable for the outside layer
You can use a combination of fabrics for the inside and outside of the sleeping bag.
Tools And Accessories
Having the right tools makes sewing easier and the sleeping bag stronger. Gather these tools before you start.
- Sewing machine or needle and thread
- Fabric scissors for cutting cloth
- Measuring tape to get correct sizes
- Pins or clips to hold fabric pieces together
- Chalk or fabric marker to mark cuts
- Zipper or buttons for the opening (optional)
- Stuffing or padding for extra softness (optional)

Credit: shannonfraserdesigns.ca
Choosing The Right Size
Making a cat sleeping bag means picking the right size. The size affects your cat’s comfort.
Too small a bag can feel tight. Too large may not feel cozy. Measure your cat carefully.
Measuring Your Cat
Use a soft tape to measure your cat’s length and width. Measure from the nose to the base of the tail.
Also measure your cat’s width across the shoulders. This helps make sure the bag fits well.
- Length: Nose to base of tail
- Width: Across the shoulders
- Height: From floor to top of back
Allowing Extra Room
Add extra space to your measurements. Cats like to stretch and move inside their sleeping bag.
Leave about 2 to 3 inches longer and wider than your cat’s size. This gives a cozy but roomy fit.
- Add 2-3 inches to length
- Add 2-3 inches to width
- Make sure the opening is wide enough
Cutting The Fabric
Cutting fabric correctly is key to making a cozy cat sleeping bag. This part helps ensure all pieces fit well together. Careful cutting saves time and fabric.
Before you cut, plan the layout and mark the fabric properly. This reduces mistakes and makes sewing easier.
Pattern Layout
Spread your fabric on a flat surface without wrinkles. Place the sleeping bag pattern pieces on the fabric with the grain line parallel to the selvage. Leave space between pieces for seam allowances.
- Lay out the largest pieces first to use space well
- Place smaller pattern pieces in leftover spaces
- Keep fabric folds aligned if pattern pieces need to be cut on fold
- Double-check the layout before cutting
Marking And Cutting Tips
Mark your fabric clearly using tailor’s chalk or washable fabric markers. Mark all notches and seam lines to help during sewing. Cut slowly and follow the pattern edges exactly.
| Tip | Why It Helps |
| Use sharp fabric scissors | Clean cuts prevent jagged edges |
| Cut on a flat surface | Avoids shifting fabric and inaccurate cuts |
| Cut one layer at a time | Improves precision for complex shapes |
| Keep fingers away from scissors | Ensures safety and steady cutting |

Credit: www.reddit.com
Sewing The Pieces
Sewing the pieces is the key step in making a cat sleeping bag. It joins all parts tightly for a cozy fit.
You will learn about different stitch types and how to assemble the bag correctly.
Stitch Types
Choosing the right stitch type helps make the sleeping bag strong and neat. Use stitches that hold fabric well and resist wear.
- Straight Stitch:Best for most seams. It is simple and strong.
- Zigzag Stitch:Good for stretchy edges to prevent fraying.
- Backstitch:Use at the start and end of seams for extra strength.
- Overlock Stitch:Ideal for finishing raw edges cleanly.
Assembling The Bag
Put the sleeping bag pieces together before sewing. This keeps the shape correct and fits the cat well.
| Piece | How to Assemble |
| Outer Fabric | Place right side facing out |
| Lining Fabric | Place right side facing in |
| Padding | Sandwich between outer and lining layers |
| Opening Edge | Leave one side open to turn bag inside out |
Adding Comfort Features
Making a cat sleeping bag cozy helps your pet feel safe and warm. Adding soft and padded parts makes it more inviting.
Comfort features like padding and soft linings improve the sleeping bag’s feel. Cats love soft places to rest.
Inserting Padding
Padding adds softness and warmth inside the sleeping bag. Use foam or polyester stuffing for best results.
Cut the padding to fit the sleeping bag’s shape. Sew it carefully to keep it in place and avoid lumps.
- Choose lightweight padding for easy washing
- Use padding about 1 inch thick for comfort
- Secure padding with stitching or glue
Adding Soft Linings
Soft linings make the inside of the sleeping bag gentle on your cat’s skin. Use fleece or plush fabric for a cozy feel.
Cut the lining fabric to match the sleeping bag size. Sew it inside so your cat touches only the soft material.
- Pick hypoallergenic fabrics to avoid irritation
- Choose washable materials for easy cleaning
- Match lining colors with outer fabric for style
Personalizing The Bag
Giving your cat sleeping bag a personal touch makes it unique. You can add designs that match your style and your cat’s personality.
Personalizing also makes the bag more special and fun to use. Let’s look at some ideas for decoration and embroidery.
Decorative Elements
You can decorate the sleeping bag with many simple items. These add color and charm to the bag without much effort.
- Attach small fabric patches or shapes
- Use colorful ribbons or lace around edges
- Sew on buttons or beads in safe places
- Add soft pom-poms or tassels
- Paint fabric with non-toxic markers
Custom Embroidery
Embroidery lets you add names, patterns, or pictures directly to the fabric. It lasts long and looks neat.
| Embroidery Idea | Description |
| Pet’s Name | Sew your cat’s name on the bag |
| Simple Shapes | Hearts, stars, or paw prints |
| Custom Designs | Create your own small image |
| Decorative Borders | Stitch around edges for style |
Care And Maintenance
Keeping your cat sleeping bag clean and in good shape helps it last longer. Regular care keeps it comfy and safe for your pet.
Follow simple cleaning and repair steps to maintain the bag’s quality and appearance.
Cleaning Instructions
Wash the cat sleeping bag gently to keep the fabric soft and the filling intact. Avoid harsh chemicals or hot water.
- Use cold or lukewarm water for washing
- Choose a mild detergent without bleach
- Hand wash or use a gentle cycle on the washing machine
- Air dry the bag flat to keep its shape
- Spot clean stains immediately with a soft cloth
Repair Tips
Fix small tears or loose seams quickly to stop damage from spreading. Use basic sewing tools and materials to repair the bag.
| Problem | Fix Method | Tools Needed |
| Small tear | Sew with matching thread | Needle, thread, scissors |
| Loose seam | Re-stitch seam securely | Needle, thread, pins |
| Worn-out zipper | Replace zipper carefully | New zipper, seam ripper, sewing kit |
| Flattened filling | Fluff and redistribute filling | Hands or soft brush |

Credit: www.reddit.com
Encouraging Your Cat To Use It
Making a cat sleeping bag is fun, but getting your cat to use it is key. Cats like cozy spots for rest and feel safe when the place is quiet.
To help your cat enjoy the new sleeping bag, place it carefully and add things that attract your cat. This makes the sleeping bag more inviting.
Placement Tips
Put the sleeping bag in a warm, quiet spot where your cat likes to rest. Avoid busy areas with loud noise or many people passing by.
Choose a place near a sunny window or a calm corner. Cats enjoy places where they can watch outside or feel hidden from view.
- Pick a quiet room or corner
- Place near a sunny window if possible
- Keep away from loud noises and heavy foot traffic
- Use a spot your cat already likes
Attracting Your Cat
Add familiar scents to the sleeping bag to make it smell safe. Use a blanket or toy your cat likes inside the bag.
Try gentle encouragement by placing treats or catnip near or inside the sleeping bag. Let your cat explore it at their own pace.
- Place a favorite blanket or toy inside
- Sprinkle a little catnip near the entrance
- Put treats inside to invite your cat
- Let your cat explore without pressure
Frequently Asked Questions
What Materials Are Needed To Make A Cat Sleeping Bag?
You need soft fabric, stuffing, thread, scissors, and a sewing machine. Choose cozy, washable materials like fleece for comfort and durability.
How Long Does It Take To Sew A Cat Sleeping Bag?
It usually takes about 1 to 2 hours. This depends on your sewing skills and design complexity.
Can I Customize The Size Of The Cat Sleeping Bag?
Yes, you can measure your cat and adjust dimensions. Make sure it’s roomy enough for comfort and warmth.
How To Keep The Cat Sleeping Bag Clean?
Use washable fabrics and wash the bag regularly. Spot clean stains quickly to keep it fresh and hygienic.
Conclusion
Creating a cozy cat sleeping bag is fun and rewarding. Your cat will love the comfort and warmth. Plus, you can make it in your favorite colors. It’s a simple project anyone can do. Just follow the steps and enjoy the process.
With a few materials, you bring happiness to your pet. Cats love snug spaces, and this bag is perfect. It’s a great way to show your love. So, get started and watch your cat purr in joy. Enjoy your crafting time and your happy cat!