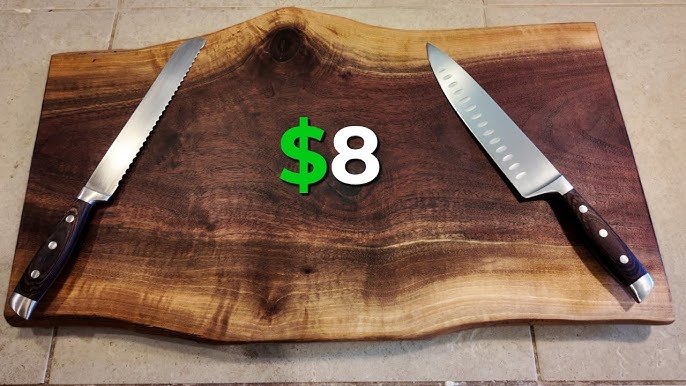
Are you ready to create your very own wooden cutting board? Making a cutting board out of wood is easier than you might think, and it’s a rewarding project that adds a personal touch to your kitchen.
Imagine the satisfaction of using a cutting board you crafted with your own hands, built to last and tailored to your style. In this guide, you’ll discover simple steps and insider tips that make the process smooth and enjoyable. Keep reading, and by the end, you’ll have everything you need to start crafting a beautiful, functional cutting board you’ll be proud to use every day.
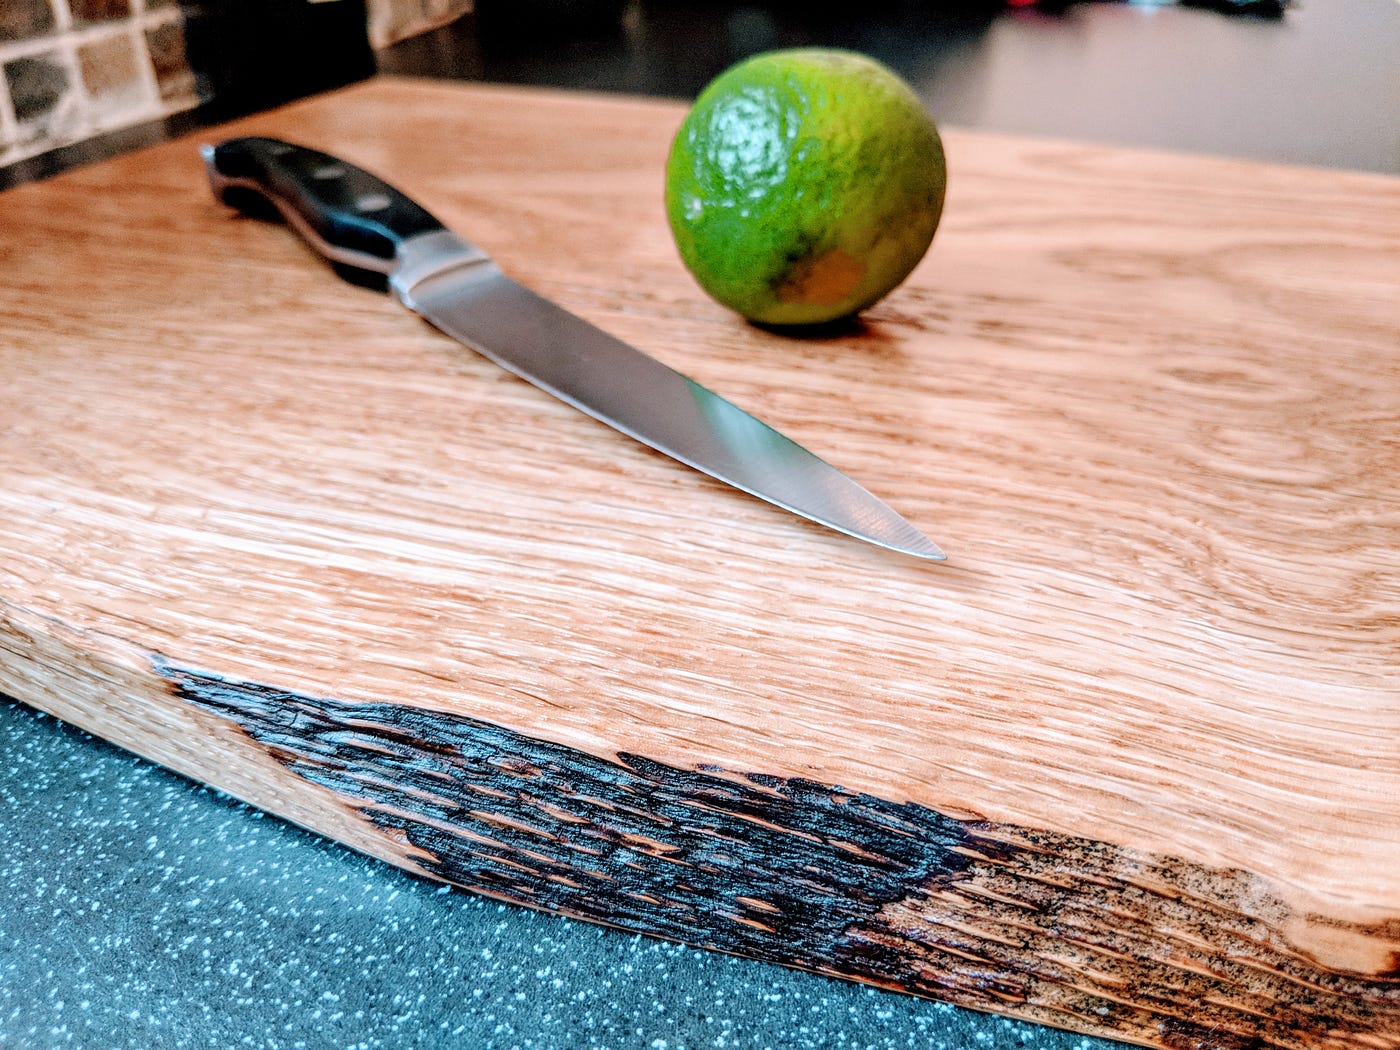
Credit: medium.com
Choosing The Right Wood
Making a cutting board starts with picking the best wood. The right wood keeps your board strong and safe.
Wood type affects how long the board lasts and how easy it is to clean. Choose wood carefully for a good board.
Hardwood Options
Hardwoods are best for cutting boards because they are strong and last long. They resist cuts and scratches well.
Common hardwoods include maple, walnut, and cherry. These woods are safe for food and easy to clean.
- Maple is light-colored and very durable.
- Walnut is dark and looks elegant.
- Cherry has a warm, reddish tone.
Avoiding Softwoods
Softwoods like pine or cedar are not good for cutting boards. They get scratched and damaged quickly.
Softwoods also may have open pores that trap bacteria. This makes the board unsafe for food use.
- Softwoods wear out fast.
- They can absorb water and stains.
- They are harder to keep clean.
Wood Grain And Durability
Wood grain affects how strong and durable the cutting board will be. Tight grain means a stronger board.
Look for wood with straight grain. It is less likely to crack or split over time.
- Tight grain holds up to knife cuts.
- Straight grain is easier to work with.
- Grain direction affects the board’s strength.

Credit: www.youtube.com
Gathering Tools And Materials
Making a wooden cutting board starts with gathering the right tools and materials. Having everything ready helps the process go smoothly.
In this section, learn about the essential tools, materials, and safety gear you need for this project.
Essential Tools
You need some basic woodworking tools to make a cutting board. These tools help you cut, shape, and finish the wood.
- Table saw or circular saw for cutting wood pieces
- Router or sandpaper for smoothing edges
- Clamps to hold wood pieces firmly
- Measuring tape and square for accurate cuts
- Wood glue to join pieces together
- Orbital sander or sanding block for fine sanding
Required Materials
Choose quality wood and supplies to build a strong cutting board. Different woods offer different looks and hardness.
- Hardwood boards like maple, walnut, or cherry
- Food-safe wood glue for joining parts
- Mineral oil or cutting board finish for protection
- Sandpaper with varying grits (80, 120, 220)
Safety Gear
Safety gear protects you while working with wood and tools. Always use the right equipment to avoid injuries.
- Safety glasses to protect your eyes
- Hearing protection if using loud power tools
- Dust mask or respirator to avoid breathing sawdust
- Work gloves to protect your hands
Preparing The Wood
Preparing the wood is the first step to make a cutting board. Good preparation helps your board last longer and look nice.
Take your time to measure, cut, and smooth the wood before you start building.
Measuring And Marking
Measure the wood to get the right size for your cutting board. Use a ruler or tape measure for accuracy.
Mark the wood with a pencil where you will cut. Clear marks help you cut straight lines.
- Decide the length and width of your board
- Use a square tool to keep lines straight
- Double-check measurements before marking
Cutting To Size
Cut the wood along the lines you marked. Use a saw that fits the wood thickness and your skill level.
Cut slowly and carefully to avoid mistakes or splinters. Keep your hands away from the blade.
- Use a handsaw, jigsaw, or circular saw
- Secure the wood with clamps for safety
- Wear safety glasses and gloves
Sanding The Surface
Sanding smooths the wood and removes rough spots. This step makes the board safe to use and nice to touch.
Start with coarse sandpaper, then use finer grits for a smooth finish. Sand all sides and edges well.
- Begin with 80 or 100 grit sandpaper
- Move to 150 or 220 grit for a smooth surface
- Use a sanding block or electric sander
- Wipe dust away with a cloth after sanding

Credit: www.youtube.com
Assembling The Board
Assembling a wooden cutting board is an important step. It involves joining the wood pieces carefully. This step shapes the board and makes it strong.
Follow the right order and use the correct tools. This will help you make a cutting board that lasts long.
Choosing A Design Pattern
Start by picking a design pattern for your cutting board. The pattern shows how you arrange the wood pieces. It can be simple or complex.
Common patterns include stripes, checkerboards, and brick layouts. Choose one that fits your style and skill level.
- Striped pattern: long strips of wood side by side
- Checkerboard: alternating squares of different woods
- Brick pattern: staggered blocks like bricks
Gluing The Pieces
Apply wood glue to the edges of each piece. Spread the glue evenly for a strong bond. Avoid using too much glue to prevent mess.
Join the pieces carefully, fitting them tightly. Make sure all pieces line up well before the glue dries.
- Use food-safe wood glue for safety
- Cover your workspace to catch drips
- Work quickly but carefully
Clamping And Drying
After gluing, clamp the pieces together firmly. Clamps hold the wood tight while the glue dries. This step is very important for strength.
Leave the clamps on for at least 24 hours. Drying time can vary based on glue type and room temperature.
- Use enough clamps to apply even pressure
- Check for glue squeeze-out and wipe it away
- Keep the board flat during drying
Shaping And Finishing
Shaping and finishing a wooden cutting board gives it a smooth, safe surface. This part is important for both look and use. Careful work here makes the board last longer and protects your knives.
Below are the key steps to trim edges, sand the board, and apply a food-safe finish. Each step helps improve the board’s quality and safety.
Trimming Edges
Trim the edges to remove rough or uneven parts. Use a router or sandpaper to shape the sides and corners. Round edges slightly to avoid sharp corners that can cause injury.
- Check all edges for splinters or rough spots.
- Use a router with a round-over bit for smooth curves.
- Sand edges with medium-grit sandpaper to even out cuts.
- Ensure all sides are straight and uniform.
Final Sanding
Final sanding smooths the surface and removes any marks from trimming. Start with medium grit and finish with fine grit sandpaper. Sand in the direction of the wood grain for best results.
| Sandpaper Grit | Purpose |
| 120 | Remove rough spots and marks |
| 180 | Smooth surface further |
| 220 | Final polish for smooth finish |
Applying Food-safe Finish
Apply a food-safe finish to protect the wood and make cleaning easier. Use oil or wax that is safe for food contact. Apply several coats and let each dry well.
Common finishes include:
- Mineral oil – easy to apply and renew.
- Beeswax – adds extra protection and shine.
- Walnut oil – natural and food-safe option.
Apply with a clean cloth and wipe off excess. Let the board dry flat before use.
Maintaining Your Cutting Board
Keeping your wooden cutting board in good shape helps it last longer. Proper care prevents cracks and stains.
Regular maintenance keeps the board safe and clean for food preparation. Follow simple steps to protect your board.
Cleaning Tips
Clean your cutting board right after use to stop bacteria growth. Avoid soaking the board in water to prevent warping.
Use mild soap and warm water for washing. Rinse well and dry with a towel immediately.
- Do not put the board in the dishwasher
- Use a scrub brush or sponge for stuck bits
- Disinfect with vinegar or lemon juice if needed
Oiling Schedule
Apply food-safe mineral oil to your board regularly. Oil keeps the wood from drying out and cracking.
How often you oil depends on use. If you use it daily, oil once a week. For less use, oil monthly.
- Clean and dry the board before oiling
- Use a soft cloth to spread oil evenly
- Let the oil soak for a few hours or overnight
- Wipe off any extra oil before use
Repairing Minor Damage
Small cuts and scratches are normal and can be fixed. Sand the damaged area smoothly with fine sandpaper.
After sanding, clean the dust and reapply oil to protect the wood. This keeps your board safe and looking good.
- Use 120 to 220 grit sandpaper for best results
- Sand along the wood grain, not against it
- Repeat sanding and oiling as needed
Frequently Asked Questions
What Type Of Wood Is Best For Cutting Boards?
Hardwoods like maple, walnut, and cherry are best. They resist knife marks and bacteria. Avoid softwoods, as they dent easily and can harbor germs.
How Do You Prevent Wood Cutting Boards From Cracking?
Regularly oil your board with food-safe mineral oil. Avoid soaking it in water or placing it in a dishwasher. Keep it dry and store it in a cool, ventilated area.
Can I Make A Cutting Board With Scrap Wood?
Yes, you can use hardwood scraps. Ensure they are clean, untreated, and food-safe. Glue and clamp the pieces tightly for a sturdy, attractive board.
How Do I Finish A Wooden Cutting Board Safely?
Use food-safe finishes like mineral oil or beeswax. Avoid toxic varnishes or paints. Apply several coats and let it absorb to protect and seal the wood.
Conclusion
Creating a wooden cutting board is a fun and useful project. You only need some basic tools and wood pieces. Follow each step carefully for the best results. Your board will be strong and look great in your kitchen. With some practice, you can make more boards with different shapes and sizes.
Enjoy the process and take pride in your handmade work. This simple project brings a personal touch to your cooking space. Try it today and see how rewarding it feels.