
Are you ready to create a cutting board that’s not only practical but also adds a personal touch to your kitchen? Making your own cutting board might sound tricky, but with the right steps, you can craft a beautiful, sturdy board that lasts for years.
Imagine using a board you built yourself every time you chop vegetables or slice bread. In this guide, you’ll discover simple tips and easy instructions that make the process clear and enjoyable. Keep reading, and by the end, you’ll have the confidence to make a cutting board that’s truly yours.
Choosing The Right Wood
Picking the right wood is key for a good cutting board. The wood should be strong and safe for food.
Different woods have different qualities. Knowing these helps you pick the best one for your board.
Hardwood Vs Softwood
Hardwood comes from trees that lose leaves each year. Softwood comes from evergreen trees.
Hardwood is usually better for cutting boards. It is tough and lasts longer.
- Hardwood resists cuts and dents
- Softwood is softer and can get damaged easily
- Hardwood has tighter grain, so it holds up well
- Softwood can absorb liquids and stains
Popular Wood Types For Cutting Boards
Some woods are favorites because they are safe and strong. These woods work well in the kitchen.
- Maple: Hard, smooth, and good for chopping
- Walnut: Dark wood, strong and stylish
- Cherry: Has a warm color and is durable
- Beech: Light color and very hard
- Teak: Resistant to water and wears well
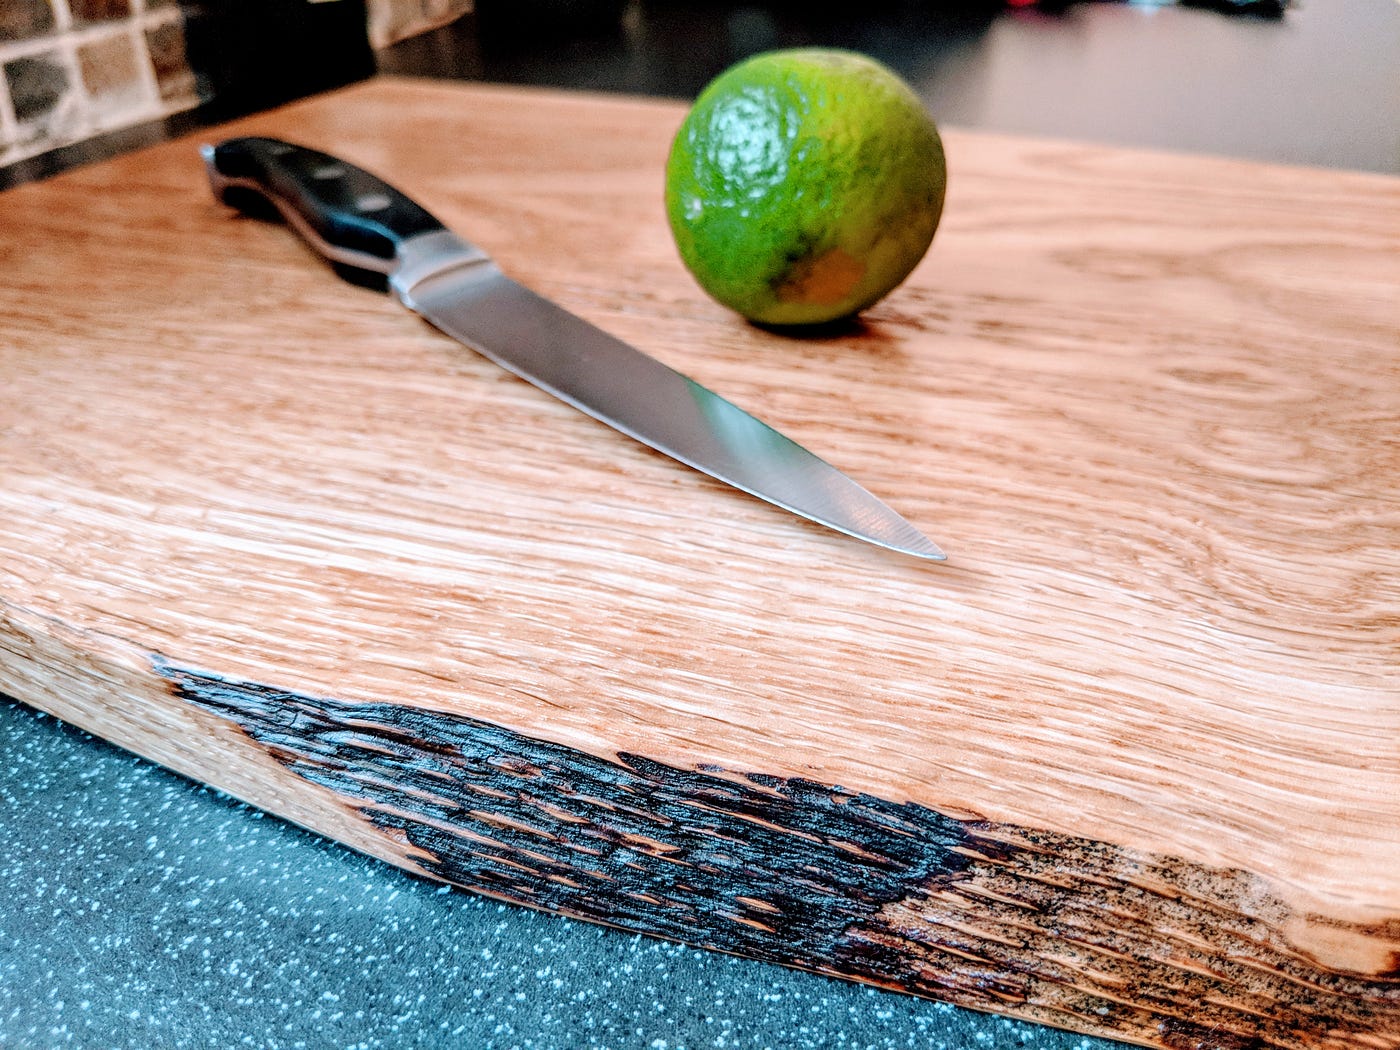
Sourcing Quality Lumber
Look for wood that is fresh and free from cracks. Avoid wood with knots or damage.
Buy from trusted suppliers or local sawmills. Good wood ensures your cutting board lasts a long time.
- Check the wood grain is tight and even
- Wood should be dry, not wet or green
- Choose wood that is untreated and chemical-free
- Ask for kiln-dried wood to avoid warping
Credit: medium.com
Essential Tools And Materials
Making a cutting board needs the right tools and materials. Good preparation helps you work safely and easily.
This guide shows the basic tools, safety gear, and finishing supplies you need. These items help you create a strong and smooth cutting board.
Basic Woodworking Tools
You need some simple woodworking tools to cut and shape the wood. These tools make it easier to work with the wood pieces.
- Table saw or circular saw to cut wood
- Jointer or hand plane to flatten surfaces
- Clamps to hold pieces tightly
- Orbital sander or sandpaper for smooth edges
- Measuring tape and square for accuracy
- Wood glue to join pieces
Safety Gear
Safety gear protects you while working with tools. Always wear the right equipment to avoid injuries.
- Safety glasses to protect your eyes
- Hearing protection like earplugs or earmuffs
- Dust mask to avoid breathing sawdust
- Work gloves to protect your hands
- Close-toed shoes for foot safety
Finishing Supplies
Finishing supplies help protect the cutting board and make it look nice. Use food-safe finishes for safety.
- Mineral oil to seal and protect wood
- Beeswax for a smooth, water-resistant finish
- Clean cloths for applying finishes
- Fine grit sandpaper for final smoothing
Preparing The Wood
Preparing the wood is an important part of making a cutting board. Good preparation helps the board last longer and look better.
Take your time to measure, cut, and sand the wood carefully. This will make the whole project easier.
Measuring And Marking
First, decide the size of your cutting board. Use a tape measure to get the exact length and width.
Mark the wood with a pencil. Draw straight lines where you will cut. Clear marks help you cut accurately.
- Use a ruler or square for straight lines
- Mark all sides clearly
- Double-check measurements before cutting
Cutting The Wood
Cut the wood along the marked lines. Use a saw that fits the type of wood you have. Stay steady and follow the lines closely.
Wear safety goggles and gloves while cutting. Keep your hands away from the blade to avoid accidents.
- Use a handsaw or power saw
- Cut slowly for clean edges
- Check the wood after cutting for rough spots
Sanding Techniques
Sanding smooths the wood and removes splinters. Start with coarse sandpaper and move to finer types.
Sand all sides and edges evenly. This makes the board safe to use and ready for finishing.
- Begin with 80-grit sandpaper
- Follow with 120-grit and finish with 220-grit
- Wipe dust off between sanding steps
Assembly And Glue-up
Putting together your cutting board pieces is an important step. Proper assembly and glue-up ensure a strong and smooth board.
Take your time during this phase. Careful work helps avoid problems later on.
Choosing The Right Glue
Use wood glue designed for cutting boards. It must be waterproof and safe for food contact. Avoid glues with harmful chemicals.
- PVA glue is common and easy to use.
- Polyurethane glue works well for water resistance.
- Ensure the glue dries clear to keep the board looking good.
- Check the glue label for food safety.
Clamping Tips
Clamp the boards firmly to keep them tight while drying. Too little pressure causes weak joints. Too much can squeeze out all glue.
- Apply glue evenly on all edges.
- Use cauls to spread pressure evenly.
- Tighten clamps gradually and check the alignment.
- Wipe off extra glue before it dries.
- Let the glue cure for at least 24 hours.
Checking For Gaps
Look closely at the glued joints. Gaps weaken the board and spoil the look. Use light to spot any spaces between boards.
| Gap Size | Action |
|---|---|
| None | Good glue-up, proceed with drying. |
| Small (less than 1 mm) | Squeeze glue into gap and clamp again. |
| Large (more than 1 mm) | Disassemble, sand edges, and re-glue carefully. |
Shaping And Smoothing
Shaping and smoothing your cutting board is key for a safe, easy-to-use surface. This process makes the edges neat and the board comfortable to hold. Careful work here also helps protect the wood from damage.
Use the right tools and take your time. This will give your cutting board a clean, finished look and a smooth feel.
Trimming Edges
Start by trimming the edges to make them even and straight. Use a saw or a router to remove any rough or uneven parts. This step helps the board look professional and fit well on your countertop.
Rounding Corners
Rounding the corners makes the board safer and easier to handle. Use sandpaper or a router with a round-over bit for smooth, curved edges. Rounded corners also stop the wood from splintering or chipping.
- Mark corners with a pencil
- Choose sandpaper or router for rounding
- Move slowly to keep curves even
- Check corners often for smoothness
Final Sanding Steps
Finish by sanding the entire board. Start with coarse sandpaper and work to finer grits. This removes scratches and makes the surface soft to the touch.
| Sandpaper Grit | Purpose |
|---|---|
| 80-100 | Remove rough spots and shape edges |
| 150-180 | Smooth the surface |
| 220-320 | Final polish for a soft finish |

Credit: www.youtube.com
Applying Finish
Finishing your cutting board protects the wood and keeps it safe for food use. This step helps the board last longer and look better.
Using the right finish is important to avoid harmful chemicals. Let’s explore food-safe options and how to apply them.
Food-safe Oils And Waxes
Choose oils and waxes that do not harm health. These finishes soak into the wood and create a protective layer.
- Mineral oil is popular because it is odorless and colorless.
- Beeswax adds a smooth finish and helps seal the wood.
- Coconut oil can be used but watch for rancidity over time.
- Walnut oil is natural but may cause allergies in some people.
- Combination of oil and wax offers both deep protection and surface shine.
How To Apply Finish
Apply finish in a clean, dry area. Use a soft cloth or brush to spread the oil or wax evenly.
- Pour a small amount of oil onto the board’s surface.
- Rub the oil into the wood in circular motions.
- Let the oil soak for at least 20 minutes.
- Wipe off any excess oil with a clean cloth.
- If using wax, apply a thin layer after the oil dries.
- Buff the board with a soft cloth to shine the surface.
- Repeat the process until the wood feels well-protected.
Maintenance Tips
| Task | Frequency | Details |
|---|---|---|
| Oiling | Every 1-2 months | Reapply mineral oil to keep wood hydrated. |
| Cleaning | After each use | Wash with mild soap and dry immediately. |
| Waxing | Every 3-6 months | Add beeswax to protect surface and add shine. |
| Deep Cleaning | Once a year | Sand lightly and refinish if surface gets rough. |
Customizing Your Board
Making a cutting board is fun and lets you create a useful kitchen tool. Customizing your board adds style and function. You can make it fit your needs and look great on your counter.
There are many ways to customize your cutting board. You can add handles, grooves, engravings, or even inlays. Each choice changes the board’s look and how you use it.
Adding Handles Or Juice Grooves
Handles make your cutting board easier to carry. Juice grooves catch liquids and keep your counter clean. Both add practical value and style to your board.
- Cut handles on the sides for a firm grip
- Use a router or chisel to create juice grooves near the edges
- Choose groove depth to fit the types of food you cut
- Sand all edges smooth for safety and comfort
Engraving And Decoration
Engraving adds a personal or artistic touch to your board. You can carve names, patterns, or simple shapes. This makes your board unique and special.
Popular engraving ideas:
- Family names or initials
- Simple floral or geometric patterns
- Kitchen-related icons like knives or fruits
Personalizing With Inlays
Inlays add color and texture by inserting different wood pieces. You can create shapes or patterns with contrasting wood types. This technique makes your board stand out visually.
| Wood Type | Color | Use |
| Maple | Light | Background or base |
| Walnut | Dark brown | Contrast for designs |
| Cherry | Reddish | Decorative highlights |
Caring For Your Cutting Board
A cutting board can last for years with the right care. Cleaning and maintaining it keeps it safe and strong. It also keeps your kitchen hygienic.
This guide explains how to clean your board and stop damage. You will also learn when to refinish your cutting board for best use.
Cleaning Tips
Always wash your cutting board right after use. Use warm water and mild soap. Avoid soaking it in water to stop wood damage.
- Rinse the board with warm water.
- Use a soft sponge and mild dish soap.
- Scrub gently to remove food particles.
- Dry the board with a clean towel.
- Let it air dry standing up to avoid moisture buildup.
Preventing Cracks And Warping
Wood can crack or warp if it gets too dry or too wet. Keep your board balanced by treating it regularly with oil. Avoid leaving it near heat sources.
| Cause | How to Prevent |
| Dryness | Apply food-safe mineral oil monthly |
| Excess moisture | Do not soak or wash in dishwasher |
| Heat exposure | Keep away from stoves and direct sunlight |
When To Refinish
Refinish your cutting board if it looks rough or has deep cuts. Sanding smooths the surface, and oiling protects it. This keeps your board safe to use.
- Sand the board with fine-grit sandpaper.
- Remove all dust with a damp cloth.
- Apply a thick coat of mineral oil.
- Let the oil soak in overnight.
- Wipe off any extra oil before use.

Credit: www.youtube.com
Frequently Asked Questions
What Materials Are Best For Cutting Boards?
Wood, bamboo, and plastic are popular choices for cutting boards. Wood is durable and gentle on knives. Bamboo is eco-friendly and lightweight. Plastic is dishwasher-safe and resistant to bacteria. Each material has its benefits. Choose based on your needs and preferences.
How Do You Maintain A Cutting Board?
Regular maintenance is crucial for your cutting board’s longevity. Clean it with warm soapy water after each use. Dry it thoroughly to prevent warping. Oil wooden boards monthly with mineral oil. Avoid soaking or using a dishwasher for wood boards.
This keeps them in top condition.
Can I Make A Cutting Board At Home?
Yes, making a cutting board at home is possible. Choose your preferred wood type, like maple or walnut. Cut it to your desired size. Sand the edges and surface for smoothness. Finish with food-safe mineral oil. It’s a rewarding DIY project.
How Often Should I Oil My Cutting Board?
Oil your wooden cutting board monthly to maintain its quality. Use food-safe mineral oil for best results. This prevents drying and cracking. Regular oiling extends the board’s lifespan. It also enhances its appearance and keeps it in prime condition.
Conclusion
Making a cutting board is simple and rewarding. You only need a few tools and wood pieces. Take your time, follow the steps carefully, and enjoy the process. A handmade cutting board lasts long and looks great in any kitchen.
It also makes a nice gift for friends and family. Keep your board clean and dry to protect it. Try different wood types to find your favorite style. Start your project today and see how fun woodworking can be!